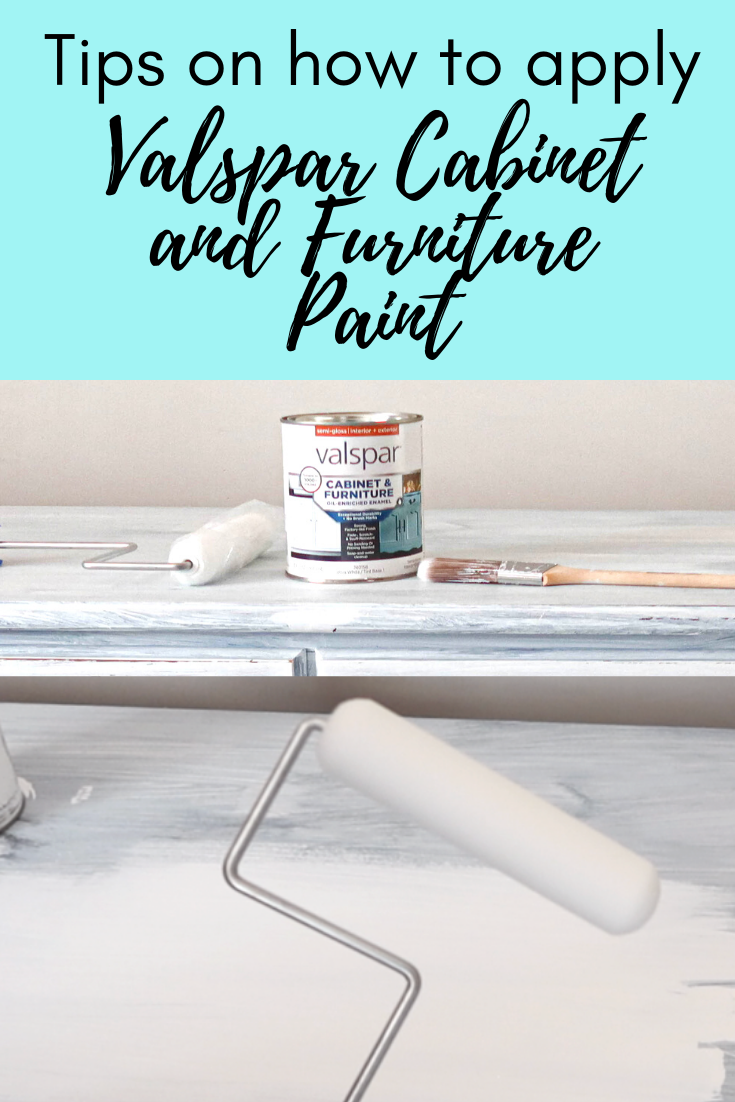
See how I updated an old dresser with Valspar Cabinet and Furniture Paint. I’ve shared a few tips on how to use this cabinet enamel.
Don’t get me wrong, I am all about the DIY (smaller boutique) paints. That being said, I’m a sucker for a good big box store paint brand because they are readily available, normally a good bit cheaper and available in many more colors than the DIY paints (brands like Fusion Mineral paint, Annie Sloan chalk paint, General Finishes milk paint, etc).
When I get the opportunity to try a larger brand paint product made specifically for furniture or cabinets I’m all over it! Today I’m sharing my thoughts on Valspar furniture paint (otherwise known as Valspar Cabinet and Furniture paint).

What is Valspar cabinet paint?
Valspar cabinet enamel is a new paint technology that is considered water based but acts and holds up like an oil based paint. Technically it’s considered a hybrid alkyd enamel product.
The great thing about this new technology of paint is that even though it holds up like oil based paints, it won’t yellow over time. Yay for that!
Also, because it’s so durable, it doesn’t require primer or a sealer. Of course, certain projects will require these products even when it says it shouldn’t. I’ll talk more on this later in the post.
If you are looking for a good primer for wood I’ve got a full list for you in a blog post here.
Here are a few of my opinions on the pros and cons of Valspar’s furniture paint.
PROS
Strong, factory-like finish
Highly durable
No sanding or priming needed (but sometimes recommended)
Soap and water cleanup
Tintable to over 1000 colors
Available in Satin and Semi gloss
Limited brush marks
Water based
Low odor and low VOC
Can be used in a sprayer or hand painted
Sealer not required
CONS
Longer dry times than most paints
Recoat time 12-24 hours
Thin paint consistency
Might require more coats than most paints
Adequate surface prep is key to any successful furniture or cabinet paint job. There are a few things you need to do to ensure this with this furniture paint.
Disclosure; this post contains affiliate links. As an Amazon Associate I earn from qualifying purchases. This disclosure statement refers to the rest of the amazon links and other affiliate links in this post.
Surface preparation before using valspar furniture paint
- Make sure to properly clean the surface before applying any paint or primer. I’m a fan of using Krud Kutter cleaner and degreaser because it really cuts through any dirt or grime. Make sure use a lint free cloth or tack cloth to prevent any dust particles from sticking to the surface.
- The directions say it can applied directly to bare wood or previously painted wood without primer. PROCEED WITH CAUTION. I’m a fan of always using primer to attain great adhesion and to prevent the old colors, tannins or finish to break through the new paint job (bleed through).
- use an extra fine grit sandpaper (at least 320) after the primer dries for a smooth finish.
- If you are painting over a laminate surface always use a good bonding primer first. Heck, I’m a fan of using a primer over any surface!
Applying Valspar cabinet paint; a few things you should know first
- This is a thin paint so apply it in thin coats.
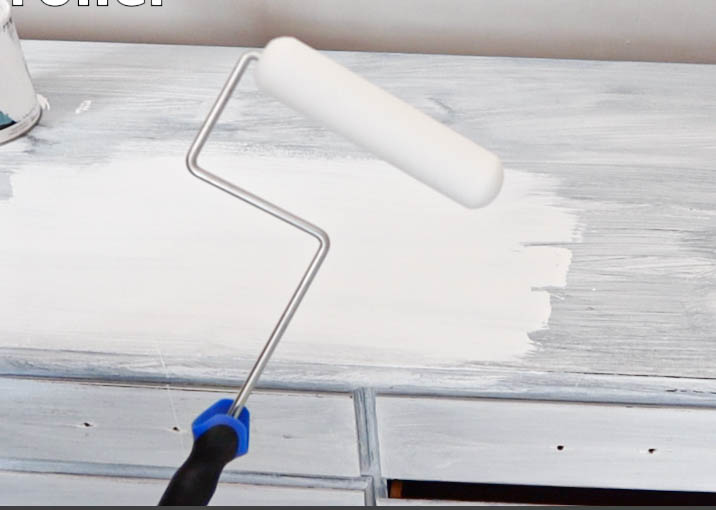
- Don’t overapply the paint! Brush in on and then immediately roll over it. Over rolling will cause the paint to stick back on the roller and show brush or roller marks.
- This paint works well in a paint sprayer because of it’s thin consistency.
- Don’t overapply the paint or it won’t self level properly. It’s better to have multiple thin coats than fewer thick coats.
- When hand painting, always use a foam roller or a polyester brush. A FOAM ROLLER is KEY! Don’t use a knap roller because it will create a texture (unless that’s what you want).
- Wait at least 12 hours or more in between coats to make sure the paint has fully cured. DON’T get impatient and rush. It will cause the paint to be tacky.
- Valspar cabinet enamel is great because it only requires a soap and water cleanup. That being said, if soap and water isn’t fully removing paint residue, use mineral spirits.
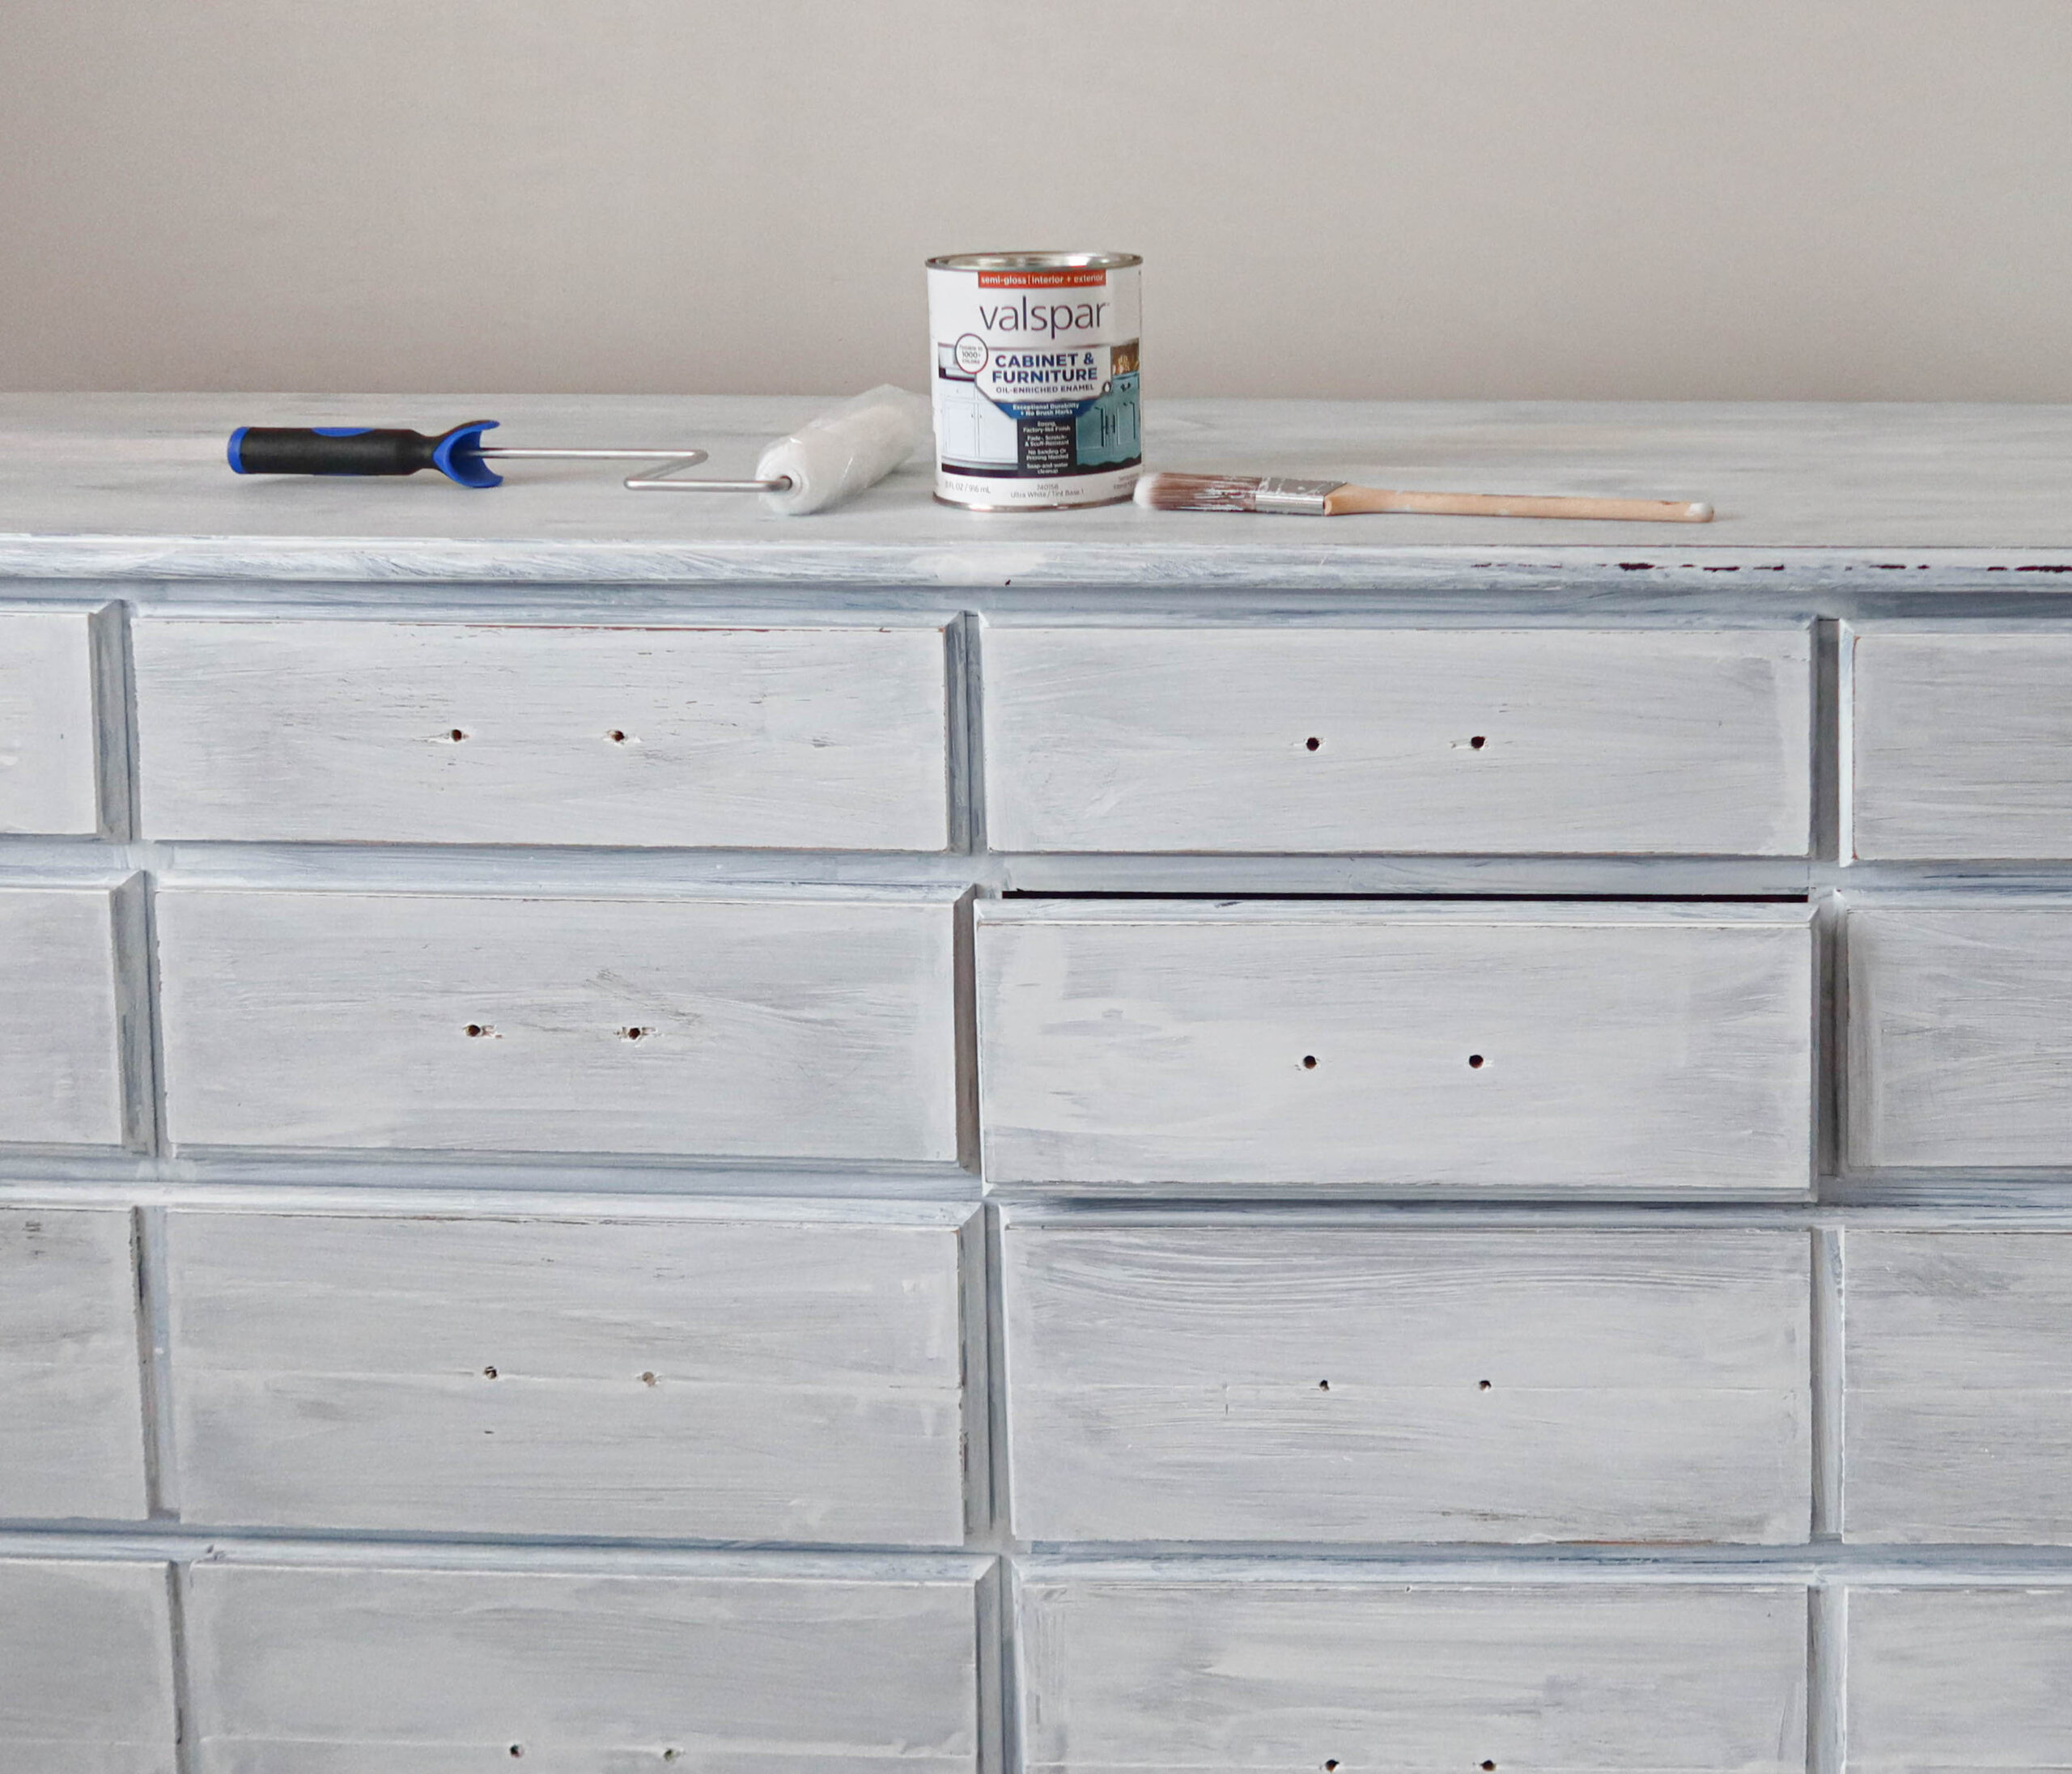
Material list:
- Valspar Cabinet and Furniture paint
- Cleaner and degreaser
- Lint free cloth and/or tack cloth
- Paint brush
- Foam roller
How to apply Valspar Cabinet and furniture Enamel with a Synthetic brush and Foam Roller
- Prepare the surface with a light sand with a fine grit sandpaper(optional), cleaning it really well with a degreaser, and wiping with a lint free cloth or tack cloth.
- Apply at least one coat of primer (this is optional but required if you are covering a laminate surface). You can use a brush or roller.
- Optional; sand with a fine grit sandpaper in between primer coat and paint coat for an ultra smooth finish.
- Start by applying the paint with a brush and keeping a wet edge as you brush.
- Immediately use the foam roller to cover where the paint was applied working in small sections as you go.
- Roll the longest surfaces first following the pattern of the piece i.e. roll the dresser top from side to side for a wide dresser and top to bottom for a tall cabinet.
- Once the first coat of paint is dry, wait at least 12 hours for the second coat. Your best bet is to let it dry overnight.
- Apply the second coat after 12 hours just like you did the first coat. Wait another 12 hours (at least).
- Apply third coat if necessary
No top coat needed!
But really; can you really get away without a top coat?
This is more of a personal preference but I can tell you I’ve run the “scratch test” on the top of the dresser. You know, take my fingernail and run it over the paint to make sure nothing comes up.
I will say it passed with flying colors. I even applied some real pressure with my fingernails and the cabinet enamel held strong.
Does this mean it won’t require a top coat ever? I’m not really sure.
I am confident that with good surface preparation and adequate dry time, it should hold up without a top coat. That being said every situation and every surface is a little different.
If you are looking to paint over a laminate surface, make sure to look at my tutorials before you use this paint. Most of all, you HAVE to use a good bonding primer! Don’t skip this step!
Painted Rainbow dresser
Here is the final painted dresser. I used regular old acrylic paint on the dresser fronts but Valspar cabinet enamel everywhere else. Check out all the details on how I painted the dresser with rainbow colors here.
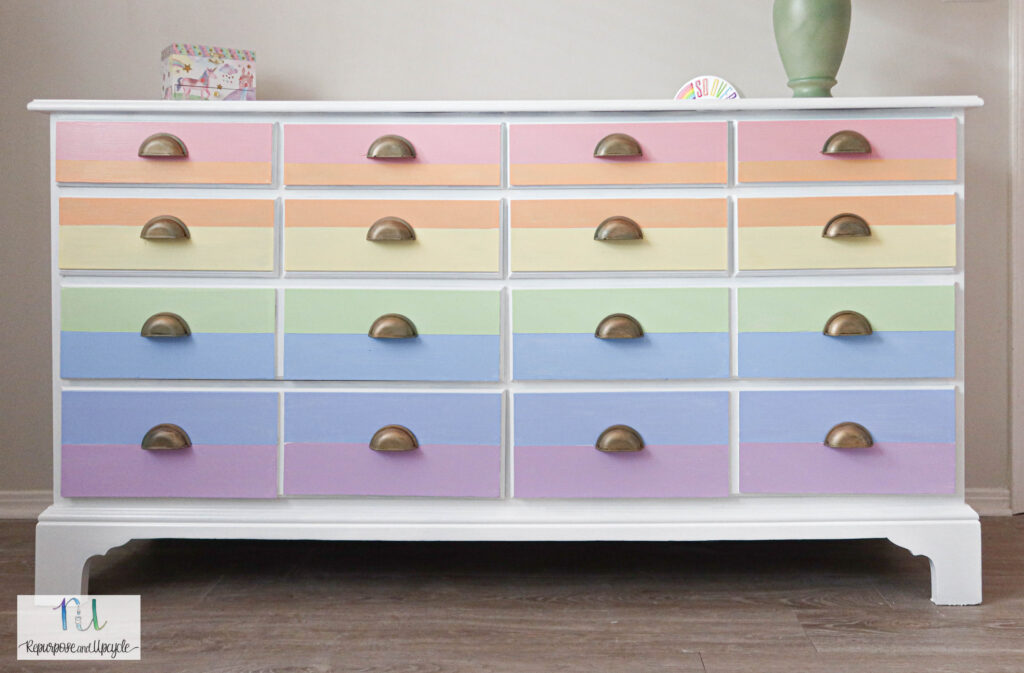
Isn’t she lovely? Most importantly, my daughter is smitten. I know she won’t always want a fun colorful piece of furniture, so I’m having fun with it while I can!
How to Apply Valspar Cabinet and Furniture Paint with a brush and a roller
See how I updated an old dresser with Valspar Cabinet and Furniture Paint. I've shared a few tips on how to use this cabinet enamel.
Materials
- Valspar Cabinet and Furniture paint
- Cleaner and degreaser
- Lint free cloth and/or tack cloth
- Paint brush
- Foam roller
- Primer
Instructions
- Prepare the surface with a light sand with a fine grit sandpaper(optional), cleaning it really well with a degreaser, and wiping with a lint free cloth or tack cloth.
- Apply at least one coat of primer (this is optional but required if you are covering a laminate surface). You can use a brush or roller.
- Optional; sand with a fine grit sandpaper in between primer coat and paint coat for an ultra smooth finish.
- Start by applying the paint with a brush and keeping a wet edge as you brush.
- Immediately use the foam roller to cover where the paint was applied working in small sections as you go.
- Roll the longest surfaces first following the pattern of the piece i.e. roll the dresser top from side to side for a wide dresser and top to bottom for a tall cabinet.
- Once the first coat of paint is dry, wait at least 12 hours for the second coat. Your best bet is to let it dry overnight.
- Apply the second coat after 12 hours just like you did the first coat. Wait another 12 hours (at least).
- Apply third coat if necessary
Notes
Recommended Products
As an Amazon Associate and member of other affiliate programs, I earn from qualifying purchases.
I hope I’ve shared all the knowledge you need to successfully create a beautiful finish with Valspar cabinet and furniture paint.
Check out more of my Paint reviews below:
Best White Paint Products for Kitchen Cabinets
Valspar Cabinet and Furniture Paint Review
Best Metallic Paint for Furniture
Heirloom Traditions All-in-One paint review
Valspar One-Coat Exterior stain and sealer in solid review
Until next time, happy painting!
Lindsey**


