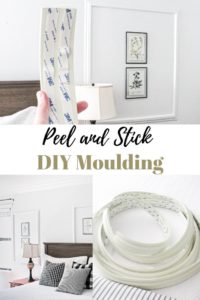
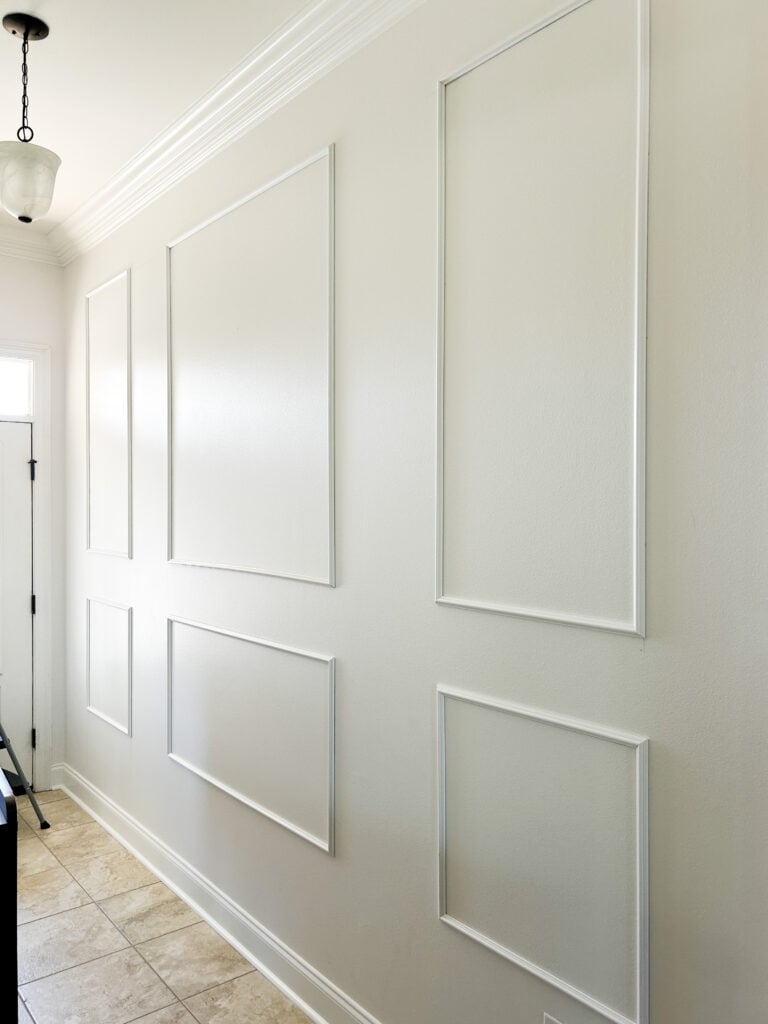
You can give your wall instant depth with a peel-and-stick picture molding that feels like a pro upgrade without the fuss. Measure carefully, press firmly, and use painter’s tape to hold pieces while the adhesive sets, because once it’s stuck it won’t come off without damaging the drywall.
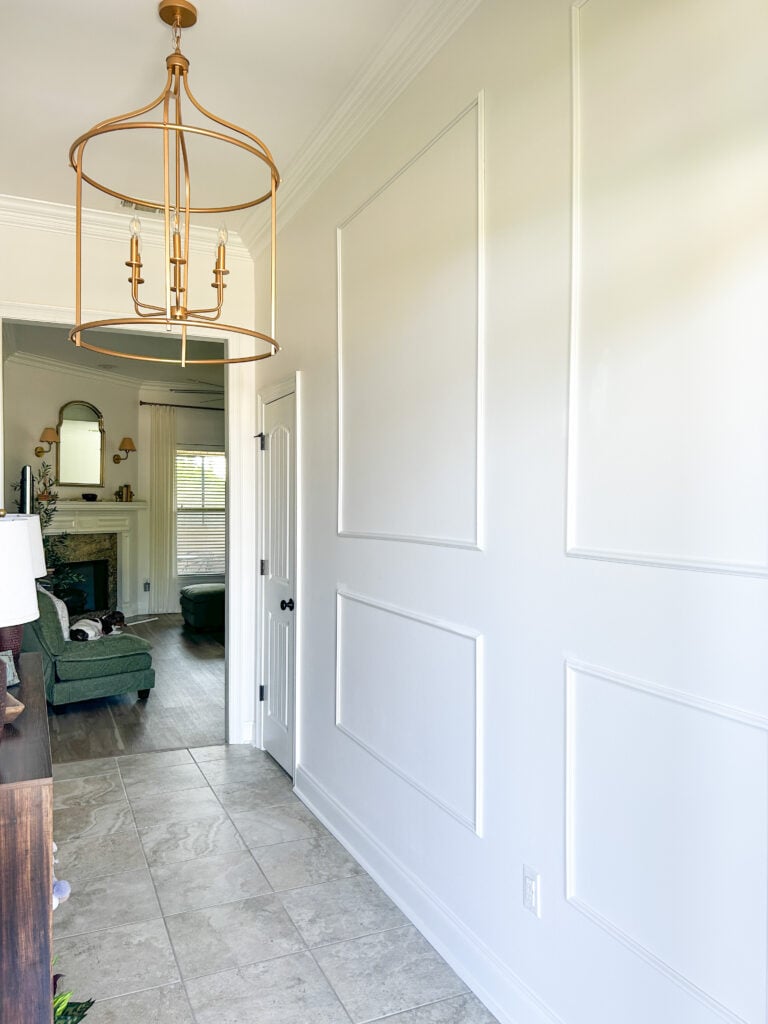
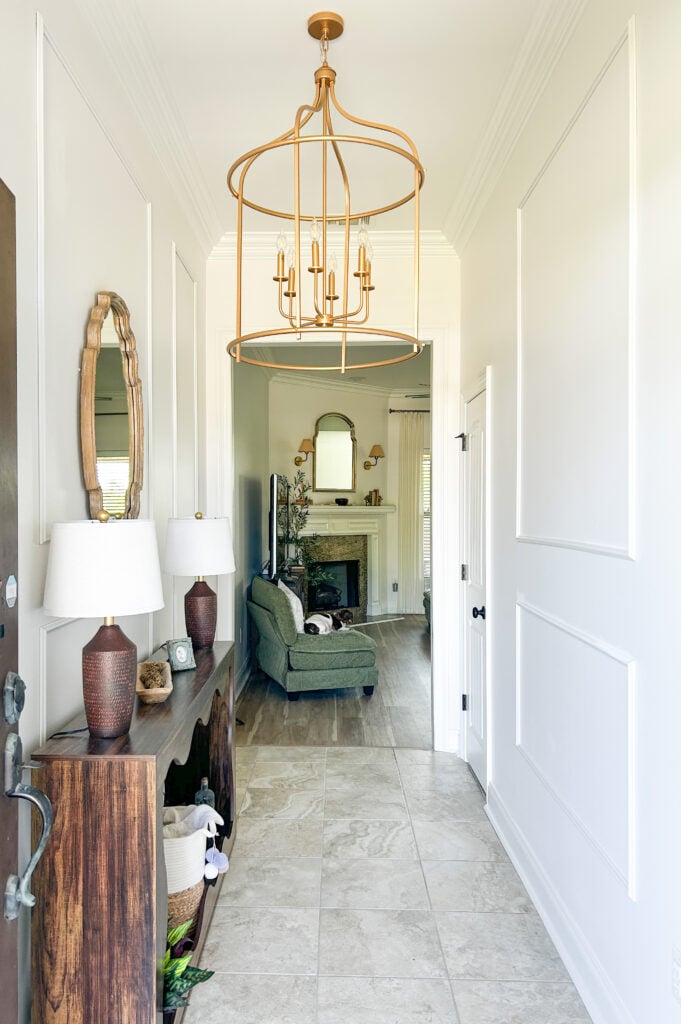
Fit corners by aligning opposite sides before final adhesion, work methodically, and add your furniture back to see the full effect—you’ll finish faster than you expect and get a noticeably upgraded room.
Let me show you!
Key Takeaways
- Choose a pre-made, adhesive picture molding for an easy wall upgrade.
- Measure thoroughly and secure pieces while adhesive cures to avoid mistakes.
- Test-fit adjoining pieces and complete installation before replacing furniture.
Picking the Right Wainscoting for Your Walls
Pre-Made Panels vs. Made-to-Order Choices
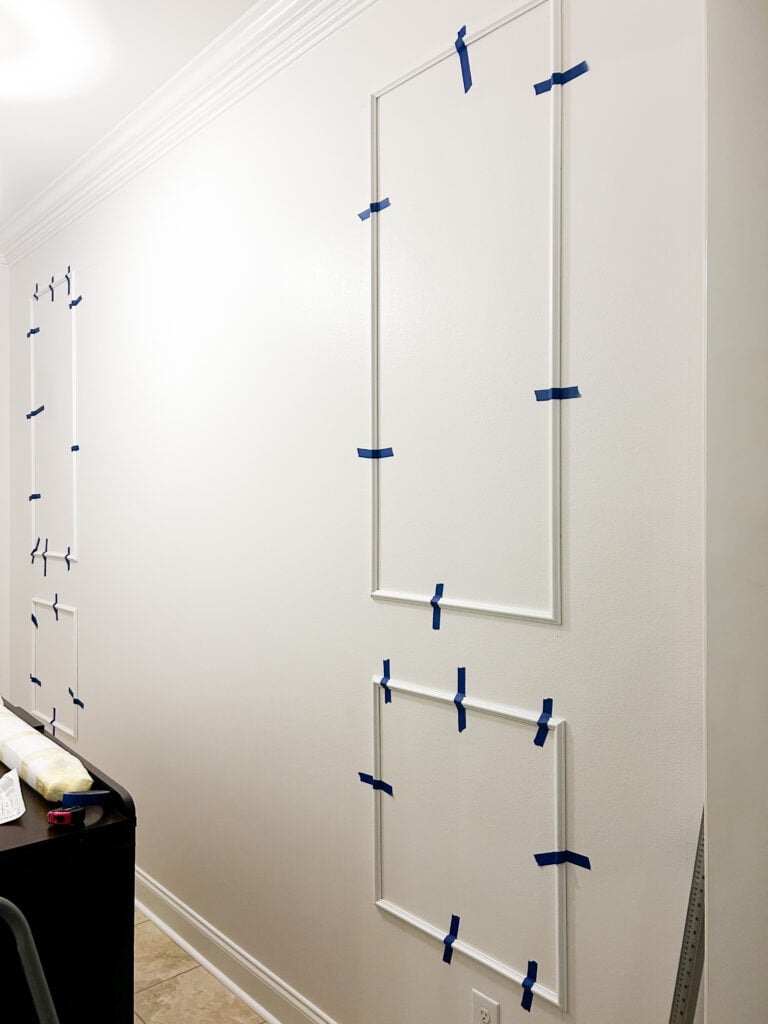
Pre-made picture molding with a sticky backing saves time and effort compared with custom-built wainscoting. You measure the wall, press the pieces into place, and use painter’s tape while the adhesive cures.
Measure the wall multiple times before applying anything — I measured three or four times to be sure. Once the strips stick, they hold fast; removing them can pull drywall off, so position carefully and press firmly when you commit.
To get tight corners, install two opposite sides first, then fit the remaining two so the joints meet cleanly. The whole installation took me very little time and gave the room more dimension.
Check out the molding on Amazon below. Disclosure; this post contains affiliate links. As an Amazon Associate I earn from qualifying purchases.This disclosure statement refers to the rest of the amazon links and other affiliate links in this post.
Perks of Peel-and-Stick Picture Molding
- Quick install: stick on the wall, tape while curing, and you’re basically done.
- Low skill required: you don’t need advanced carpentry to get a polished look.
- Immediate impact: the molding instantly adds depth and elevates the space.
Caveat: these pieces bond strongly. If you think you might move them, opt for a less permanent solution because pulling them off can damage the drywall.
Preparation Steps You Can’t Skip
Measure the Wall Precisely
Measure your wall at least three times before you start.
Record the height and width, and mark the positions where molding will go.
Use a level as you mark so pieces sit straight once applied.
Why Rechecking Measurements Is Critical
Double- and triple-checking prevents costly mistakes.
Once the adhesive sticks, removing molding can pull drywall off, so placement must be final.
Fit adjoining pieces together dry before pressing them on to ensure seamless joins.
Installation Made Simple
After installing adjoining pieces, bring the next two sides together to check for a seamless fit before finalizing the placement. Work across the wall methodically so each piece aligns with the next and the overall pattern stays consistent.
- Measure multiple times
- Press firmly where the panel will remain
- Test-fit adjacent pieces before final adhesion
I love this easy update! I love the new entryway buffet too. Would you believe it was less than $150?
You might be interested in seeing how I installed bendable peel and stick moulding to our old bedroom. That was an interesting project. You can cut that molding with scissors!