See how I gave a previously painted dresser new life with a rainbow dresser makeover. I applied Acrylic paint on wood to dresser drawers in rainbow colors.
This dresser makeover is probably the most colorful project I’ve ever done. Although previously I added a little color with adhesive vinyl to the sides of a dresser, I’ve never painted the face of one. Not to mention that this makeover is inspired by the colors of a rainbow!
Let me first take you back to where this dresser started. This piece of furniture came as a set and belonged to my husband since he was a child.
Below is a picture of what it looked like before the first makeover. Yep, this is makeover number two for this beauty.
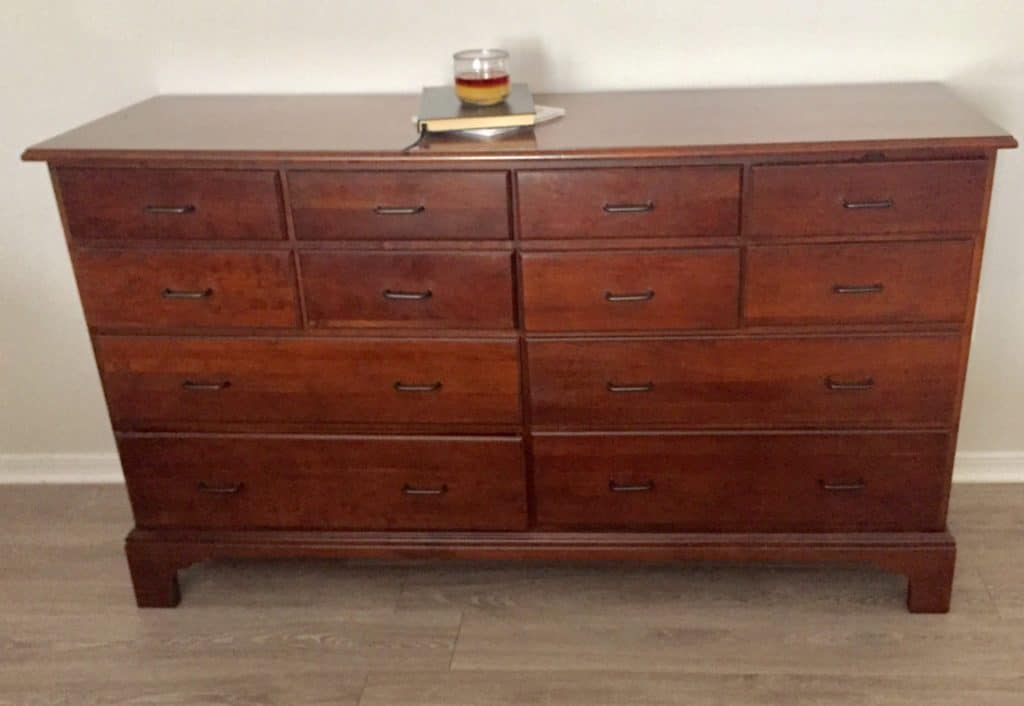
A few years ago I transformed it to imitate a dresser I saw from Restoration Hardware in their printmakers line.
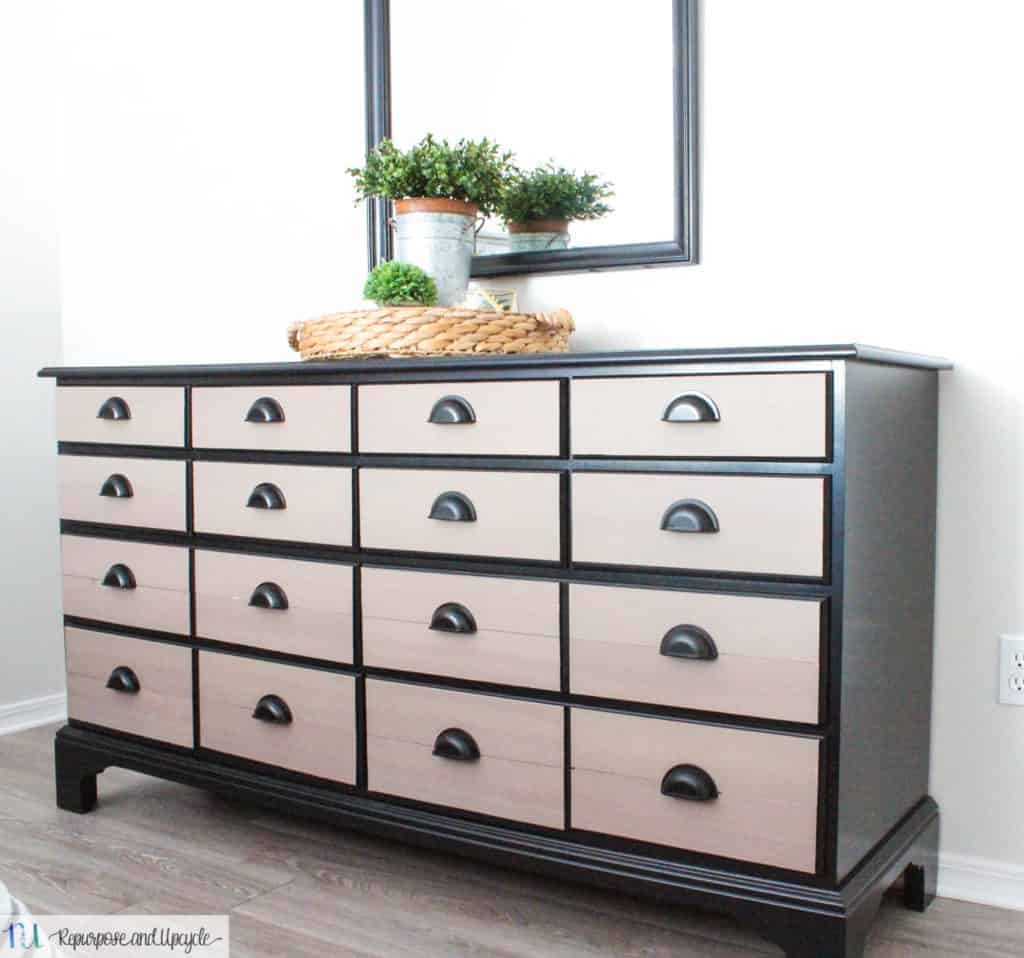
I painted it black and added Stikwood peel and stick planks to the front. Of course I added new hardware too.
Honestly, I was never really happy with it. Womp womp womp.
We lived with it in our cottage style master bedroom for about three years until I moved it into my sons room.
Long story short, when he needed more space in his room and my daughter needed more storage, we once again moved it to her room.
My daughters room has undergone a handful of makeovers as well. It started with a vintage chic little girls bedroom makeover. A few years later we got rid of the double twin beds and placed a bunk bed in her room instead. Well this led to a whole room makeover, lol.
Isn’t it funny how one project leads to another; or maybe that’s just me. 🙂
First makeover with vintage chic vibe
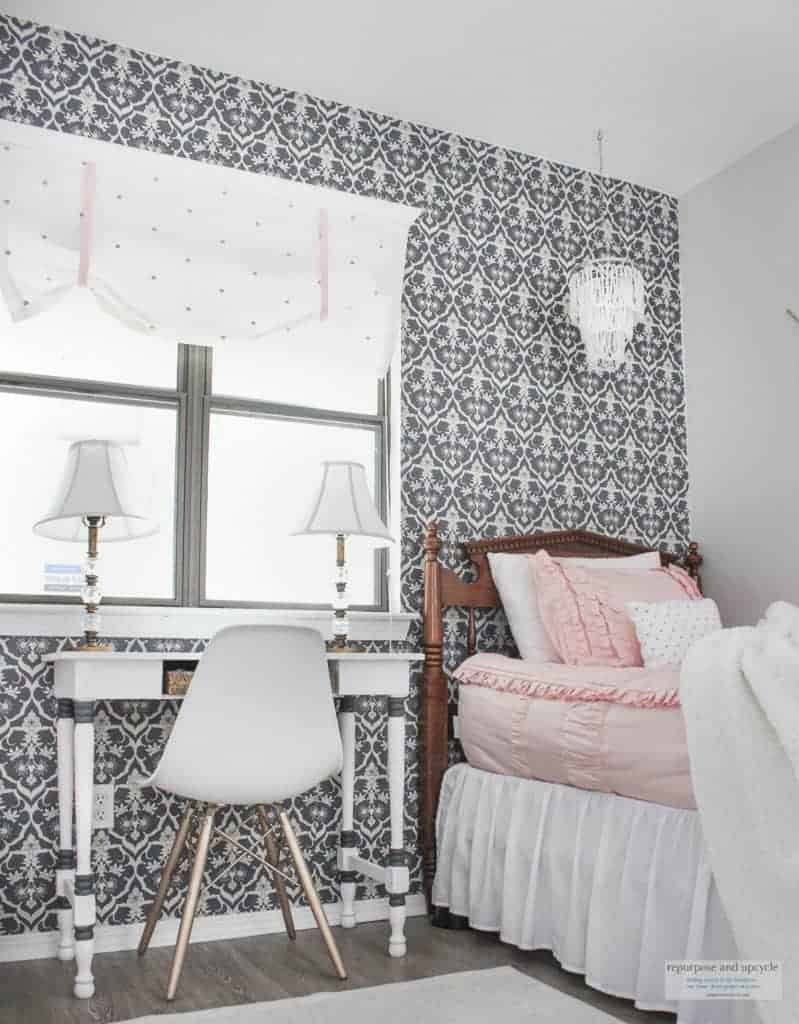
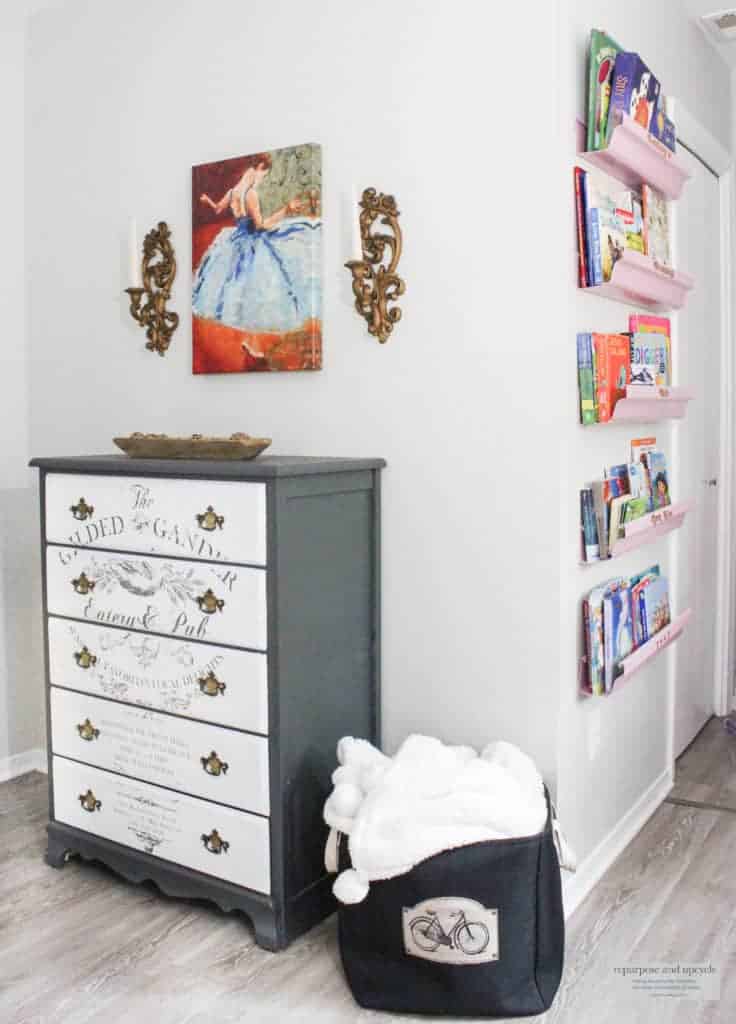
Second makeover with green and pink accents and a pink ceiling
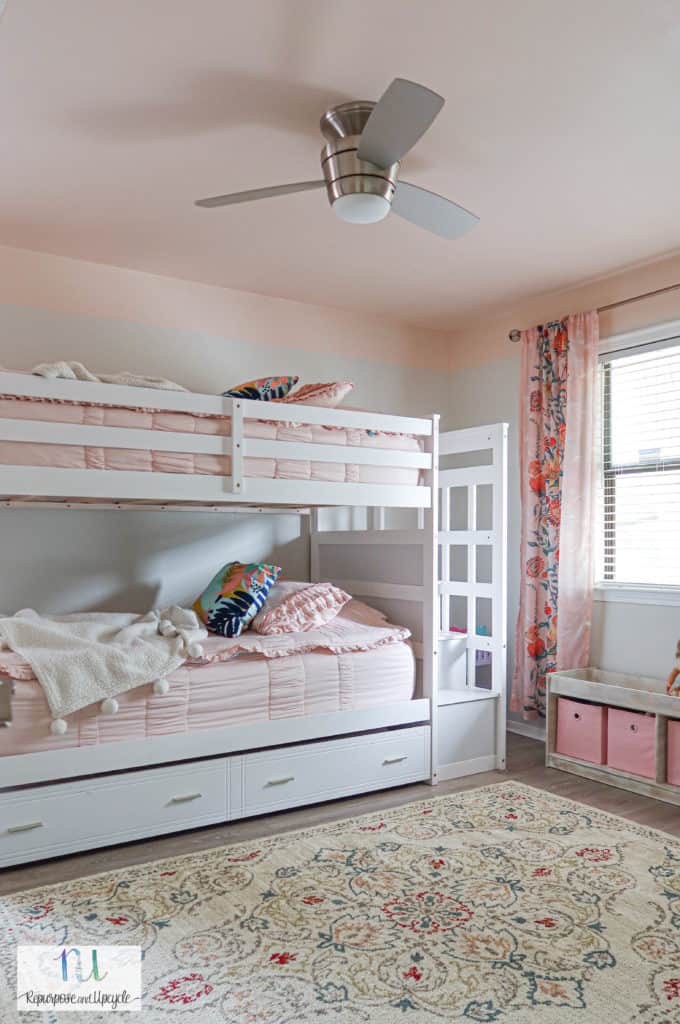
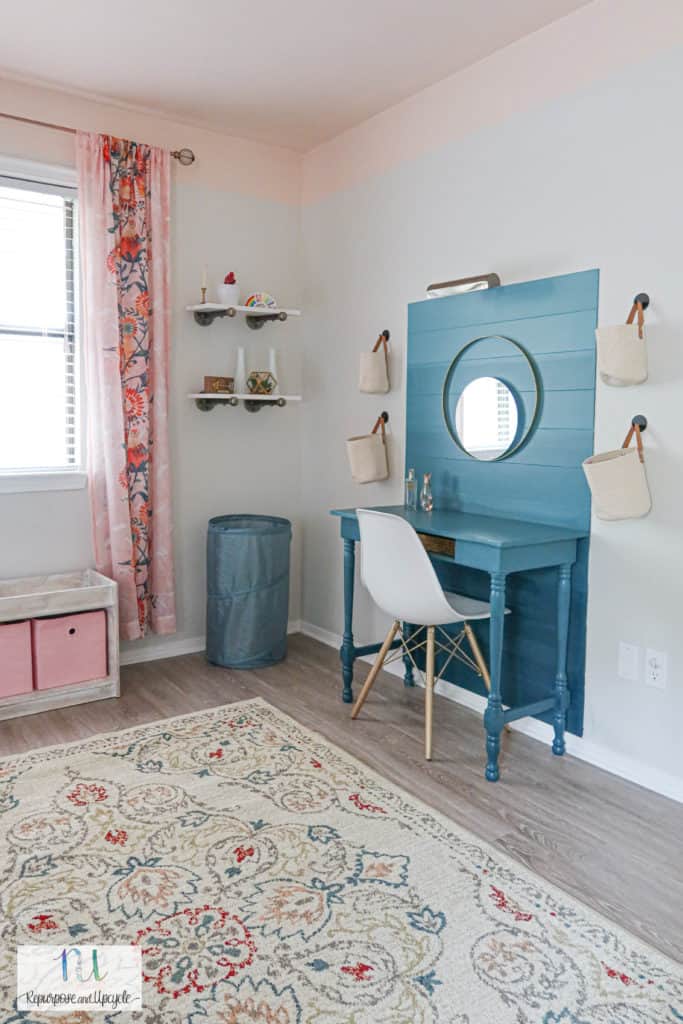
The wall on the right picture (green desk) is where the new dresser would go. I removed the Ombre green painted desk and wall planks because honestly, she never really sat at it anyways.
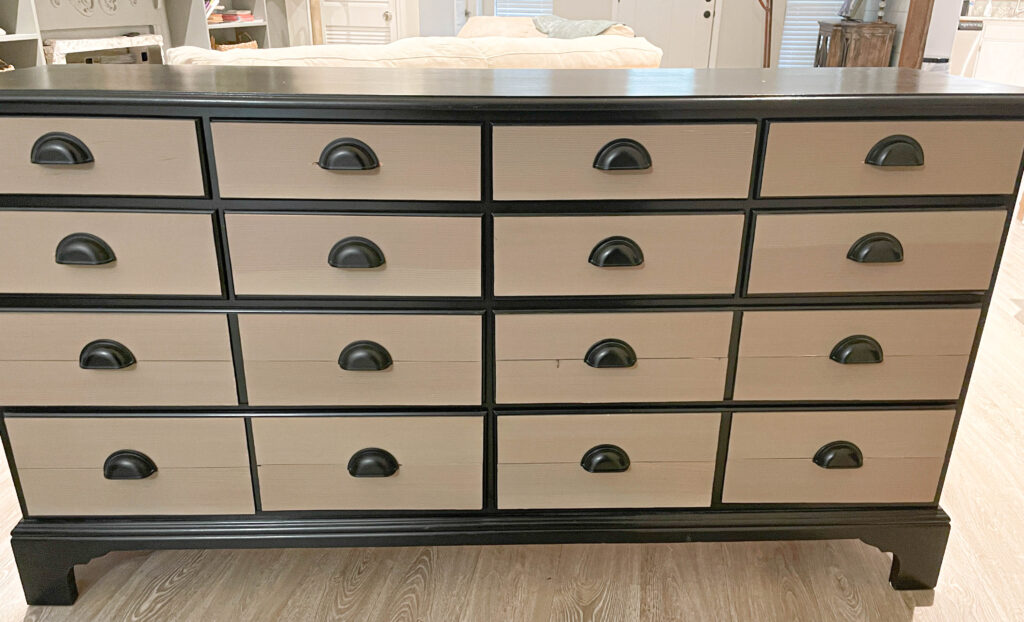
Ready for a colorful makeover?
Side note; if you’ve never used acrylic paints before you might want to check out our post on Acrylic Paint Techniques and tips. We cover a lot of important facts about acrylic painting and products.
Disclosure; this post contains affiliate links. As an Amazon Associate I earn from qualifying purchases. This disclosure statement refers to the rest of the Amazon links in this post.
Preparing the dresser for acrylic paint
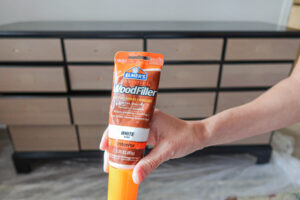
- After removing the hardware, I added wood filler to the bottom two sets of drawers in between the planks.
- After the wood filler dried, I lightly sanded the surface with 320 grit sandpaper to the dresser drawer fronts.
- Next I used Krud Kutter and a lint free cloth to completely clean the surface.
- I used Kilz 3 Primer and applied it to the entire dresser with a synthetic brush.
- Let it dry for a few hours and then apply Valspar Cabinet and Furniture paint.
- Once the cabinet paint was dry, I began the rainbow makeover with acrylic paint
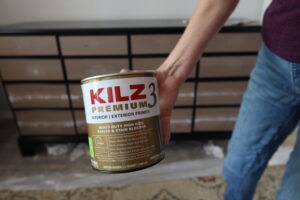
I didn’t worry about brush strokes because it was just going to be the base coat.
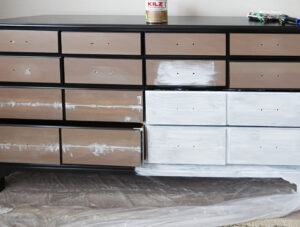
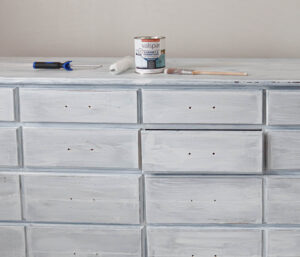
I won’t go into all the details about how to apply Valspar’s cabinet enamel since I dedicated an entire post (with video) to that.
In a nutshell, I applied the cabinet and furniture paint to the entire surface of the dresser MINUS the dresser drawer fronts.
Before I tell you how I applied the bright colors to the drawer fronts, I want to talk about the paint I used.
Why use acrylic paint on Wood or furniture?
Let me first say that acrylic paint isn’t normally the “go to” paint for painting wood furniture because It’s not as durable as other “furniture paints.”
That being said, they are generally cheaper, come in a vast array of colors, and you can buy small 2 oz bottles, unlike most furniture paints.
Wikipedia says, “Craft acrylics can be used on surfaces besides canvas, such as wood, metal, fabrics, and ceramics. They are used in decorative painting techniques and faux finishes to decorate objects of ordinary life. Although colors can be mixed, pigments are often not specified. Each color line is formulated instead to achieve a wide range of premixed colors. Craft paints usually employ vinyl or PVA resins to increase adhesion and lower cost.”
So why did I choose to use acrylic paints on the wooden drawer fronts? Honestly, I had this acrylic set on hand and I knew I could easily mix these colors to get the desired finish I wanted.
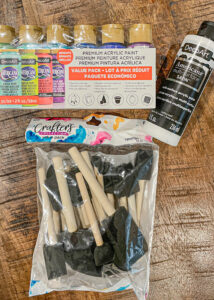
Here are the supplies I used to make the rainbow colors that I painted on the dresser fronts.
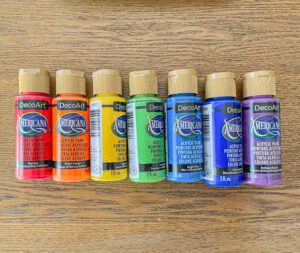
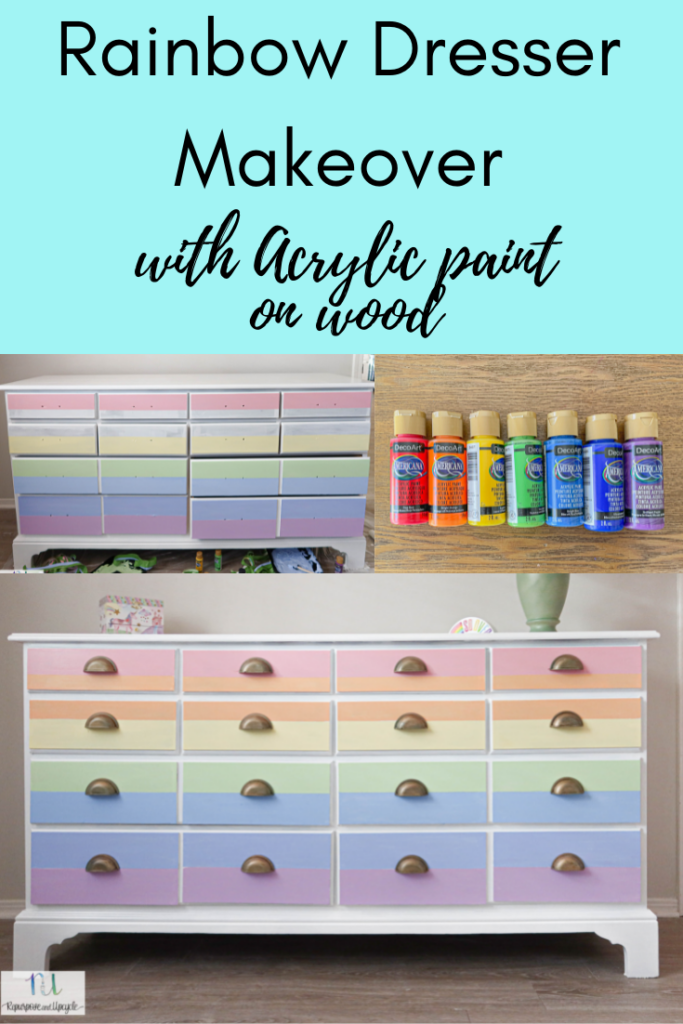
I pulled out the seven colors of a rainbow. I knew I would be diluting them with white acrylic paint to make pastel colors.
So with all this being said,
Can you use Acrylic Paint on Furniture?
Yes you can definitely use acrylic paint on furniture just like you would any other paint. That being said, you need to ensure proper surface preparation with a good primer. Also, the surface needs to be sealed with at least one coat of sealer after the acrylic paint dries.
Using primer before applying Acrylic paint for furniture
It’s really important to prime the surface before using acrylic paint on furniture. As far as what primer to use, there are a handful of primers like gesso made specifically for acrylic paint. You can also use a good bonding primer like Kilz.
Primers to use with Acrylic paint
- Gesso or heavily pigmented white acrylic paint
- Latex or water based primer
DO NOT USE OIL BASED PRIMER WITH ACRYLIC PAINT
You can, however, use oil based primer over an acrylic paint. Weird, I know. See more about how to choose the right type of paint here.
For this project I’m using Kilz 3 Premium primer to the dresser drawer fronts before applying the acrylic paint.
Applying Acrylic paint to the dresser drawer fronts in rainbow colors
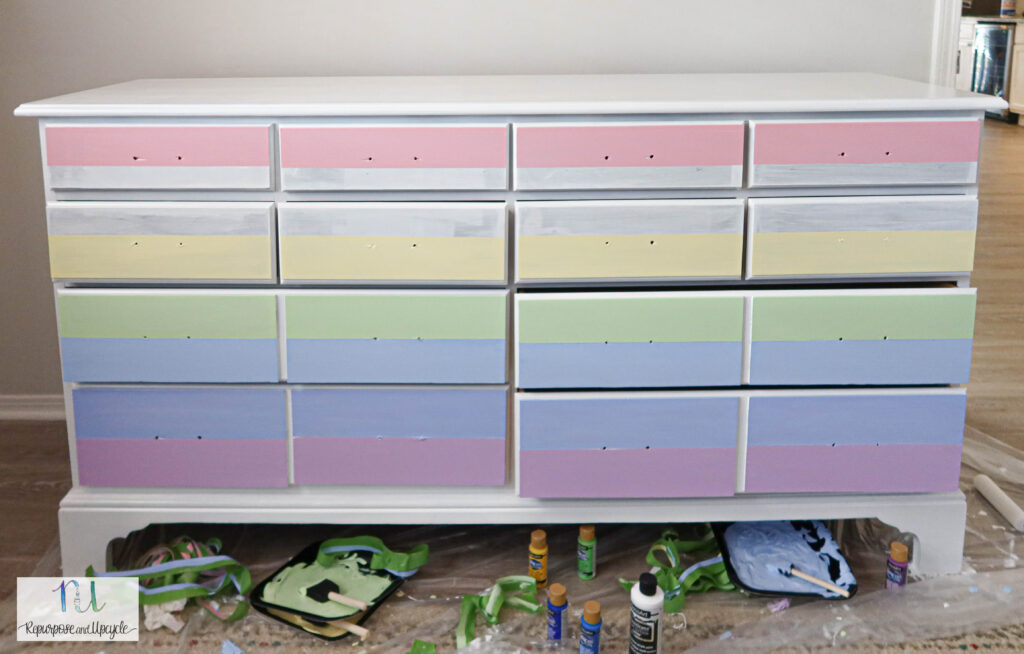
- First I taped the sections of the dresser in order to create seven layers (like seven layers of a rainbow).
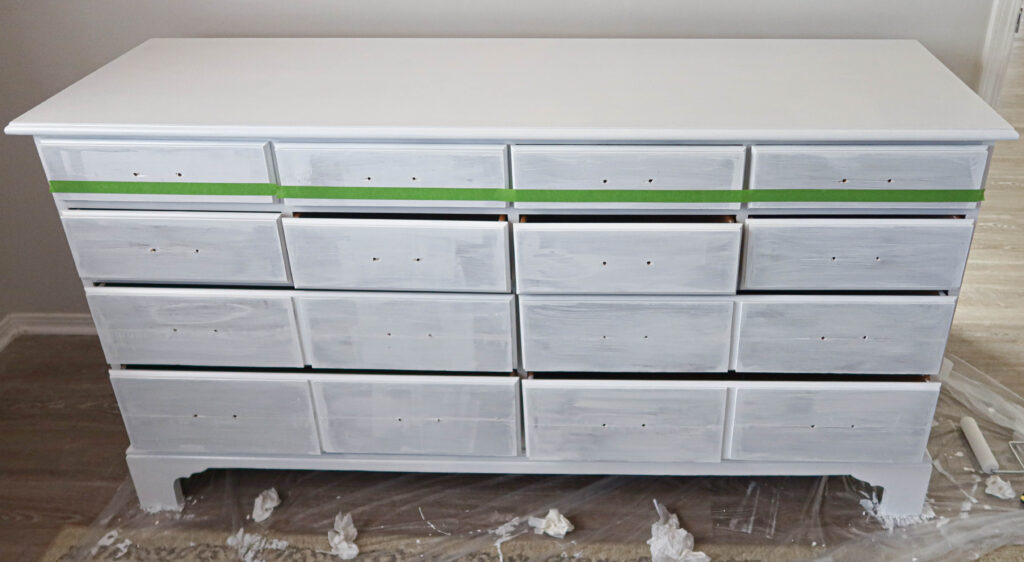
- Next I mixed each acrylic paint with white acrylic paint to achieve a pastel finish.
I used a separate paper plate and a separate foam brush for each color.
- Then I applied each color to the different taped off sections. I started with Red at the top and ended with violet at the bottom (in the order of a rainbow; red, orange, yellow, green, blue, indigo, violet).
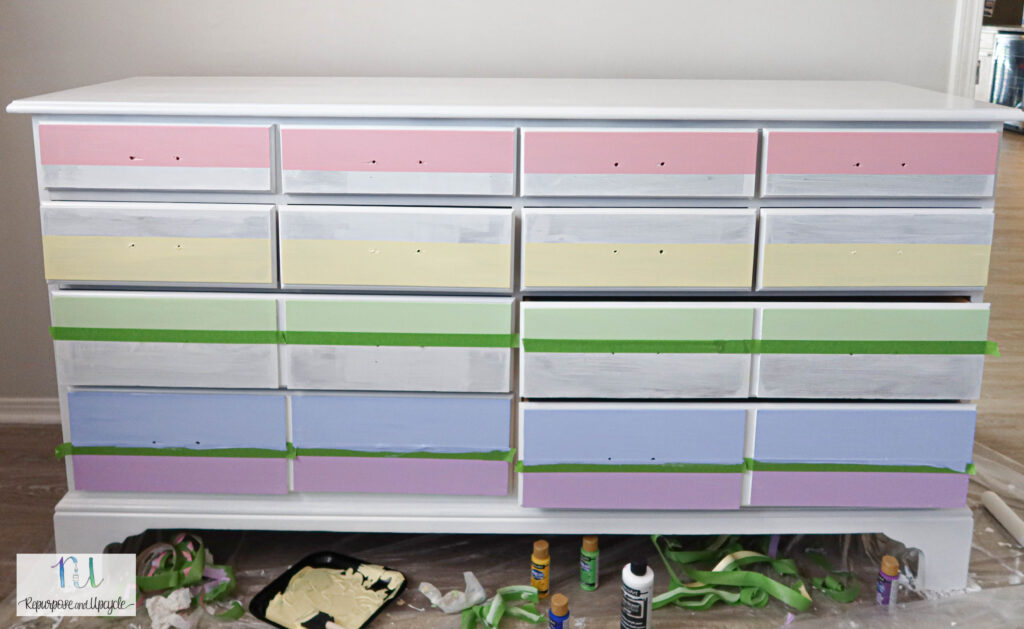
- I applied two coats of each color to the dresser fronts. Acrylic paint dries fast so I only had to wait about 30 minutes in between coats.
- Once the acrylic paint dried, I applied two coats of Polycrylic to seal the paint.
This part is so important! Acrylic paint is normally used as a craft paint to paint pictures and other craft supplies. It’s not meant to hold up to high traffic use, so it needs a sealer.
How to seal acrylic paint on furniture or wood
There are a handful of sealer products made specifically for acrylic paint. You can also use a regular paint sealer like Polycrylic or Polyurethane. Be cautious with polyurethane because they tend to yellow over time and will probably tint a white acrylic base.
Recommended Sealers made for Acrylic paint
I used a polycrylic product with a foam brush to seal the acrylic paint on the dresser mainly because it’s what I had on hand. I applied two coats.
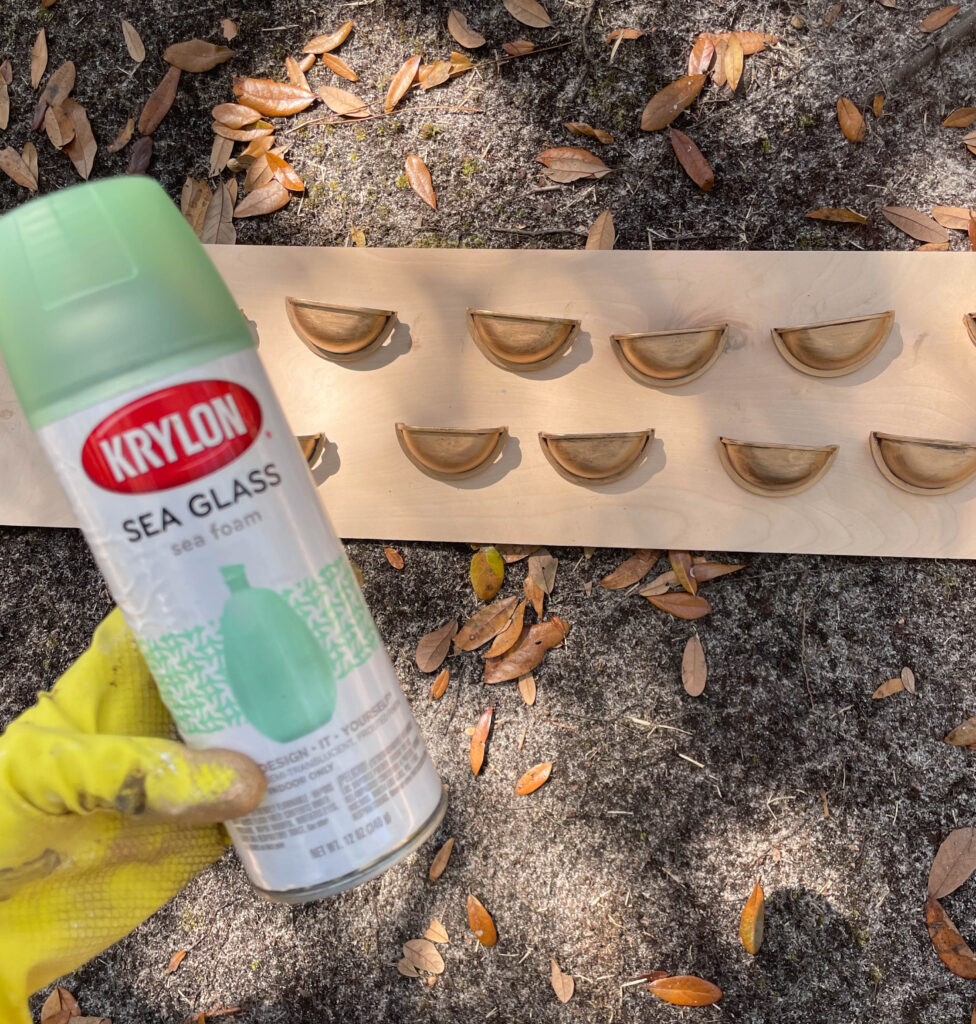
The last thing I did was give the dresser pulls a makeover with Rub’ N Buff. I’m no stranger to this product.
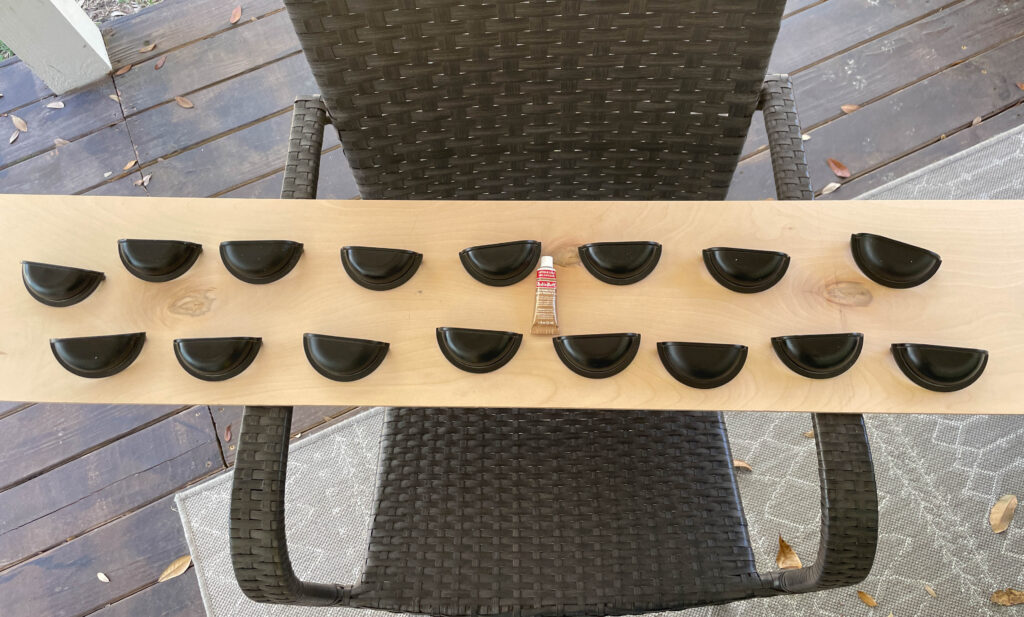
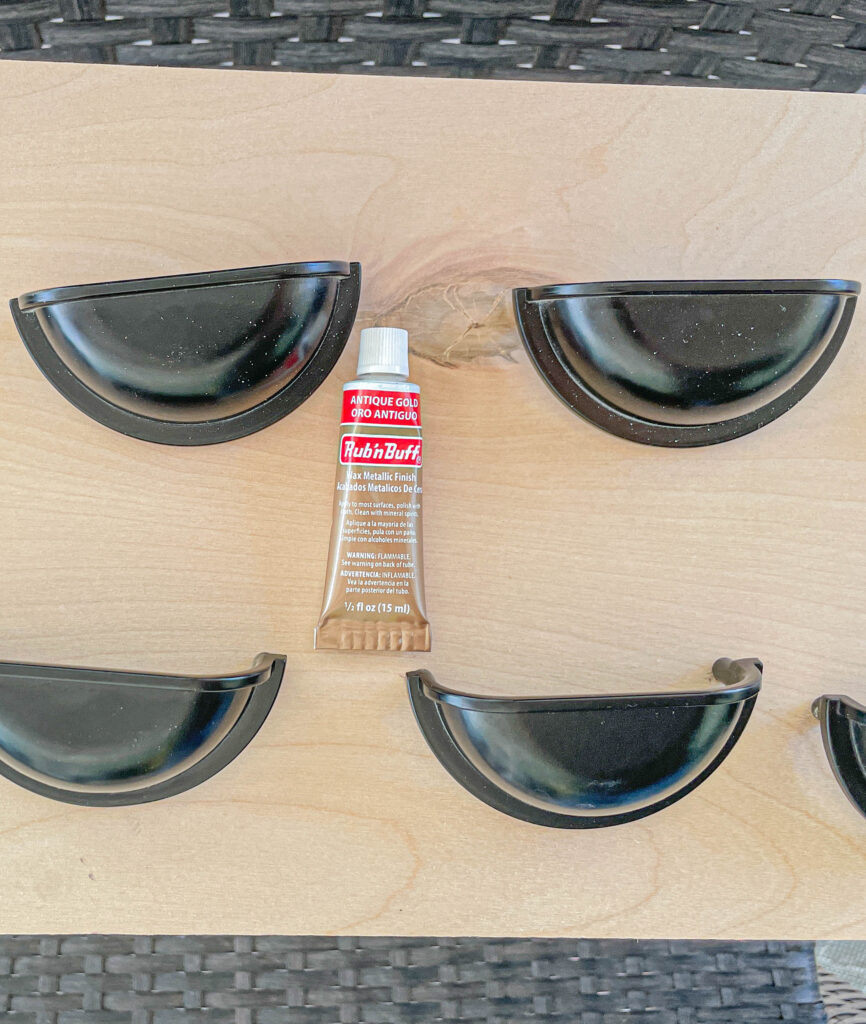
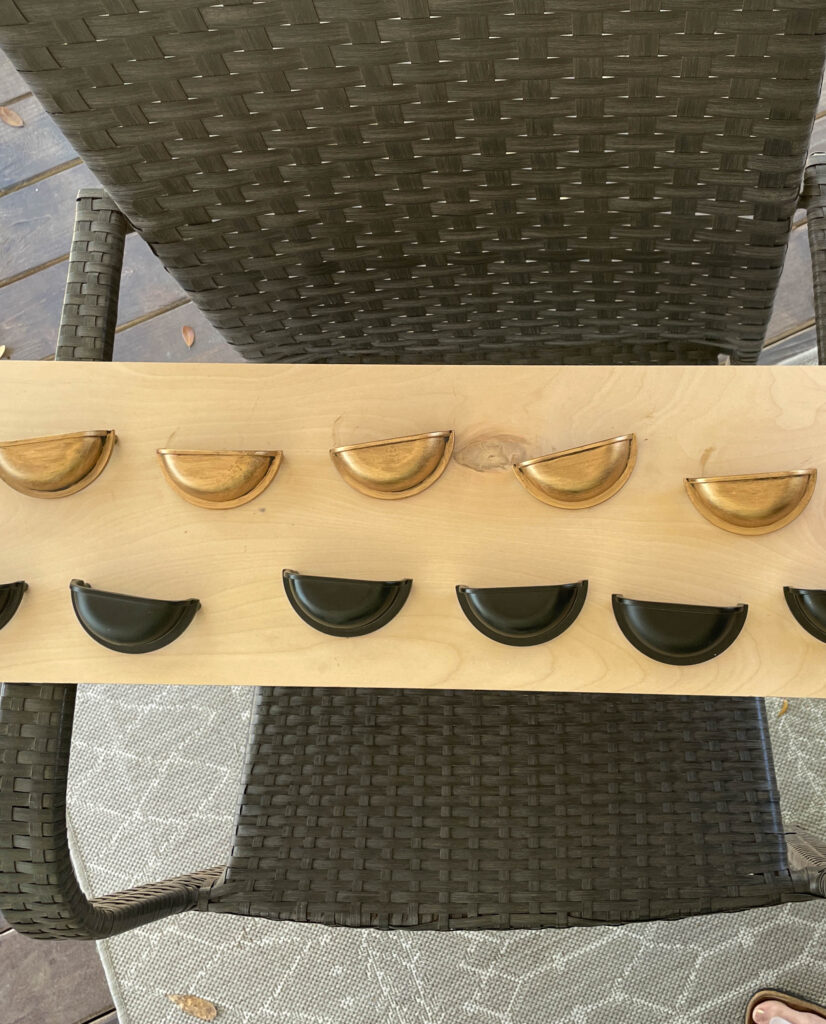
Last I sprayed a layer of Krylon Sea Glass spray paint in the color Sea Foam on top to give it a shimmery gold green look.
Rainbow Dresser Makeover reveal
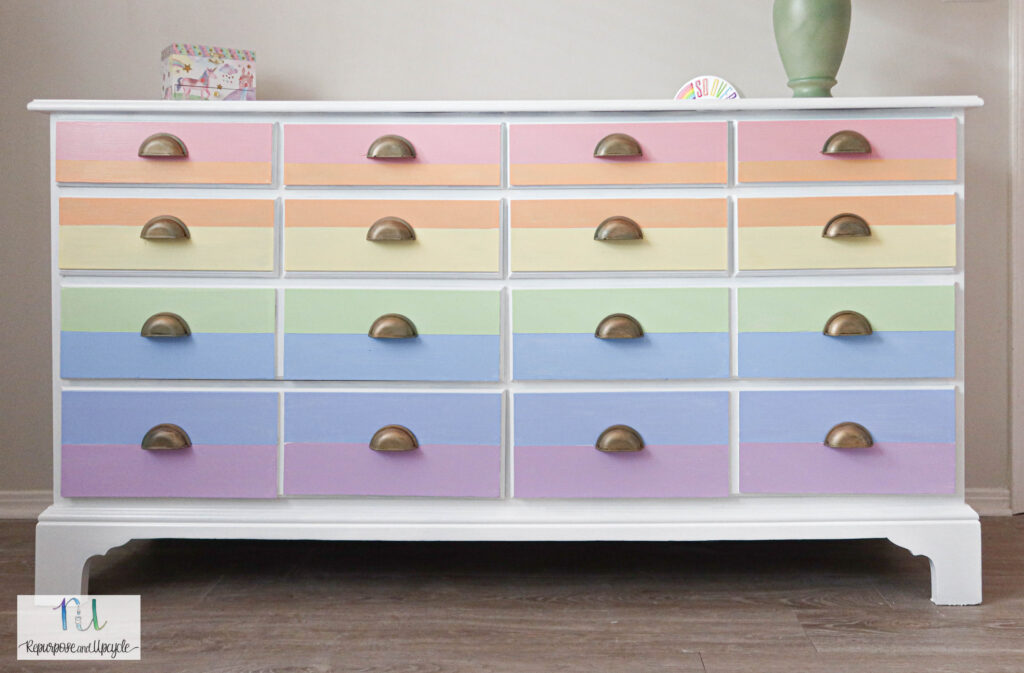
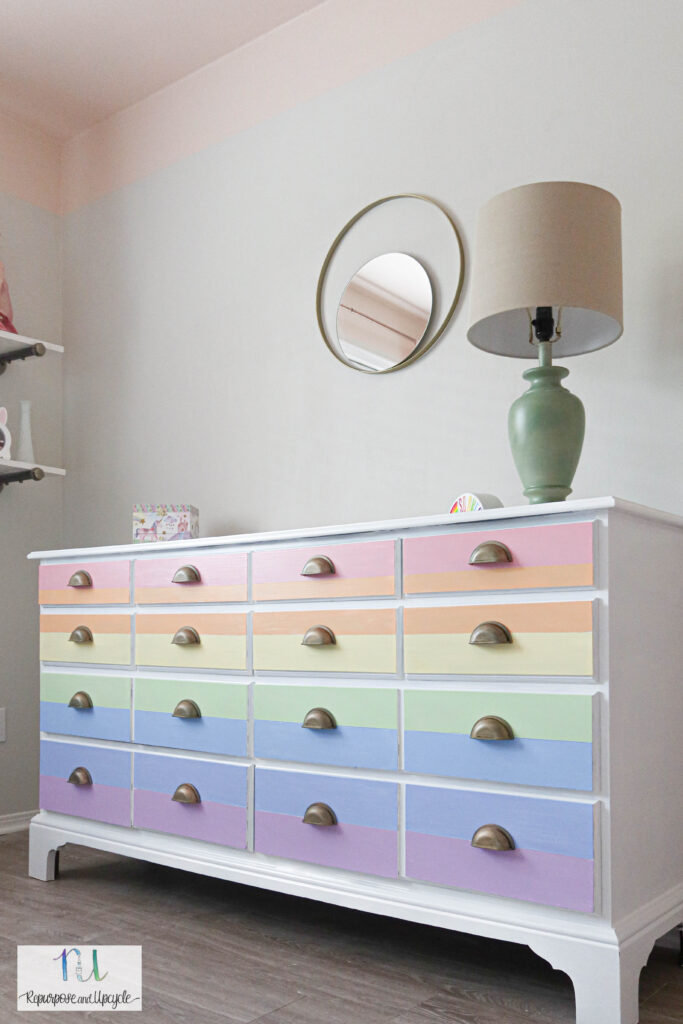
I love the soft rainbow hues on the dresser fronts! Best part? My daughter loves it.
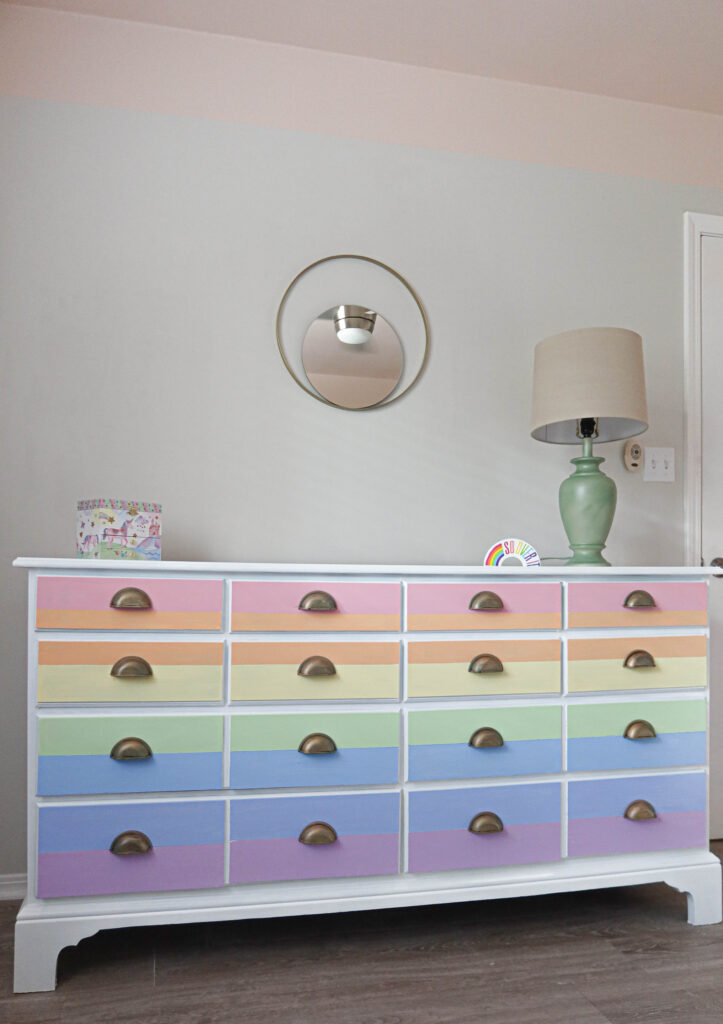
I love her room is coming together! The colors in the dresser really accent the painted pink ceiling!
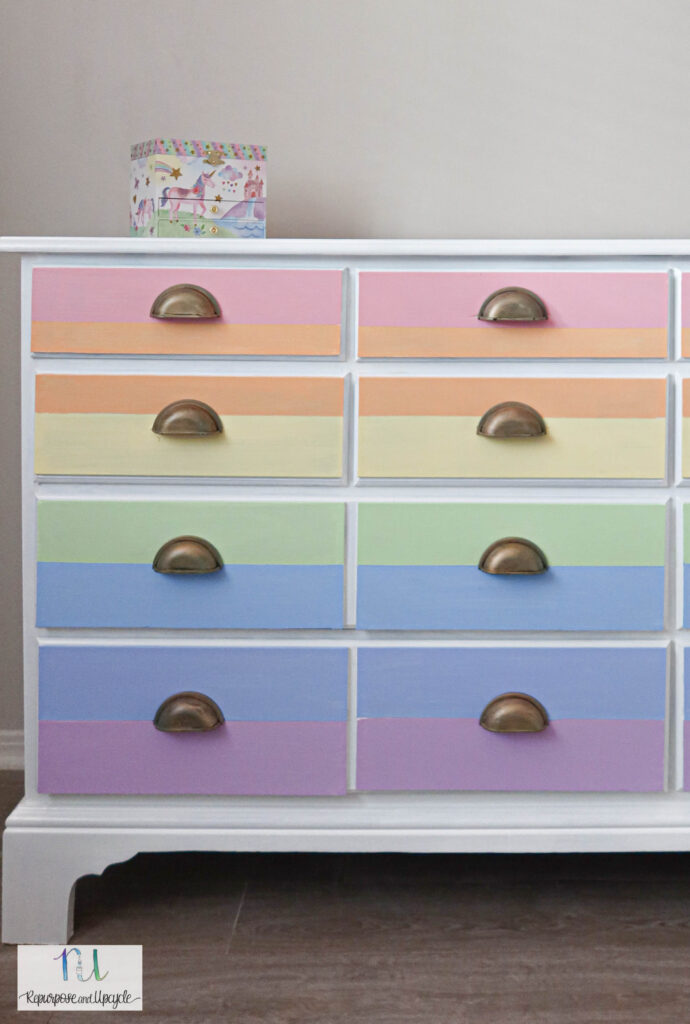
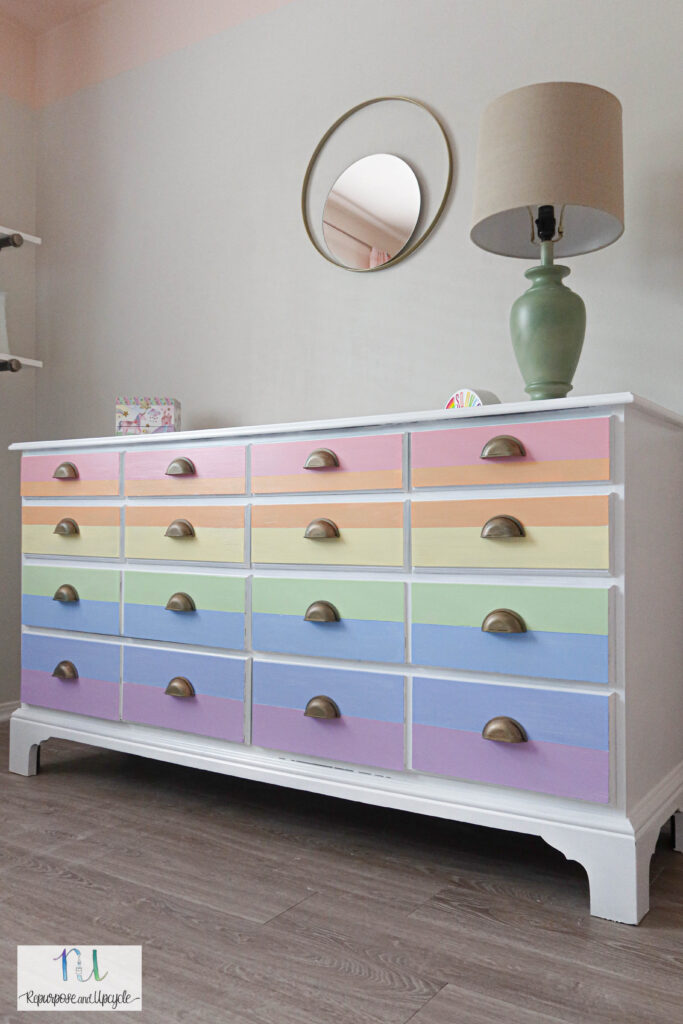
I love how it turned out. I also think the antique gold knobs look great against the pastel colors.
Make sure you check out the video too!
Thanks for stopping by for a colorful makeover!
Lindsey**


