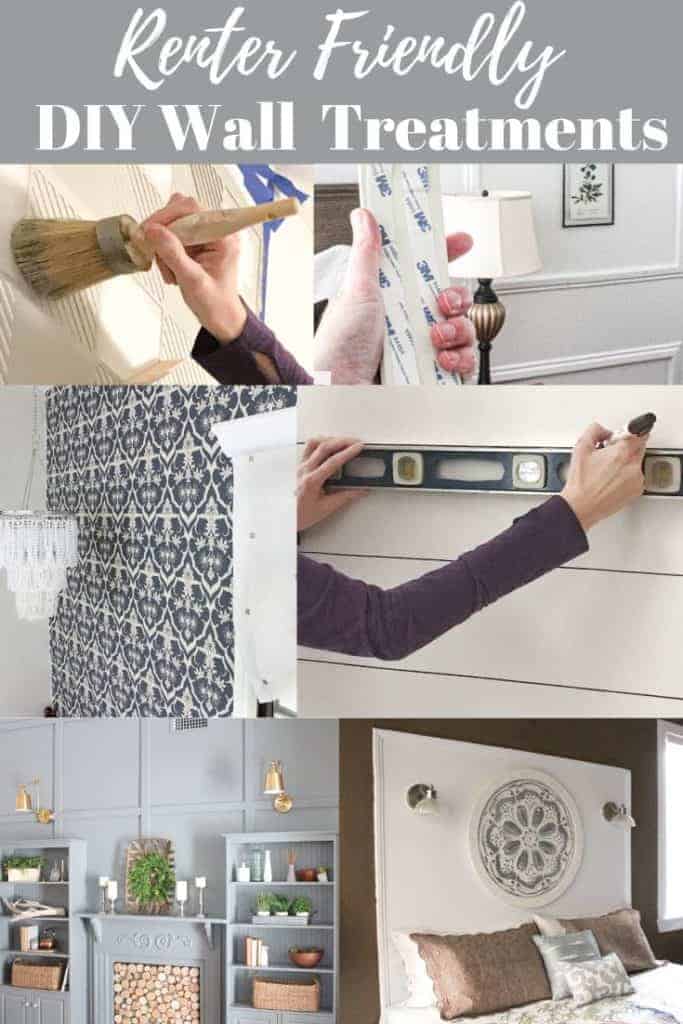
Are you a renter? Do you struggle with wanting to decorate your space and add wall treatments when you don’t own the home? I’ve got a few ideas and projects I want to share with you. Let’s talk about renter friendly DIY wall treatments (and a word of caution about a few projects) and easy accent wall ideas a minute shall we? Gone are the days of hiring a contractor to build a feature wall (well, mostly at least). There are so many ways to update a wall that anyone can create without power tools! Are you a renter? I’ve got a few reversible wall decor ideas too. Let me show you.
Renter Friendly DIY wall treatments
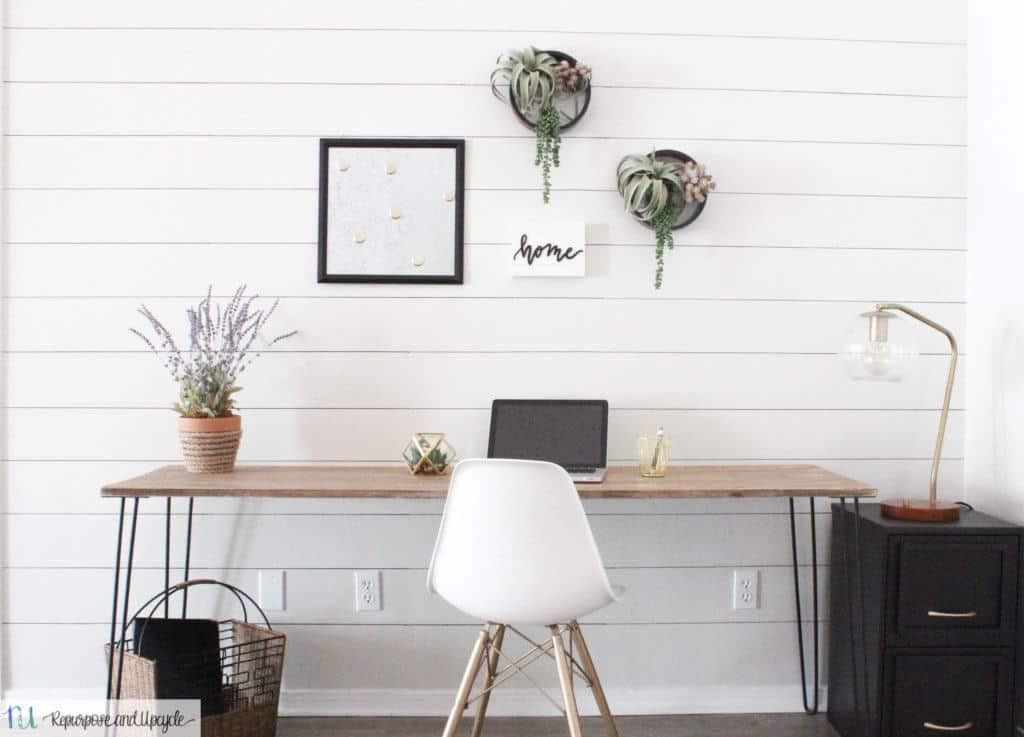
Sharpie Shiplap
This is one my favorites. Not only is it a great renter friendly wall decor idea, but it nearly free! This is a fabulous idea for an accent wall especially to add some dimension to a space.

Talk about a simple wall decor project.
All you need for this project is a black sharpie marker, a ruler with a level and a blank wall. This is a great renter friendly wall treatment option!
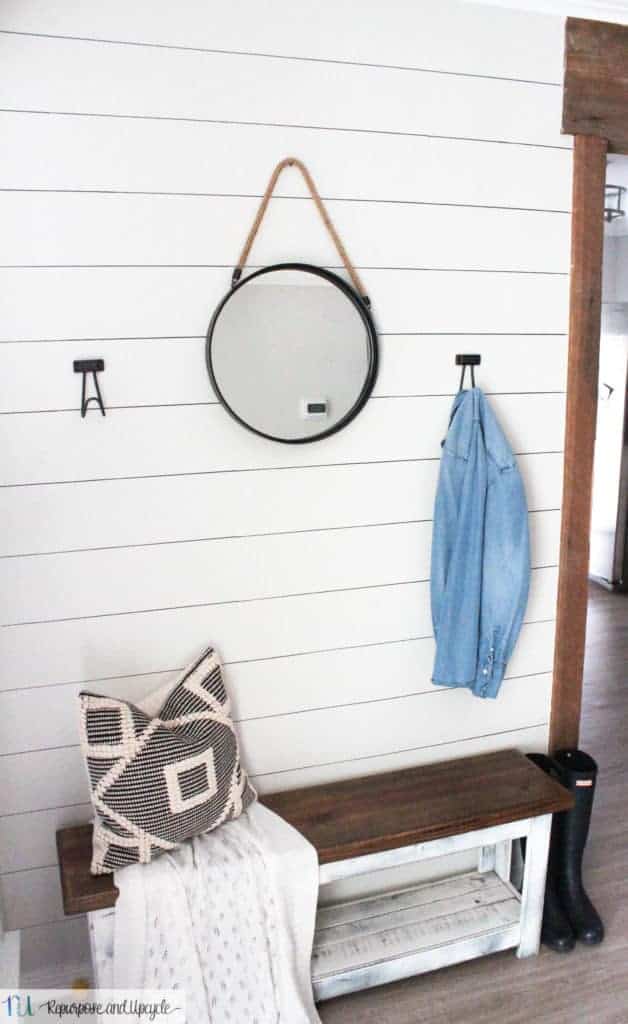
This is also a great accent wall idea for a small living room. You can see where I added it to the back wall in our small living room/office space with my DIY hairpin leg table.
Doesn’t it look real? Most guests have to touch it to believe it’s not real.
If you’re a renter and need a removable and easy wall solution, this is it! All you have to do is paint over it before you move out.
Speaking of easy shiplap, a few years ago I wrote another post about faux shiplap…
Shiplap with NO power tools
Side note; this is NOT a good wall treatment project for renters. In order to remove the planks it will most likely damage the drywall underneath. I wanted to share this project (along with peel and stick wood planks) to educate you on why this isn’t a good option. Just a little FYI friends.
This DIY wall treatment idea came from my desire to have the “coveted shiplap look” in my home without having to ask anyone for help (or buy wood or use any power tools)!
At the time I completed this wall project I was a momma to a very demanding infant (who didn’t sleep) and a busy toddler. I wanted the look but I didn’t have the stamina and energy to deal with a DIY wood wall project. That’s when I figure out another option…
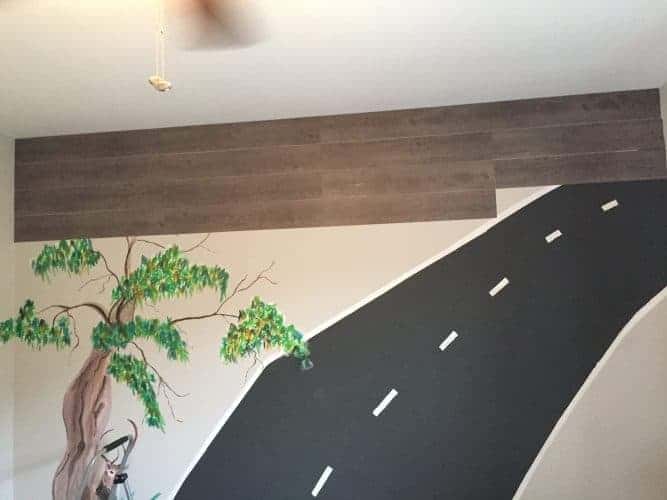
Can you see what I glued to the wall friends? And yes, I used floor glue to attach vinyl wood planks to the wall. Other than the flooring product and floor glue, all it required was a pair of scissors and a desire to create!

Can you believe that’s the same wall? Amazing what a little paint and a few vinyl planks can do. If you are looking for a faux wood wall treatment but don’t want the hassle of dealing with power tools, this is for you! Again, it’s not a great option for renters.
What about peel and stick wood planks?
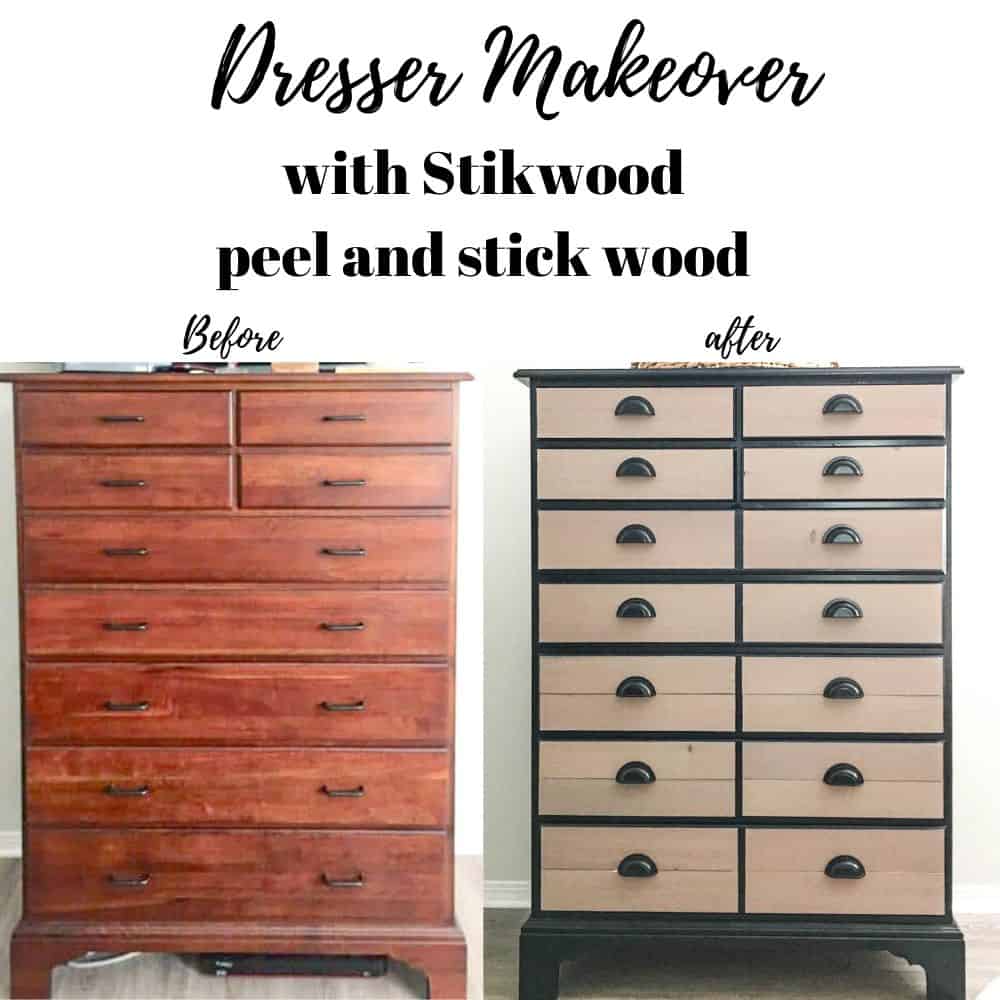
Although I’ve never used peel and stick wood planks on a wall, I have used them on furniture. Let me show you with a dresser makeover with Stikwood peel and stick wood planks.
The next question some of you might have is;
Are peel and stick wood planks renter friendly and do they damage the wall if you remove them?
The short answer is YES they will damage the wall when removed so be very cautious when using them as a renter.
The same principals that apply to my “Shiplap without power tools” (adhering vinyl planks to a wall with floor glue) apply here too. In order to make a good bond to a wall or vertical surface, the glue (or peel and stick tape) has to be very strong.
This means that when you remove the peel and stick wood planks from the wall it will most likely cause damage.
I did attempt to remove one of the peel and stick wood planks from the wood dresser during the dresser makeover. Removing the plank took a lot of force and when I did get it off, it left a lot of sticky residue.
If I had to remove an entire wall of peel and stick planks and was left with a ton of sticky residue (or torn drywall), it would probably require replacing the drywall.
That being said, I wouldn’t recommend using this type of product if you plan to remove it later (or if you rent).
Moving on to another wall project that only requires scissors (this IS a good wall treatment for renters);
Peel and Stick Picture Moulding
There once was a time I thought about buying moulding to create a feature wall in our bedroom. Then I stumbled upon this new product; peel and stick moulding!
Don’t get me wrong, I still LOVE (and most of the time prefer) the real wood moulding, but there are times when this stuff might fit your situation better. Are you a renter? Try THIS! Are you decorating a nursery and think you might want to change up the wall decor later? Try THIS! Are you a beginner DIYer (or not a DIYer) who doesn’t own any power tools? Try THIS!
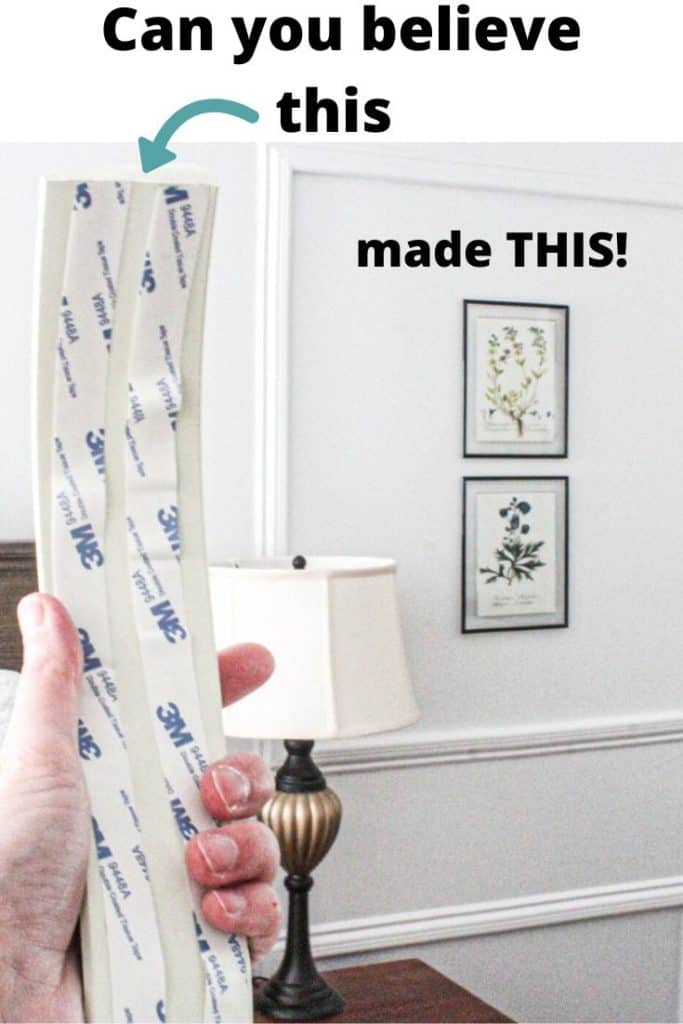
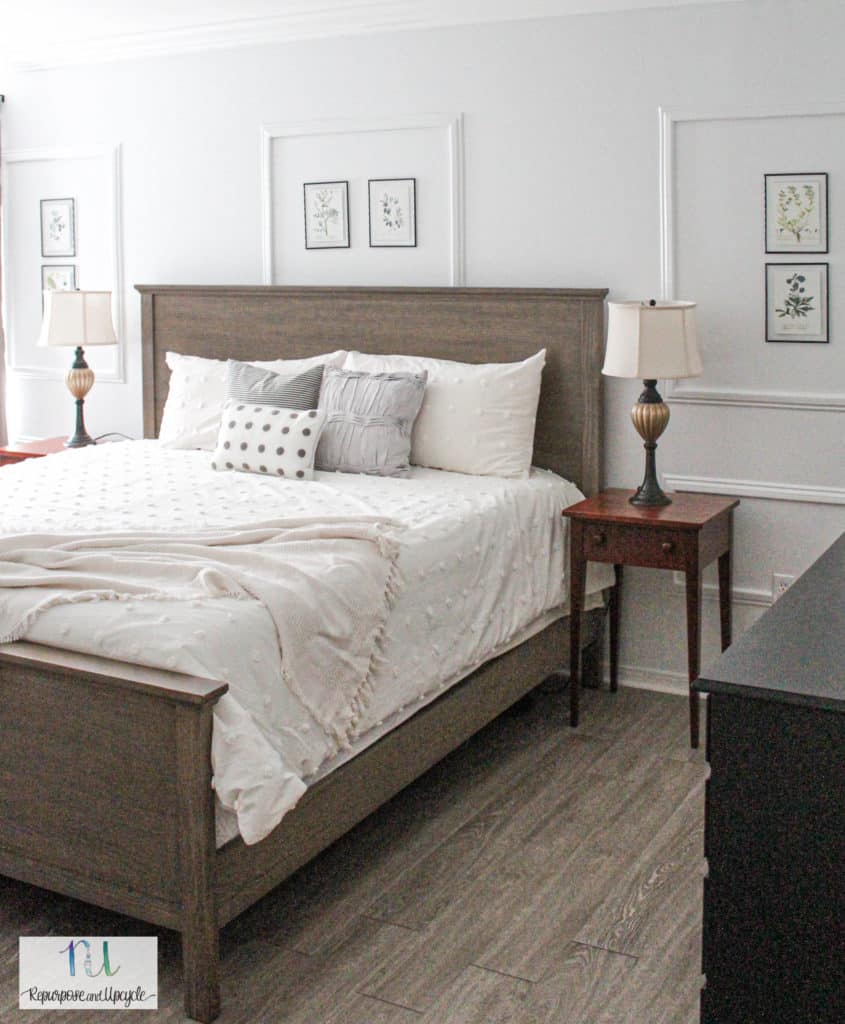
I have a simple tutorial with a video for those of you interested in knowing more about how I added peel and stick picture moulding to our bedroom wall. I love our new bedroom feature wall!
My next wood wall treatment actually requires very little wood;
DIY Board and Batten
If you are looking for an easy way to add the board and batten look to your walls, this tutorial is for you.
If you have <mostly> smooth walls, then you can probably get away with not installing the “boards” for this easy board and batten tutorial.
I also showed you how to install board and batten without removing the baseboards.
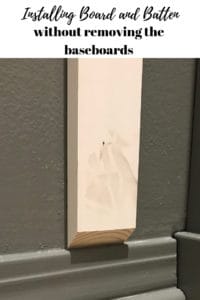
Another side note for renters; this DIY board and batten tutorial will work for you with one minor change to my old tutorial. I took a tip from a friend on Instagram that said rather than using wood glue and nailing straight into the drywall, skip the glue and apply the nails at an angle while alternating the angle each time you use a nail. Genius!
So if you apply a nail at a 30 degree angle to the left, you need to apply the next one at a 30 degree angle to the right. Does that make sense?
The alternating angles makes the wood more secure against the wall and less likely to come out. Also, if you ever need to remove the wood, it’s a lot easier! This might require a little drywall patch, but nothing terrible!
This might not be as easy to remove as say, the sharpie shiplap, but still an option for renters.
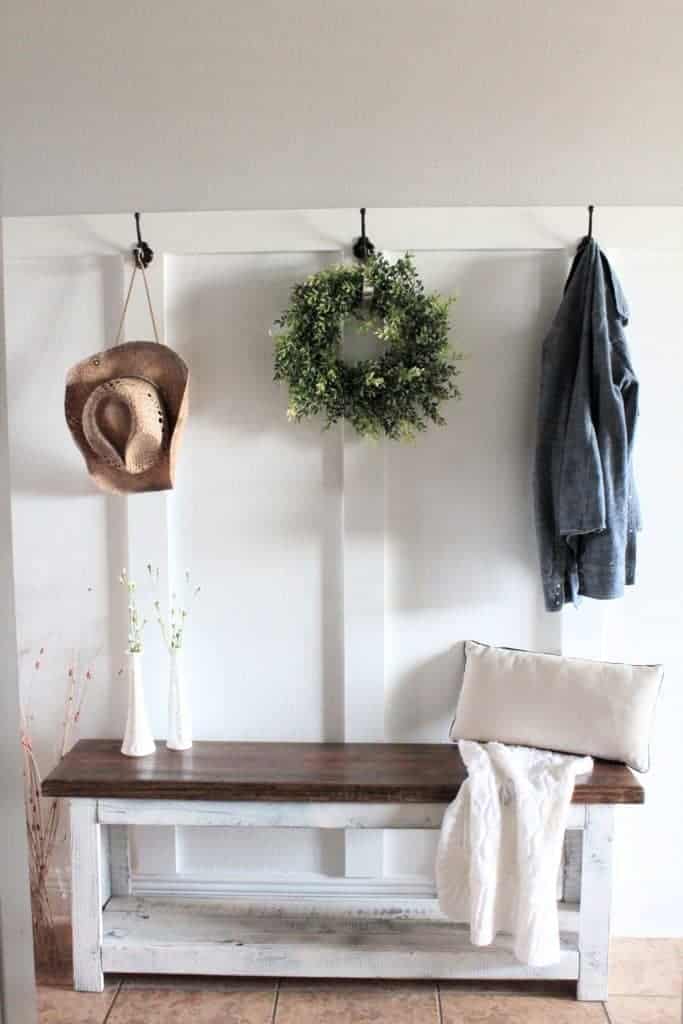
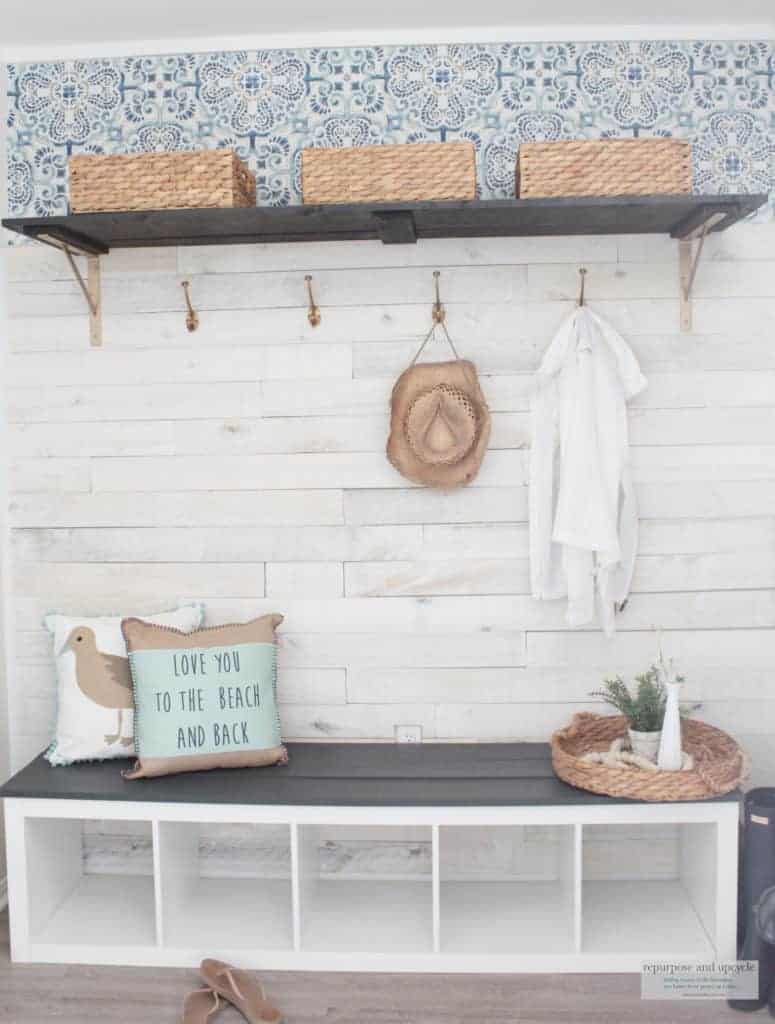
This technique also works for using wood planks like I did when I applied a small wall of wood planks for our coastal cottage mudroom makeover.
If you are looking for another idea for a board and batten feature wall, this post is one of my all time favorite wall treatments ever!
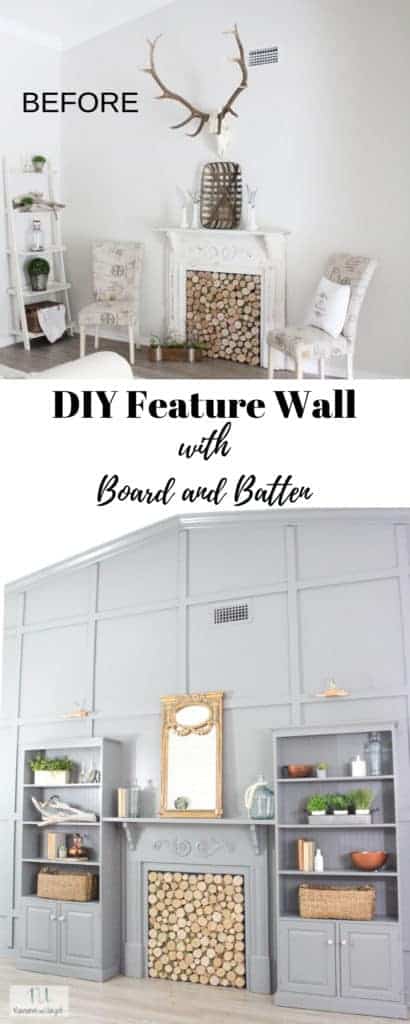
Board and batten makes everything look better, doesn’t it? Oh and that blue/gray feature wall with tone on tone color really helps too.
Speaking of a painted feature wall, I’ve got a super easy way to add a painted wall treatment to any space;
Stenciling a wall without bleeding
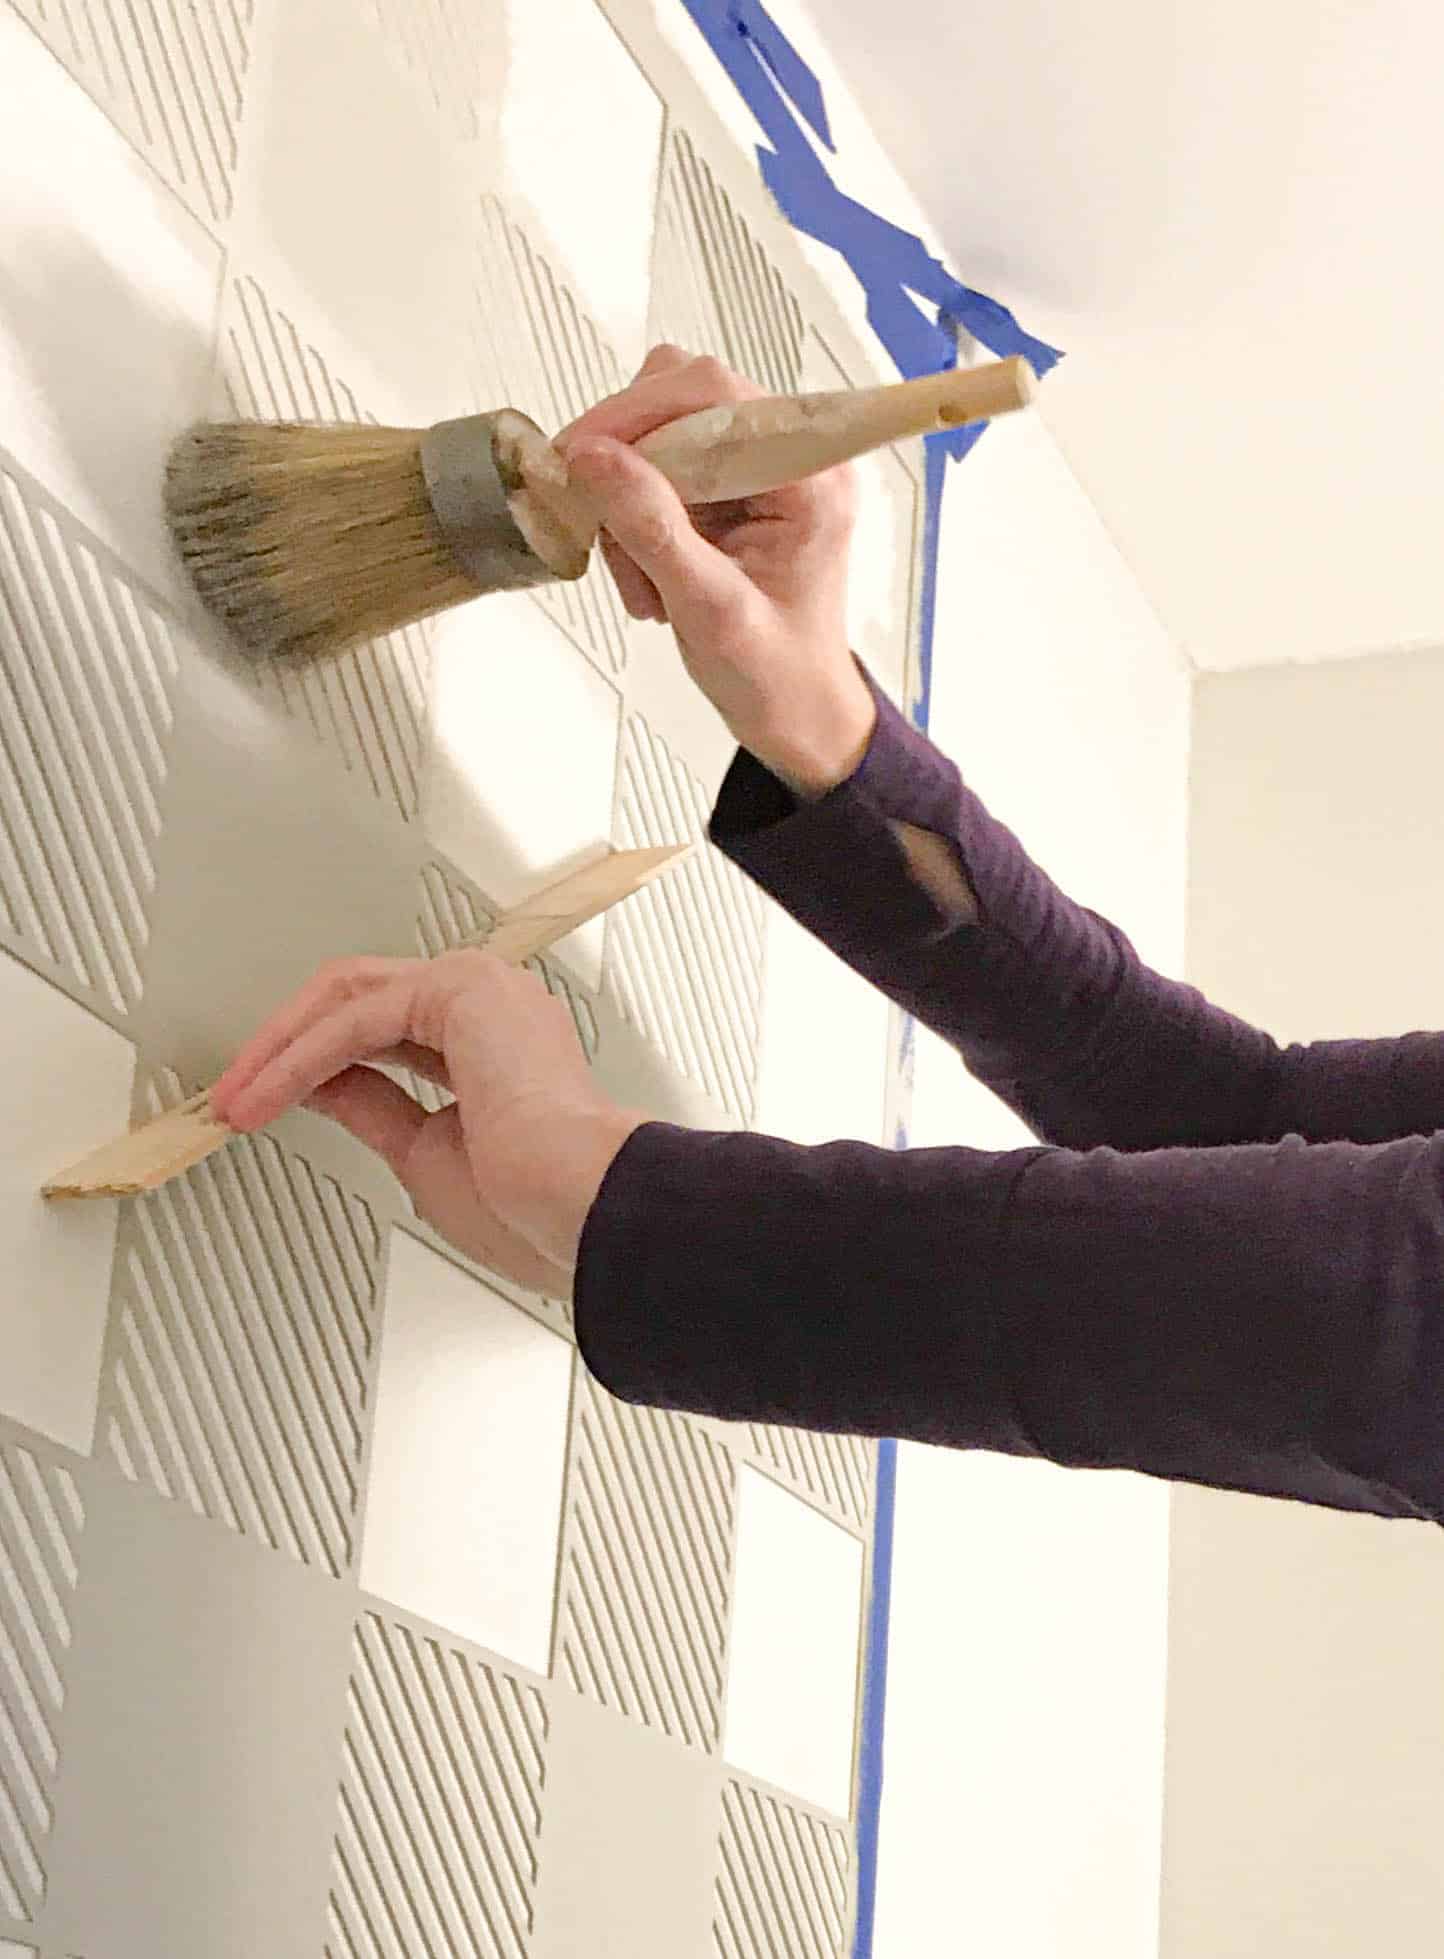
Another easy renter friendly wall option is to buy a stencil like this buffalo check wall stencil and stencil a wall! All you have to do before you move out is paint over it. Let me show you how we added a stenciled feature wall to our master bathroom.
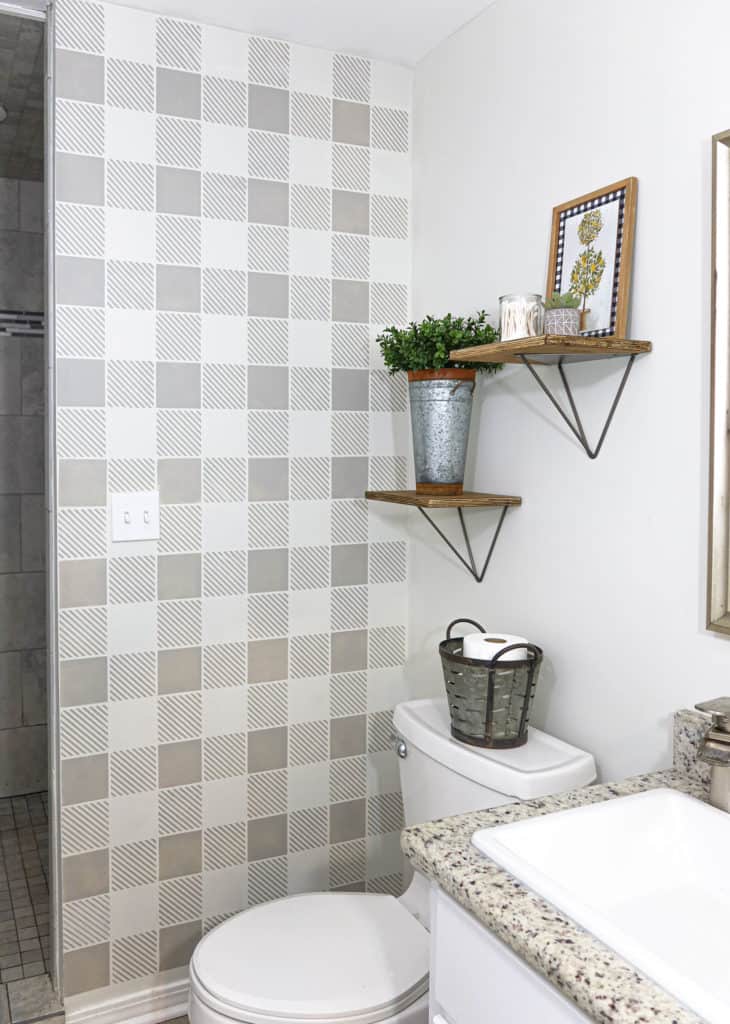
I’m not going to lie, stenciling a wall takes a little patience. In the end it’s worth it because not only does it look great, but it’s very affordable, 100% reversible and doesn’t require any tools. Make sure to check out a few tips I have before diving into a wall stencil project.
Speaking of a painted wall treatment…
Painting a wall to look like a headboard
This was a fun DIY that incorporated the peel and stick moulding with a little paint.
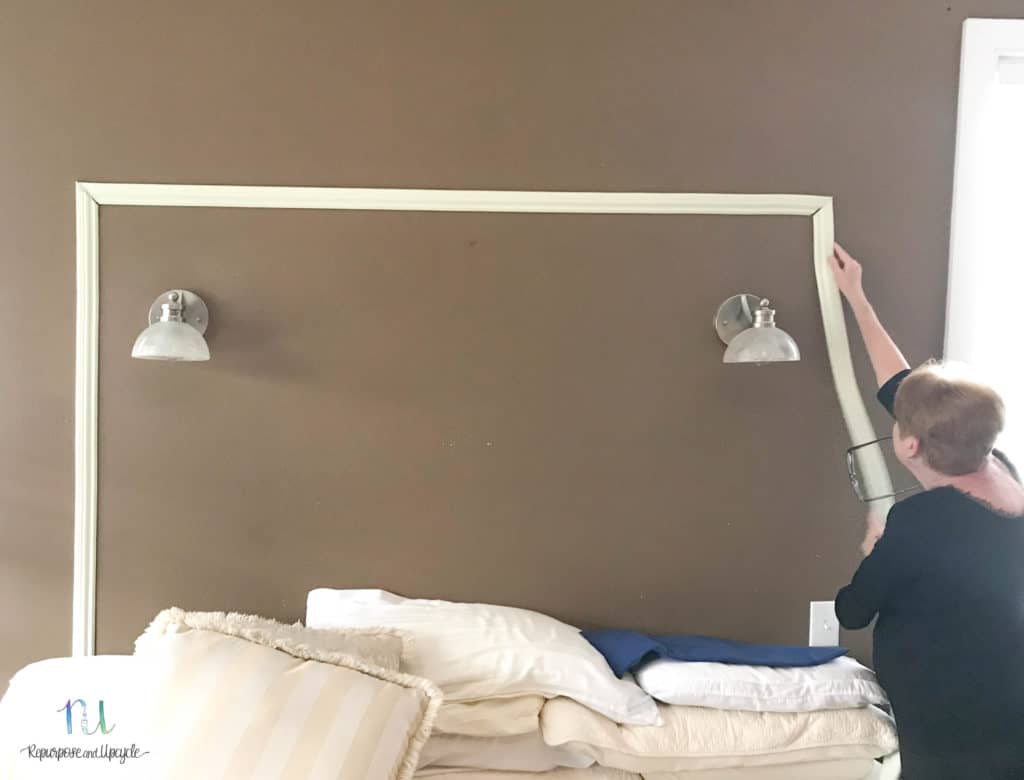
If it’s not in the budget to buy a new headboard or you’re looking for an easy way to add a little pizazz to your boring wall behind the bed, look no further.
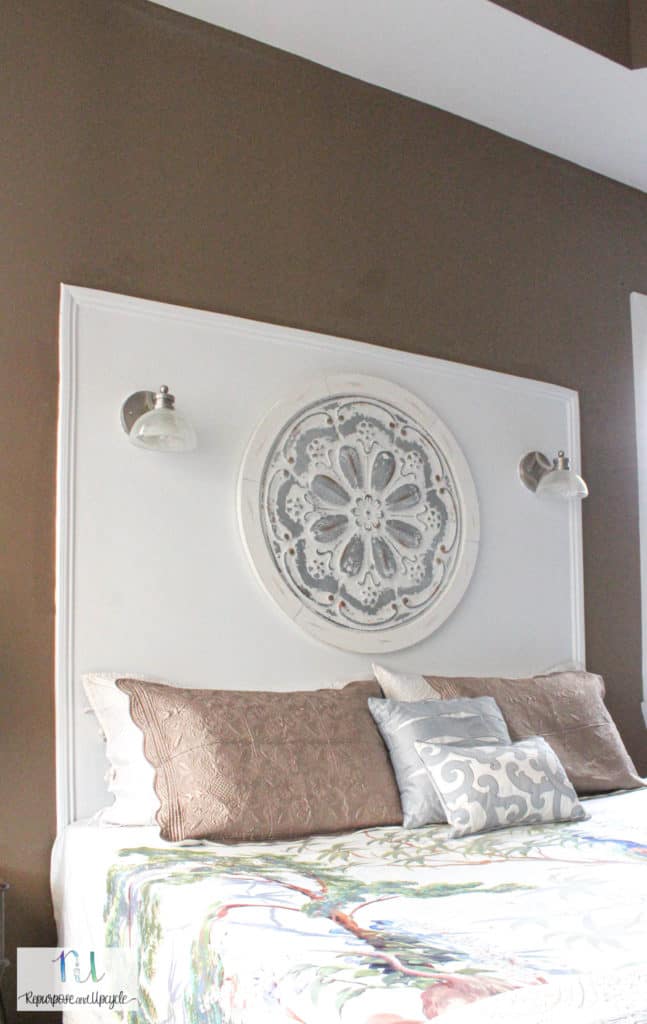
This is also another great renter friendly option. The peel and stick moulding can be removed and the wall painted before you move out.
What is the best renter friendly wall decor treatment?
Peel and Stick wallpaper
If I was a renter and I had to choose one DIY wall treatment to apply, I would choose this. There are so many wallpaper options that can make such a difference! The best part, when it’s time to move, it will take you about one minute to peel that stuff off. This is why peel and stick wallpaper, in my opinion, is the best renter friendly wallpaper on the market.
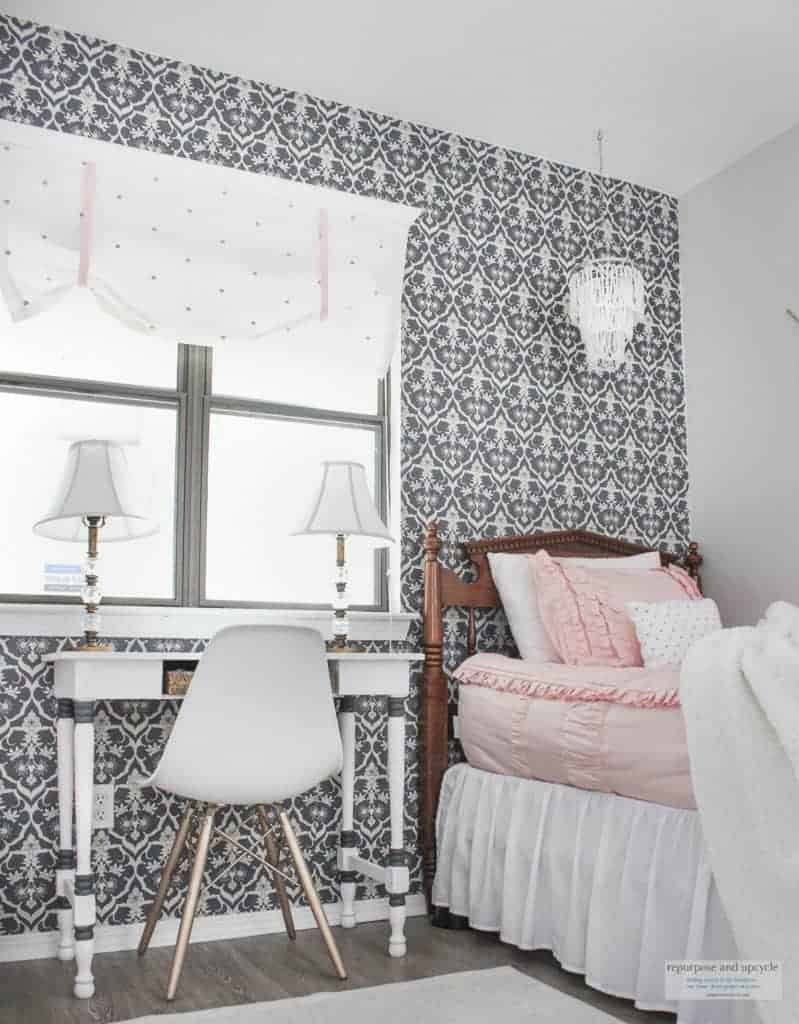
Of all the DIY wall projects I’ve shared THIS one is the easiest to remove. Peel and stick wallpaper is fairly easy to apply and even easier to remove.
When I gave my daughters bedroom a vintage chic makeover, I knew I wanted to add peel and stick wallpaper. It wasn’t too hard to apply, as long as you can line up the pattern well.
Does peel and stick wallpaper leave a residue or damage the wall when it’s removed?
I’ve removed two walls of peel and stick wallpaper (two different products), and I can say with 100% certainty that it did not leave ANY residue or damage the wall at all.
You will pay a little more for peel and stick wallpaper versus regular wallpaper, but it’s so worth it if you know this will only be a temporary wall treatment.
Have I motivated you to create temporary wall decor in your home?
Are you a renter? I would love to know if you’ve applied any of these wall projects and how it turned out.
Lindsey**


