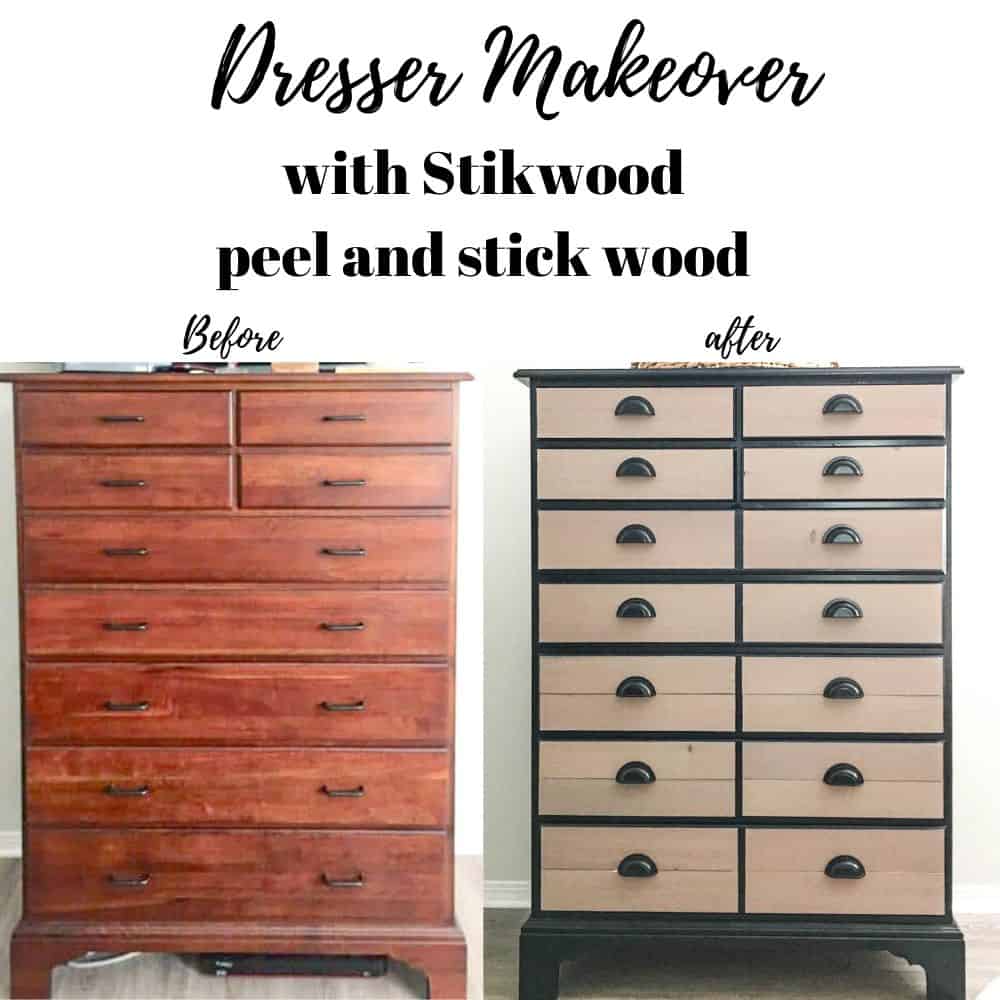
Check out this dresser makeover with Stikwood planks and see how I created a Restoration Hardware dresser knock off with DecoArt Satin Enamel paint.
My husband and I have lived with these dressers in our bedroom since we married 13 years ago. They are his childhood bedroom dressers. They are solid wood and even though they aren’t my style I couldn’t justify buying something new. Here we are 13 years later and I can’t believe I didn’t do this sooner! Actually, it took me this long to decide what I wanted to do with them. Let me share my Restoration Hardware dresser knock off for a fun dresser makeover with DecoArt Satin Enamel paint and Stikwood.
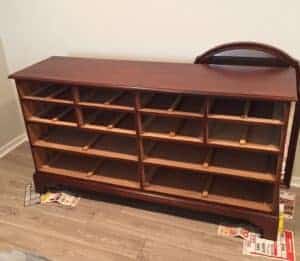
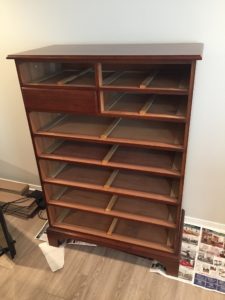
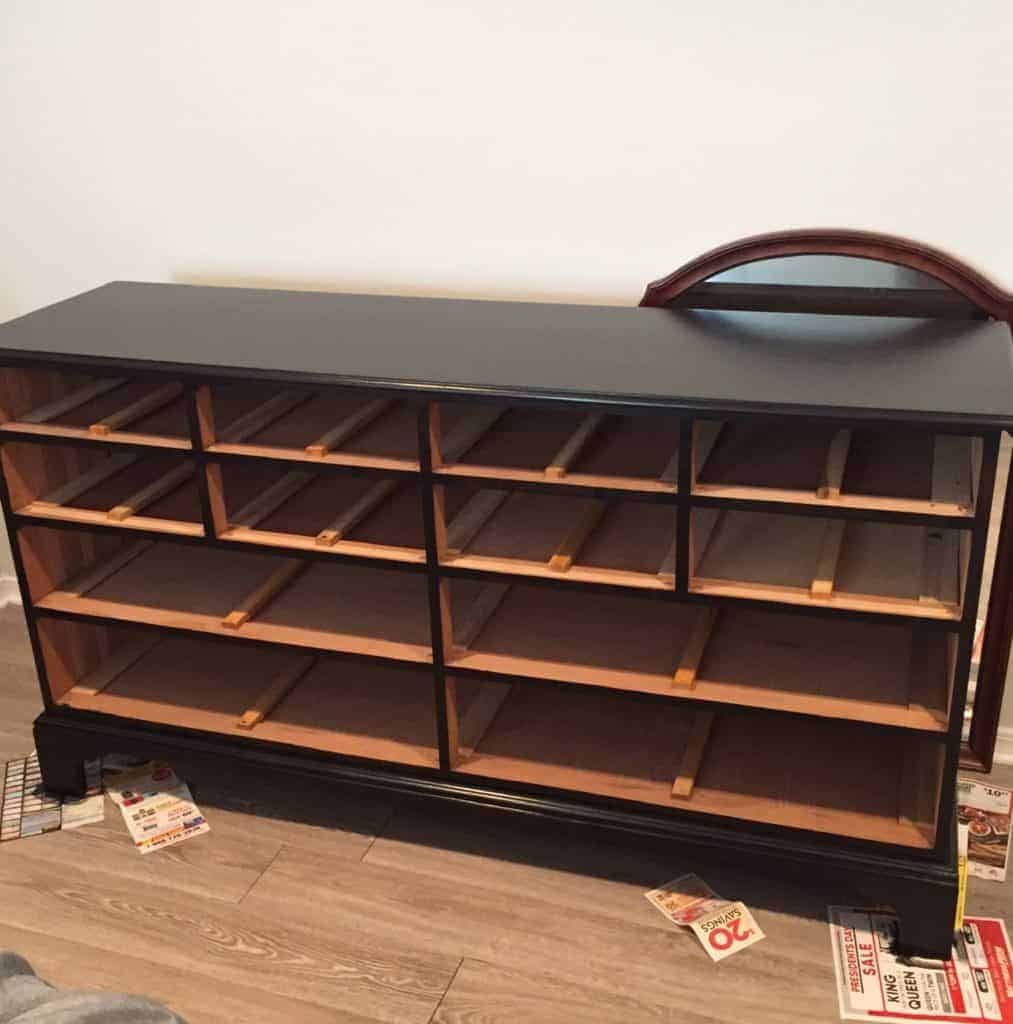
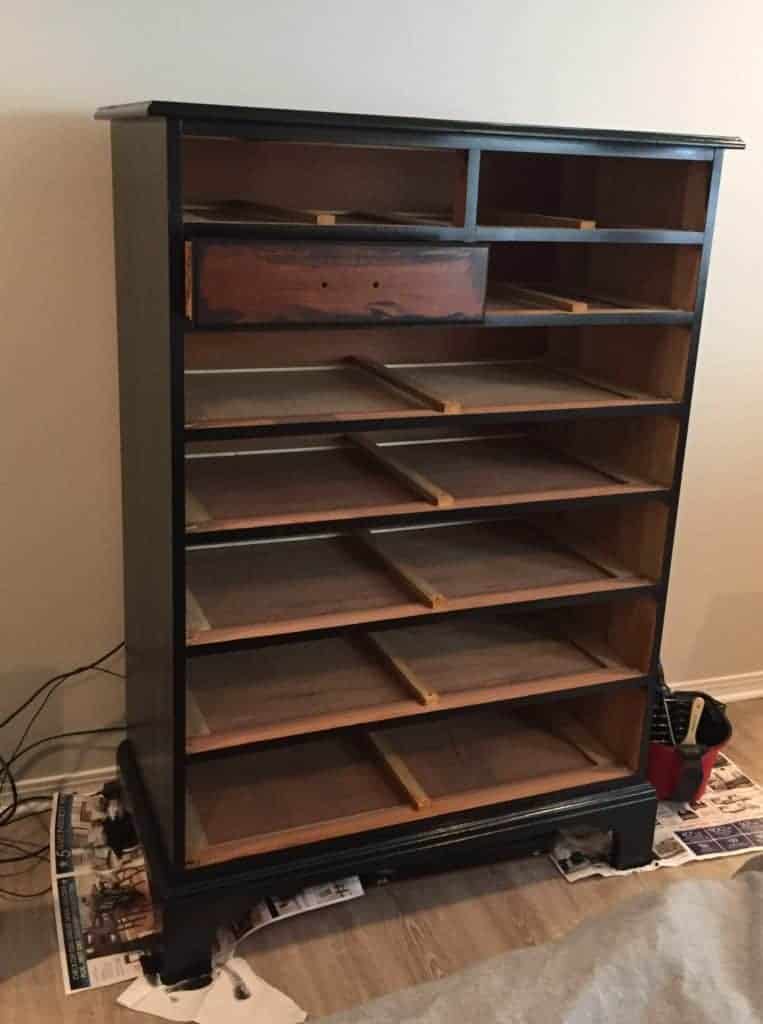
Let me share a few before pictures.
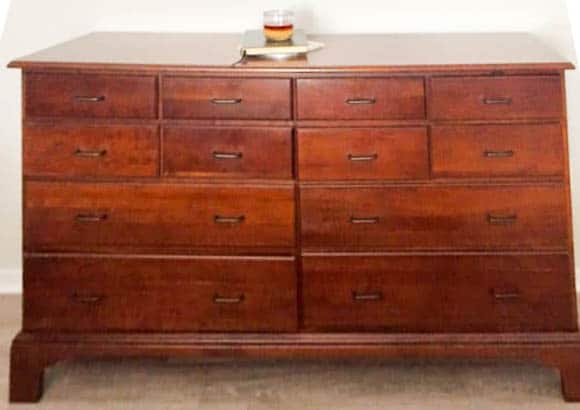
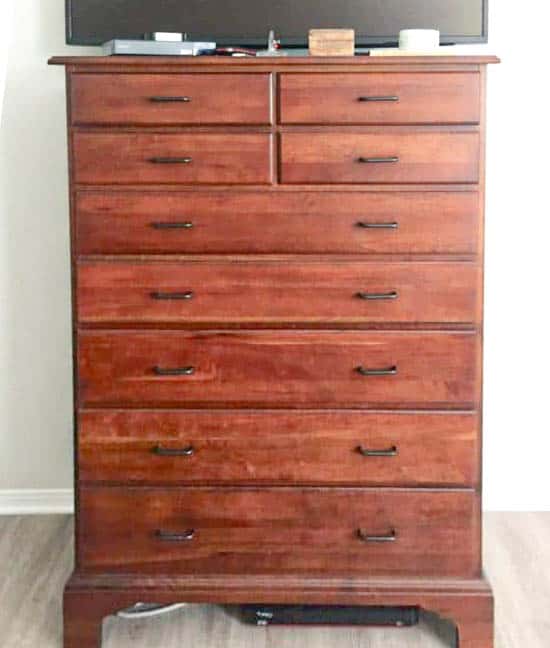
At one time I really loved the cherry wood look. It used to match our bed frame. Since my style has moved to a modern farmhouse look, the cherry wood didn’t match anymore.
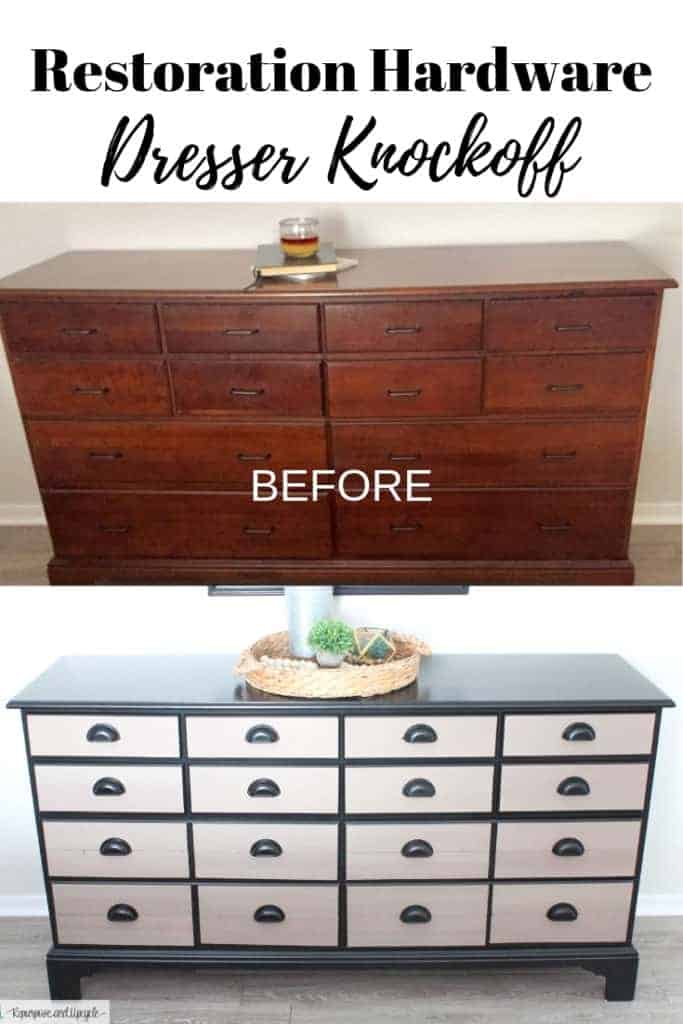
This dresser makeover is my version of the Restoration Hardware printmaker’s line.
I’ve used this style to mimic my dresser makeover without copying the style exactly.
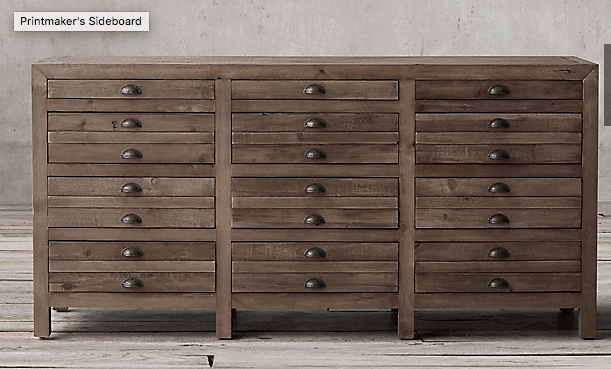
I love the look of this Restoration Hardware Printmaker’s dresser. It has a great vintage vibe.
My plan was to copy the style of the drawers and the hardware. I knew I wouldn’t be able to match the color exactly. When Stikwood reached out and asked if would create a project with their peel and stick planks, I knew I could use it for my dresser makeover!
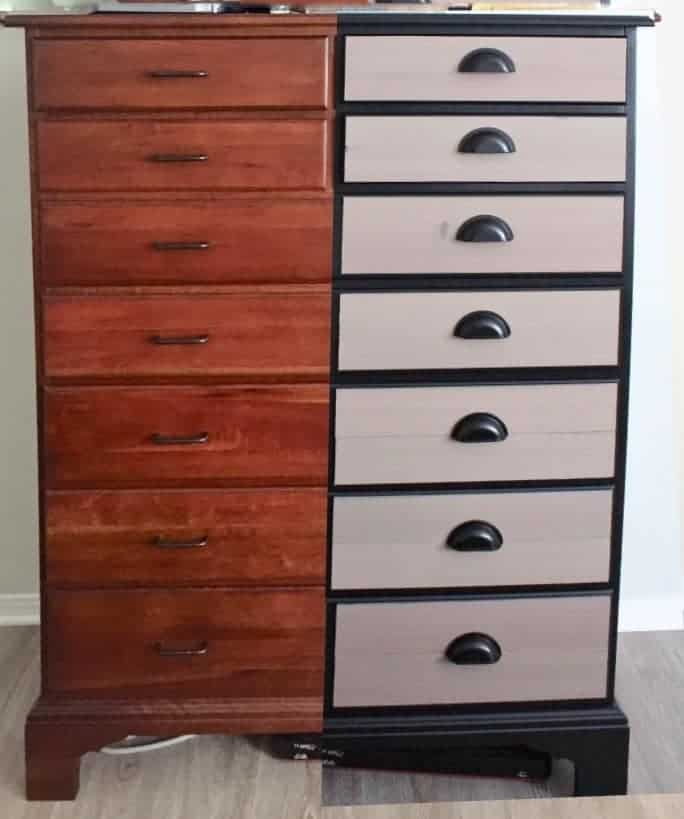
The idea behind using Stikwood peel and stick planks was to fake the look of seperate drawers while matching the wood on our bed frame. I love taking an old dresser and giving the front a facelift. You can see where I previously used an image transfer to give an old dresser a french farmhouse facelift!
I can’t wait to give this one a facelift too. Let me show you what I’m talking about.

I knew that I’d never be able to match the wood plank color to paint the rest of the dresser. Instead, I would paint the rest of the dressers a complimentary color (black) to accent the wood planks I would attach to the drawers.
Disclosure; this post contains affiliate links. As an Amazon Associate I earn from qualifying purchases. This disclosure statement refers to the rest of the Amazon links in this post. See more on my disclosure page.
Using DecoArt Satin Enamel to paint dressers
Speaking of paint, I think I’ve found my new favorite! DecoArt makes a line of paint called Satin Enamels and I’m in love! I’m using the black.
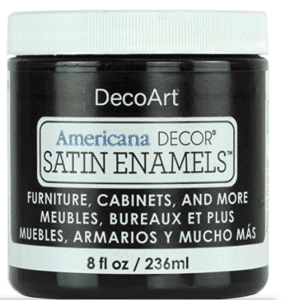
This line of paint does not require a top coat and has a super smooth finish! I was a little leary about how durable it would be without a top coat, but I can vouch that my fingernails won’t scratch through it!
Now that you know my design plan, let’s get started!
I removed the drawers and wiped it down. Now it’s time to paint!
P.S. If you are new to the furniture painting game, you might want to check out my furniture painting series or my tips and trick on painting.
Materials:
- DecoArt Satin Enamels paint in black
- Paint roller
- Paint brush
- Stikwood peel and stick planks
- Table saw
Do you need to use primer before applying DecoArt Satin Enamel paint?
I’m a big fan of using primer before painting furniture. I took a chance by NOT using primer with this piece. That being said, the Satin Enamel line of paint says that it does not require sanding or primer before use! (I’m always a little leary of any paint that says that). It’s been two years since these dressers were painted and they have NO scratches or wear and tear. I love this paint.
Applying DecoArt Satin Enamel paint to a dresser
I started by rolling the paint on with a paint roller. It went on so smooth and self leveled very well. I was honestly shocked by the great coverage.
I started rolling the top and sides and used a paint brush to paint everything else.
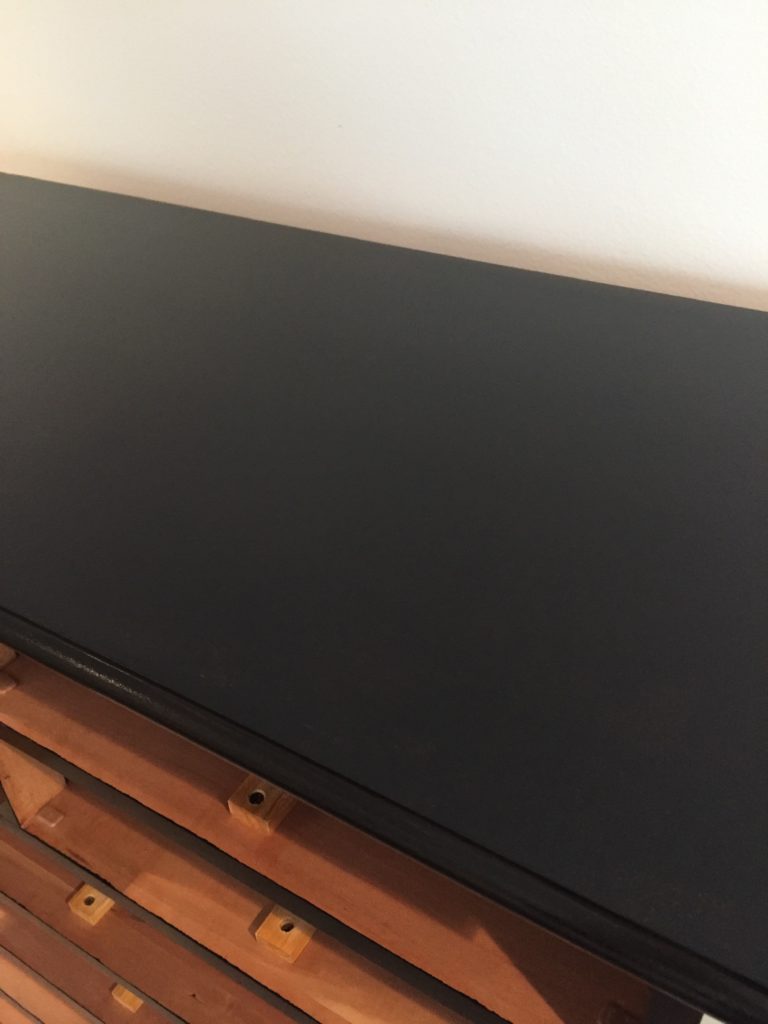
I don’t know if you can tell, but look how smooth that finish is! I even had a fleeting thought that maybe I only needed one coat! That being said I went with my gut and applied two.
Applying Stikwood wood planks to the dresser faces
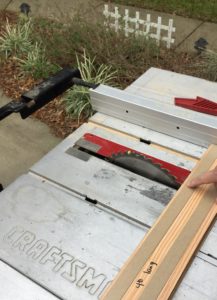
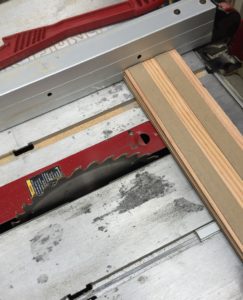
After the painting was done, I cut the wood planks from Stikwood. I chose the color Mystic Oak because it matched the color in our bed frame the best.
Once I measured the drawers, I used a table saw to cut the peel and stick planks to the desired size.
Note: The bottom drawers were taller than the wood planks. I decided to cut them in half meaning that some of the drawers would have two planks of the same size. I was a little worried about how this would look, but I think it looks fine.
Once the wood was cut, it was time to apply them to the dressers!
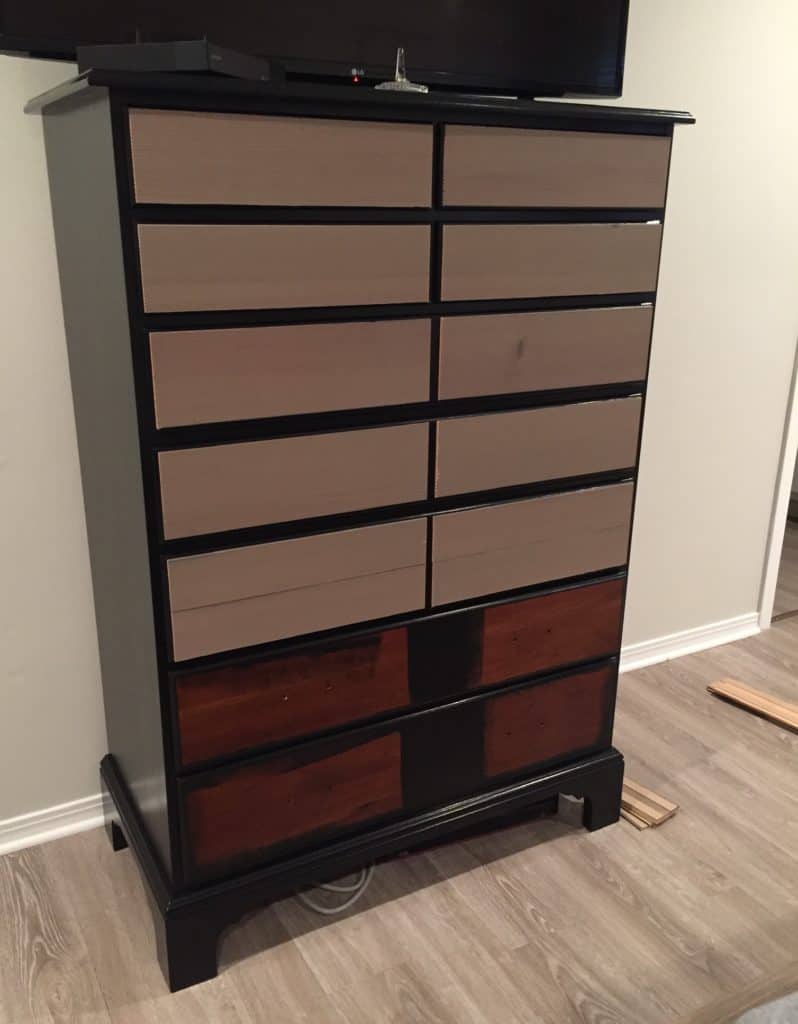
This part didn’t take long. Each wood plank has three strips of adhesive that stick really well to the dressers.
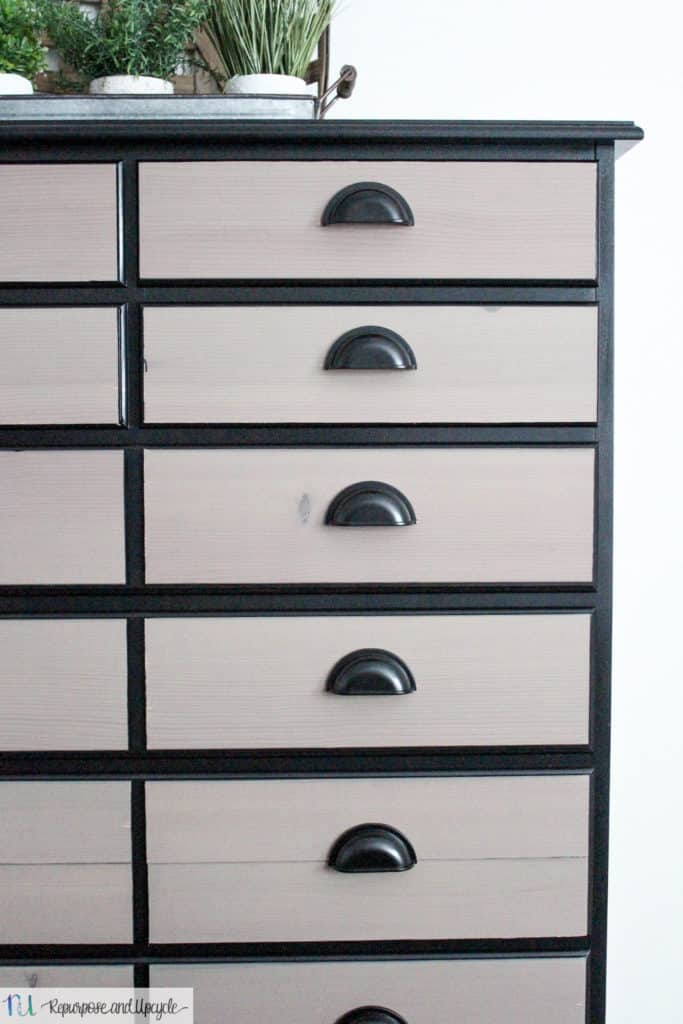
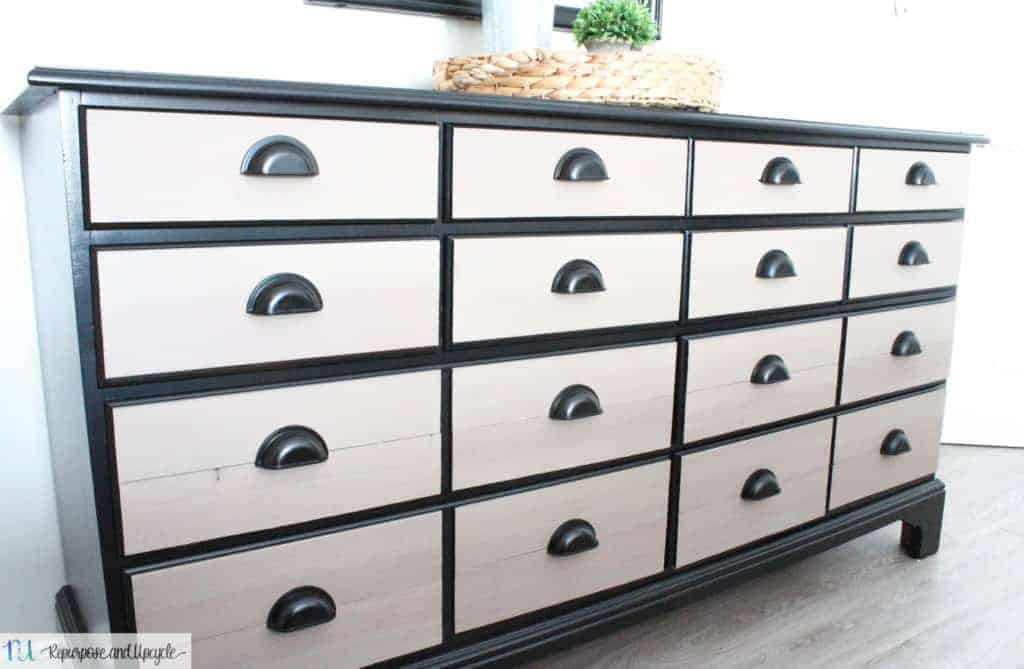
After I attached the wood planks to the dressers, I added new hardware.
I found a set of pulls from Wayfair that I loved.
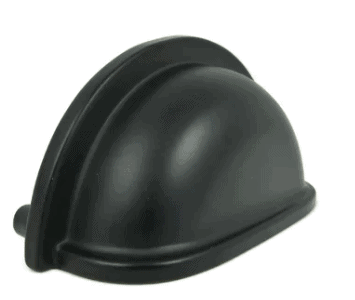
Adding the pulls from Wayfair really gave these dressers the Restoration Hardware Printmaker’s look I was going for.
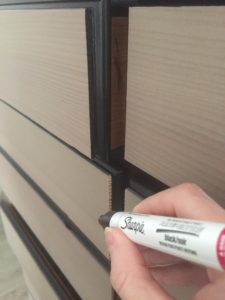
Since the sides of the wood stuck out like a sore thumb against the new black paint, I used a black sharpie to paint over the sides of the exposed wood.
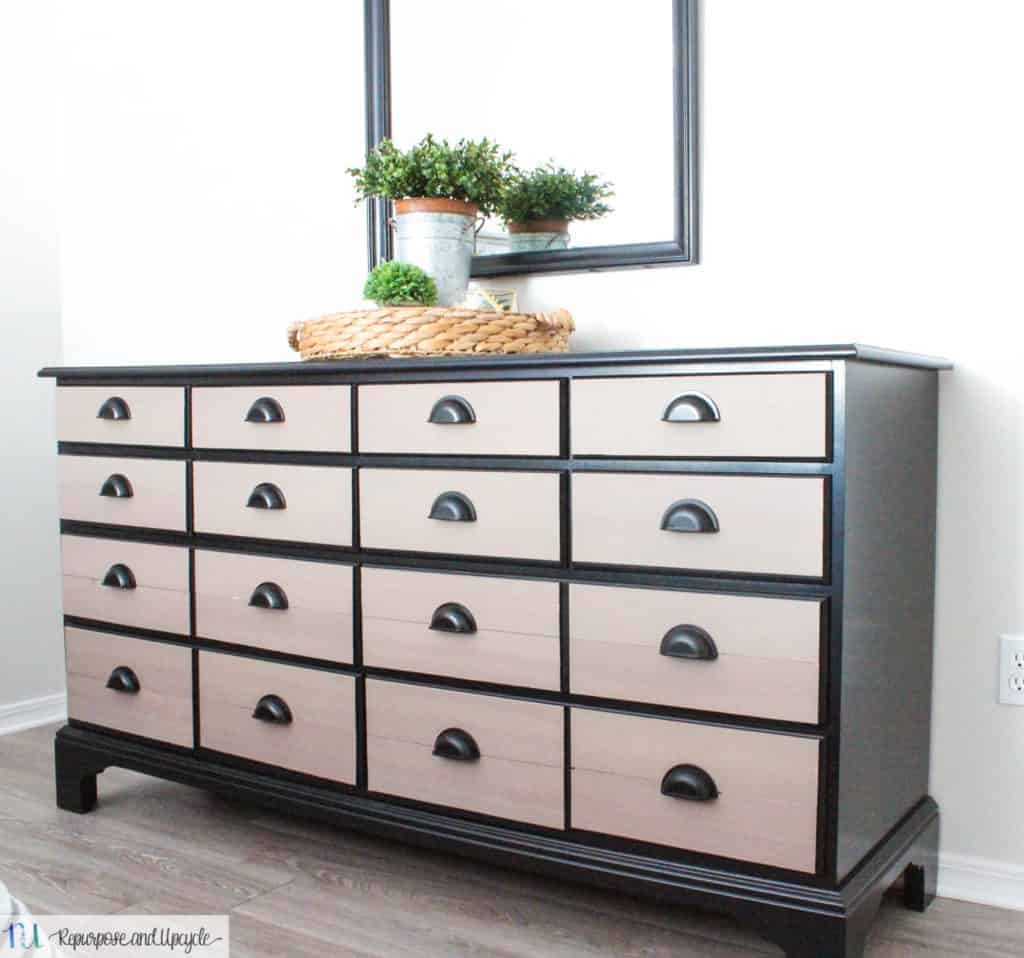
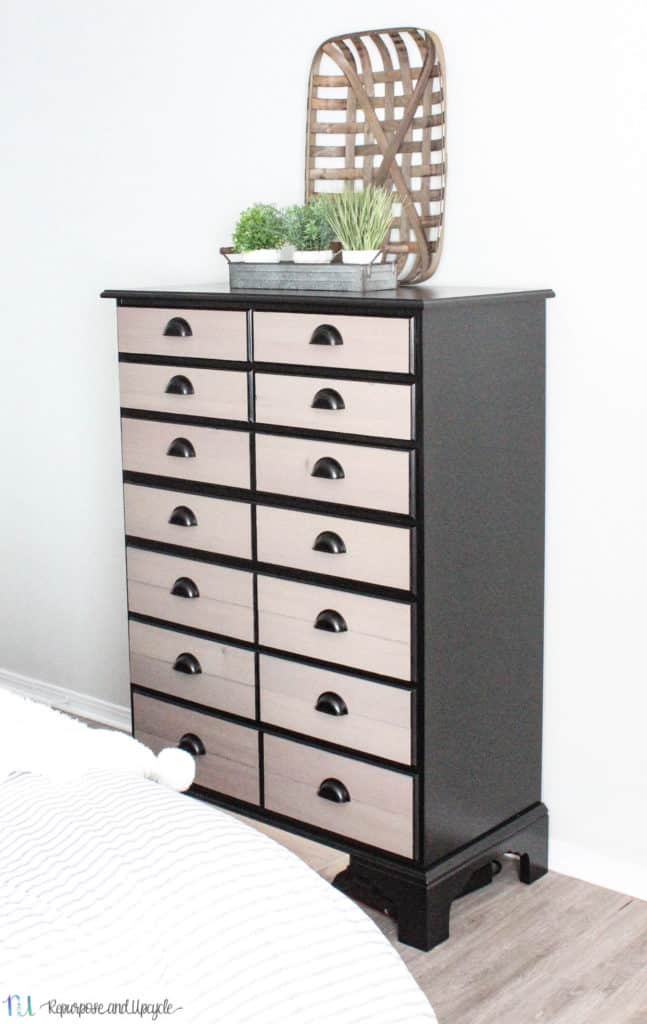
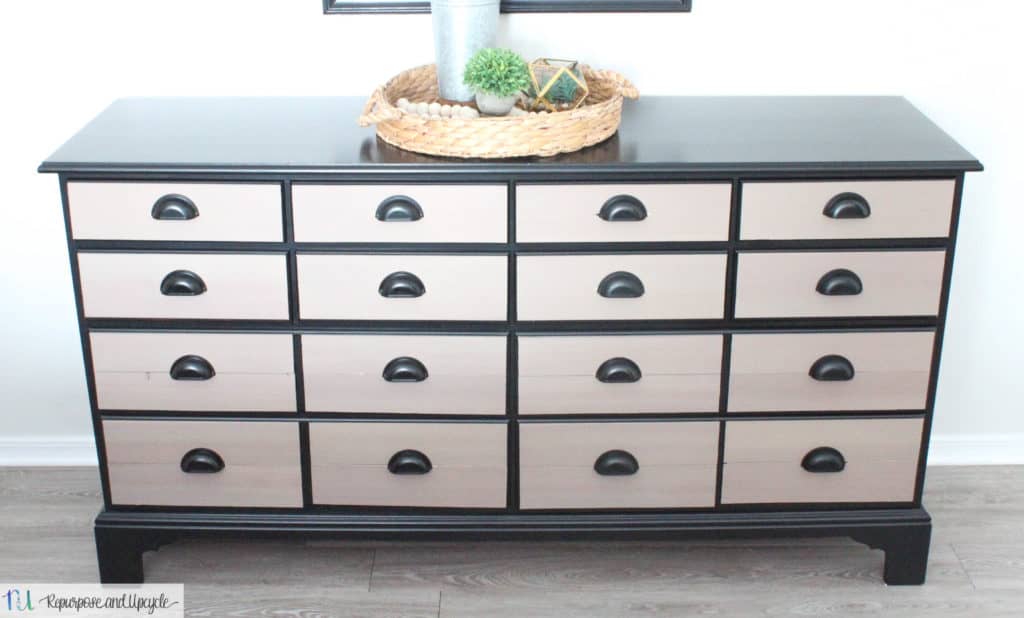
Dresser Makeover with DecoArt Satin Enamel paint and Stikwood
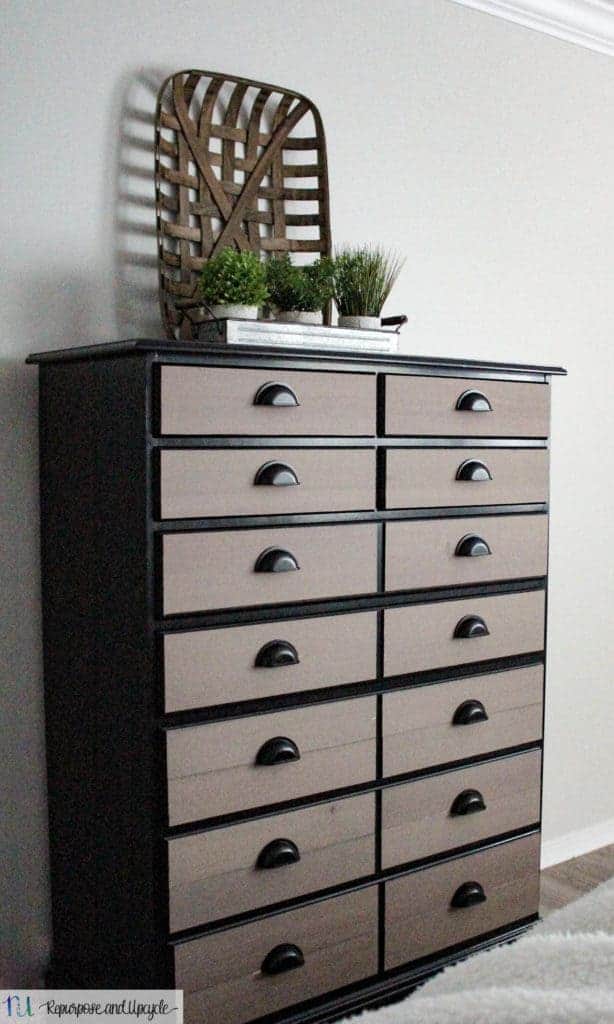
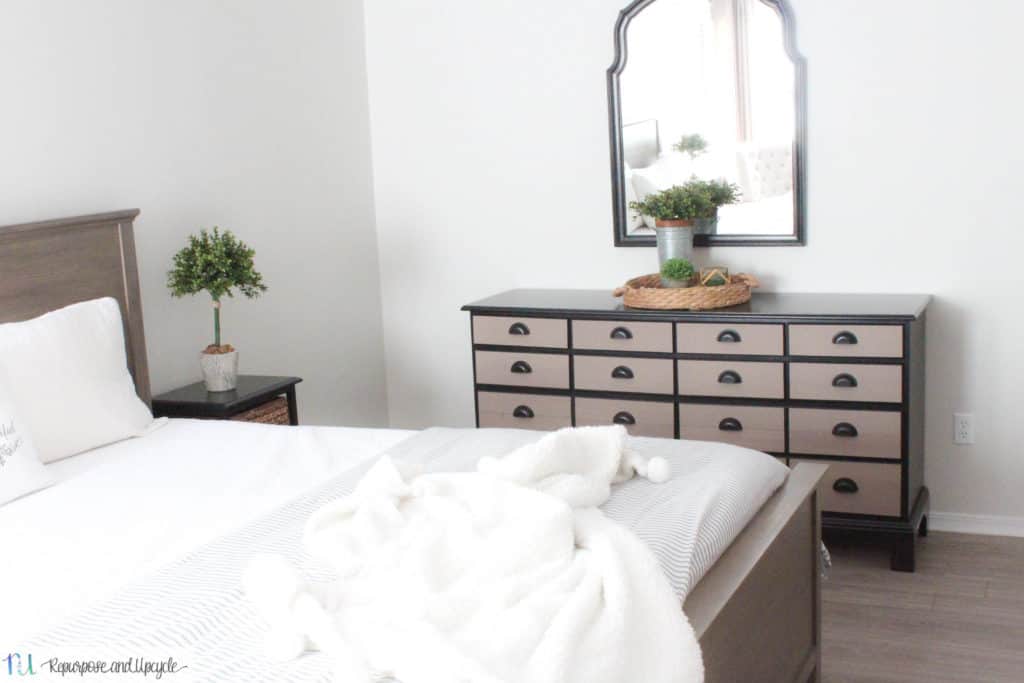
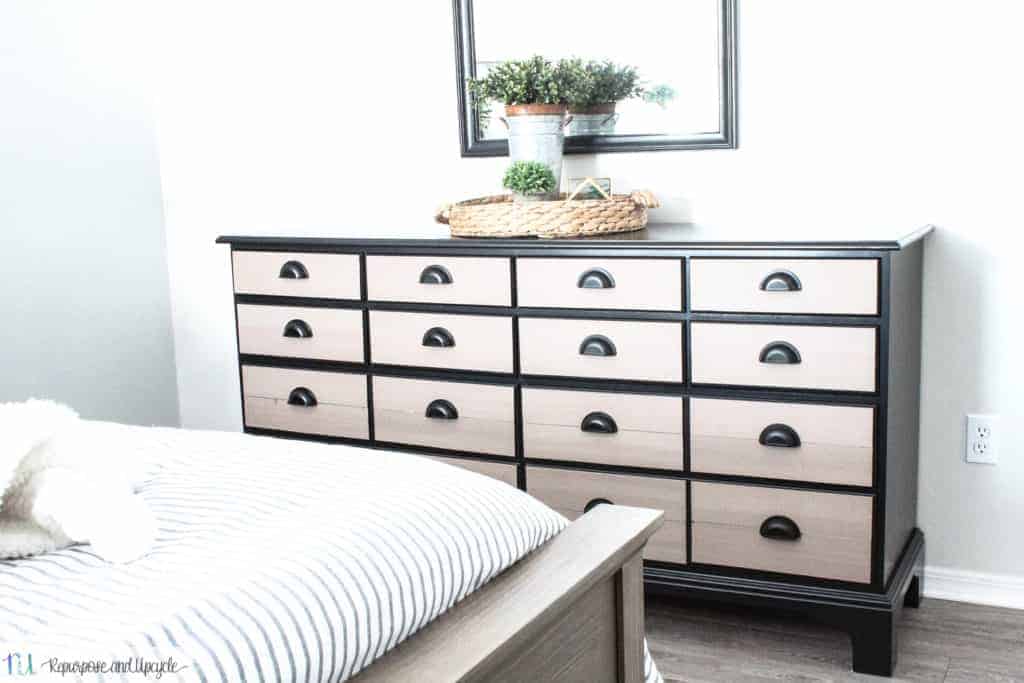
I can finally say after 13 years, my husband and I have a bedroom suite that matches our style!
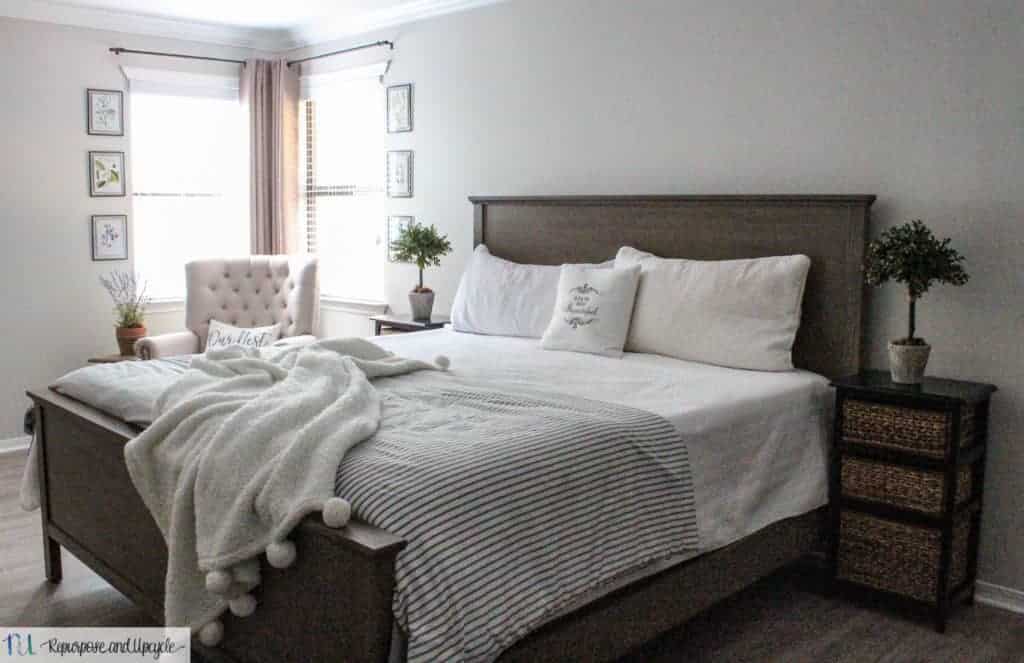
Want to see more of our cottage style master bedroom?
What do y’all think? Do you like the Printmaker’s sideboard look?
If you enjoyed this post, I would love for you to save it to Pinterest. Here’s a few fun pictures below.
Thanks for following along guys! If you have any questions, suggestions, or thoughts please drop me a comment below!
Lindsey**