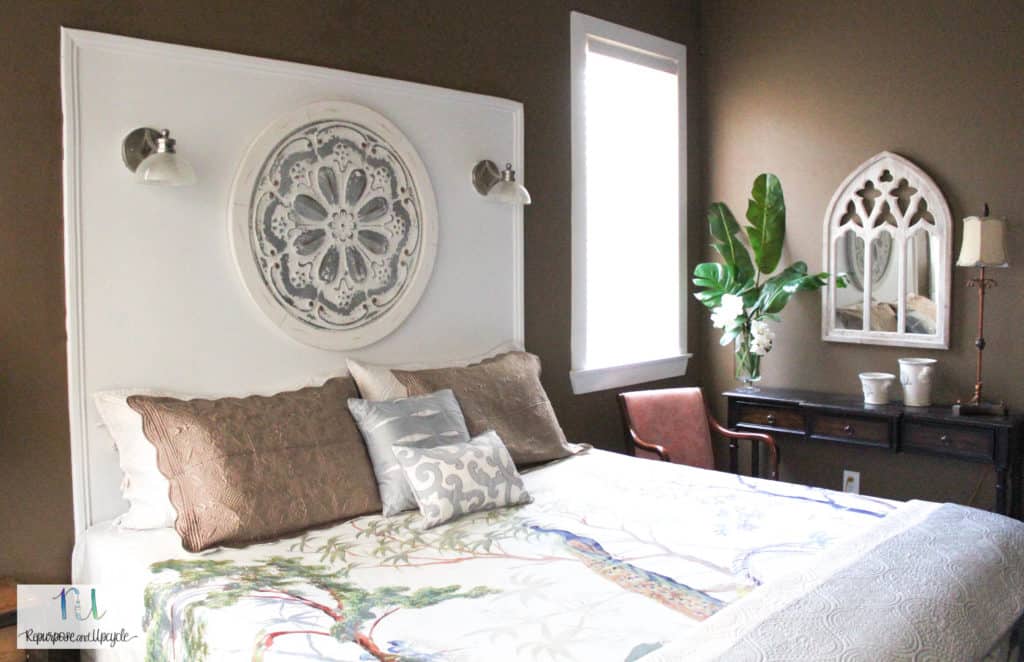
Learn how to create a painted headboard on the wall to look like the real thing! With just a little moulding and paint you can create your own DIY headboard wall in no time.
Have you ever looked for a creative way to brighten up a room without painting the entire room or buying a lot of new stuff? This was my mom’s dilemma in her master bedroom. When I had a little peel and stick picture moulding left over from my latest bedroom accent wall project, I knew exactly what we could do! Let me show you how to paint a wall to look like a headboard.
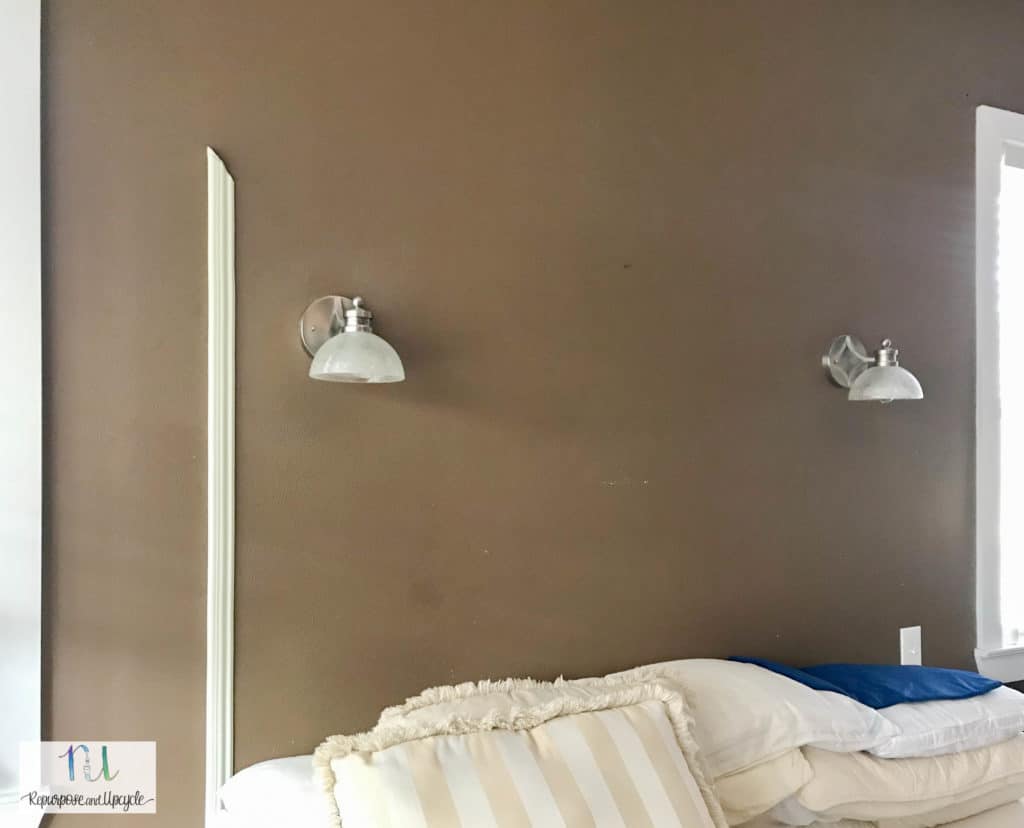
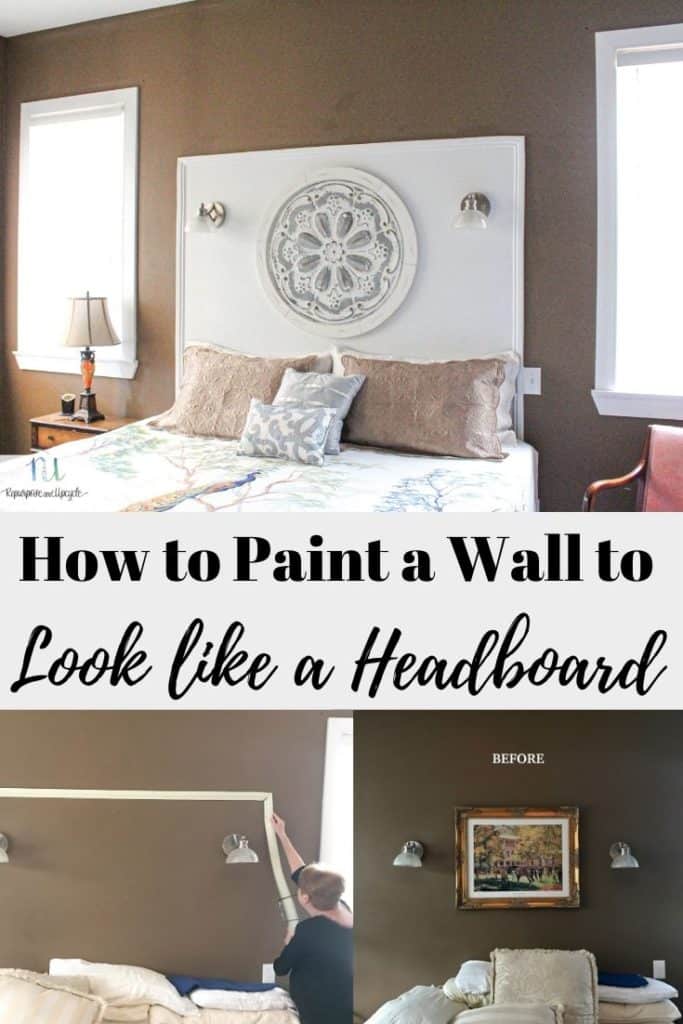
Below I’ve shared a before picture of what the dark wall looked like behind her bed. The wall sconces are great but they created a bit of a design challenge. Since she has a king bed, she thought installing a tall headboard wouldn’t look right due to the placement of the lights.
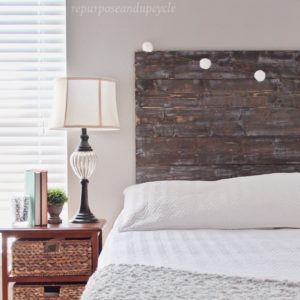
By the way, this isn’t the first time I’ve created a simple and cheap DIY headboard. Check out how I attached 6 pine boards to the wall and made a lovely homemade headboard.
Could we work around the lights and create a painted headboard on the wall?
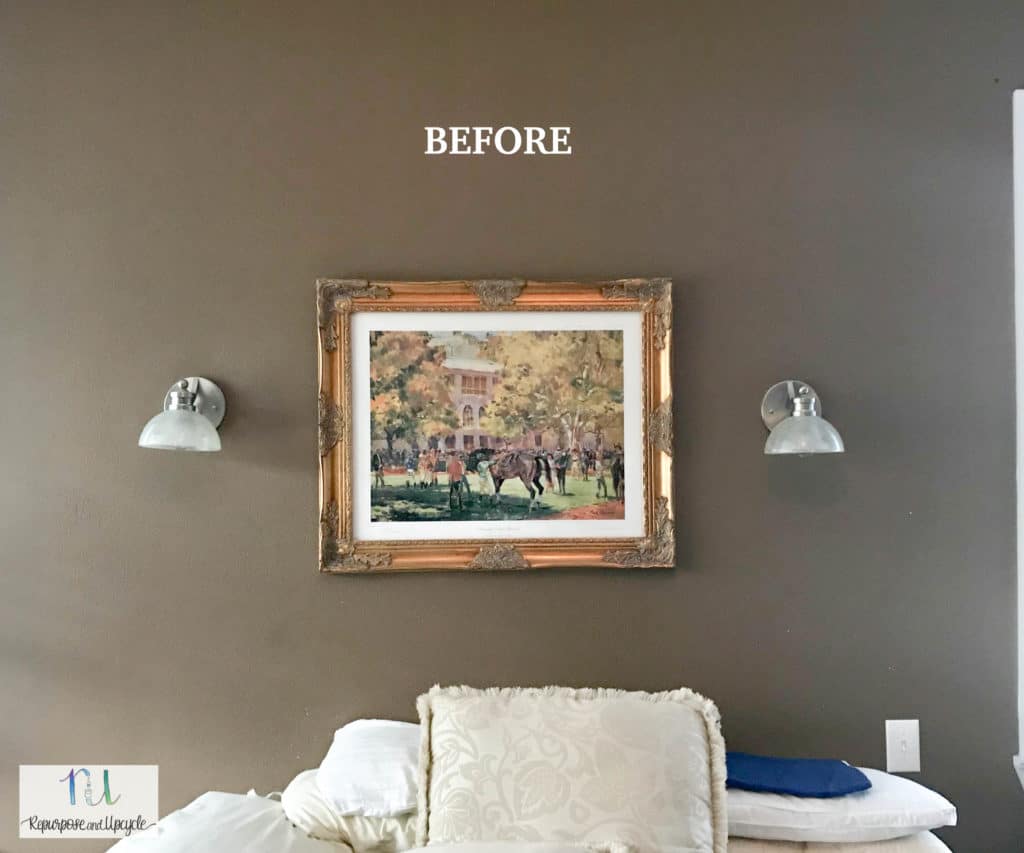
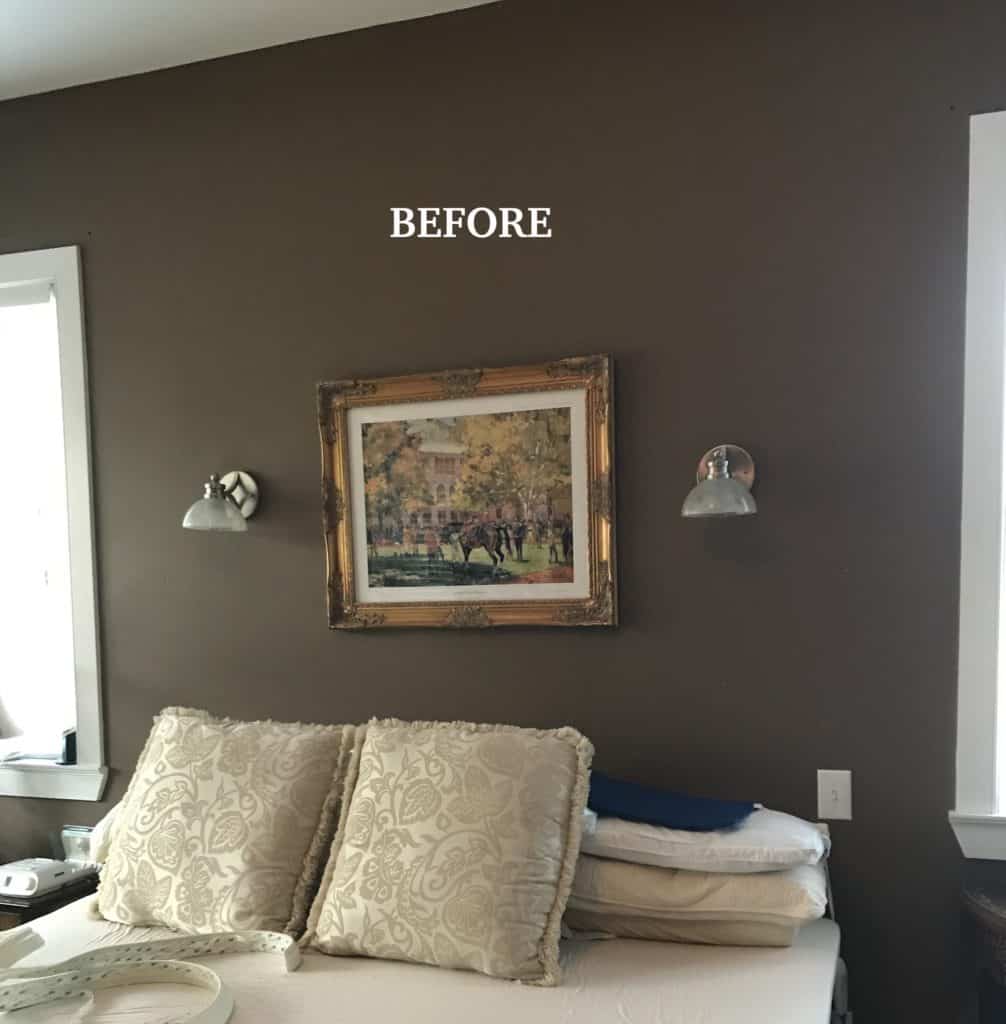
Of course we could!
The vision for this room was to brighten everything up by painting the wall white with a border to look like a headboard.
My mom’s home style is a west indies meets British colonial style. I guess you would say a “British west Indies style.” She loves all sorts of patterns and different materials mixed with bold colors. That being said, she really didn’t want to get rid of all of the brown in her bedroom. She just wanted to lighten it up.
As I always say, “don’t ever underestimate the power of paint.” And a little peel and stick moulding 🙂
I won’t go into all the details on how to apply peel and stick picture moulding because you can check out my previous post where I’ve shared about that. Let’s just say it’s easier than you think.
Below is what my bedroom wall looked like after I installed this product! I love how picture moulding adds dimension to a room.
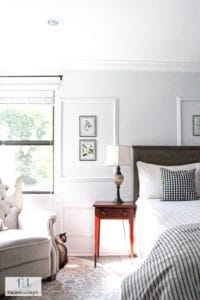
Adding a little dimension with moulding really makes a bigger difference than you would think! I love the look of my bedroom now just like I knew my mom would love hers once we were done with the faux painted headboard.
Disclosure; this post contains affiliate links. As an Amazon Associate I earn from qualifying purchases. This disclosure statement refers to the rest of the Amazon links in this post. See more on my disclosure page.
Let’s get this faux headboard on the wall!
Supplies for the painted headboard
- peel and stick moulding foam moulding (or any moulding will do)
- scissors
- miter box
- level
- pencil
- paint
- paintbrush
- caulk
How to paint a headboard on the wall
- Decide the dimensions for the faux headboard
- Cut the moulding and install to fit the outline of the headboard
- Caulk around the moulding
- Paint the wall and the moulding the same color
- Touch up paint around the outside of the moulding
- Decorate and enjoy your new headboard
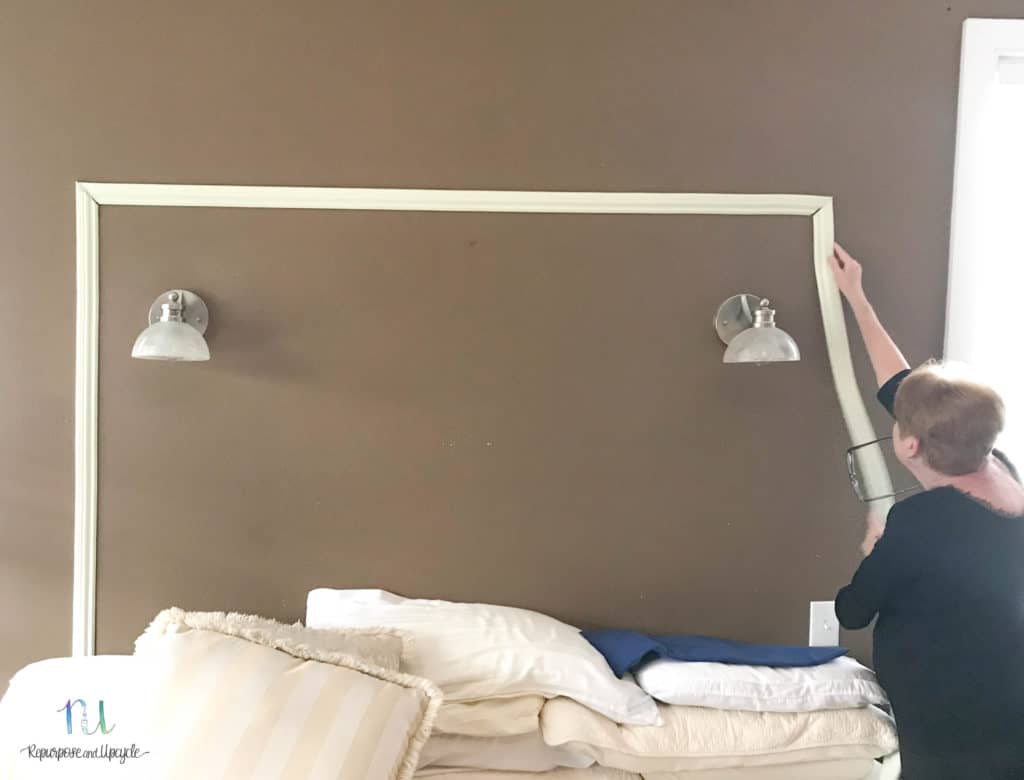
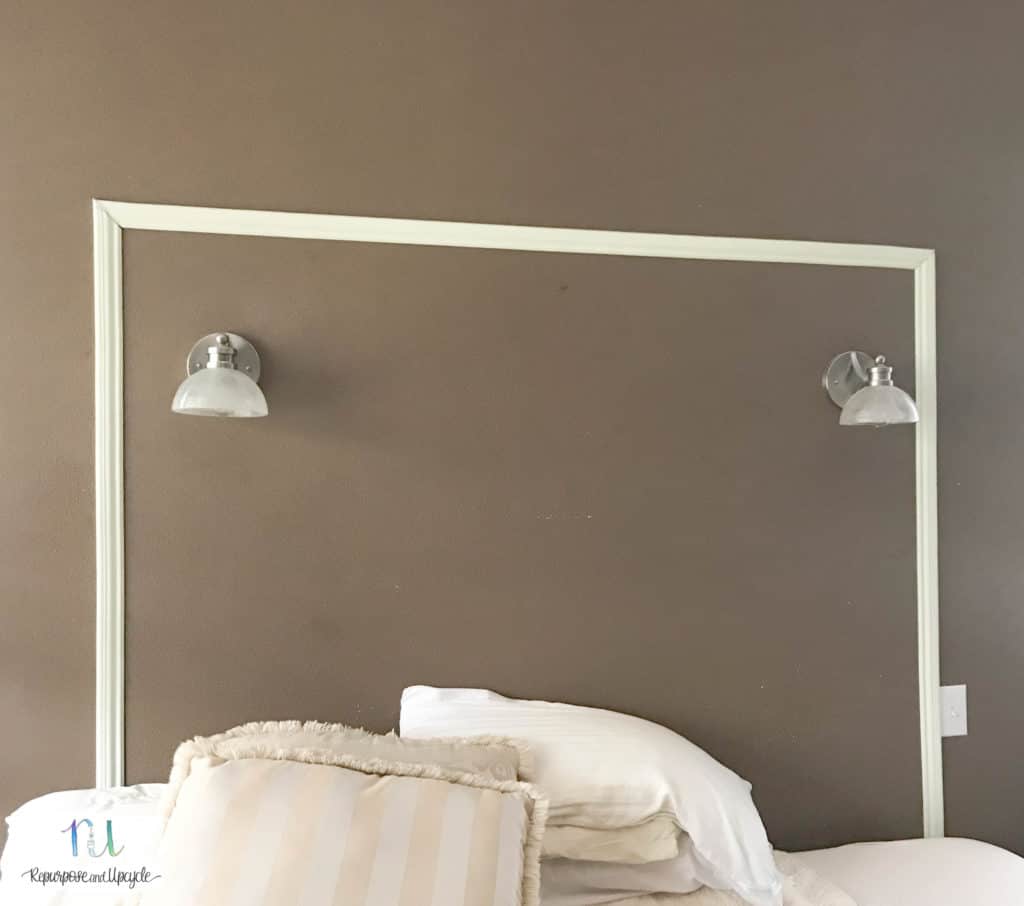
Shortly after we caulked and painted the first coat…
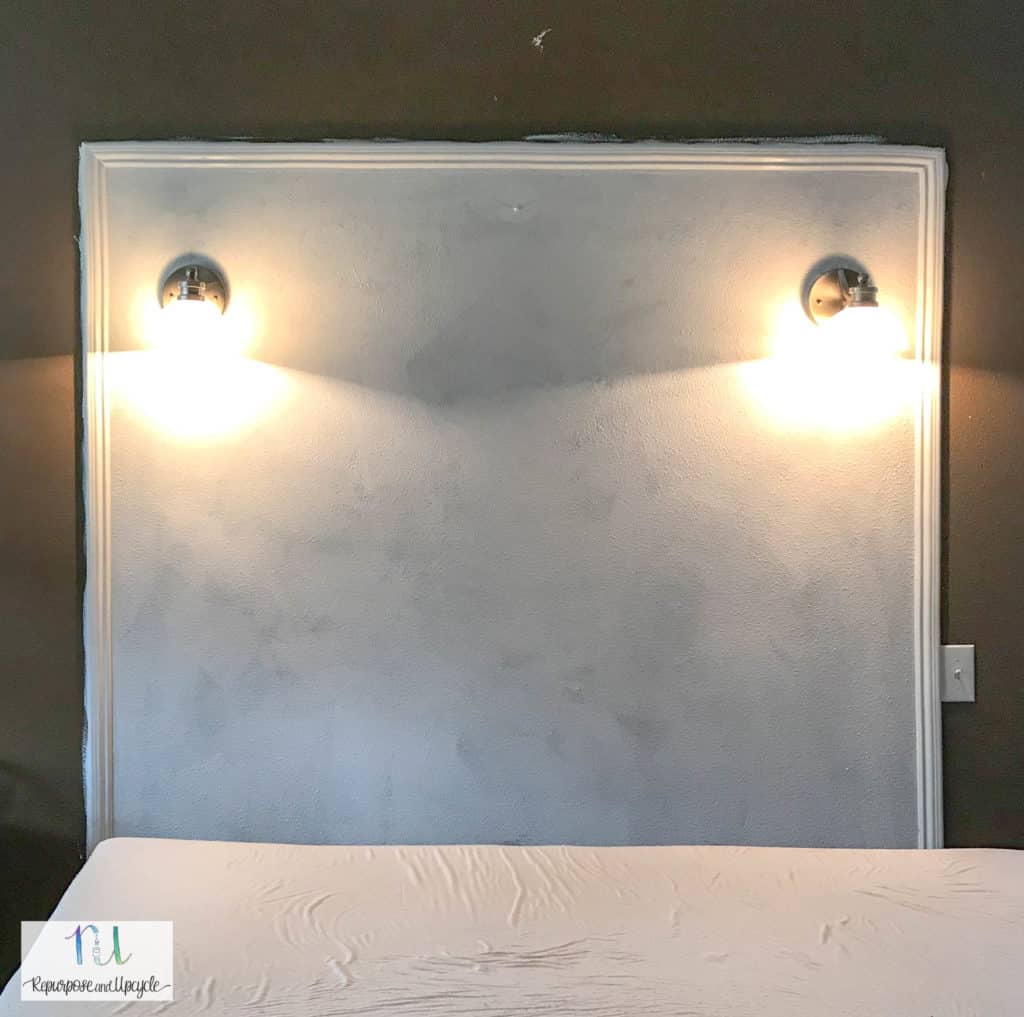
It took two coats of paint plus primer to cover the dark brown.
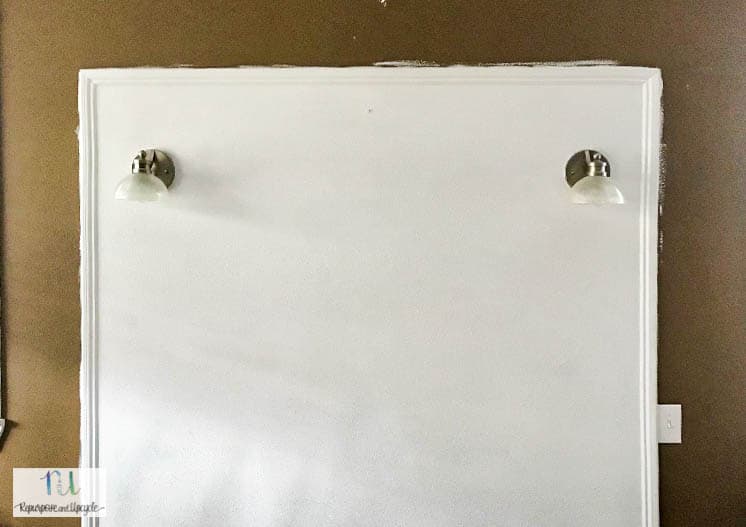
Eeeek we’re loving it so far.
The best part about this little bedroom DIY was it didn’t require any fancy tools, skills or even painted headboard stencils!
After a little brown touch up paint around the “headboard,” it was almost done.
Time to make the bed! Oh, and add a few decor elements.
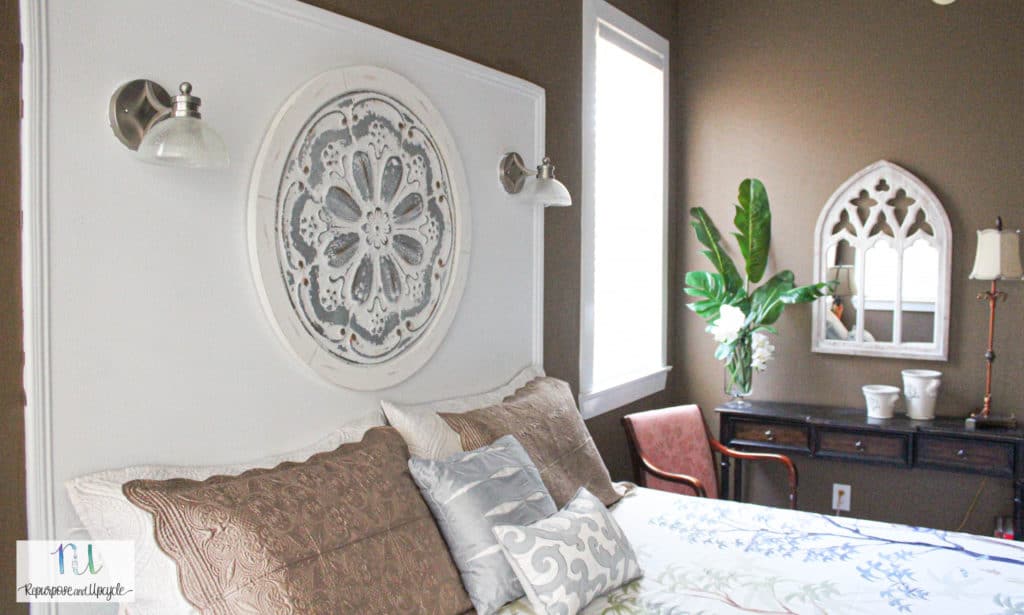
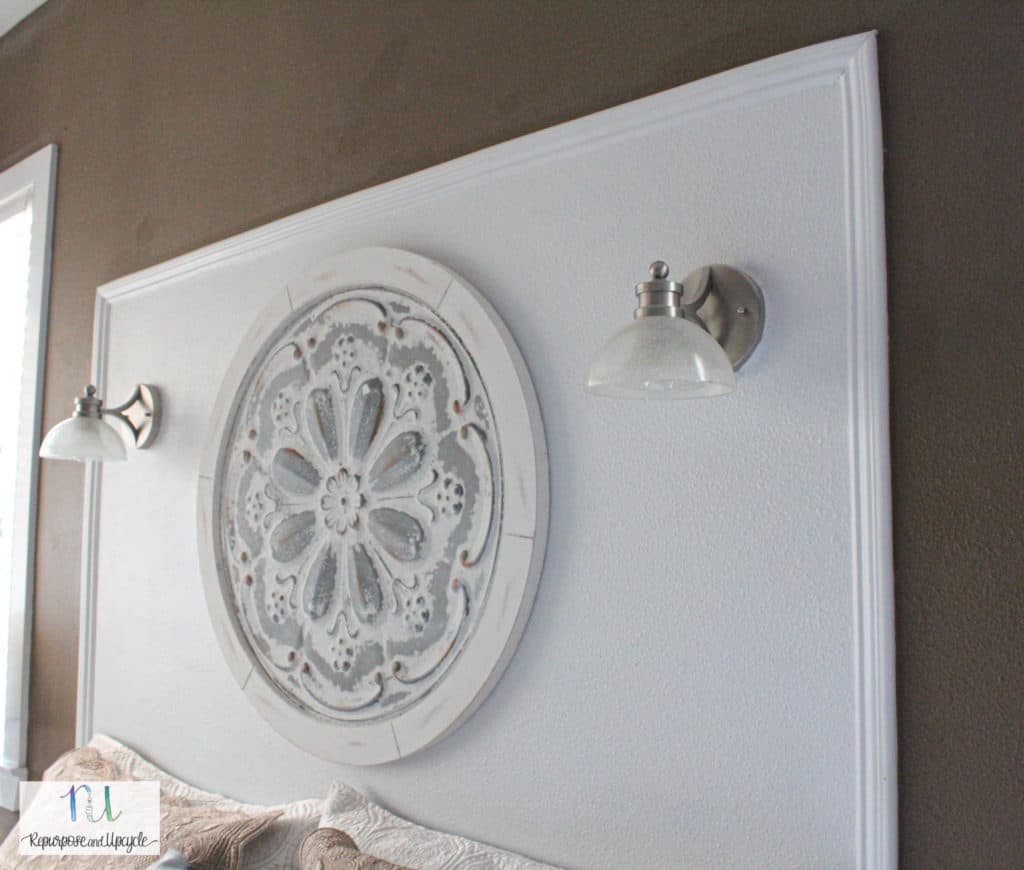
DIY Headboard with peel and stick moulding and paint
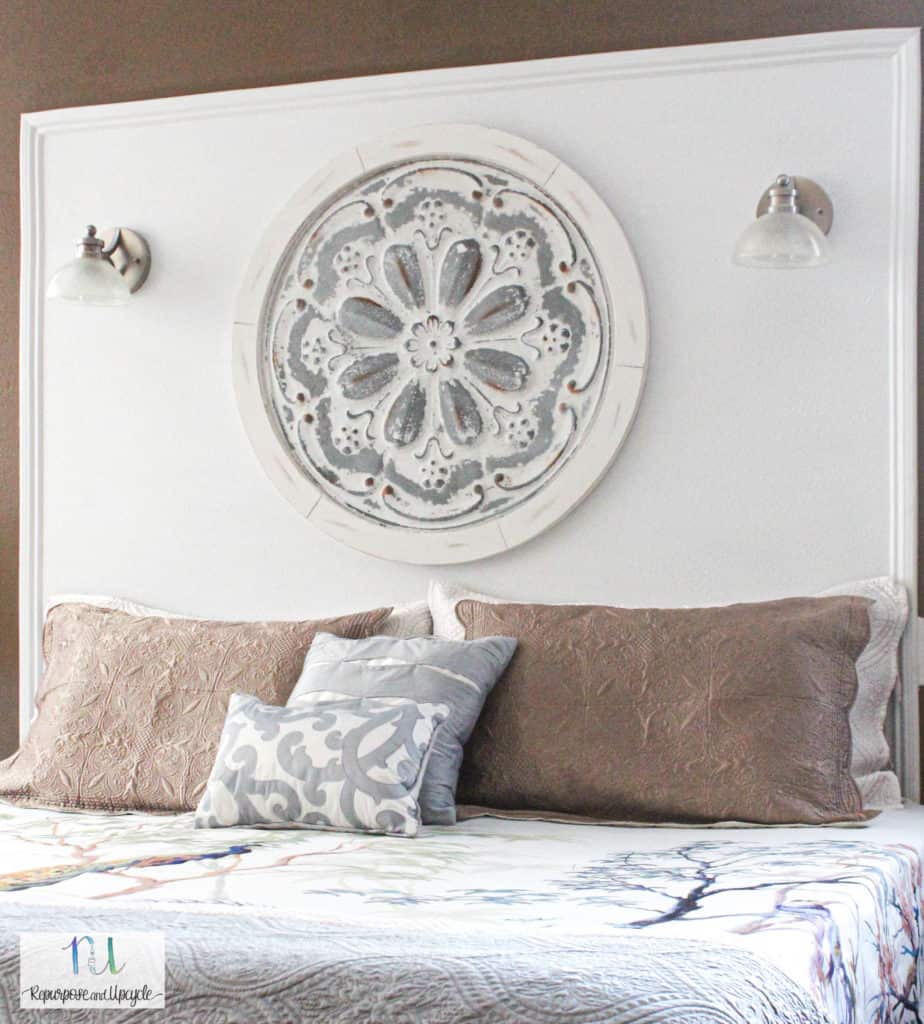
I love the medallion decor she found at Hobby Lobby!
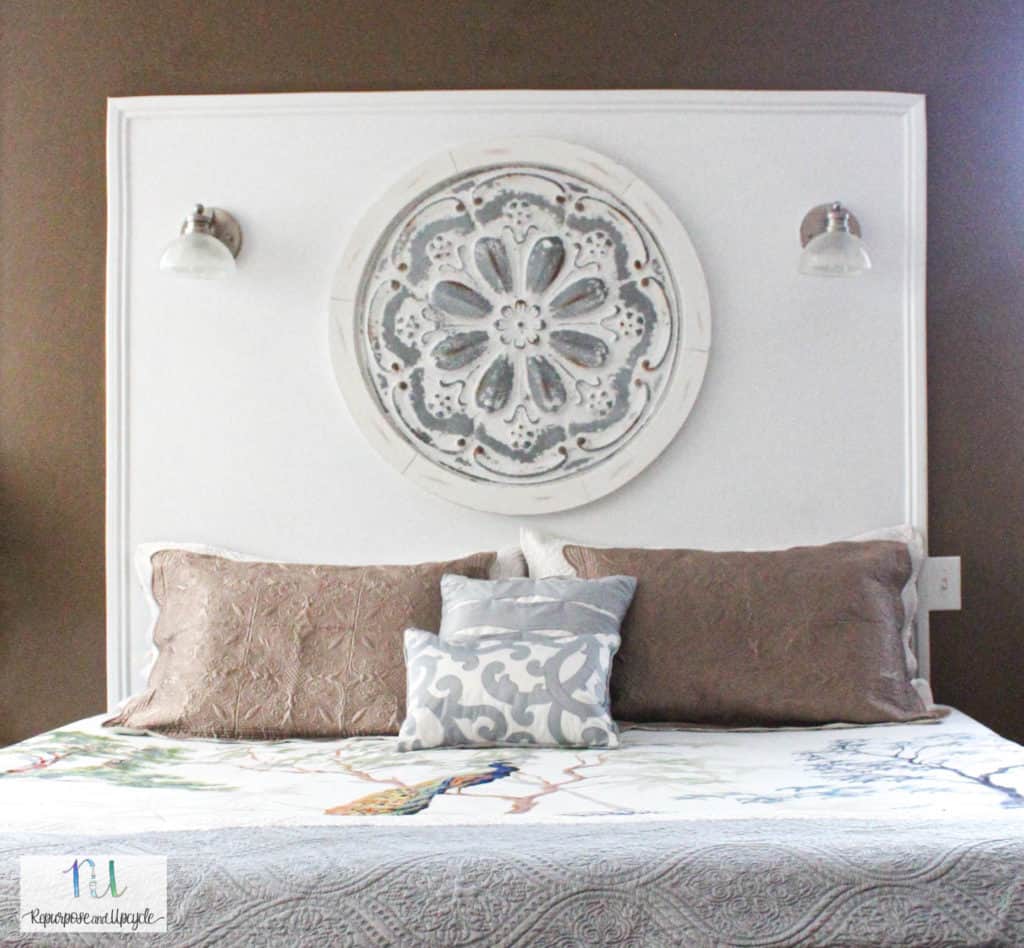
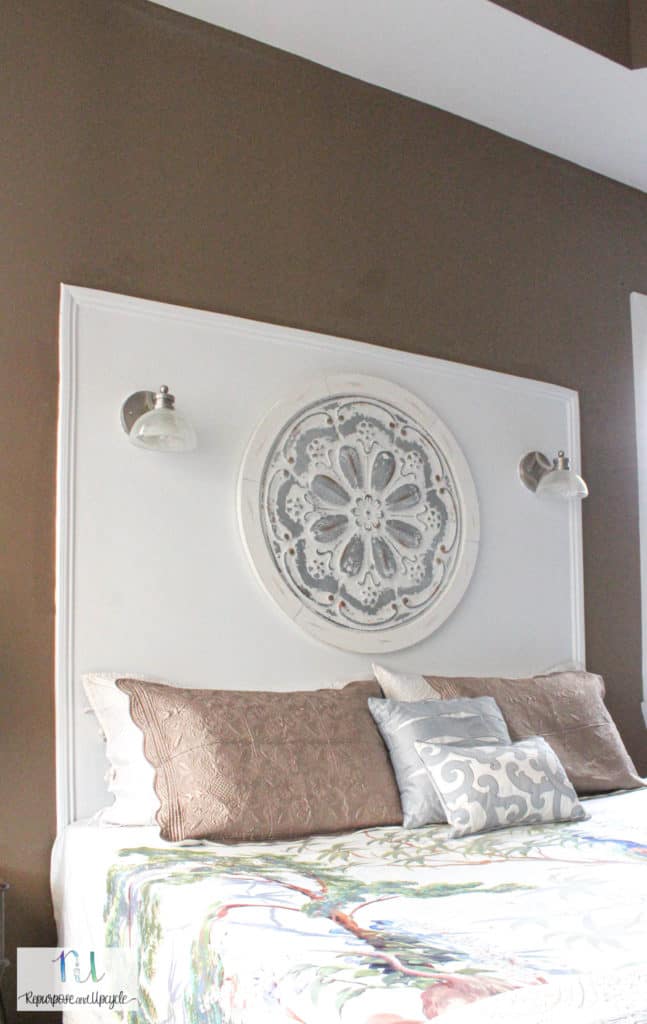
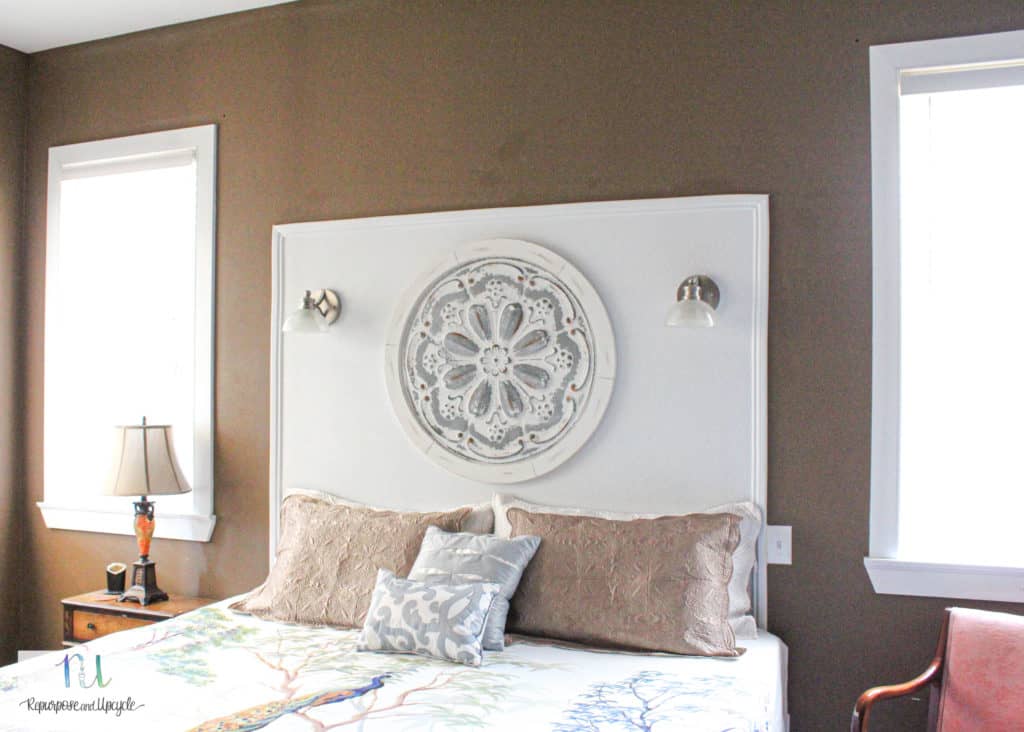
It really is crazy how much it lightens up the room. I love how the “painted headboard” matches the white trim around the windows and doors.
Side note; you could also paint the wall with chalk paint to give it a more “textured” look.
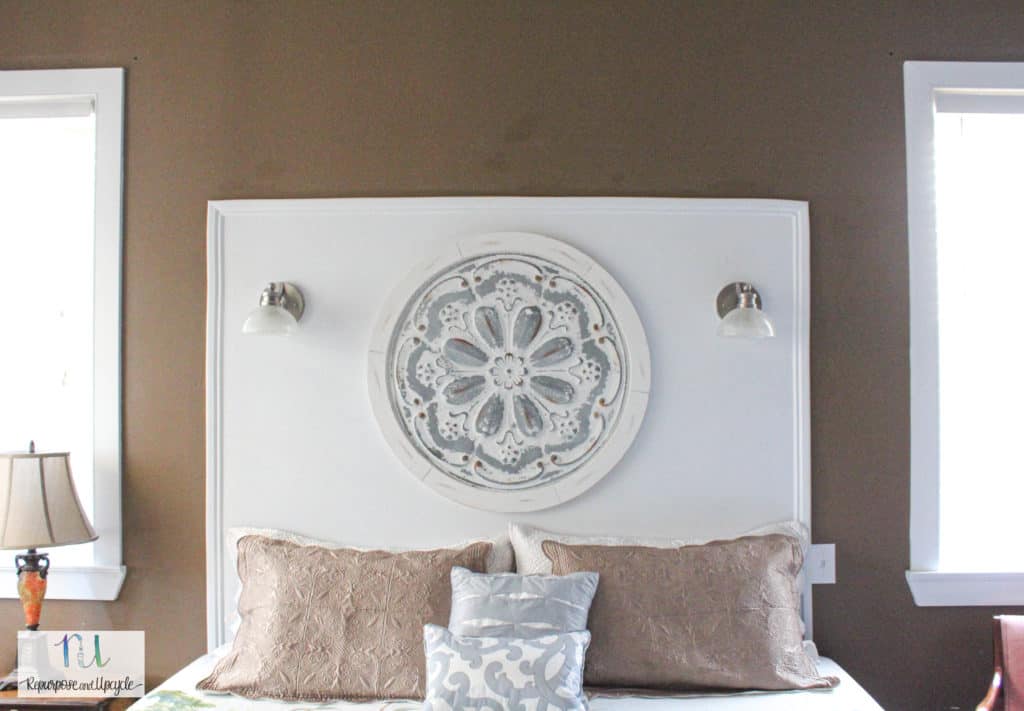
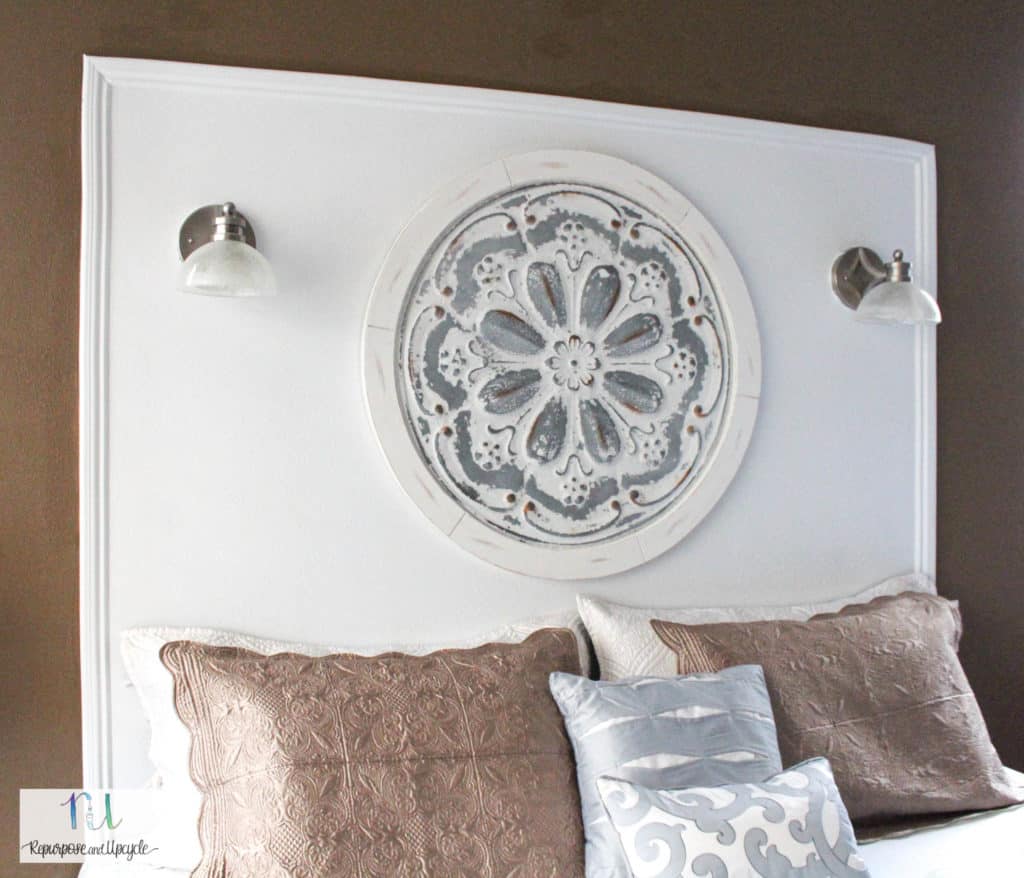
That’s it! How easy was that?
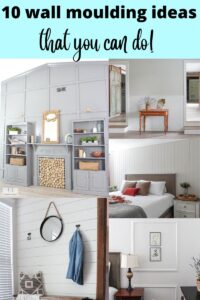
If you liked this post you might also enjoy seeing 10 great DIY molding ideas to elevate your space!
Like I always say, “it doesn’t take a lot of time, energy or money to make things beautiful.”
Thanks for stopping by guys!
Lindsey**


