Is there an area in your home that you can’t live without? Is there a space in your home that you need to function properly? For me, this is a mudroom. I NEED a drop zone for book bags, purses, keys, shoes, and all our JUNK! With two kiddos running around, my house is rarely a clean and tidy space. That’s why I rely on a entryway or mudroom to organize the chaos. When we moved in to our rustic beach cottage I knew my first project needed to be project mudroom! I wanted to add a little more color and rustic charm to my budget friendly coastal cottage mudroom.

Unlike my last DIY modern farmhouse mudroom makeover, I wanted to add more texture and color.
Disclosure; this post contains affiliate links. As an Amazon Associate I earn from qualifying purchases. This disclosure statement refers to the rest of the Amazon links in this post. See more on my disclosure page.
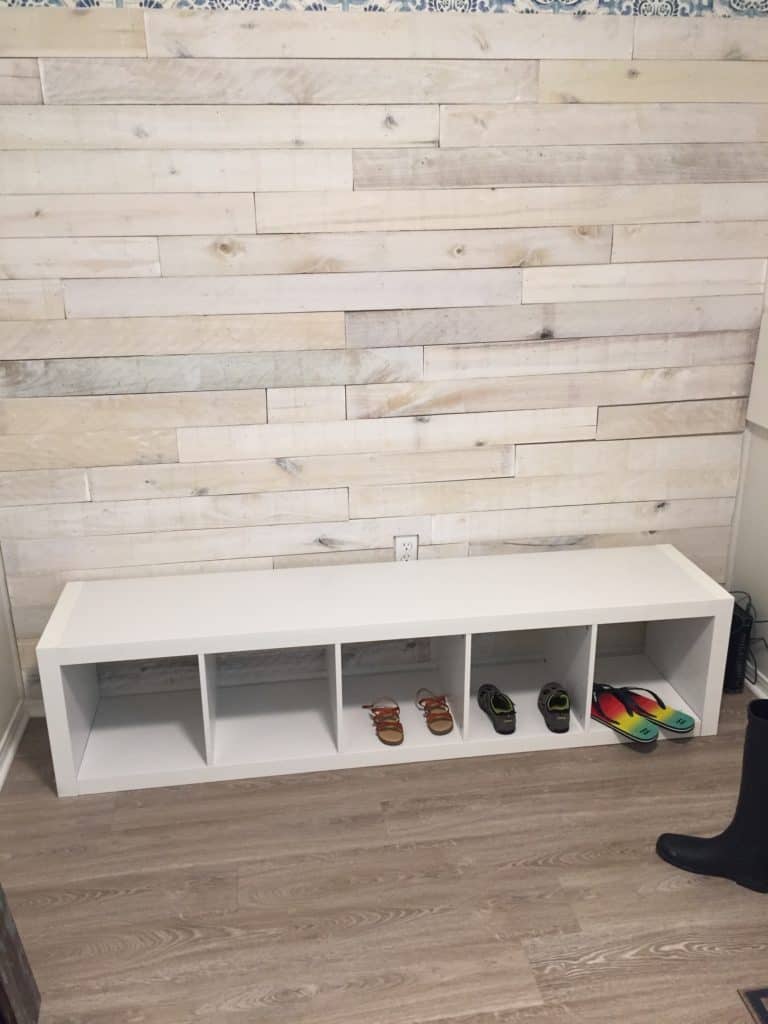
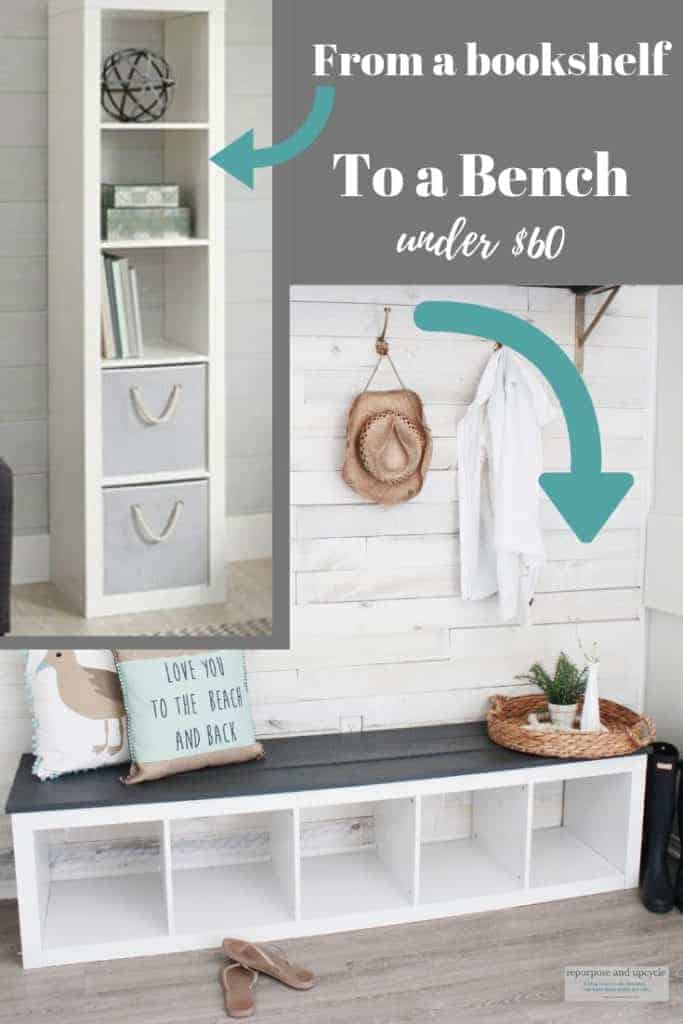
As always, I needed to create it on a budget. So when I was walking through Walmart and saw a $59 shelf that I could repurpose as a bench (FYI the price has gone up since this post was written), that’s when I knew I had my coastal cottage mudroom plan.
Let me share the beginnings of this bare mudroom:
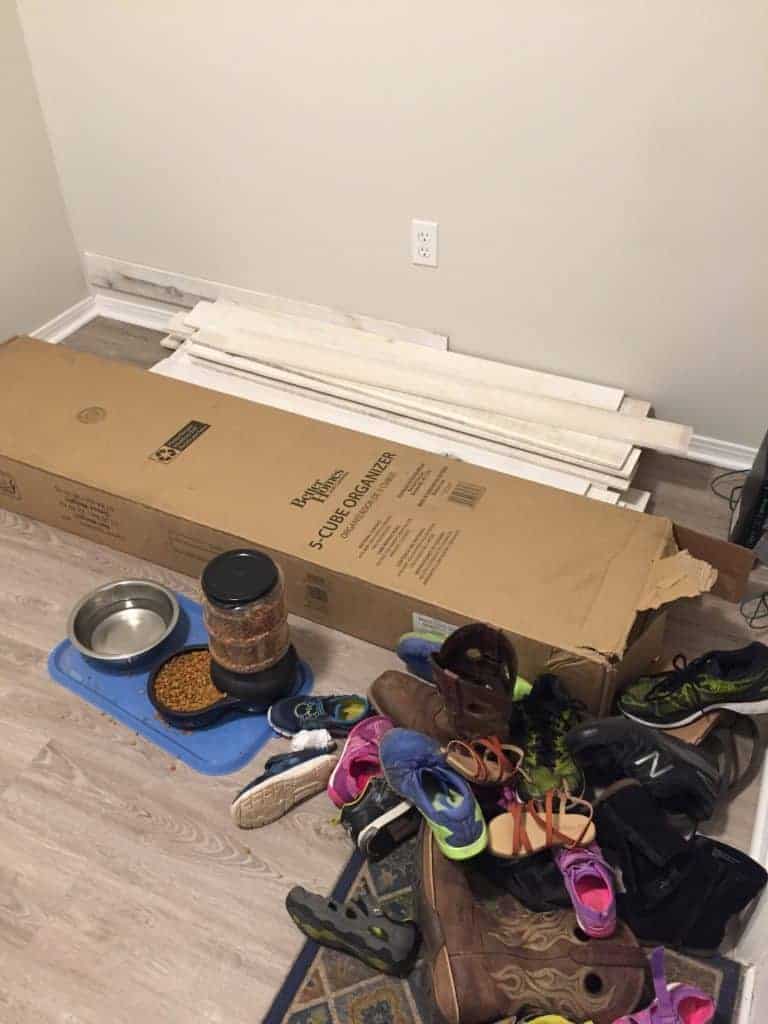
What a mess!
My beach cottage mudroom is just a wall that I will transform into a more functional space on a budget!
How to create a budget friendly mudroom
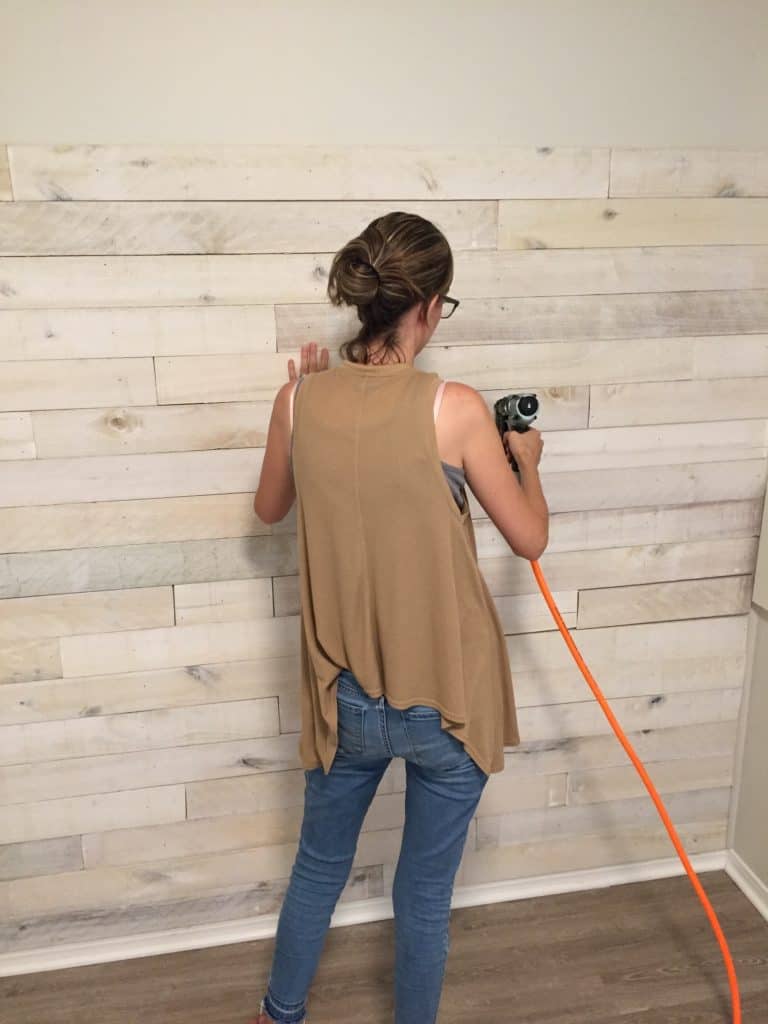
The first thing I wanted to add was wall boards. Wall boards add so much dimension and character. I happened to have a few left over from a previous wall board project in our old home.
These wall boards are white washed hardwood and are from Weaber Lumber. I love how authentic these boards are. They aren’t perfectly square and they have a very rough texture, but I think that adds to their charm.

You can see where I started nailing the wall boards at the bottom and worked my way up. I only went 2/3 the way up the wall with the boards because I knew I wanted to add a nice shelf above it.
Once the boards were installed 2/3 the way up the wall, I decided to add wall paper. I know I know, what is it with wallpaper? Hear me out.
Wallpaper used to be a JOB to put up and an even bigger JOB to pull down. Guess what? Most wallpaper today is peel and stick! Yep, this means it’s no mess to put up and even easier to pull down. You can see the difference between peel and stick vs. regular wallpaper here. I’ve even got a great video tutorial for you.
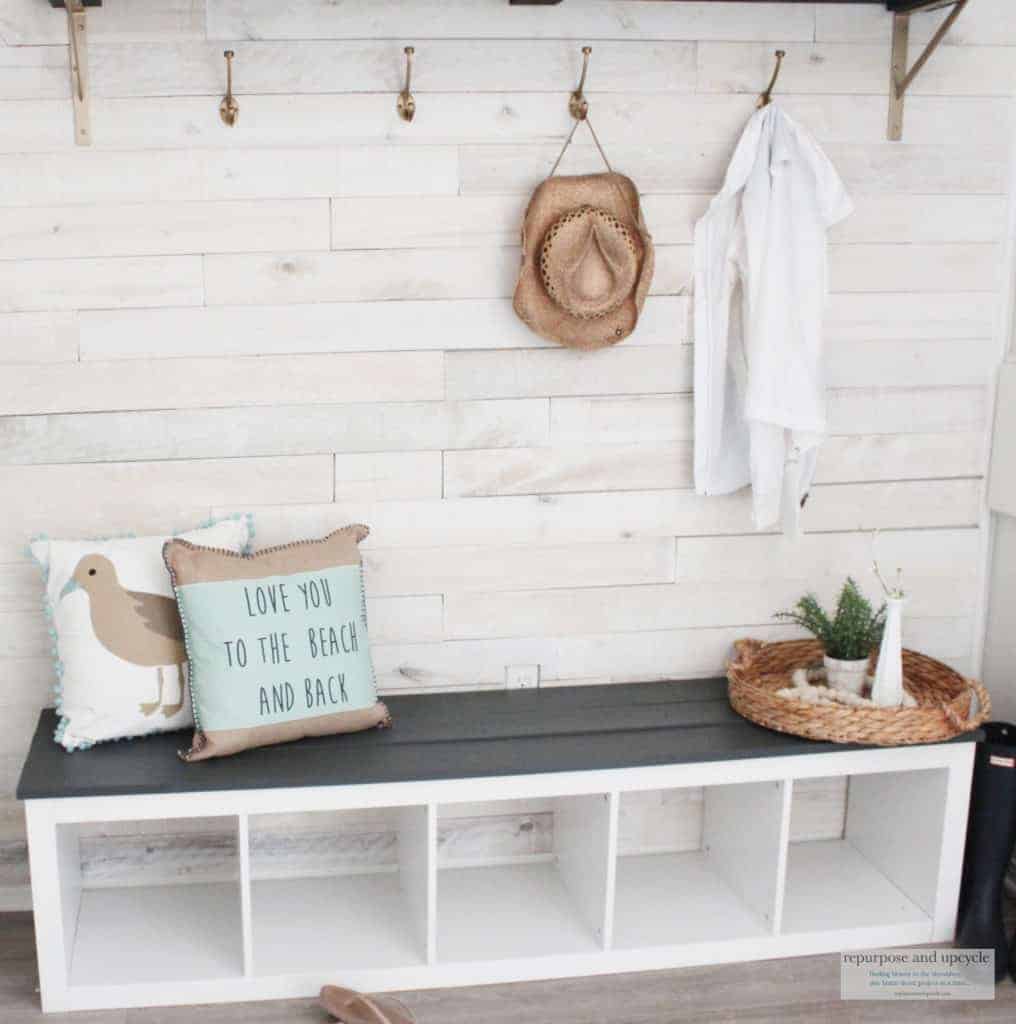
Now it’s time to add the Walmart bench!
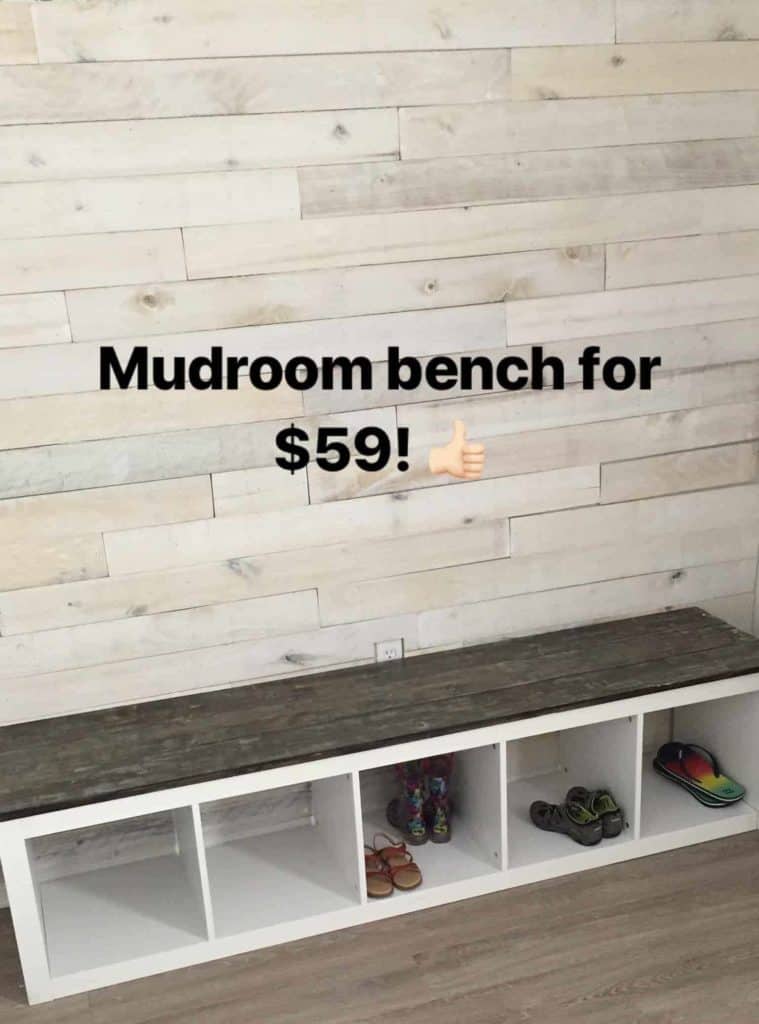
I loved the functionality of the shelf, but ultimately I felt like it still looked like a “shelf.” It just so happened that I had some old wood I previously used as a headboard in our old home. I thought I could lay it on top of the bench to make it look more finished.
Lucky me, it fit perfectly.
I still had 3 planks left over, so I decided to build a shelf!
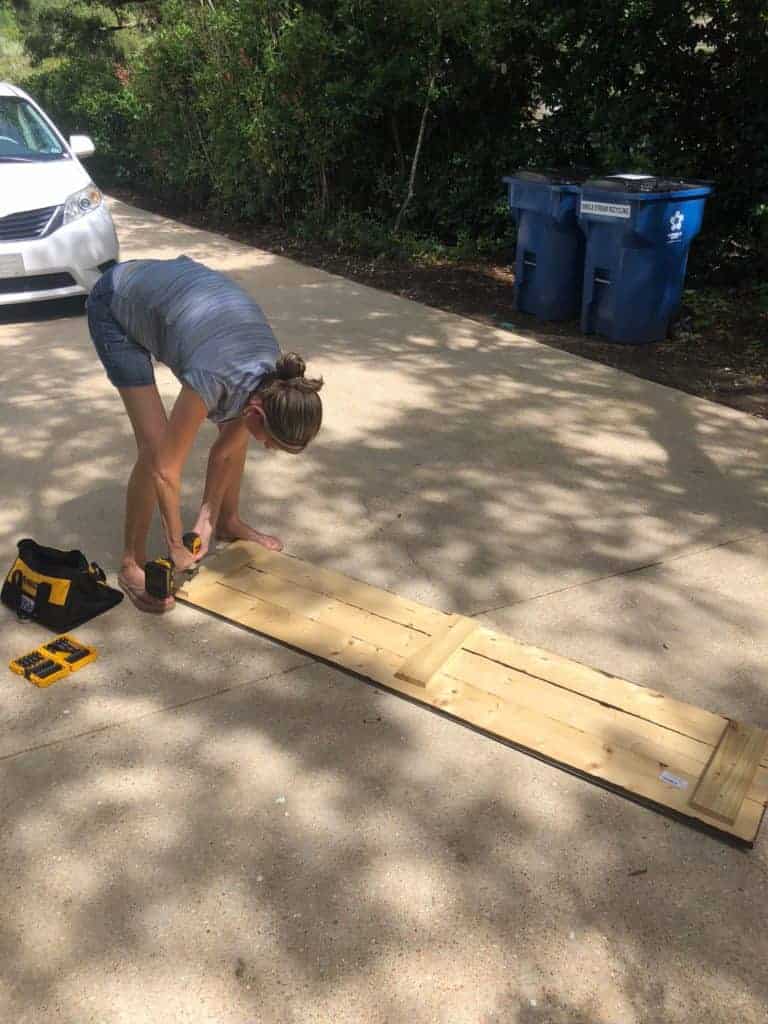
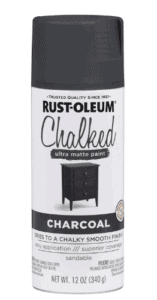
After I made the shelf, I painted the wood. I decided to go with a great spray paint that I’d used before for a chair makeover.
Next on the to-do list was hardware. I wanted to go with an aged gold color. I found the perfect hardware for a fraction of what you pay in the store! See all the sources at the end of the post.
I spray painted the hinges that hold up the top shelf with my favorite gold spray paint.
The last thing I did was add a little moulding to both sides of the wood boards to make it look finished.
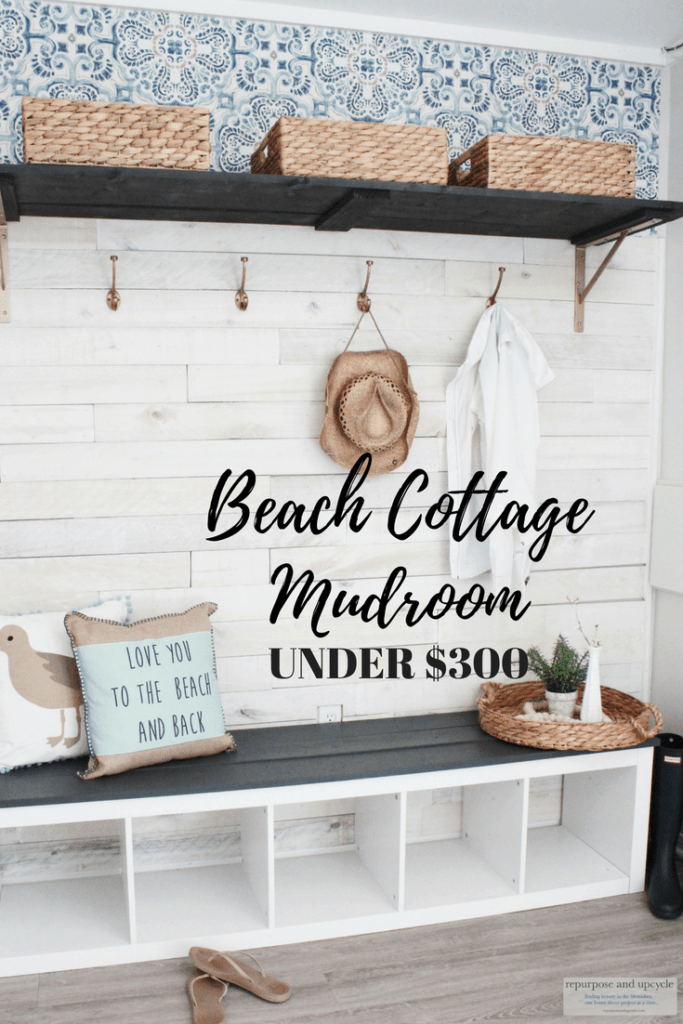
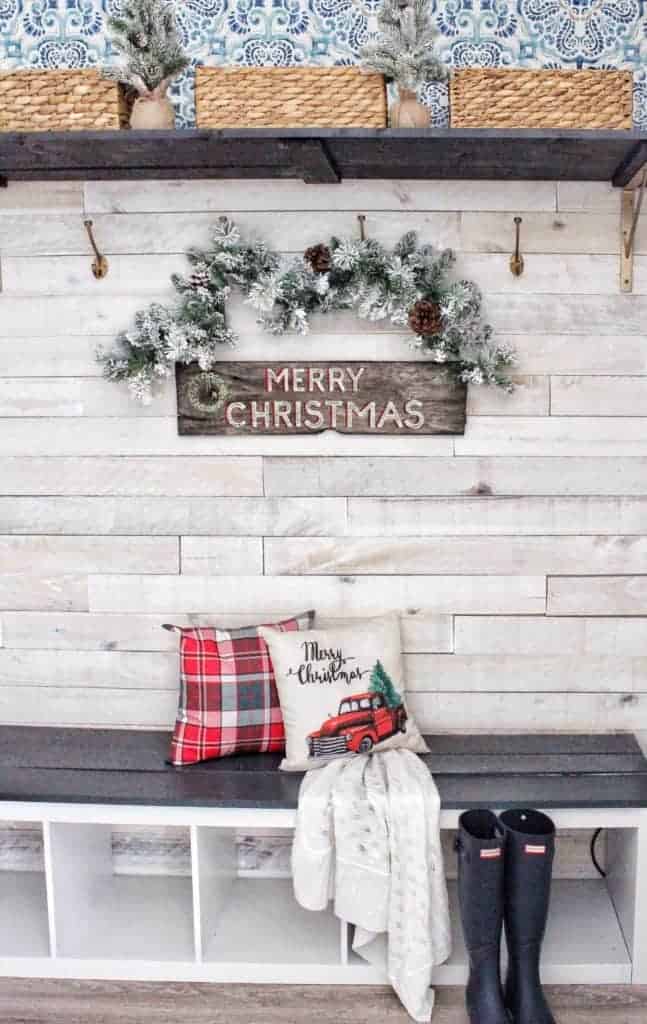
Budget friendly coastal cottage mudroom reveal


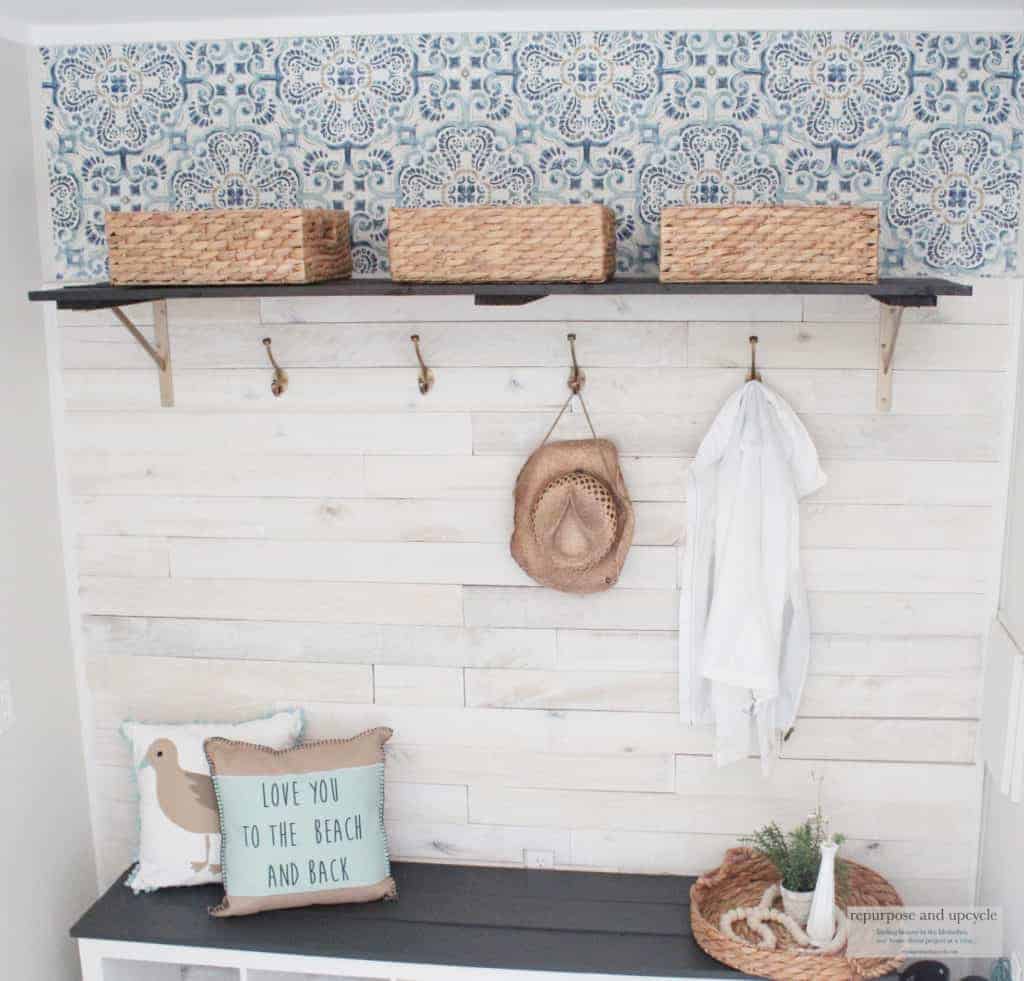
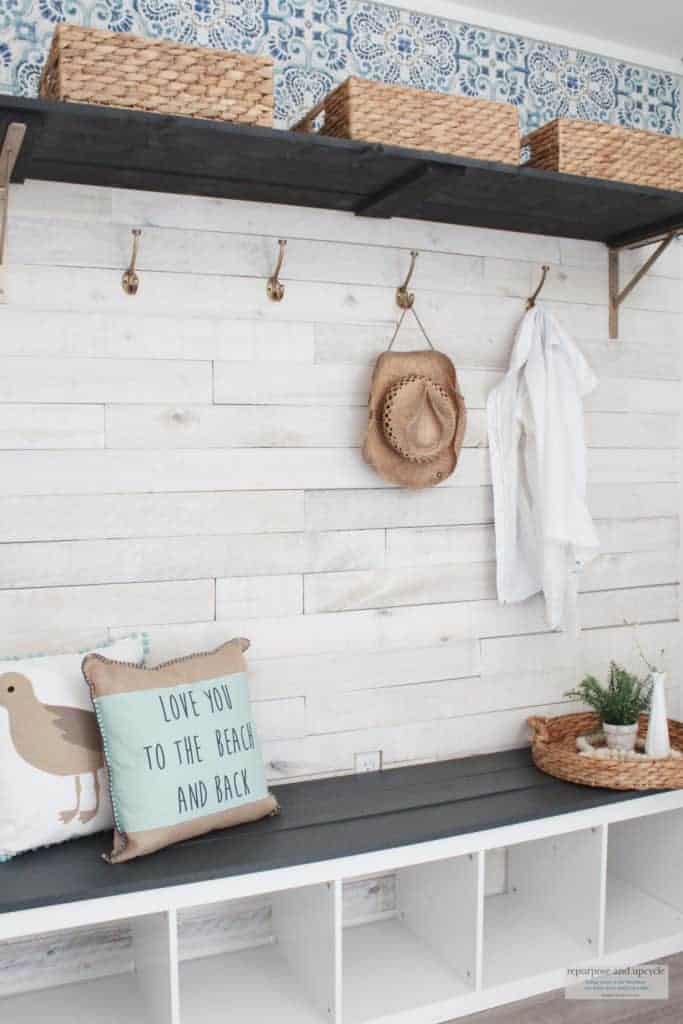
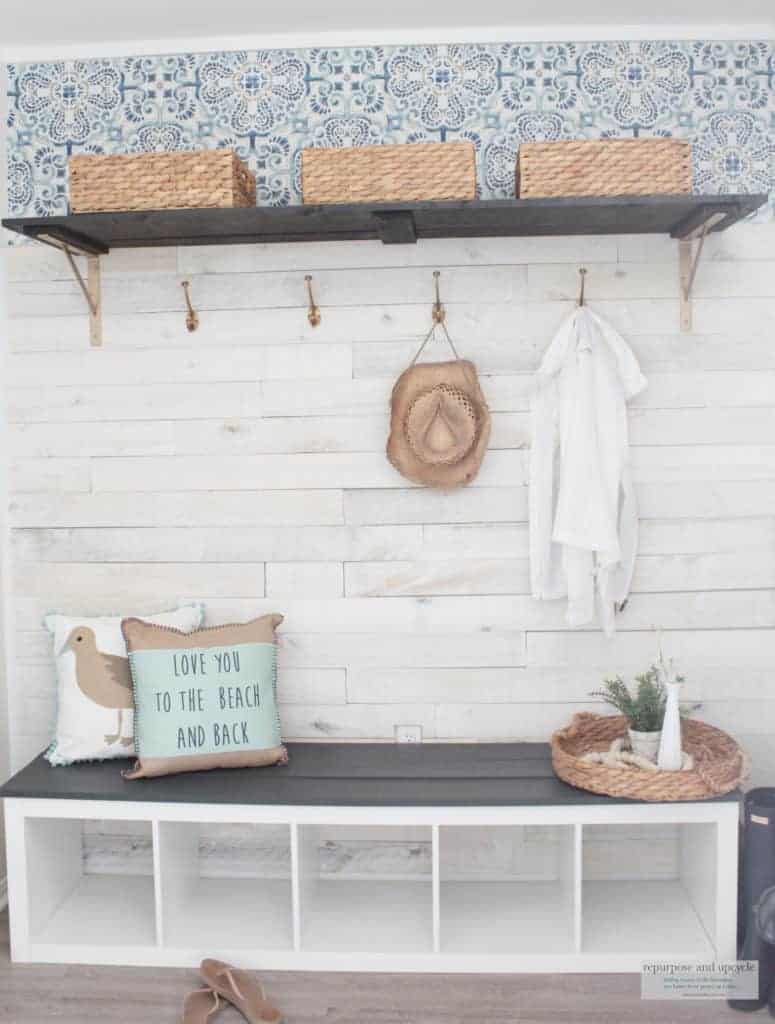
I’m so glad I have a functional mudroom space again!
Shop the post:
Brackets for Top Shelf– I spray painted them gold with THIS spray paint
And that’s it!
Total cost to build this coastal mudroom (without accessories):
- Bench: $60
- Hooks: $25
- Shelf hardware: $15
- Spray paint: $10
- Wallpaper: $50
- Moulding (beside the wall boards): $8
- Wall boards (these were provided by the Weaber Lumber, so I did not pay for them. You could make your own by ripping plywood sheets for under $40 at the most! We will say that the cost for the boards (on the low end) is $50.
- I already had the shelf and bench wood on hand, so that didn’t cost me anything. I purchased Pine boards that were about 1″ by 6″ wide and had the hardware store cut them to fit.
TOTAL COST: around $300
I’m so excited to finally have a dumping ground again.
This budget friendly coastal cottage mudroom is exactly what our rustic beach cottage needed.
Just in case you needed some Christmas mudroom inspiration, here ya go!
Thanks for stopping by guys!
Lindsey*


