We are finally here! Today I’m going to share the reveal for my daughter’s Vintage Chic girls room Makeover. This was my first time participating in the One Room Challenge and I will definitely be doing it again! Thanks so much to Calling it Home and Better Homes and Gardens for sponsoring the challenge. Are y’all ready to see the reveal?
Just a side note; If you are looking for sources I’ve linked them all at the bottom of this post.

If you stumbled upon my corner of the internet world from the One Room Challenge site, I wanted to say Welcome! My name is Lindsey and I’m just a souther gal with a desire to create. My goal for Repurpose and Upcycle is easy DIY projects, furniture flips and budget friendly home decor tips. I’m glad you’re here!
Before I get to the reveal, I want to share where we started.
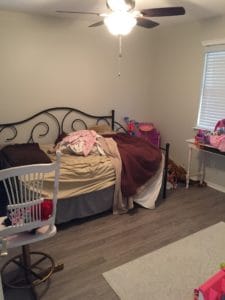
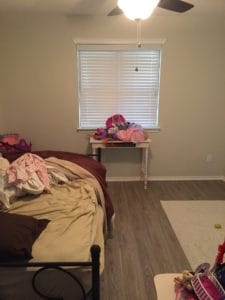
Dark and Drab! This room has a funny layout and is quite small. I thought a daybed would be the perfect option to help maximize space. After a little measuring, I decided that two twin beds would fit the space better and make the bedroom look larger.
I had a few requirements for this makeover;
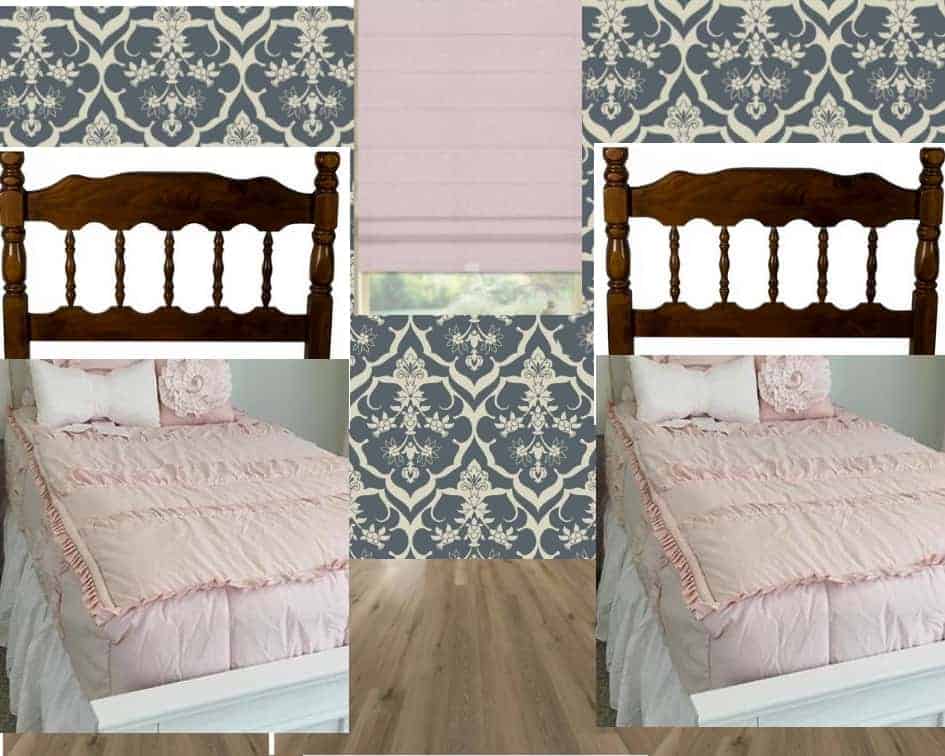
- remove the full size day bed and replace with two vintage twin beds
- add wallpaper around the window wall
- make a DIY fabric roman shade
- create a space for toy storage
- new bedding
- re paint her vintage desk
- add faux hanging chandeliers to the walls behind the beds
I can safely say I tackled them all except for the toy storage. That will just have to wait!
Disclosure: This post contains affiliate links. This means that if you purchase from one of these links I will receive a small commission but rest assured you won’t pay anymore for the product.
Let’s get started!
Vintage Chic Girls room makeover
Here was the original design plan. You can see all the details in the first week of the One Room Challenge.
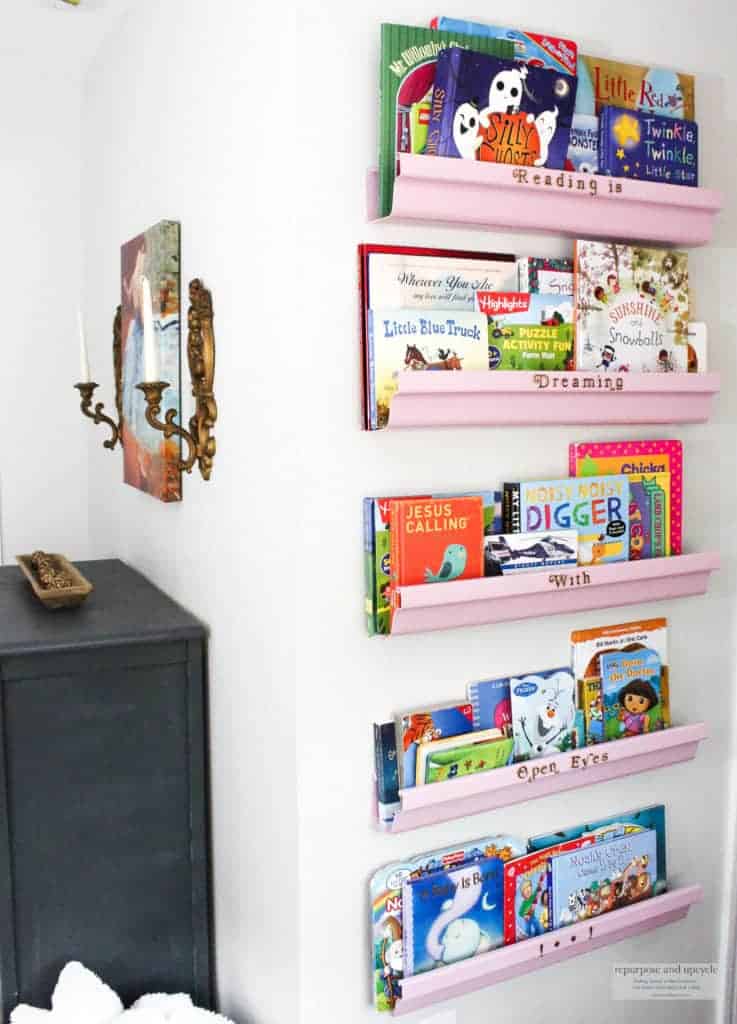
I also tacked a few DIY’s to kick start this room makeover.
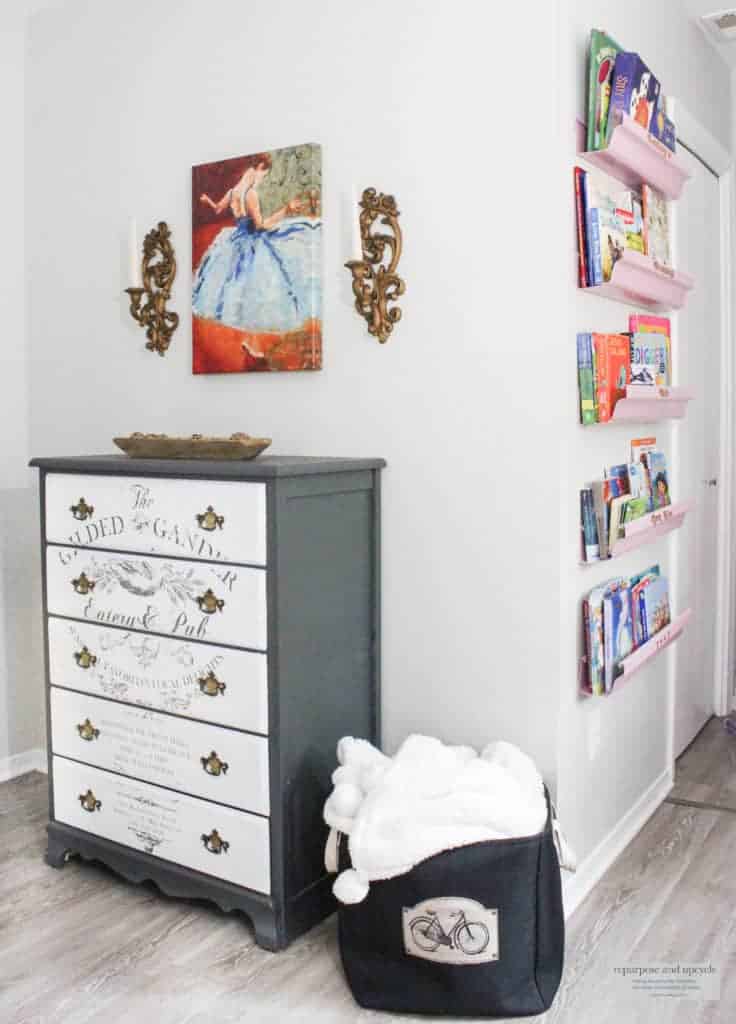
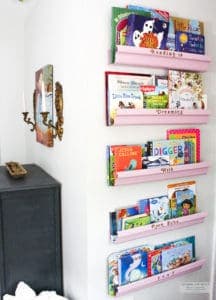
I love these DIY rain gutter shelves! It only cost $10 to make them.
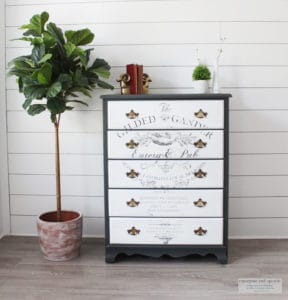
Turn the corner and you can see my daughter’s french provincial dresser.
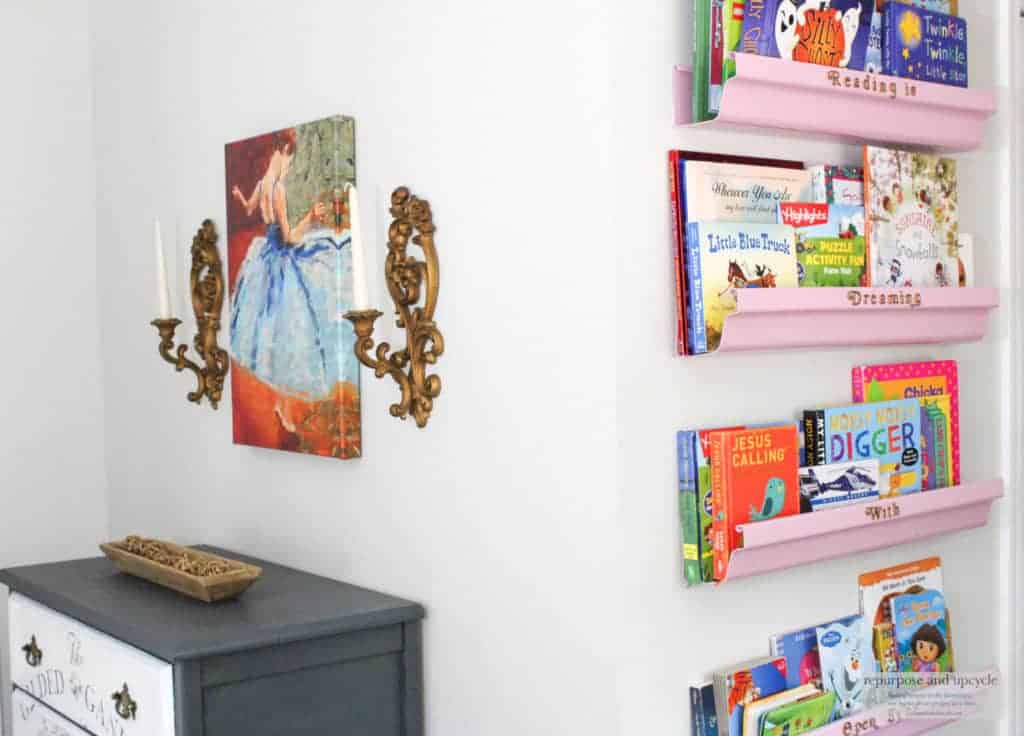
The picture was a gift to my daughter and the sconces were thrifted.
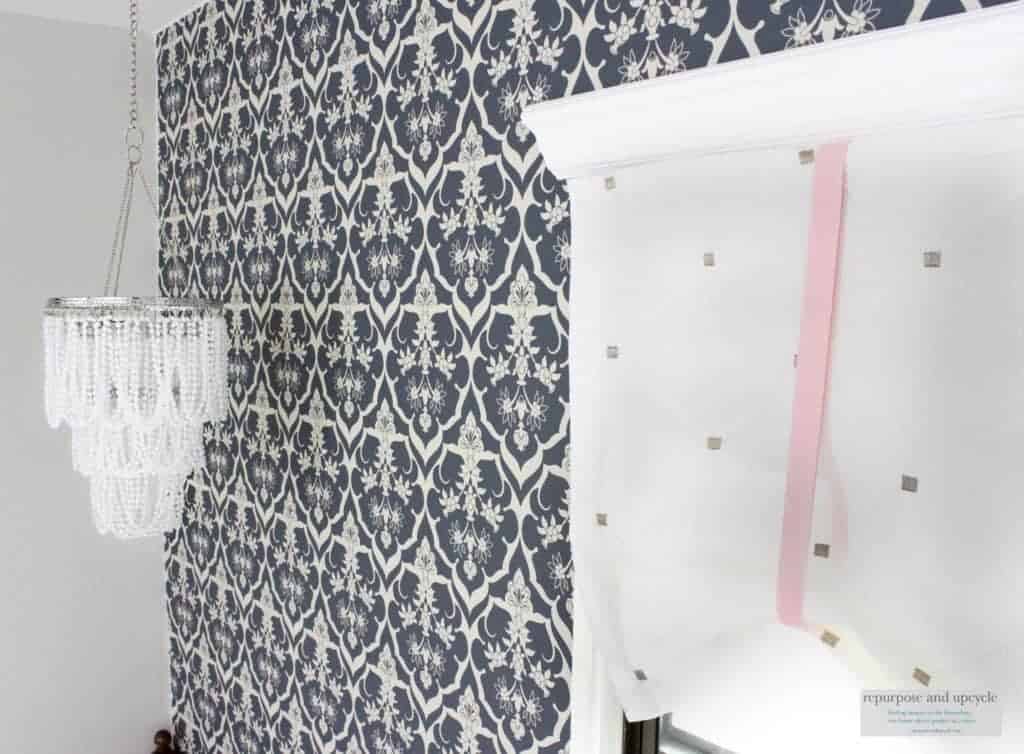
The second week of the One Room Challenge was all about the wallpaper. I used a peel and stick wallpaper that is a great renter friendly wall treatment option for those of you who don’t own your home.
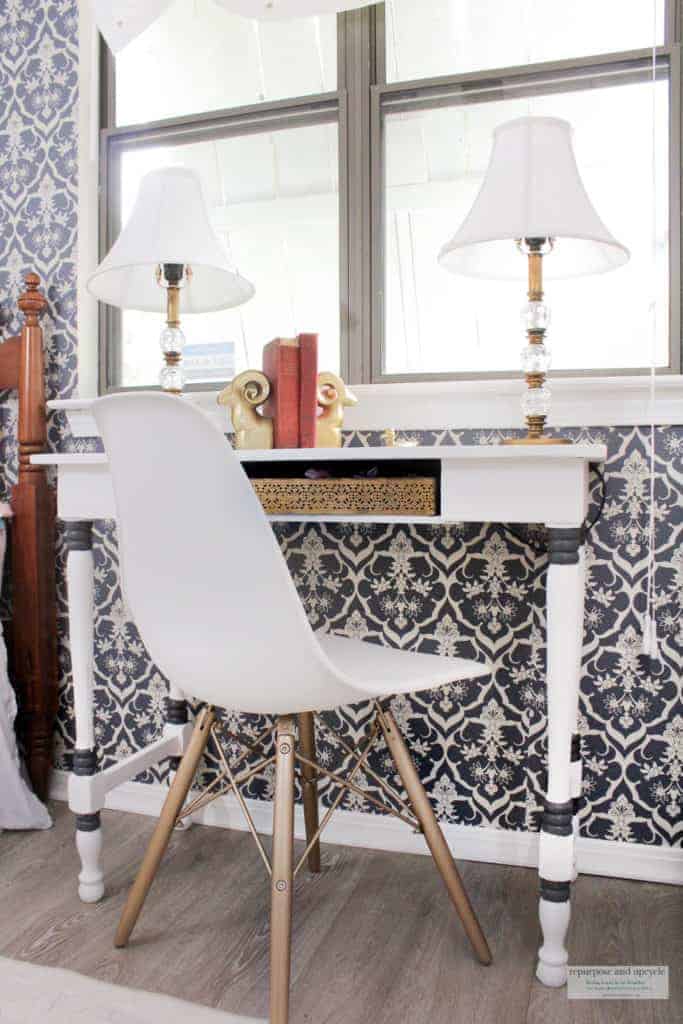
Week three of the One Room Challenge was all about my daughters desk makeover.
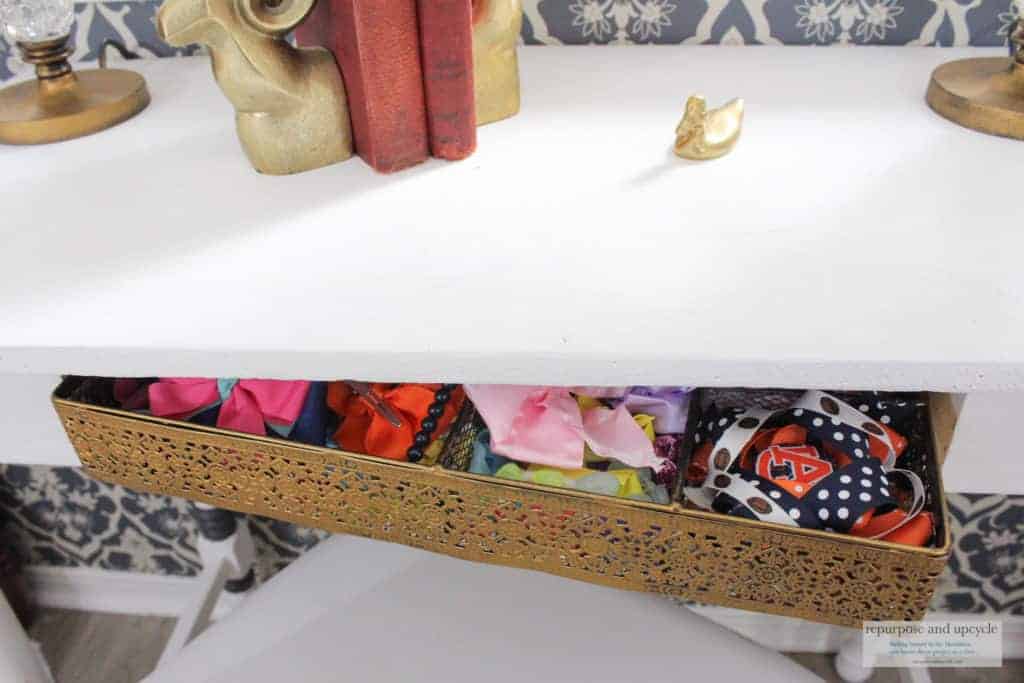
I love the DIY drawer space for her bows!
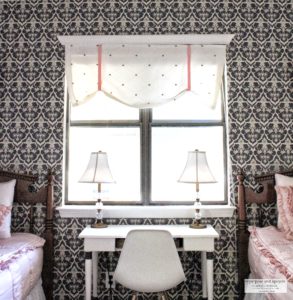
Week four was about the No Sew Roman Shade curtains! You’ll never guess that it used to be a shower curtain!
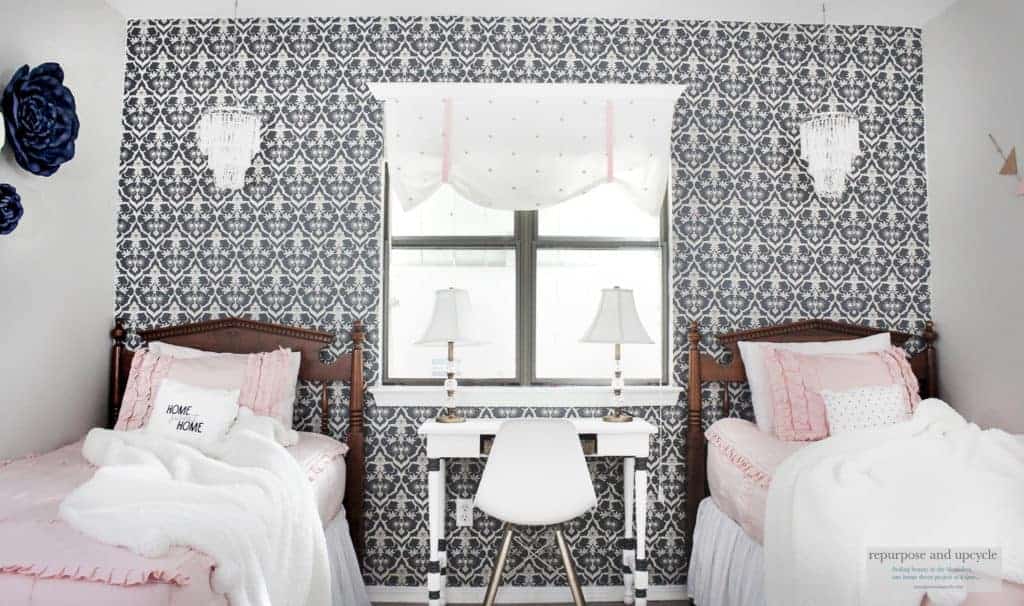
Week five wall about the accessories!
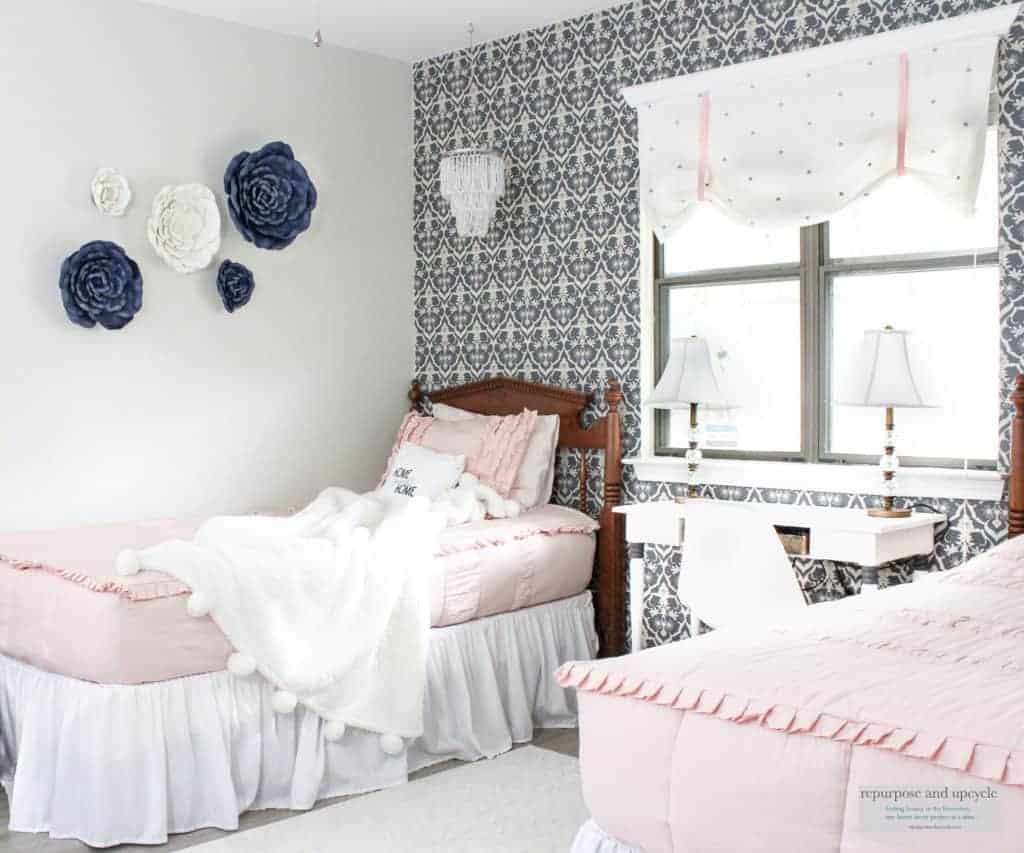
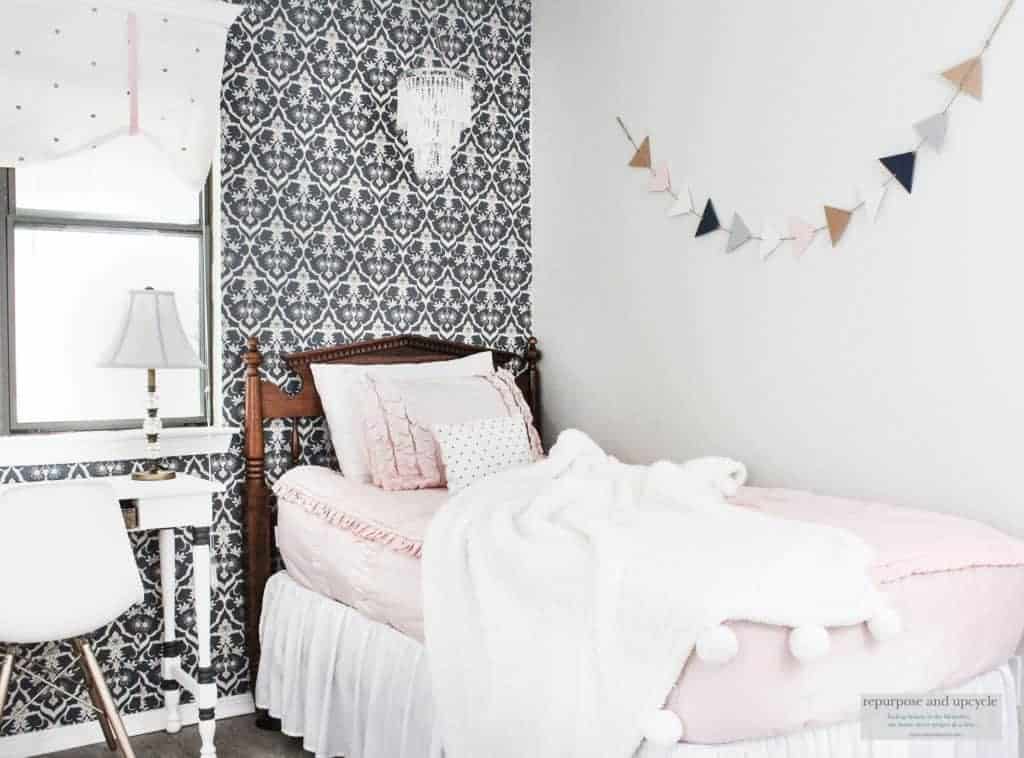
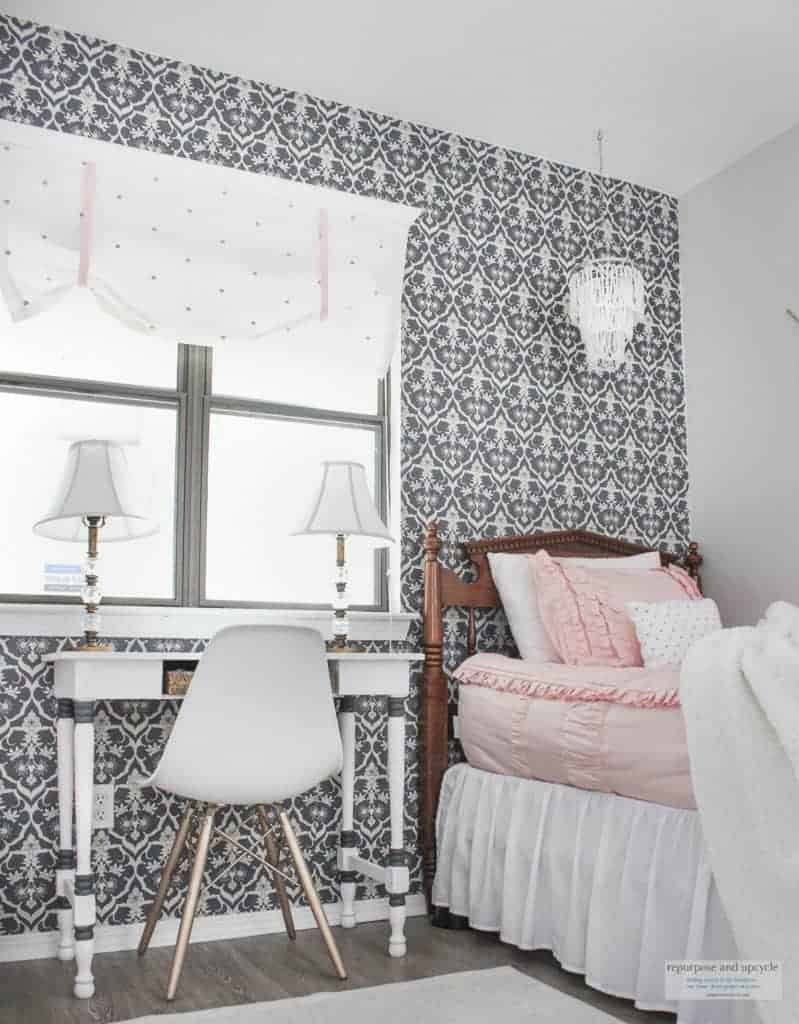
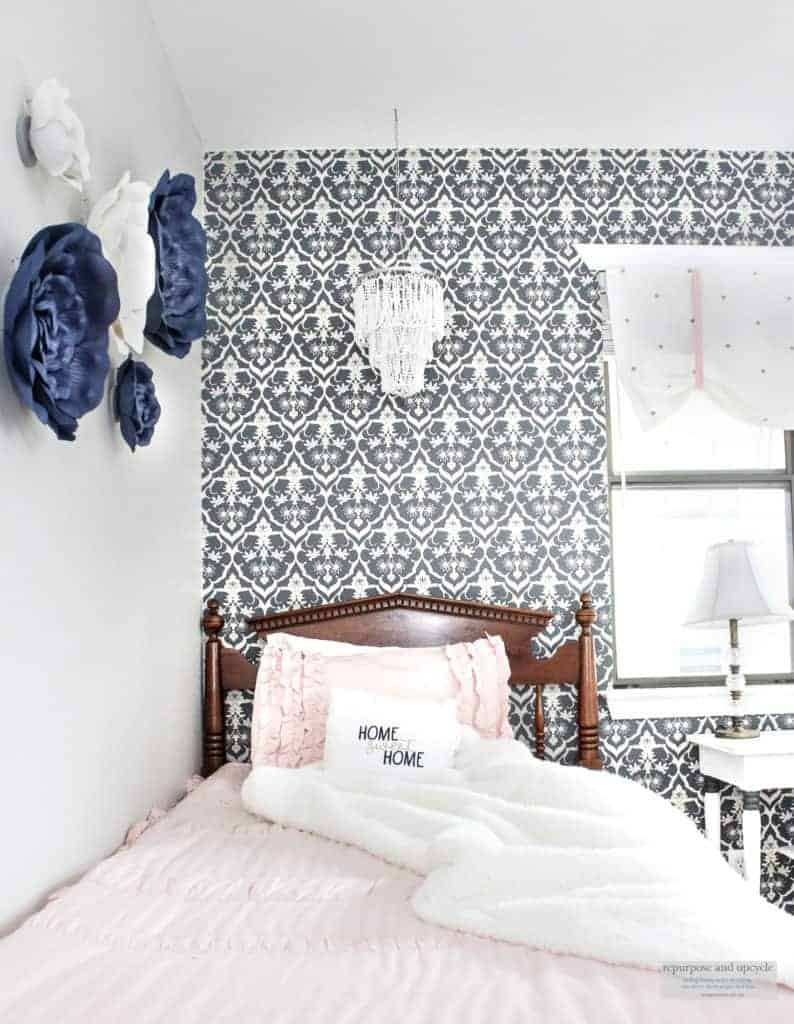
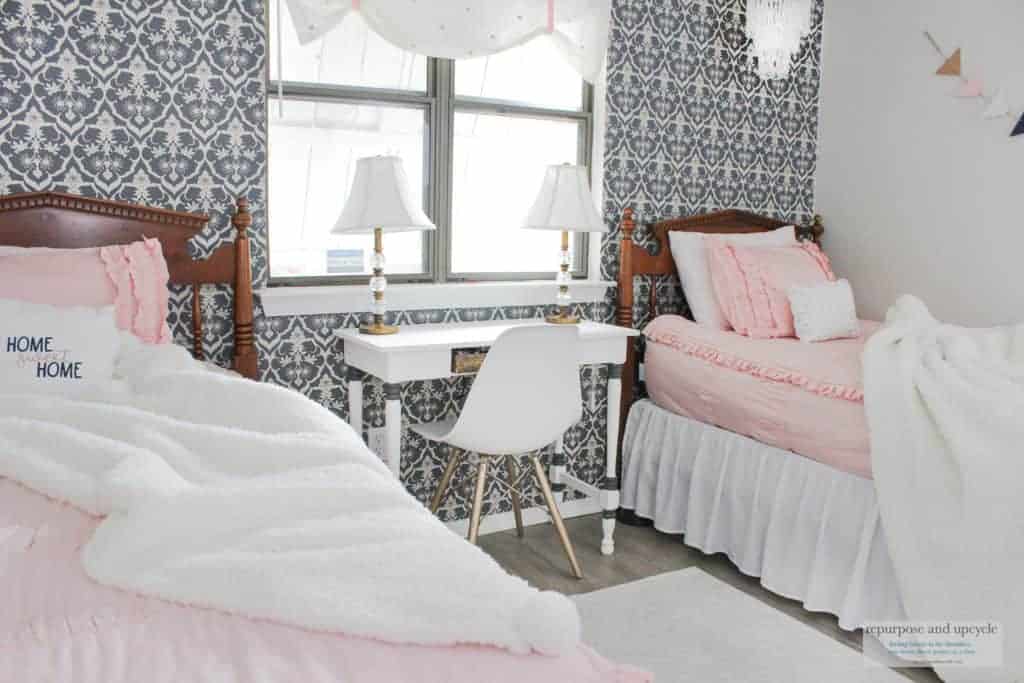
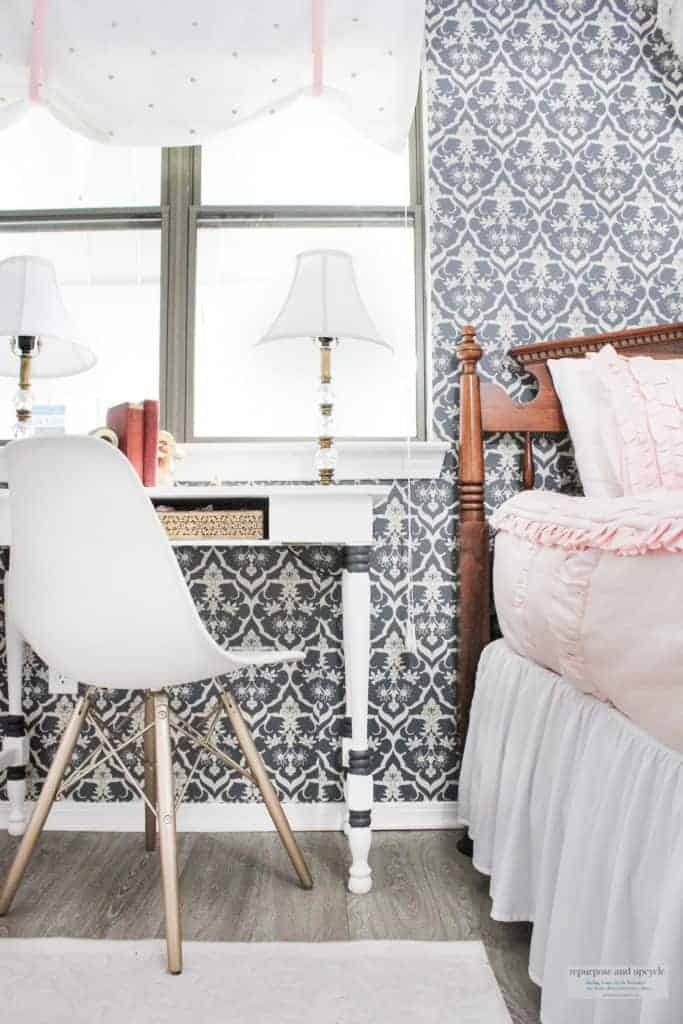
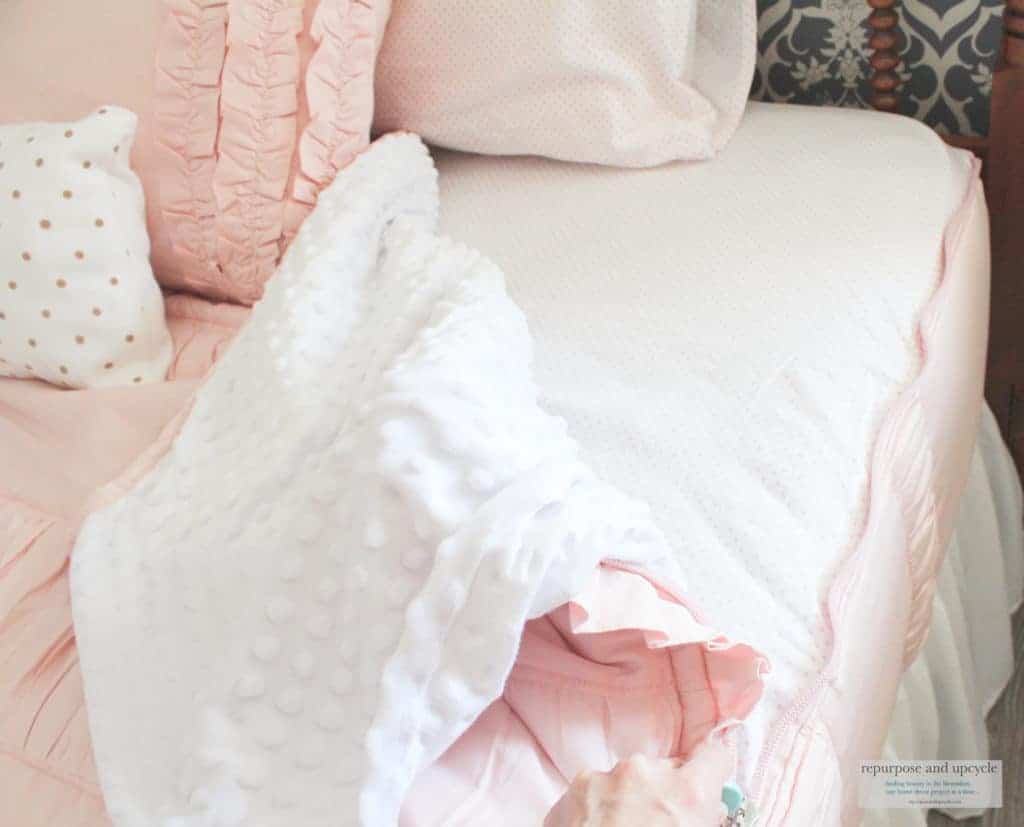
My daughter loves her new vintage chic bedroom!
I have to say I think I love it more.
Shop the Vintage Chic Girls Bedroom:

Repeel Removable Wallpaper, Damask Navy & Cream
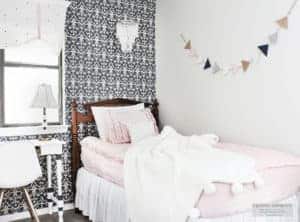
Beddy’s Bedspreads in Vintage Blush
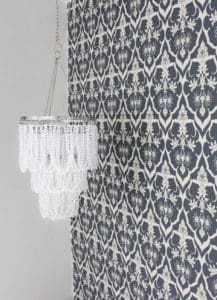
Pendant light cover “chandeliers”
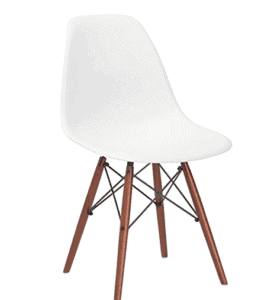
Vanity Desk Chair
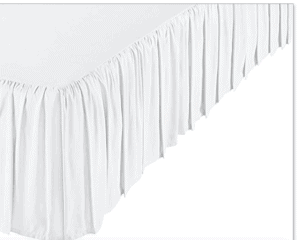
Amazon Basics White Ruffled Bedskirt
Related Posts:
Five DIY Rain Gutter Bookshelves Under $10
DIY No Sew Roman Shade or Valence from a Shower Curtain
How to Add an Antique Gold Finish with Rub N’ Buff

DIY No Sew Pillows from Tea Towels from the Target Dollar Spot
Thank you friends for following along this journey with me through the One Room Challenge makeover! I think I will be doing this again.
Lindsey**


