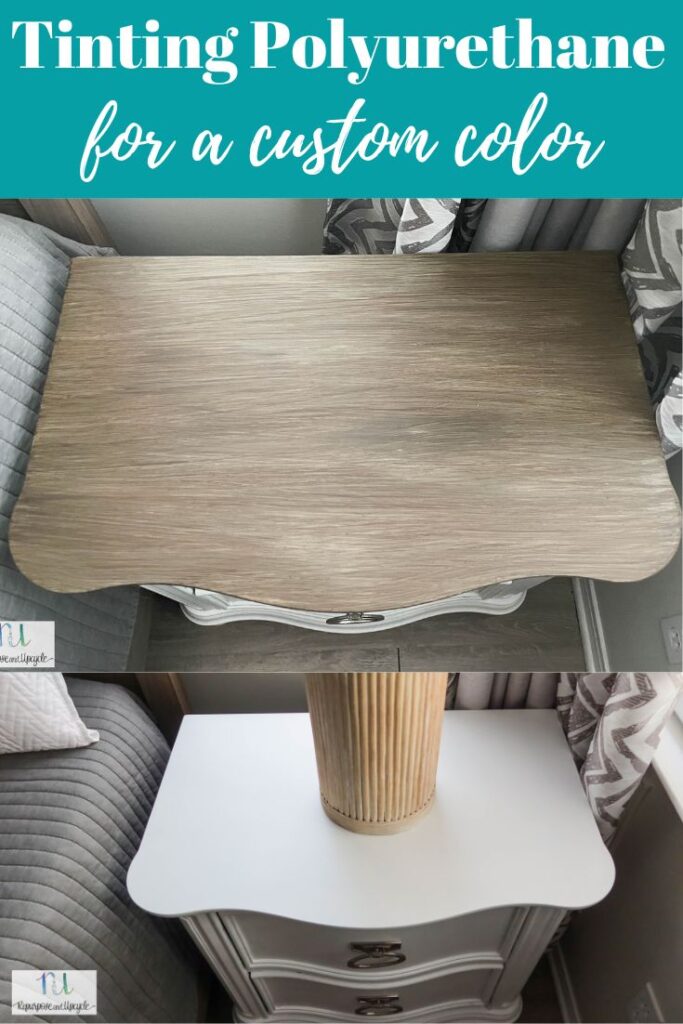
See how to TINT POLYURETHANE with dye and paint to create a custom color finish on a dresser is super easy! I blended water based polyurethane with wood dye AND also mixed the polyurethane with paint to create a custom finish to match an existing bed frame color.
You might remember not long ago when I painted these dark tables and dresser white with an ALL IN ONE paint. It was a huge improvement from that dark faux wood finish. That being said, I lived with them for a few months and still wasn’t 100% satisfied.
What I really wanted was to color match the existing bed frame finish to the bedside table and dresser. Honestly, I didn’t know if I could successfully recreate that finish. You know me, I’m always going to try.
The existing bed frame has a handful of different colors.
Side note; I’ve since updated this bed to match the side tables even more with white paint on the tops of the headboard and footboard. This was only after my dog chewed a piece of it and I had to repair the wood with Bondo.
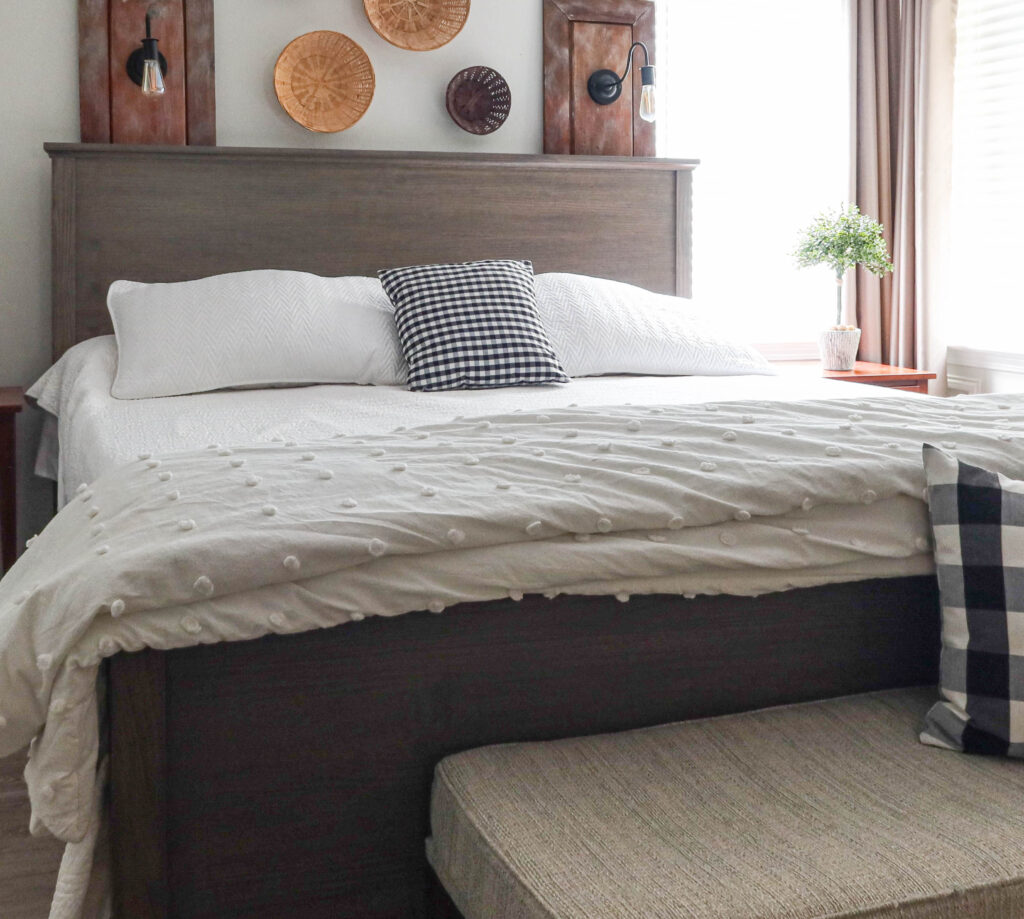
It’s not a real wood finish, but a faux laminate wood factory finish. Trying to color match this bed would be a challenge but I was up for it.
Let me show you a few steps I used to recreate the finish from the bed.
Color Matching a faux wood finish
There isn’t a perfect solution on how to color match a faux wood finish (especially a laminate factory finish like this one). The best thing you can do is try to match the blend of colors.
Pro tip: Remember that you can easily darken a stain or paint color by adding more applications, but it’s much harder to lighten a color. Most of the time you will have to strip the color by sanding or by using a paint stripper.
First Identify the lightest color. This will be used as the base color.
Because of this, it won’t hurt to choose a color that’s one shade lighter than what you think is the base color.
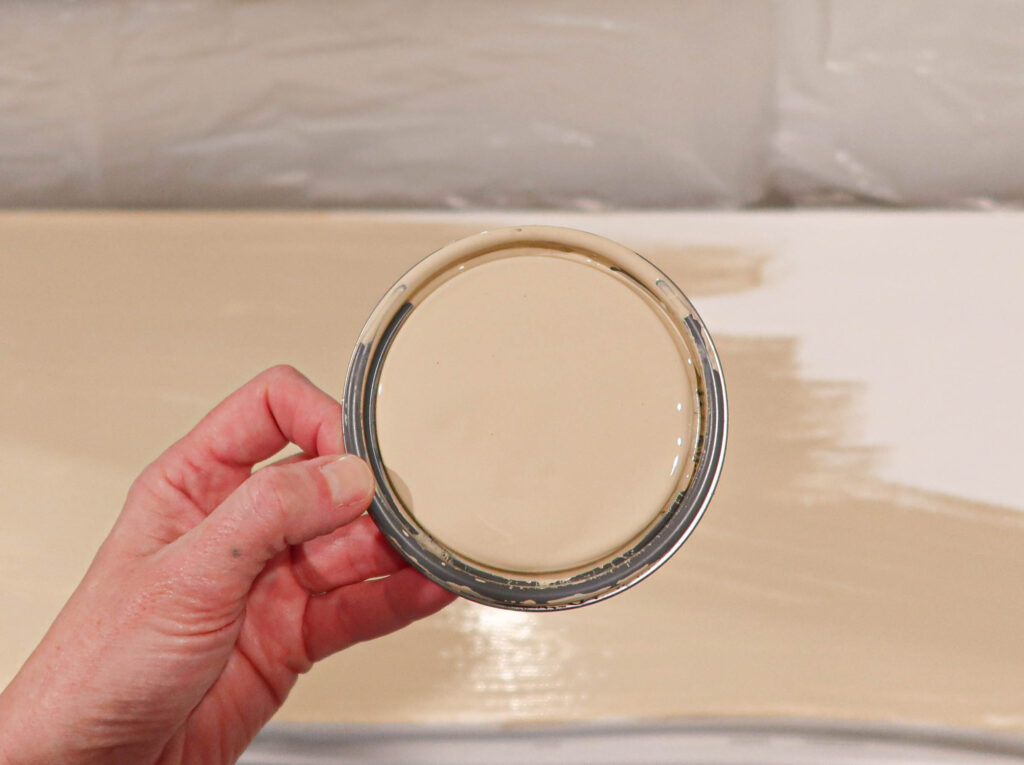
Pictured above is the base color I chose. Would you have chosen this color from my master bed frame?
If you look closely at the colors in the bed you will notice a light beige color like this.
I had this color mixed into a latex paint for the base coat.
Next identify a few more shades of color.
I know the bed frame has a blueish purplish tone with brown tones on top. I had the perfect color in my paint samples.
The bed also had lots of darker wood tones. I decided to use a dark wood tint to create a custom blend of dark wood colors. I previously mixed this wood tint product with polycrylic to tint our dining room table a different color.
I had the perfect blueish color paint that I thought might work. It’s a Fusion Mineral paint product in the color Blue Pine.
Disclosure; this post contains affiliate links. As an Amazon Associate I earn from qualifying purchases. This disclosure statement refers to the rest of the Amazon links in this post. See more on my disclosure page.
Materials Used:
- Transtint dye in Dark Walnut
- Water based Polyurethane
- Fusion Mineral Paint
- Chip brushes
- Old cups or disposable cups
- Cleaner or degreaser
Before you begin any paint or stain product, make sure to clean and degrease your furniture surface really well.
Before I dive into this project, let me share another post where I explained how to tint polyurethane. If you are looking to add a little color to a clear sealer product and not necessarily color match another surface, this would be a better post for you.

Mixing Paint with Polyurethane
The best paint to use to tint polyurethane with is water based latex paint. The biggest key point you need to know is to blend water based products with water based products and oil based products with oil based products. After all, oil and water don’t mix.
There are a handful of experts that say not to blend chalked paint products with sealers but I couldn’t find any documentation about mineral paints.
That being said, I already had the perfect color in Fusion Mineral paint so I decided to give it a try.
See more on how to pick the right paint product including if and when you CAN paint water based paint over oil based paint and visa versa.
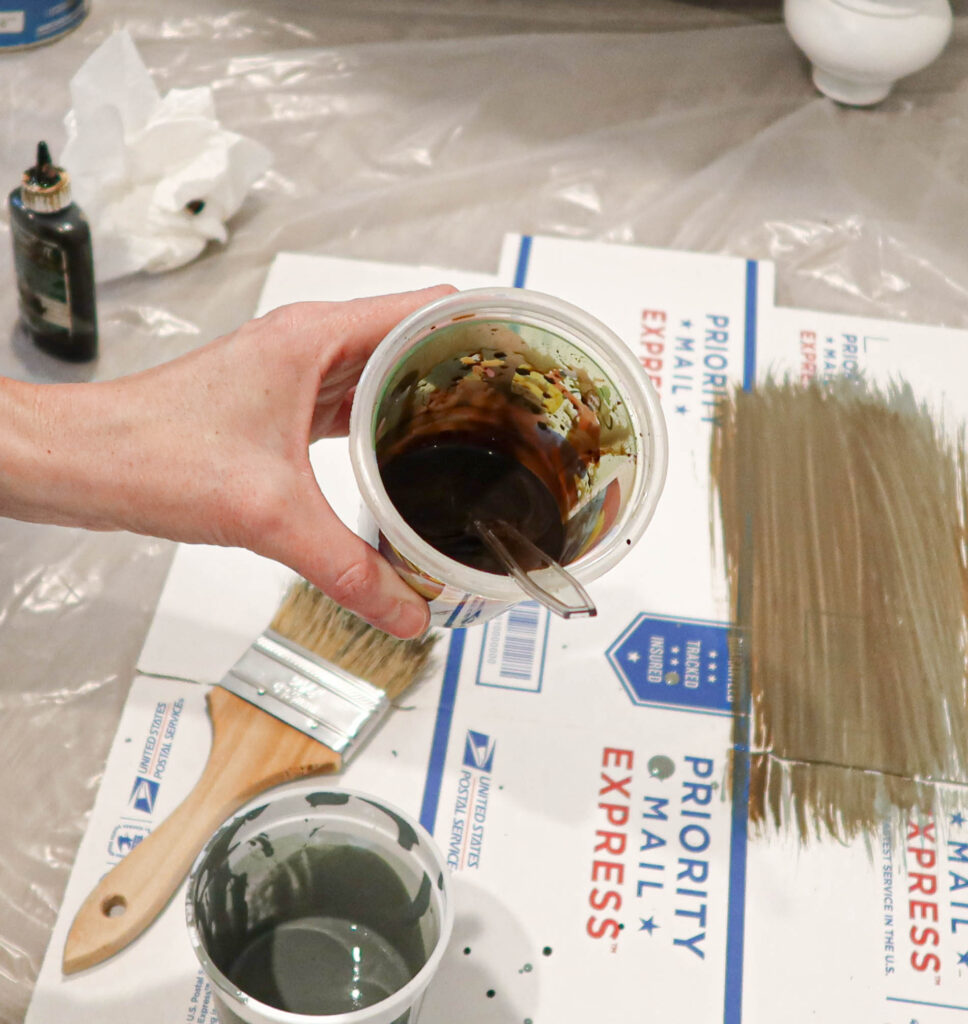
Below are the products I used to mix with the Polyurethane. Like I said I used Fusion Mineral paint and a Transtint wood dye product.
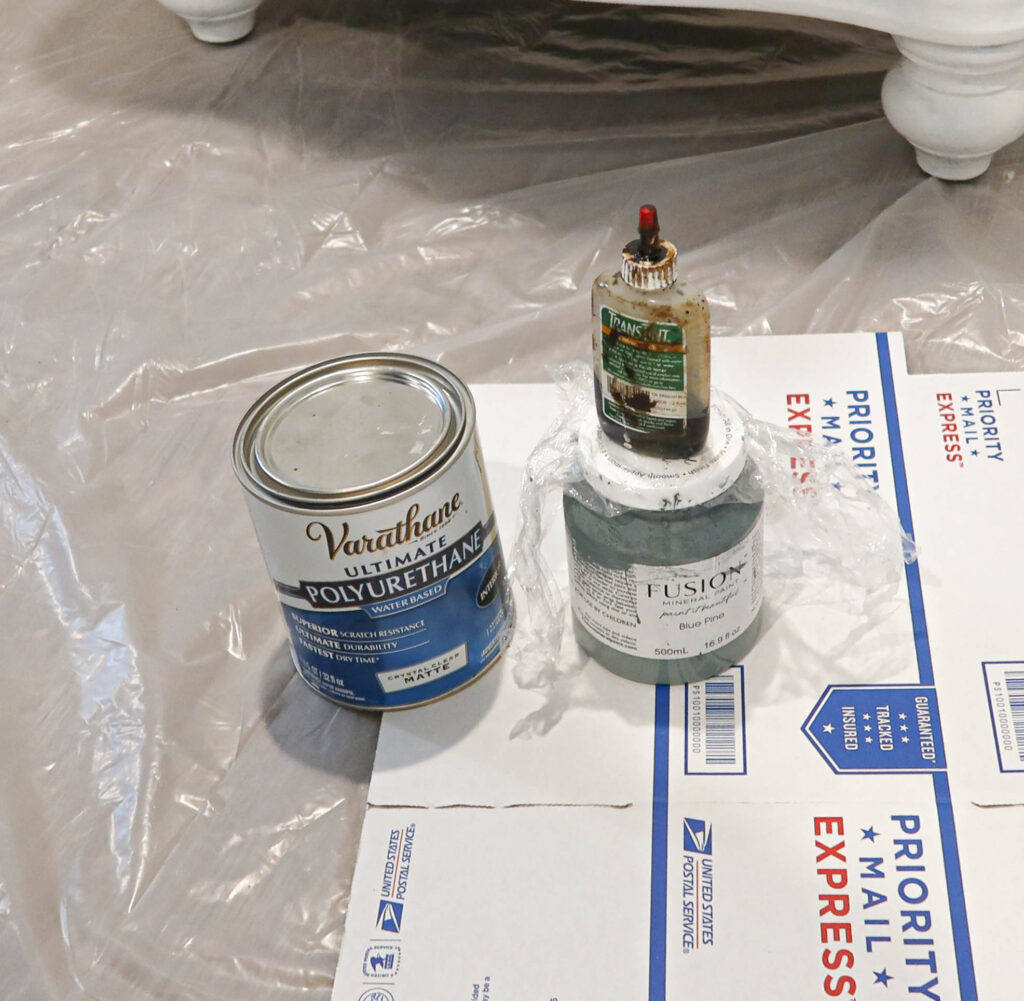
Note that all three of these products are either water based or water based compatible. This is so very important when mixing poly with paint or stain.
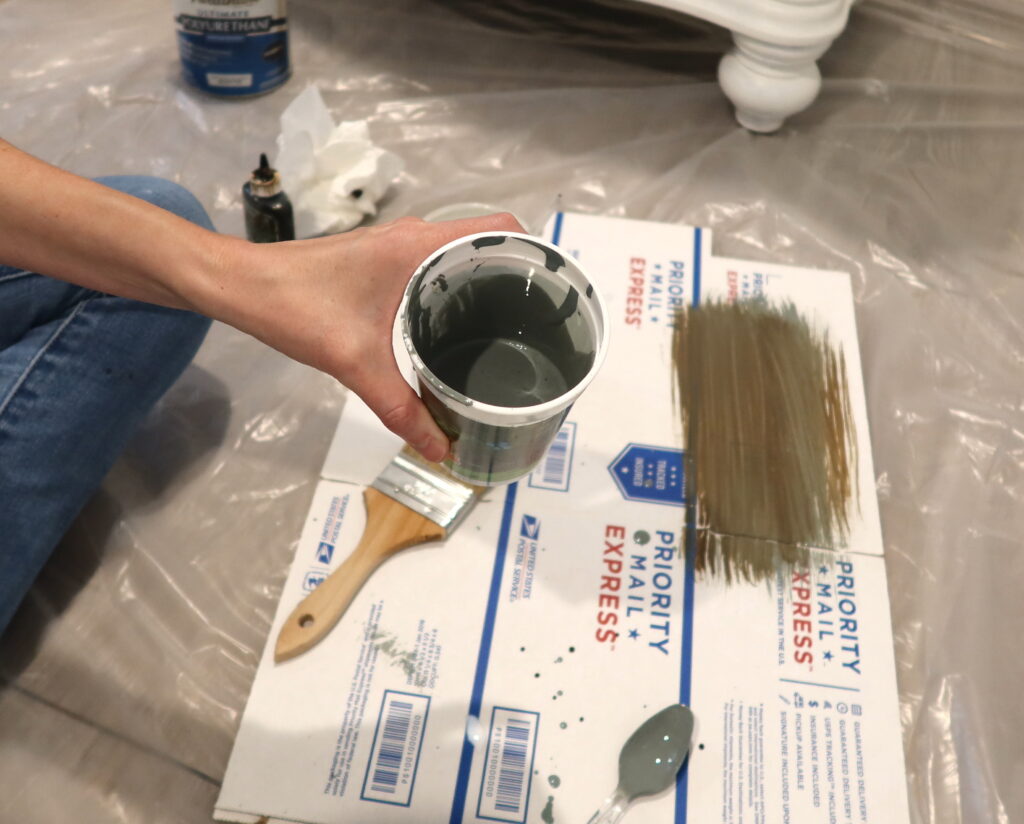
You might be wondering how to mix poly with paint? Again, there isn’t a magic formulation for this. I mixed a 1:1 ratio of poly to Fusion Mineral paint.
Mixing Polyurethane with dye
Make sure to use a dye product that’s compatible with your sealer. If you have a water based polyurethane, buy a water based compatible dye and visa versa.
The dye product manufacturer will give you specific instructions on how to mix it with a sealer product.
Most wood dye products are compatible with water based sealers. I used a product called Transtint. It’s one of my favorite dye products. I’ve used a Keda Wood Dye product in the past but the Transtint is still my favorite.
For this project, I mixed about 15 drops of wood dye in with about one cup of polyurethane.
What brush do you use to apply Polyurethane?
Synthetic brushes are the best choice for applying polyurethane to achieve a smooth finish. These brushes are made with synthetic material like nylon or polyester.
That being said, I’m using a natural bristle brush today to get more of a wood like texture.
After I applied 1 coat of the base latex paint product to the dresser and side tables, I began applying the tinted poly.
Applying the tinted polyurethane to the dresser and side tables
The first coat I applied was the paint and poly coat. I used a natural bristle chip brush with a small amount of the paint/poly blend and applied it in long brush strokes.
I let the first coat sit for about 10 minutes (not completely dry) and then used a separate clean chip brush to apply the dye and poly blend over the first coat in the same long brush stroke pattern.
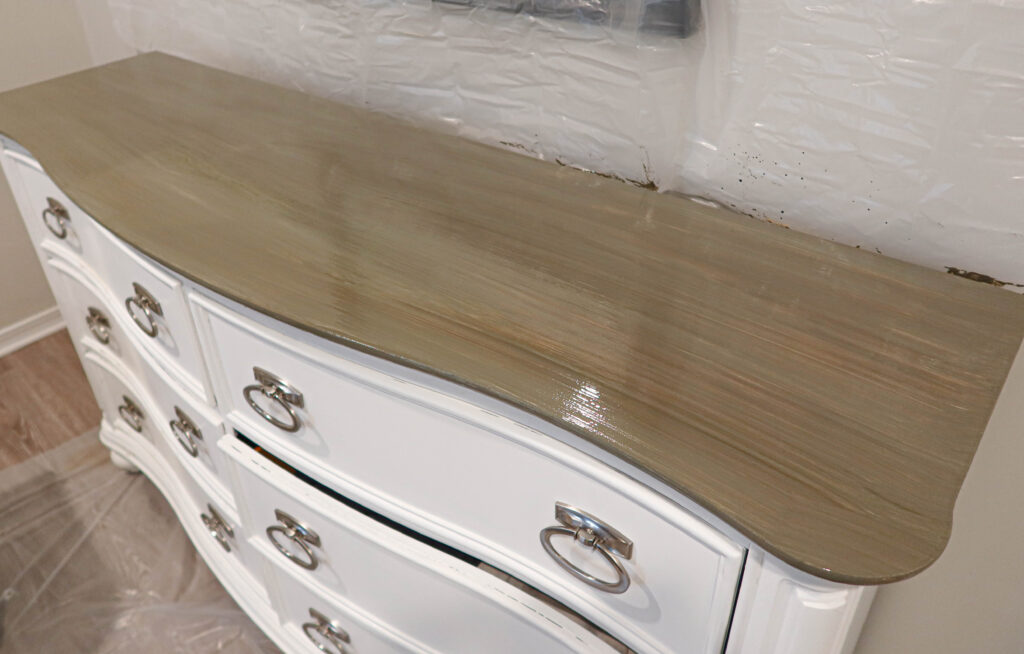
Below is what it looked like after about 10 minutes. It started to dry really fast!
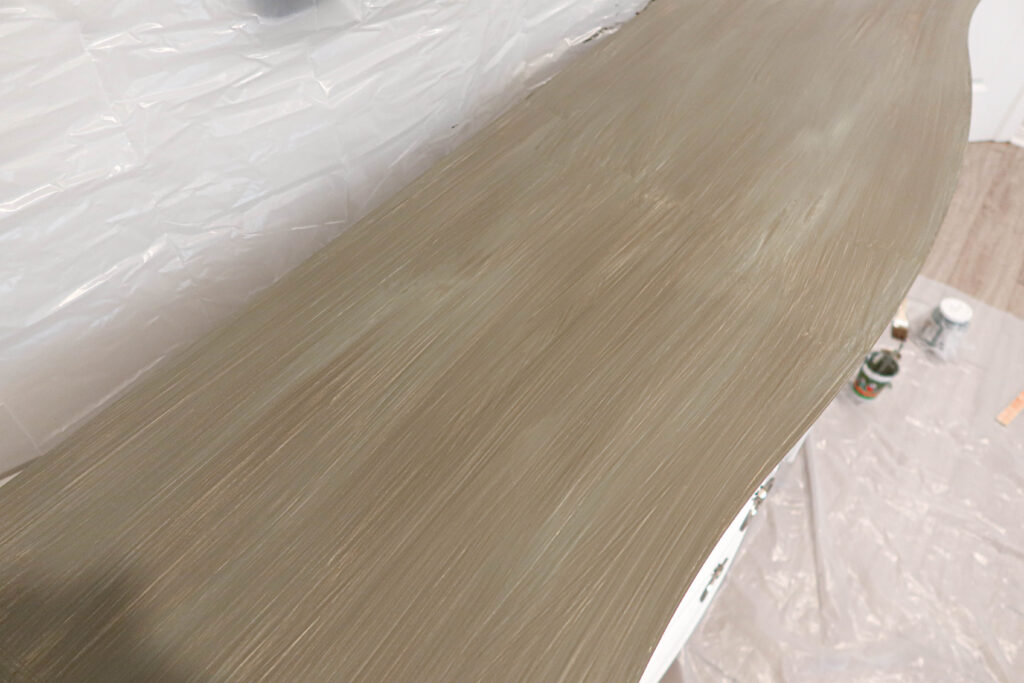
I let that dry for about twenty minutes and applied one more very light polyurethane and dye coat over the top.
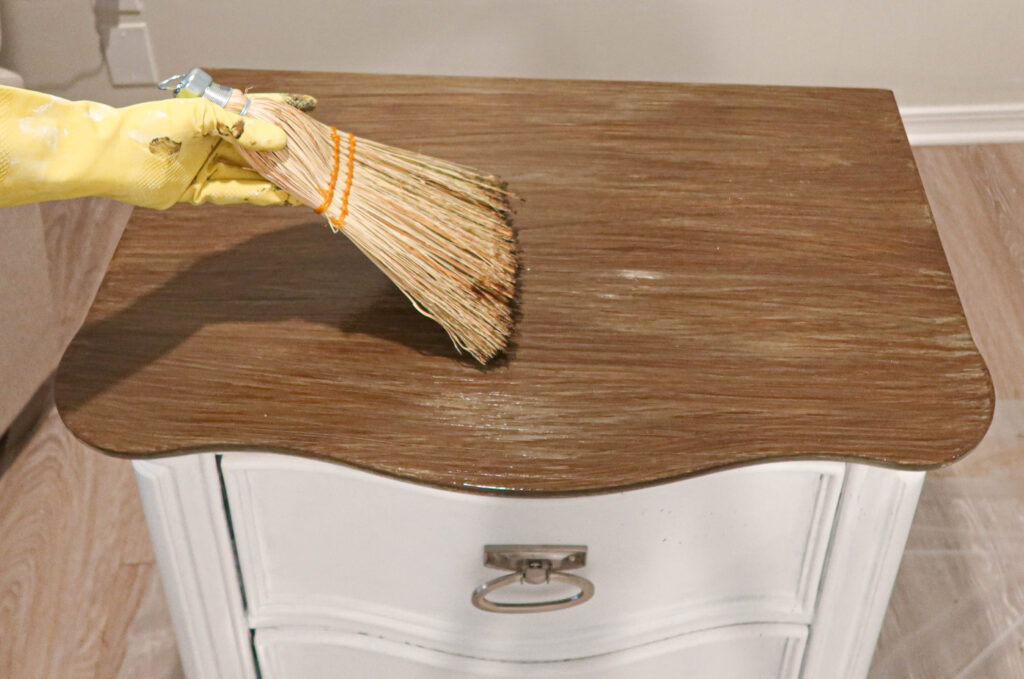
Immediately after applying the last coat I used a broom to create more texture to the surface. If you watch the video, it will show how I ran the broom over the surface of the tables and dressers in one long sweep (no pun intended, LOL).
I let this sit for a few hours to dry. It did take a few days to completely cure so I made sure not to put anything on the surface for at least 48 hours.
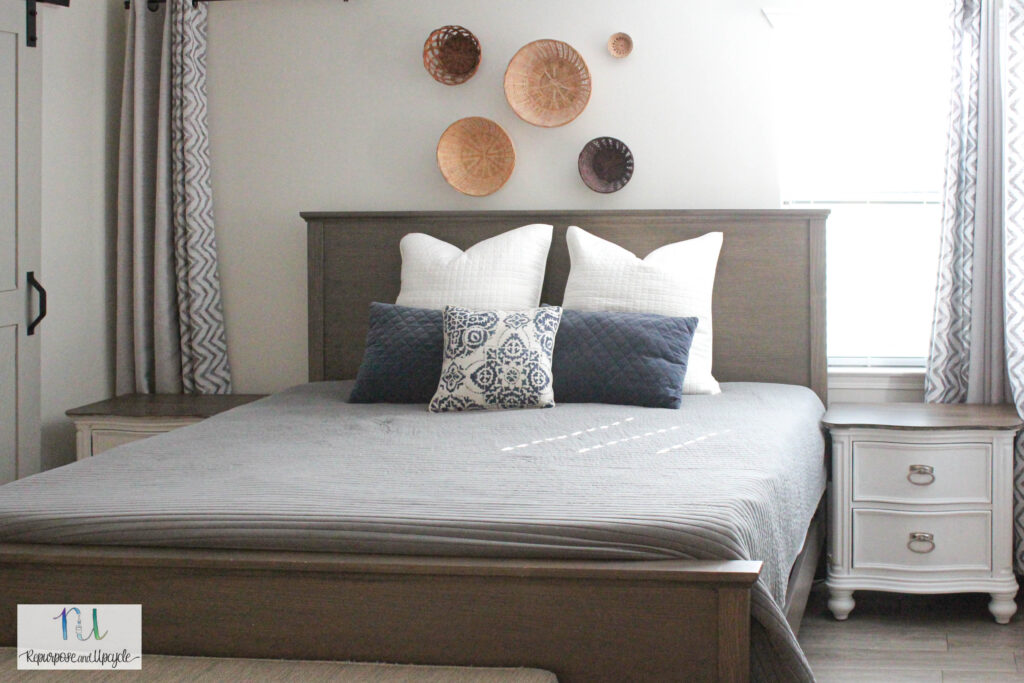
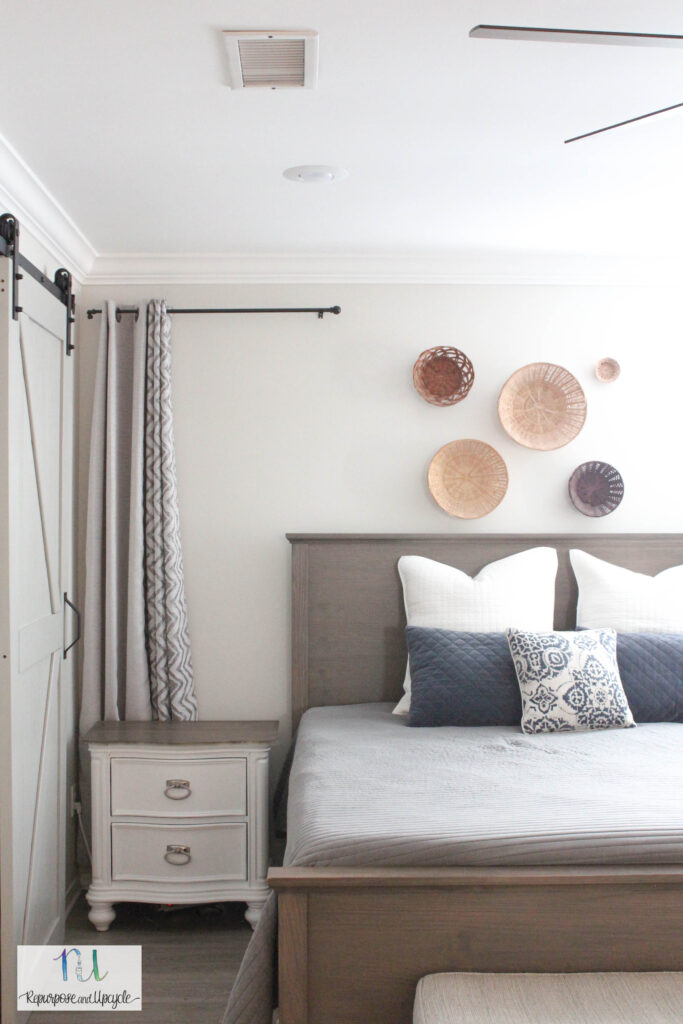
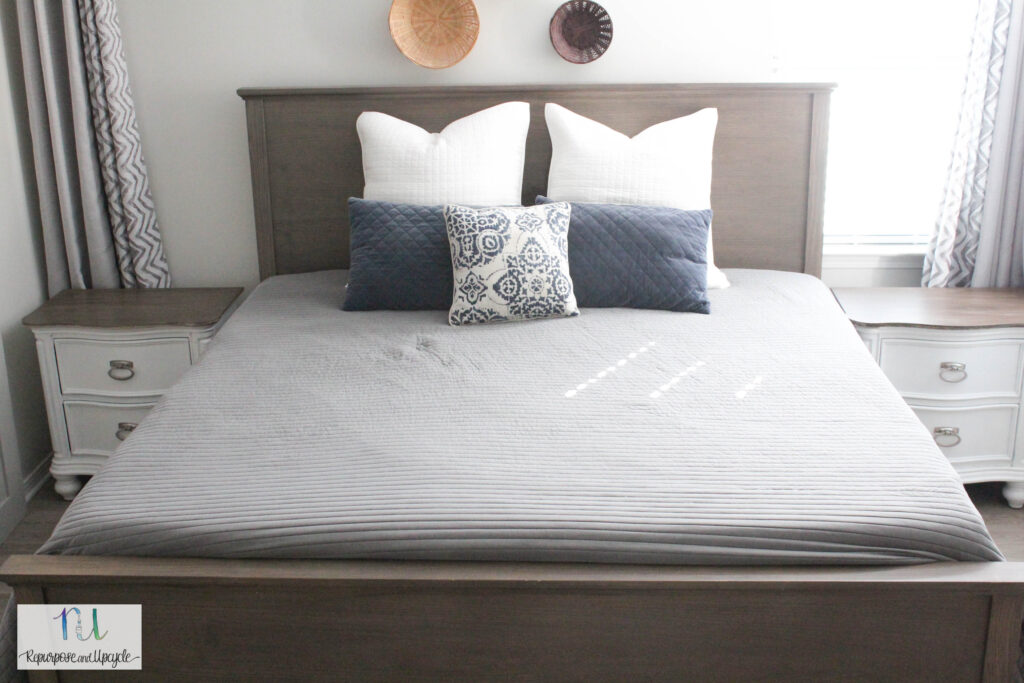
Dresser and side tables with Tinted Polyurethane table tops
I love the way my bedroom furniture matches now!
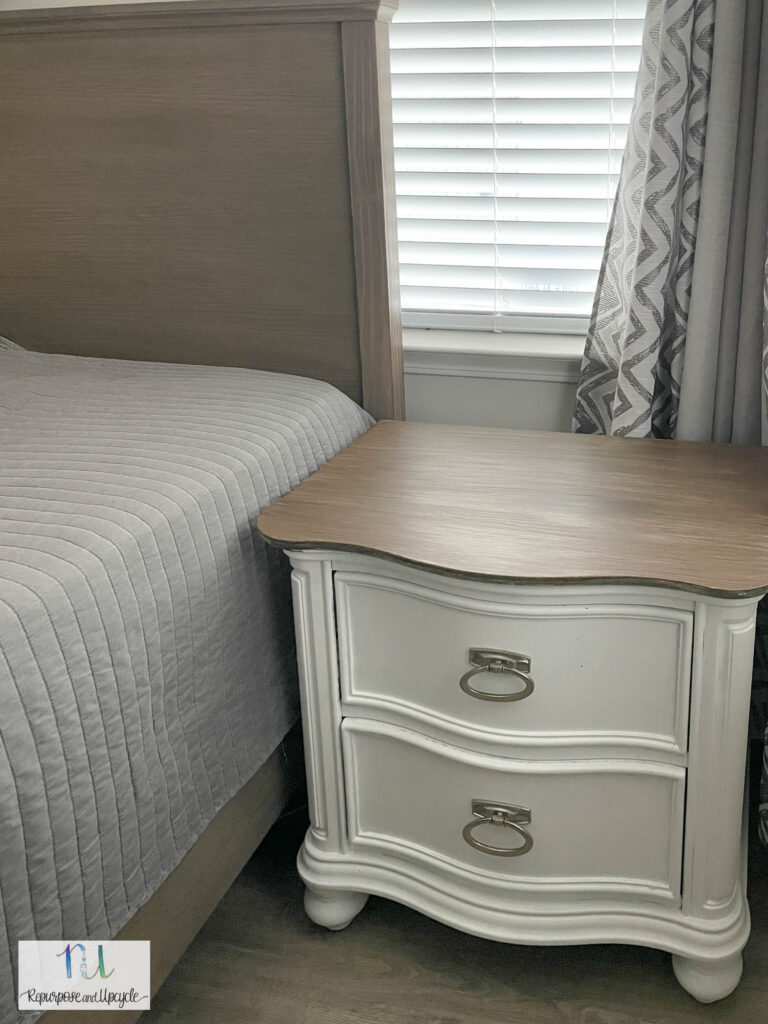
Unless you look closely, you wouldn’t know it wasn’t a full bedroom set!

I love how the broom gave it texture and that reeded look like what you see in Pottery Barn!
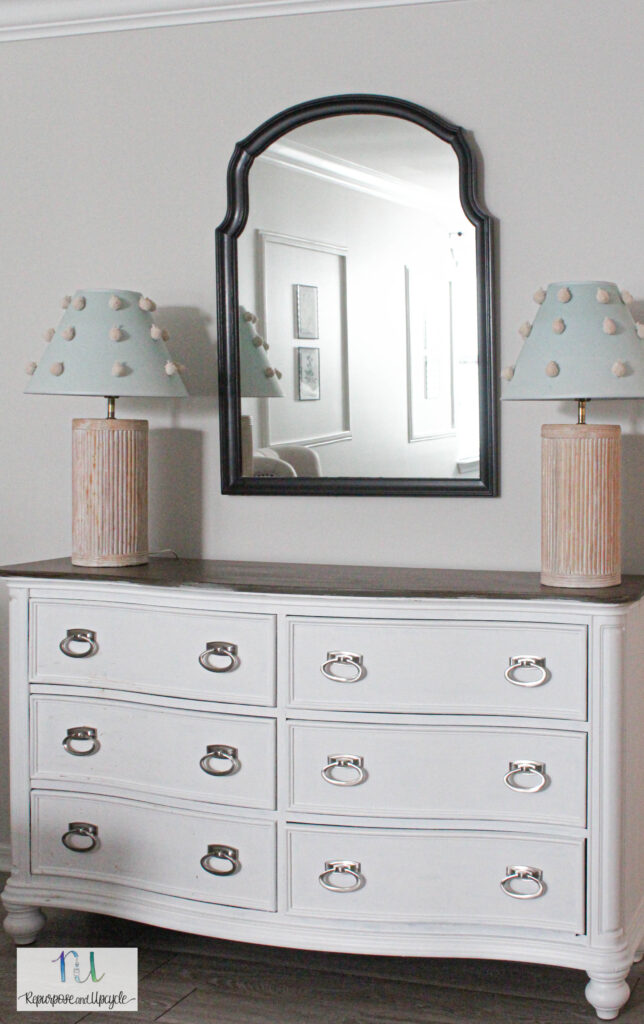
I haven’t decided what to do with that mirror. Paint it white or gold?
By the way, I’ve ordered new pulls. This bedroom set is getting a full facelift!
Thanks for following along guys. Remember to check out all the other furniture flips and furniture refinishing tips while you are here.
As always, let me know if you have any questions.
Lindsey**


