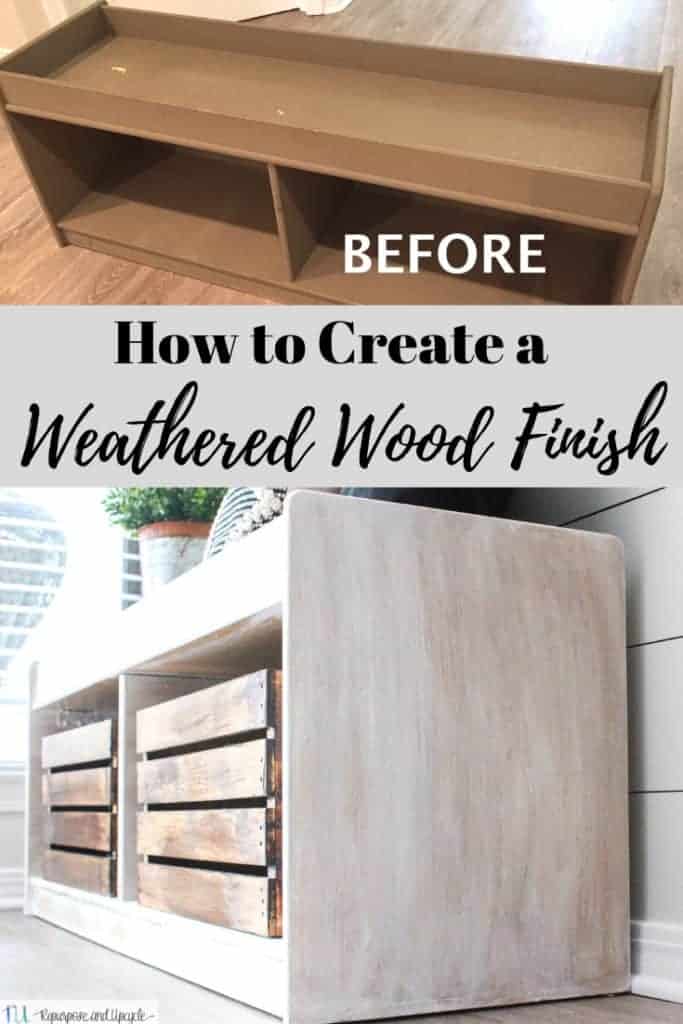
Want to know how to create a Weathered Wood Finish to a Smooth Surface with dark wax? This tutorial shares details on creating a faux weathered finish.
Weathered, rustic, barn wood; these are all popular finishes that you’ve probably heard of! If you haven’t heard of them you must be living in a box. LOL. This trend has been around a while, and I think it’s here to stay a little bit longer. When I was thinking about how to makeover my entryway bench (which is a smooth laminate surface) I decided to give it a rustic wood finish with dark wax. I’m going to show you how I created it with a quick video.

I really wrestled over what finish to give this very smooth surface. Also, it had a previous paint job (very poor paint job) of medium gray chalk paint.
This bench was given to me by my mother. It is actually a Montessori bench that holds toys and books and it has a mirror on the back. My kids are getting a little older and had outgrown it, so it was time for a DIY bench makeover!
This bench is made of faux wood. Actually I believe it’s a laminate material. I’m no stranger to painting laminate so I knew I needed to use a good primer with paint or a chalk paint product to get it to “stick.”
I decided to use a chalk paint product. You can see more about how to chalk paint here.
How to give a smooth surface a weathered wood finish
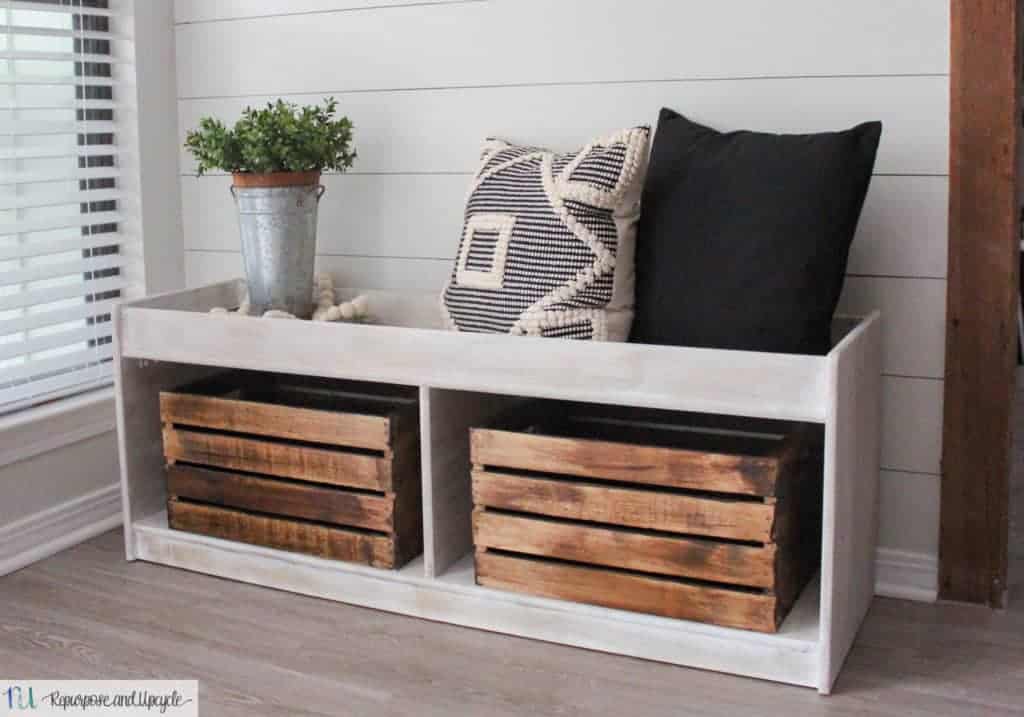
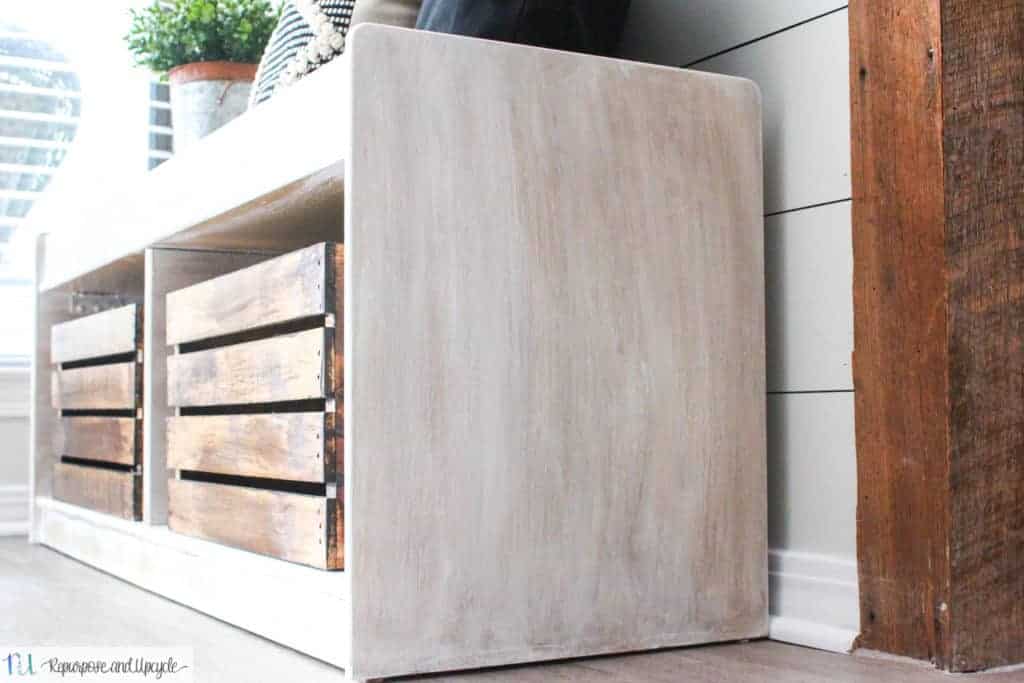
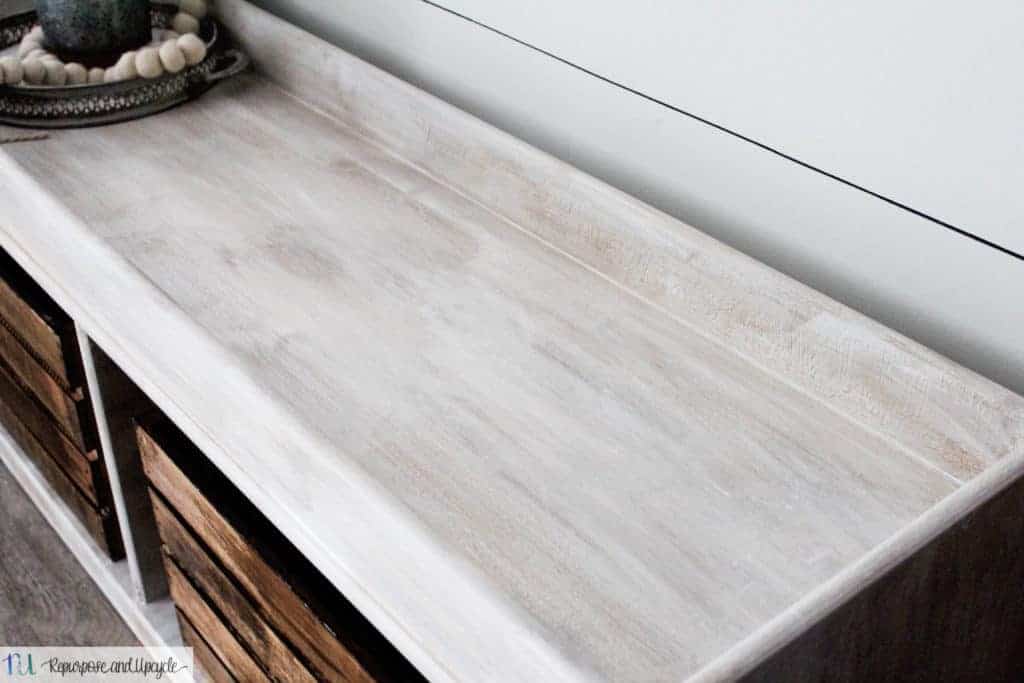
My easiest solution to create a weathered wood finish on a laminate surface or faux wood is to paint the entire surface with white chalk paint and then “distress” it with dark wax. I did a similar project on this Terracotta pot where I gave it a worn look with white paint and dark wax.
If you are wanting more tips about how to use furniture wax, I’ve got you covered.
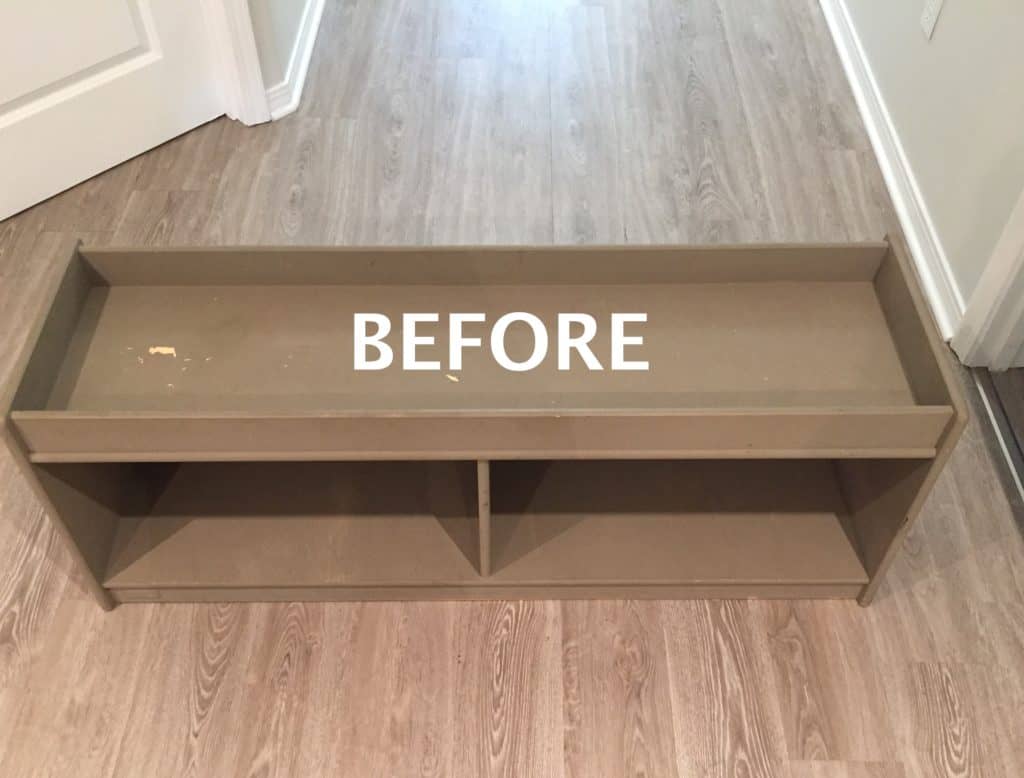


Here she is in all her original glory! At one time this bench served a good purpose in my kids playroom, but it was time to give it new life!
Disclosure; this post contains affiliate links. As an Amazon Associate I earn from qualifying purchases. This disclosure statement refers to the rest of the amazon links and other affiliate links in this post.
Materials needed to create a weathered wood finish
- Gloves
- White chalk paint (use a light brown or light gray for a darker wood look)
- Clear wax
- Dark wax
- Lint free rag
- Round brush
How to create a weathered wood look on faux wood with dark wax
- The first thing you always need to do before you start painting a surface is to clean it really well. Make sure the dust particles are gone and the surface is clean and smooth
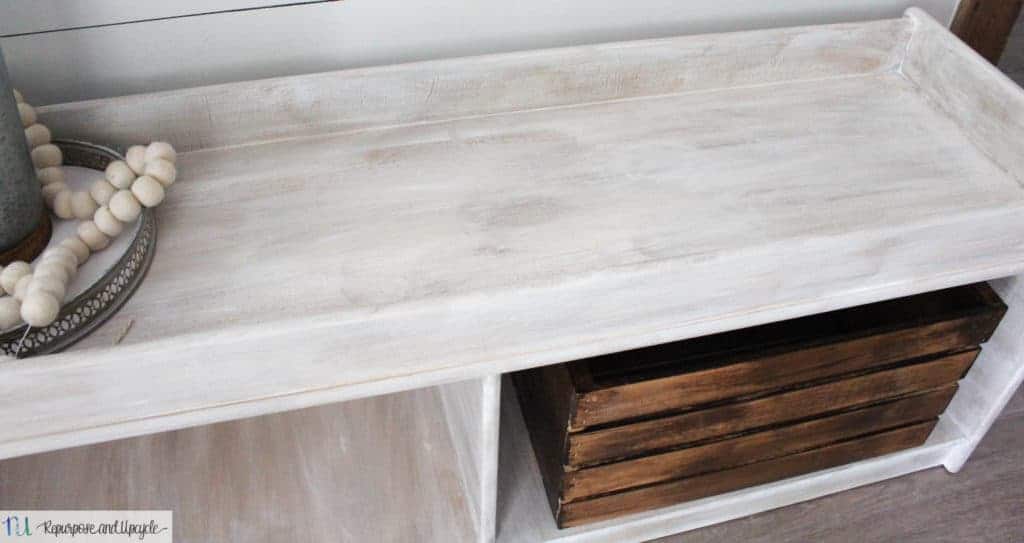
- Next, grab your white paint and cover the entire piece with a coat of white paint. You don’t have to use a white paint, it can be a light brown or light gray. Actually, the light gray creates a more “realistic” weathered wood look. I wanted the finish to be very light, that’s why I chose the white.
- You can choose to add a second coat of paint, but I decided to leave just one coat. I felt like this would create a more “rustic” look.
- Dip the brush in the dark wax and then dab it on a paper towel to “offload” some of the wax.
- Apply the dark wax in long even brush strokes
- Immediately take a lint free rag and dip it in clear (or white) wax and apply the wax in the same direction that you did the dark wax.
- Add more clear (or white) wax to the surface until you reach your desired finish.


A side note; if you’re looking for a more “rustic” wood look on a real piece of wood, check out how I created the weathered barn wood look on new wood. You won’t believe what product I used to create a weathered or white wash look.
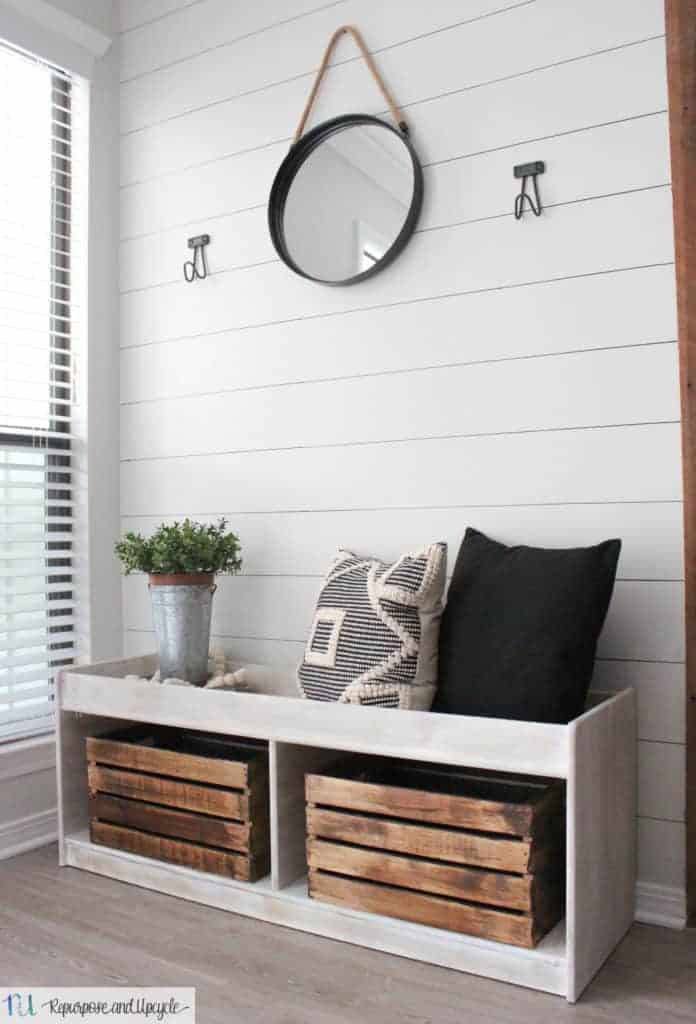
I’m really pleased with how my DIY rustic wood bench turned out.
As always, thanks for stopping by to see what kind of DIY shenanigans I’ve been up to. If you liked this post I would love for you to pin the image above to Pinterest.
Lindsey**


