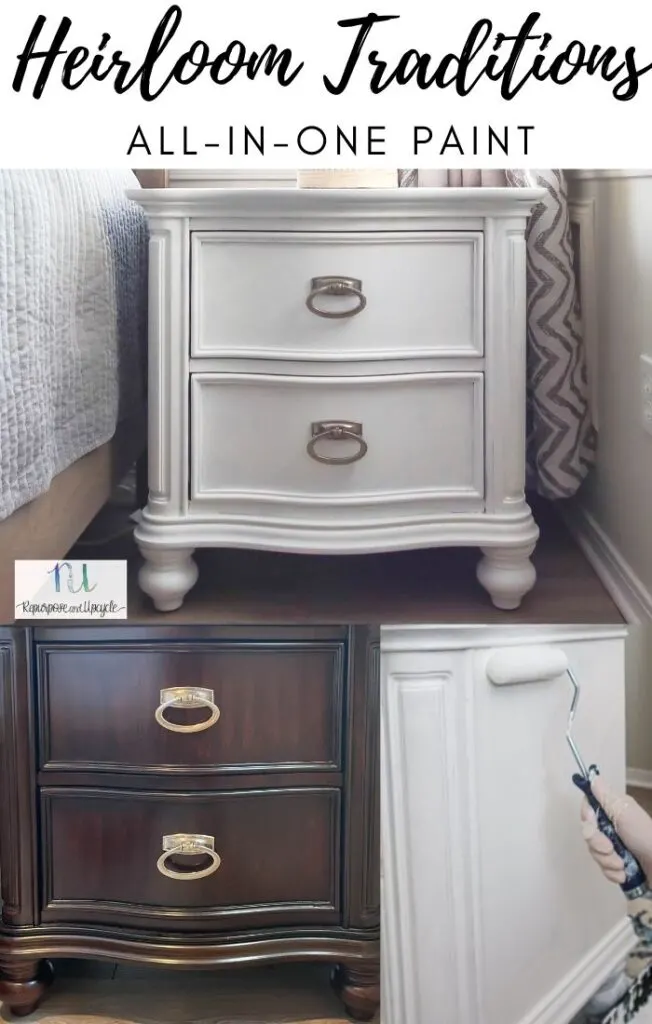
See how I transformed a dark dated bedside table with Heirloom Traditions ALL-IN-ONE paint in Cashmere. I’ve also shared my thoughts (and mistakes) about how to use this product with an easy to follow tutorial.
All in one paints are the “thing” today and when you walk the isles of the hardware store you will notice many of these. I’ve been intrigued for a while by this particular all-in-one paint so I decided to give Heirloom Traditions paint a try.
They offer a free sample which is great if you are wanting to give it a try before diving in to a big project.
Table of Contents
What is Heirloom Traditions Paint?
Heirloom Traditions paint was founded by Paula Blankenship in 2013. This paint is known for its “all-in-one” ability to combine primer, paint and a top coat all in one.
Things to note about Heirloom Traditions ALL-IN-ONE Paint before you begin your project
Heirloom Traditions gives some great tutorials and step by step instructions on how to use their paint. I would highly suggest watching them before starting a paint project.
One thing to note (that I didn’t do a good job of following) is using a “brush and roll” or “brush and stipple” technique where you apply a full coat of paint on the surface and then immediately roll it with a foam roller or stipple it with a foam pad.
I found the hard way that this is super important because the paint is thick and it will show brush strokes. I thought I could follow my typical “painting laminate cabinets routine” where I apply the first coat with a paint brush and then the final or last two coats with a foam brush to get a smooth finish. This is not the case with this paint.
Related Post:
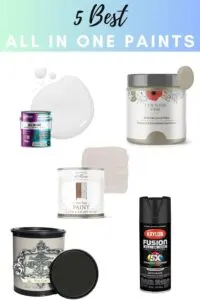
Check out five great All In One paint reviews post here!
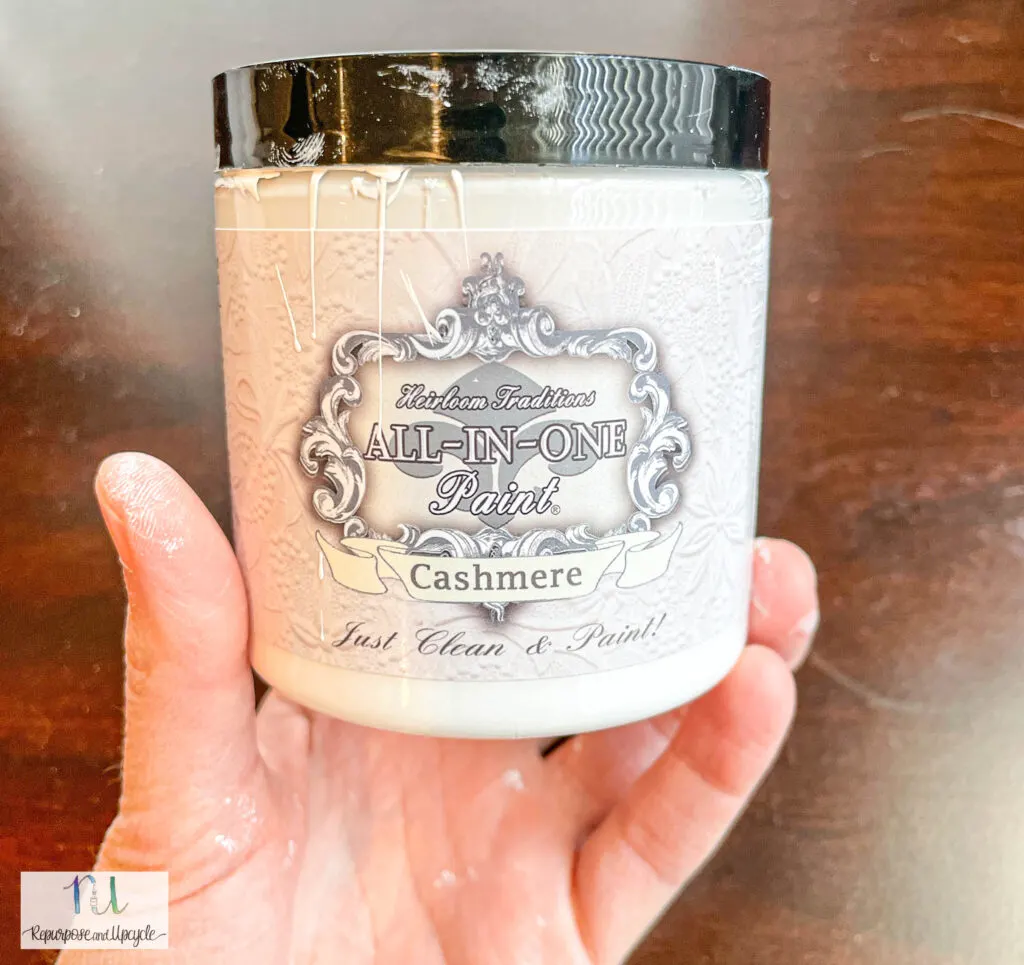
First impression about Heirloom Traditions ALL-IN-ONe paint
- ALL-IN-ONE paint dries fast (30 minutes to one hour)
- It has great durability similar to an enamel paint
- Doesn’t require a top coat which cuts down on paint time
- Be mindful of paint drips because it does dry quickly
- It’s a thick paint that will show brush strokes if you aren’t careful- follow Heirloom Tradition’s tutorials and you shouldn’t have a problem
- It’s best to use a foam roller or paint sponge to apply it
Bedroom furniture makeover with ALL-IN-ONE paint
For this paint project I’m going to start with a bedside table makeover. We inherited this bedroom suite from a friend and the dark color contrasts the rest of my cottage style bedroom style.
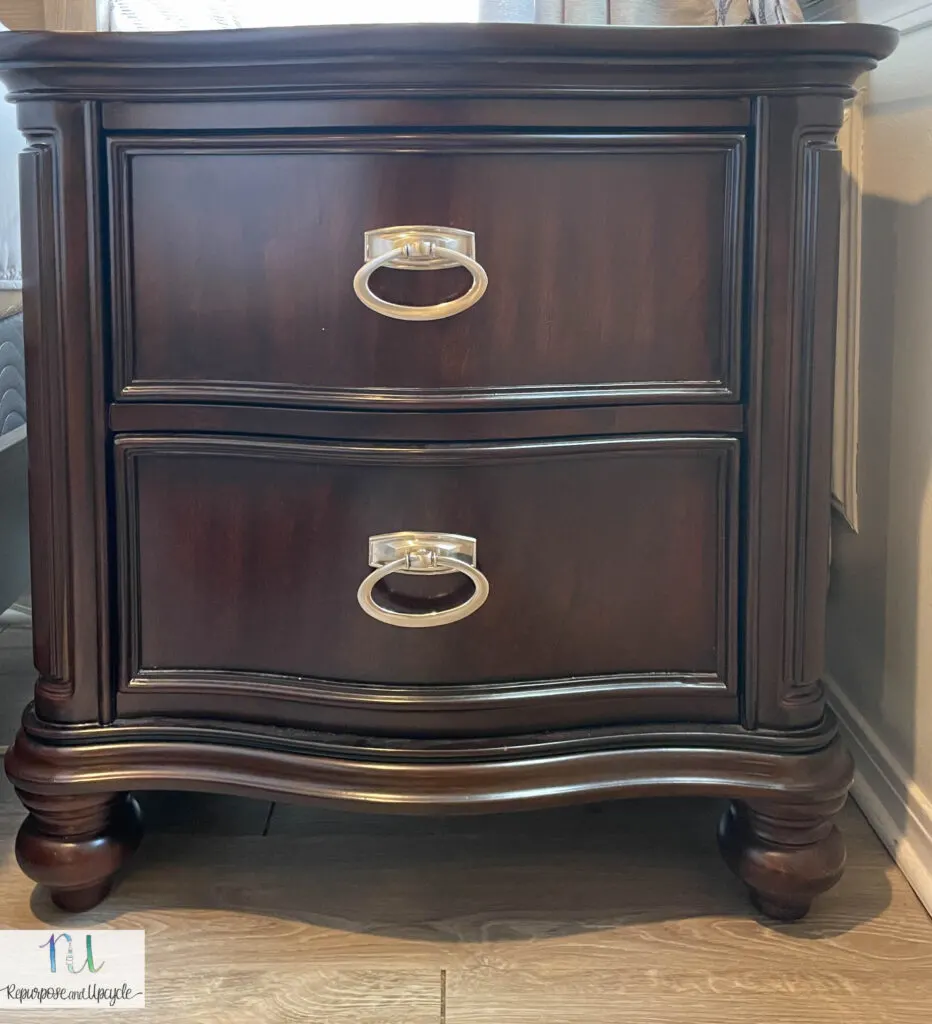
Before I started this project I thought hard about using primer first. I decided I would try the first table without primer because the paint states “all-in-one.” I figured worse case scenario I could always paint over it with primer and start over if I needed to.
Disclosure; this post contains affiliate links. As an Amazon Associate I earn from qualifying purchases. This does not affect the price you pay. This disclosure statement refers to the rest of the Amazon links in this post.
Supplies for bedside table makeover with ALL-IN-ONE paint:
- Paint brush- I would advise using THIS KIT instead of the paint brush I used
- Foam brush or Paint sponges (I would suggest the sponges over the foam brush)
- Degreaser or cleaner
- lint free towel
- ALL-IN-ONE paint in cashmere
- Drop cloth
Heirloom Traditions website states “just clean and paint.” So that’s what I did!
I started by cleaning the surface real well with Krud Kutter to degrease the bedside table. Once the surface was dry and clean, I began my paint project.
How I messed up when I first used Heirloom Traditions ALL-IN-ONE paint
Here is where I screwed up (I always try to be real with y’all, even when it shows my stupidity, LOL.)
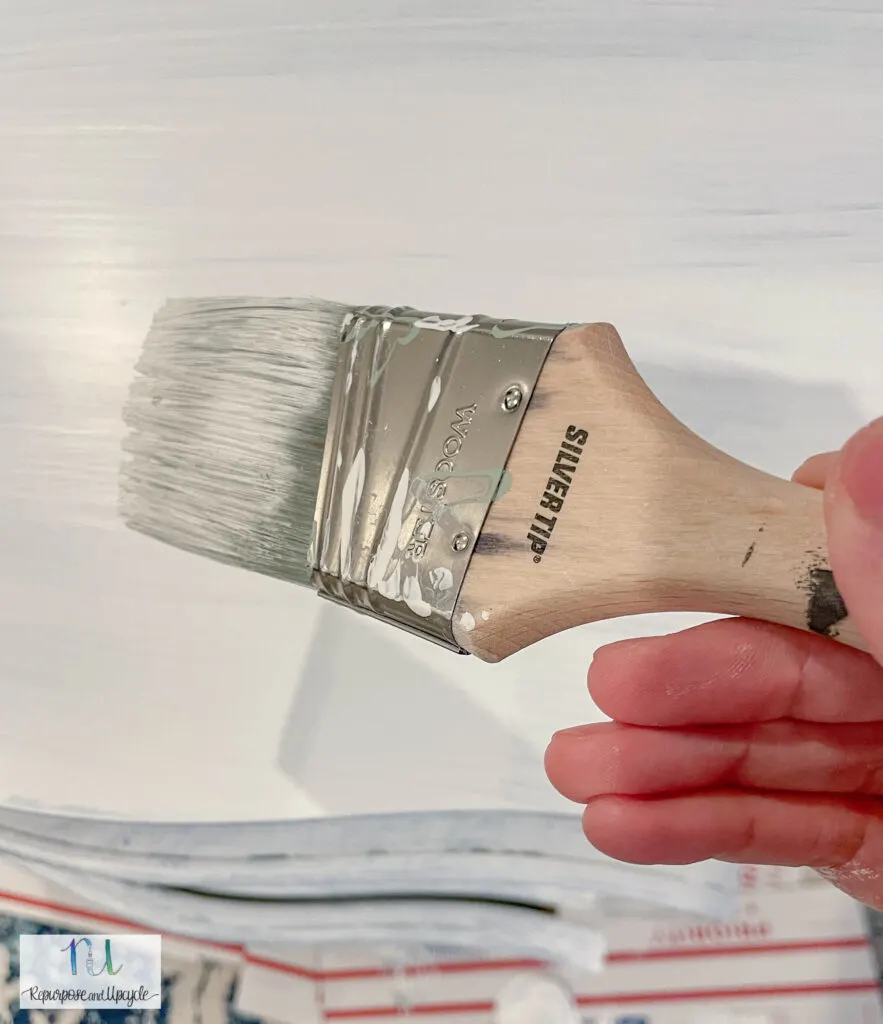
Like I said before, I used a paint brush for the first coat and this is where I went wrong.
I’ve painted a lot of furniture and I guess I got a little over confident that I could use my own methods and not follow the recommended instructions for this paint product.
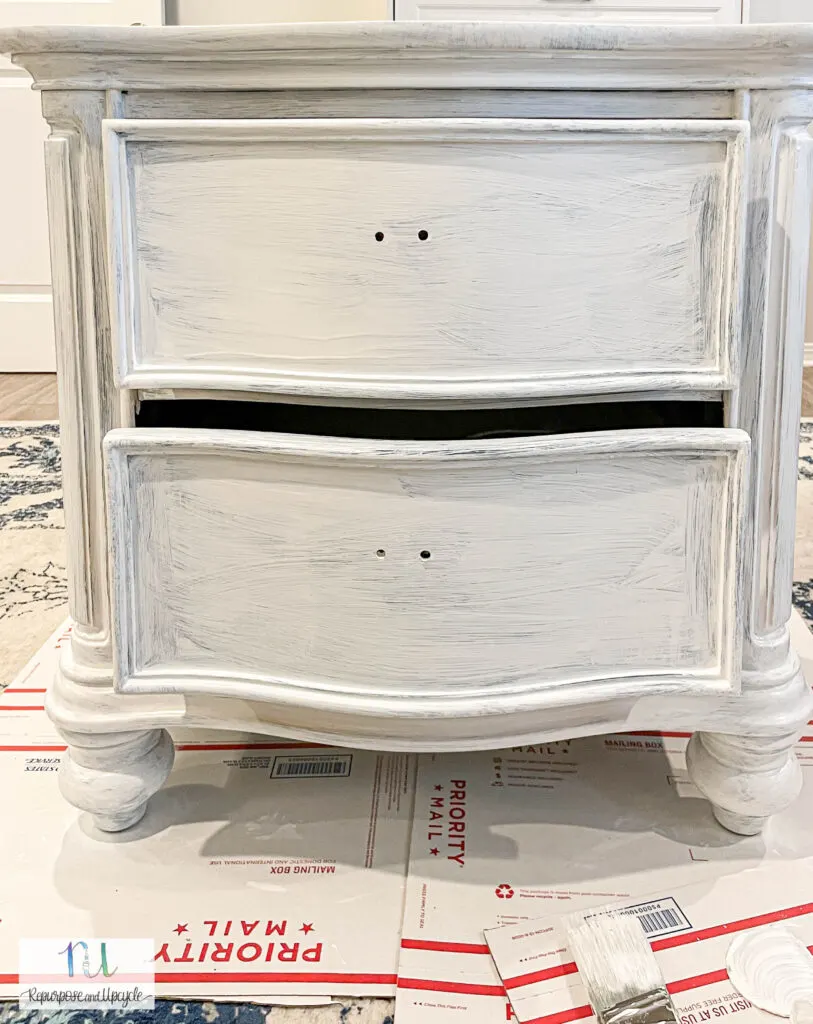
Pictured above is after the first coat of paint. It doesn’t look terrible, but what you can’t see is a heavy texture that the paint leaves. This isn’t necessarily a bad thing although in this case it is because the texture makes it hard to cover up the brush strokes.
This is why the paint directions state to use a “brush and roll” or “brush and stipple” technique.
Once I realized that I needed to even out the texture from the brush strokes, I sanded the entire table down with 220 grit sandpaper.
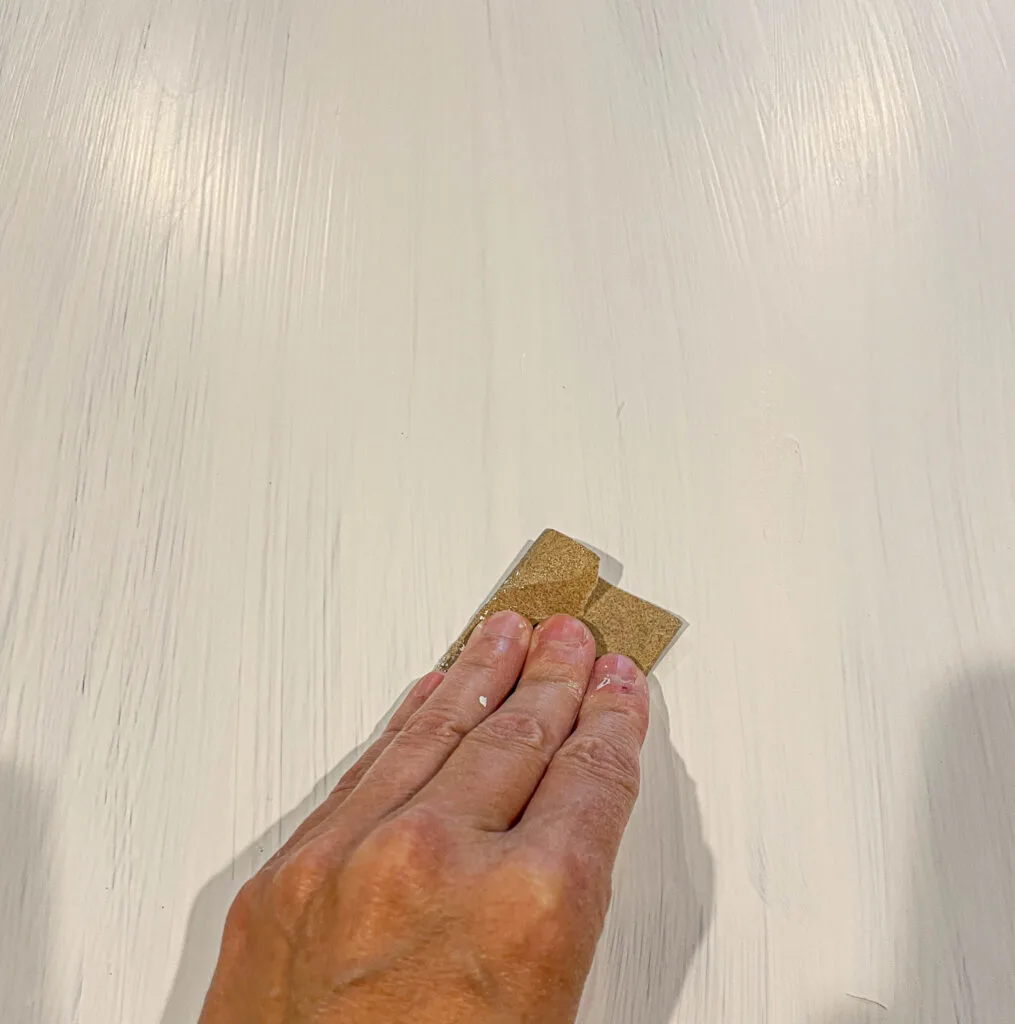
Once I lightly sanded and cleaned the surface, I pulled out the foam brush to see if I could smooth out the paint job.
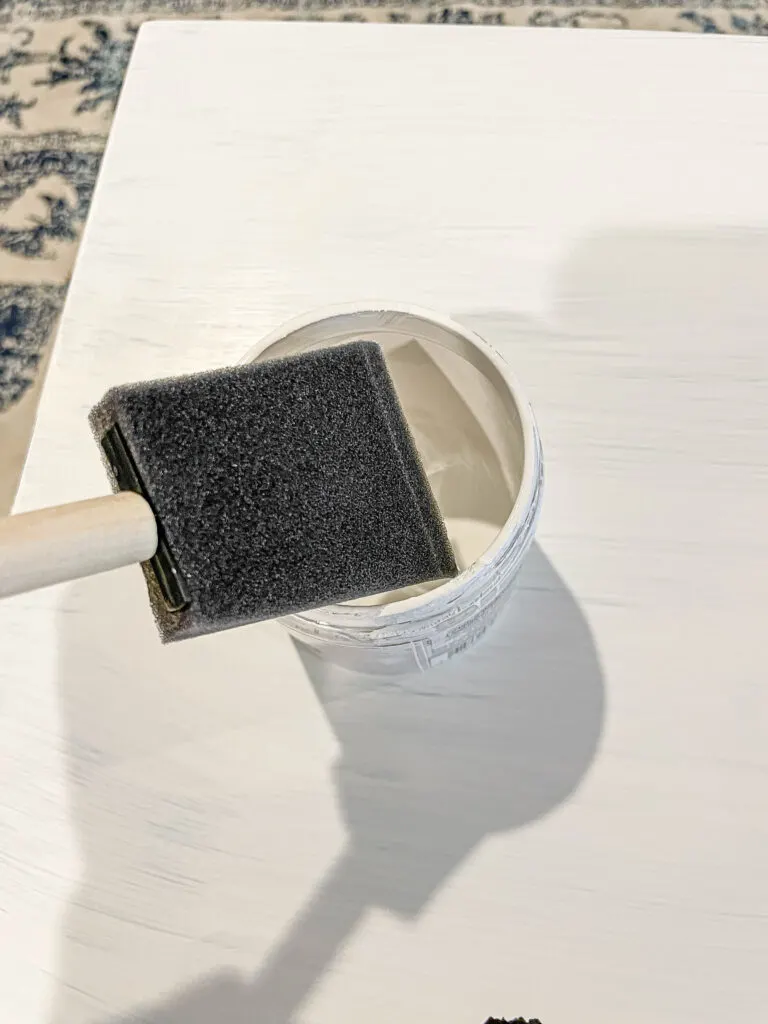
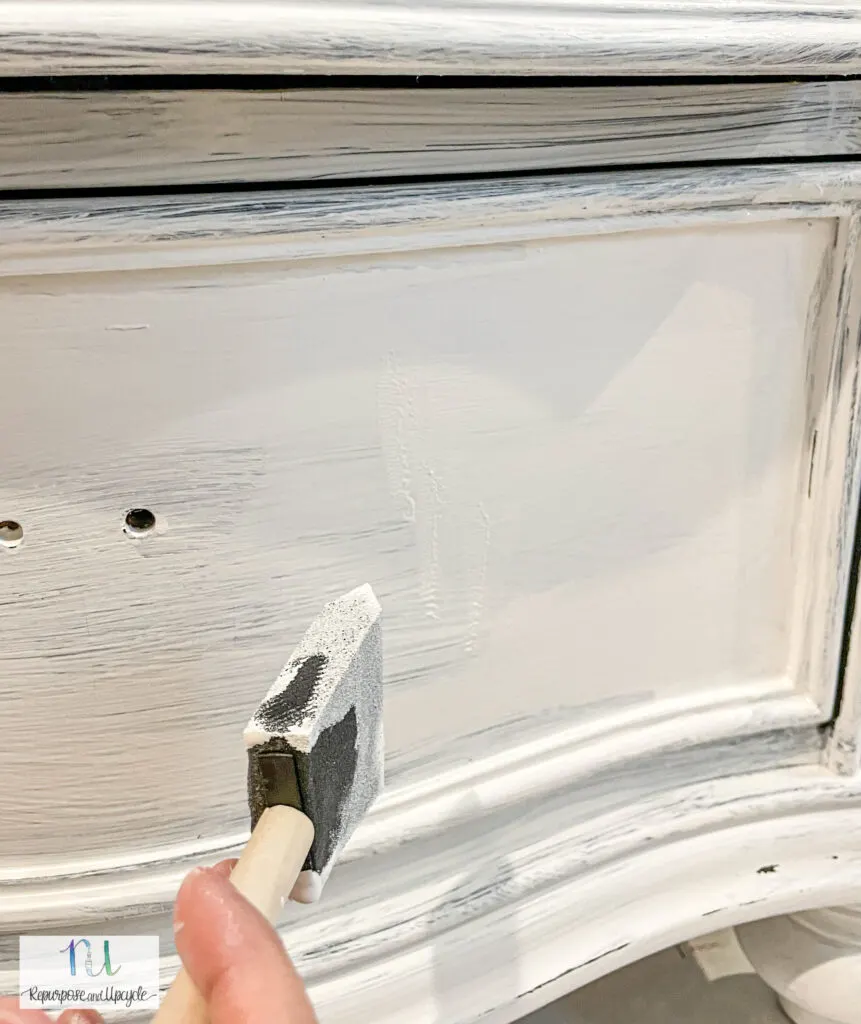
Look how much smoother it looks already by using the foam brush!
I applied the second coat of paint with a foam brush and here is what it looks like now (I actually went over a few spots with three coats).
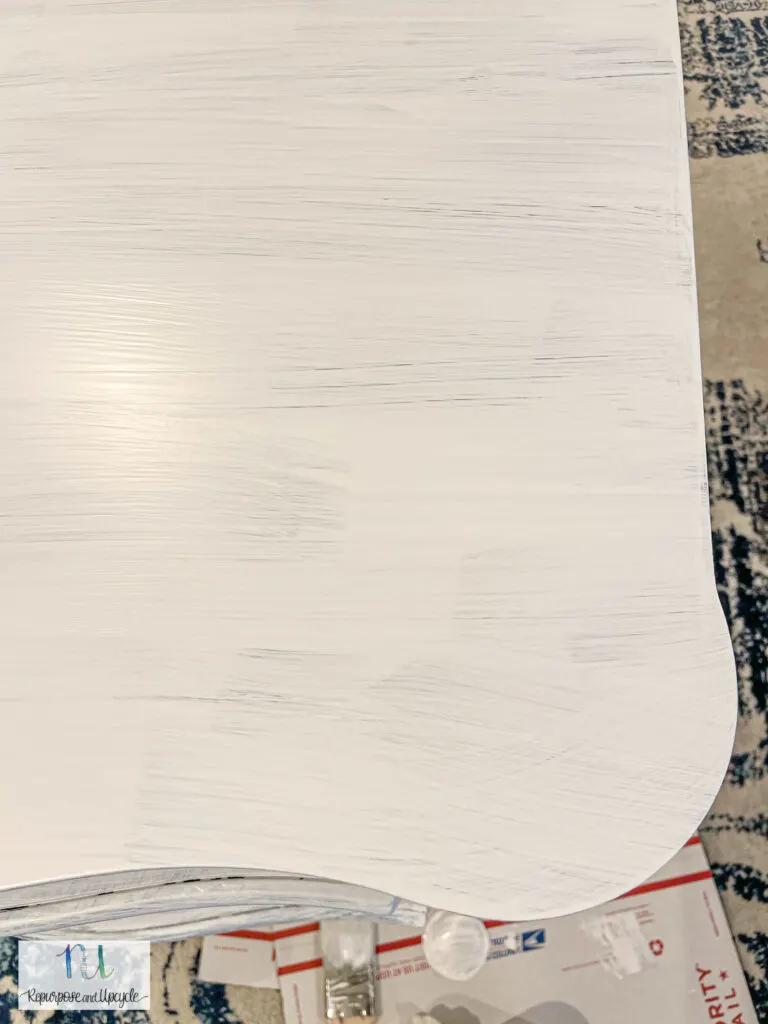
It definitely still needs a full third coat and you can still see brush strokes. In my experience with painting furniture, a third coat (including primer) is almost always necessary when going from a dark color to a light color.
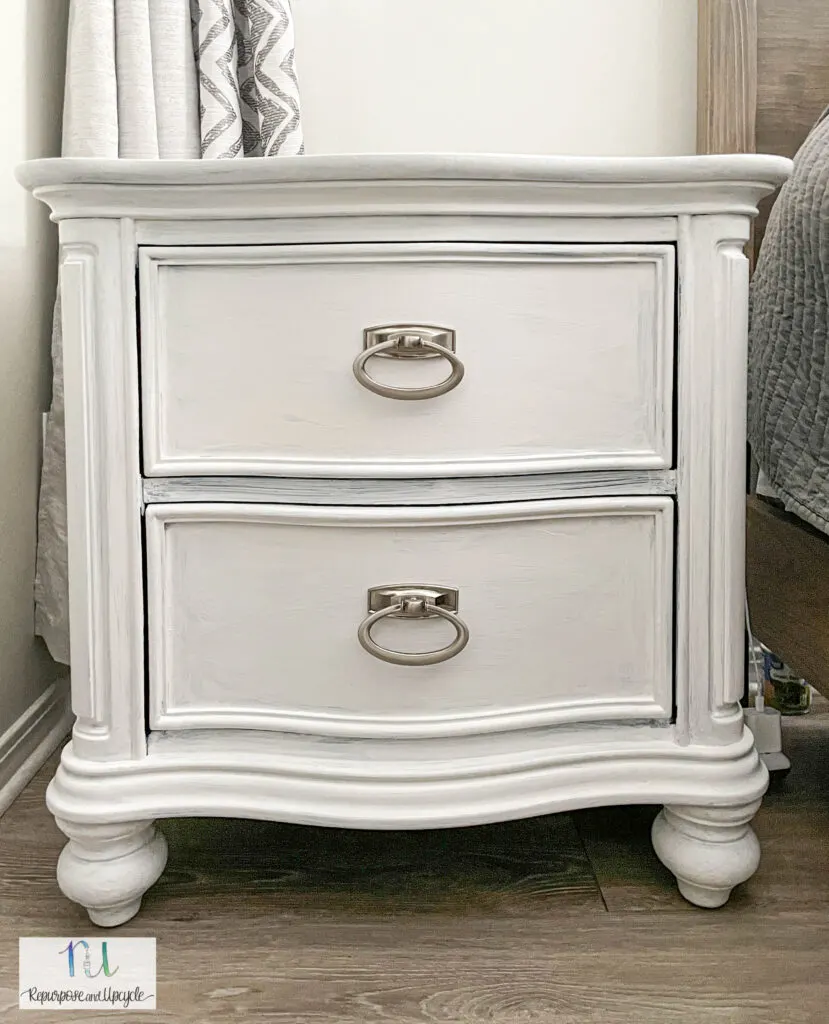
At this point I wondered if I should have used primer.
How far does the ALL-IN-ONE paint go?
They say that 8 oz’s of paint will cover 35 square ft. As a point of reference I used an entire 8 oz can of cashmere on TWO COATS of this side table.
If I had used the right technique to begin with (duh Lindsey), this side table might have only required two coats.
I got smart and ordered a few painting sponges to complete the third coat of paint. It looked much better after that (see below).
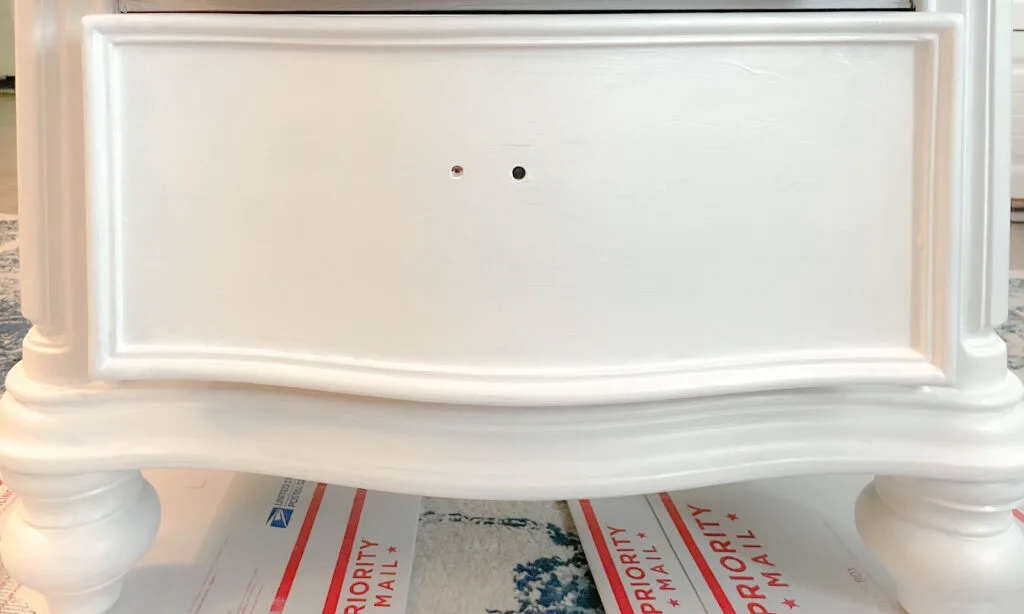
Now that I’ve shown you the WRONG way to apply this paint, It’s time to share the RIGHT way to do it.
Like I said before, the recommended technique to apply this paint is a “brush and stipple” or “brush and roll” technique.
Make sure to watch my video where I explained in real time how to apply the paint.
How to apply Heirloom Traditions ALL-IN-ONE paint the right way
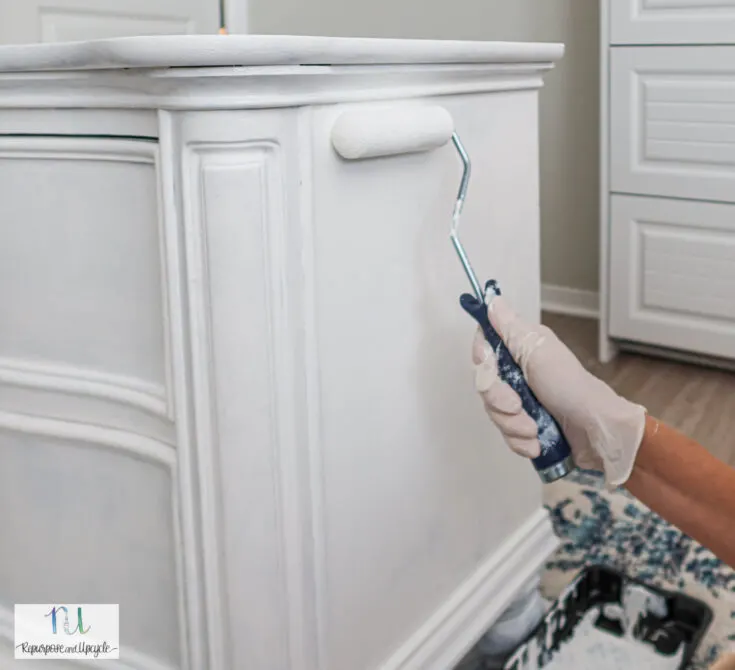
In a nutshell, you dip a heavy amount of paint on your brush, apply it generously on the surface and then use a foam roller or foam pad to either “roll” the surface or “stipple” the paint evenly. This prevents brush strokes and creates a smooth finish.
Let me show you.
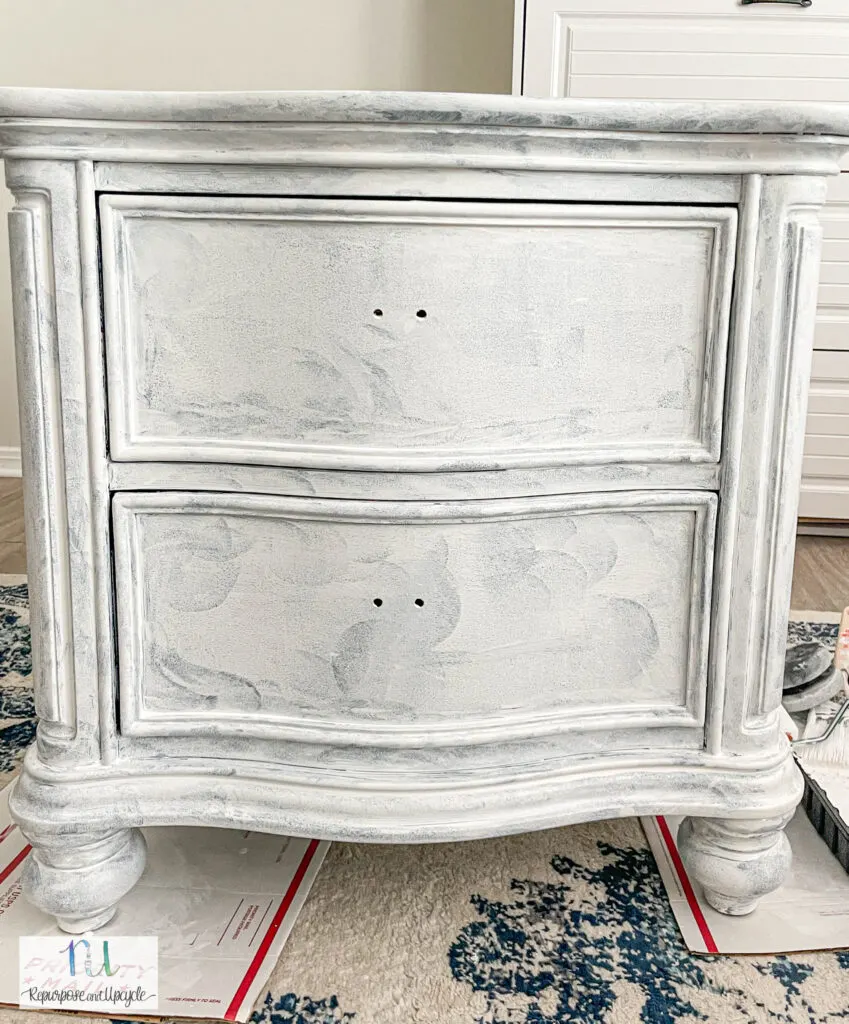
You can see above where I’ve already applied the paint and used a roller and a foam pad for the first coat.
The first paint coat is never pretty, but the most important (in my opinion). I know it looks like a hot mess, but it feels smooth to the touch and using these methods creates very little paint drips. Did I mention that this paint dries fast? You have to work quick to eliminate drips. As a matter of fact, it’s best to work in sections.
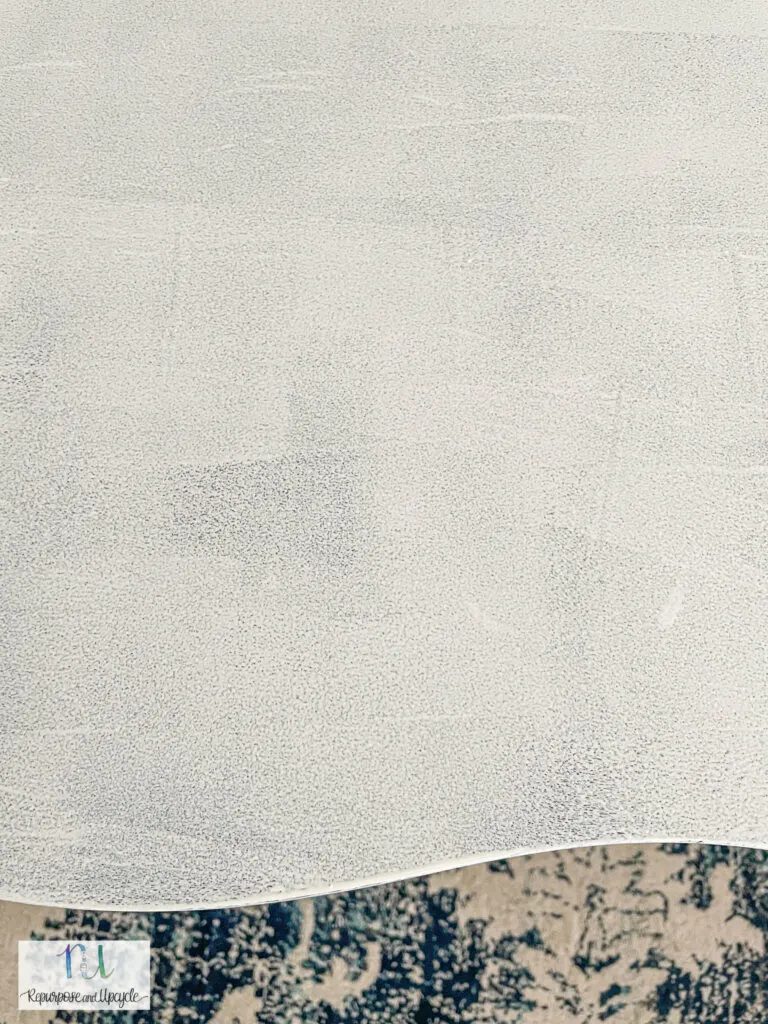
I rolled as much as I could but due to the curves and lines in this dresser, I had to mainly use the paint sponge.
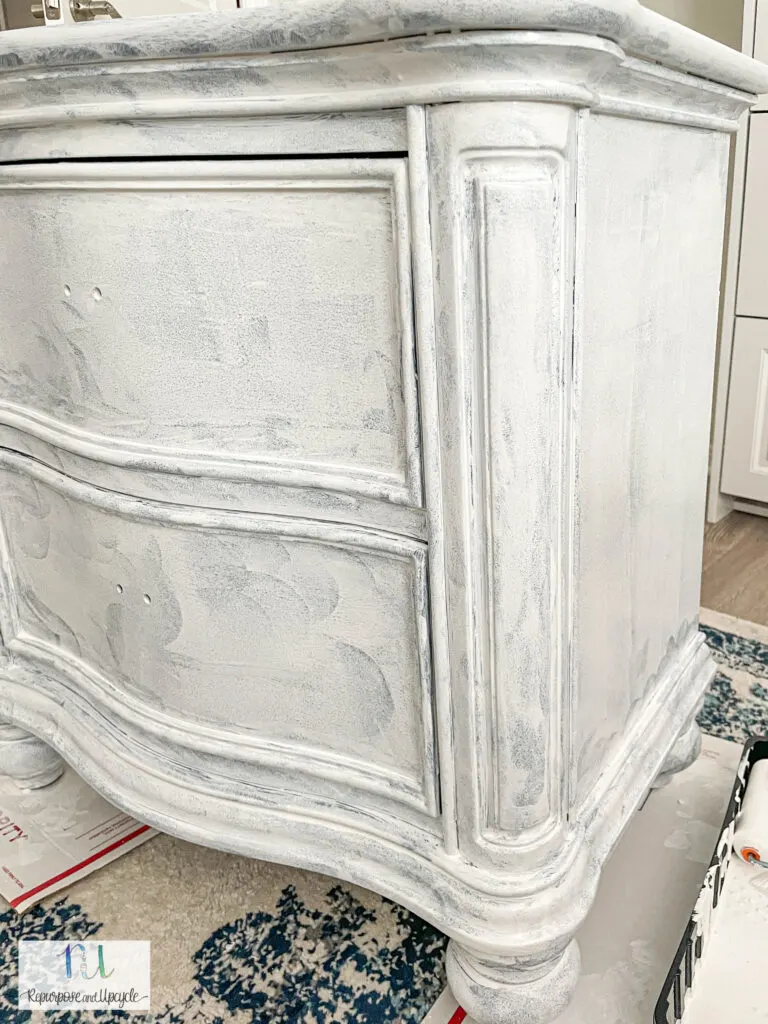
Once the first coat is dry (dry time is only 30 minutes to 1 hour), I applied the second coat the same way as the first.
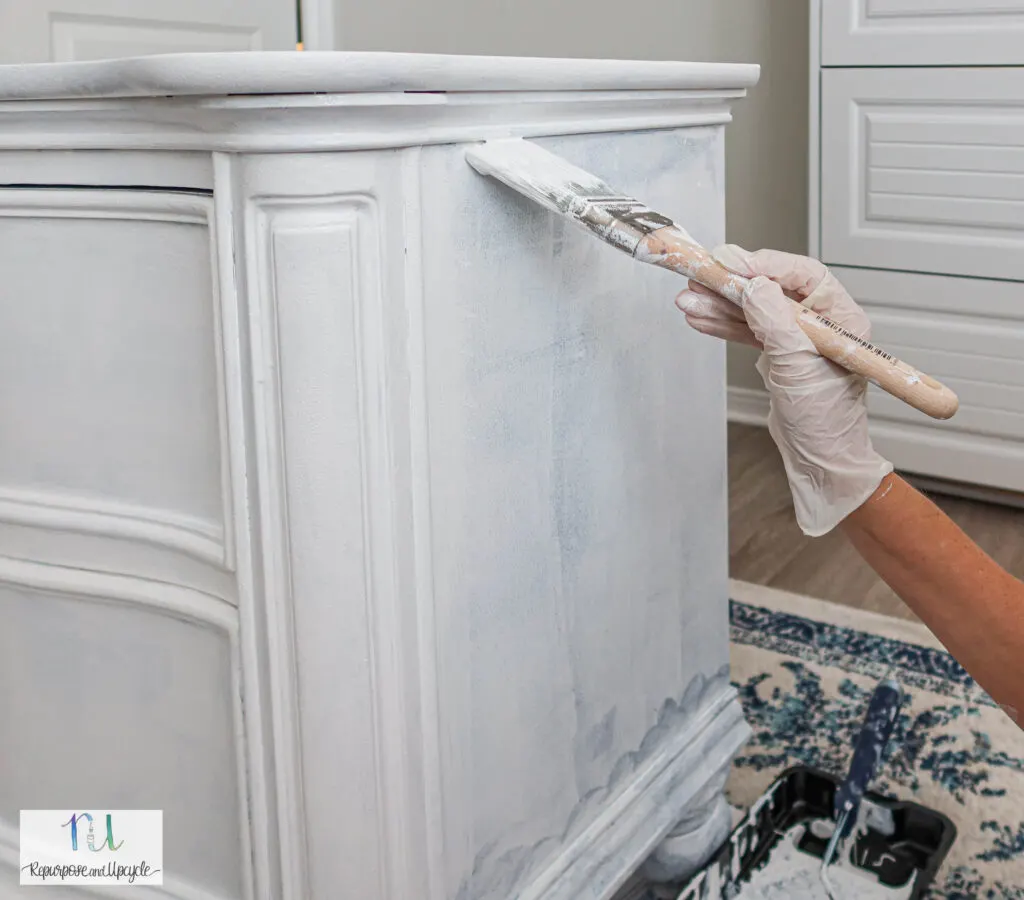
You can see where I’m using the brush to get the paint on the surface.
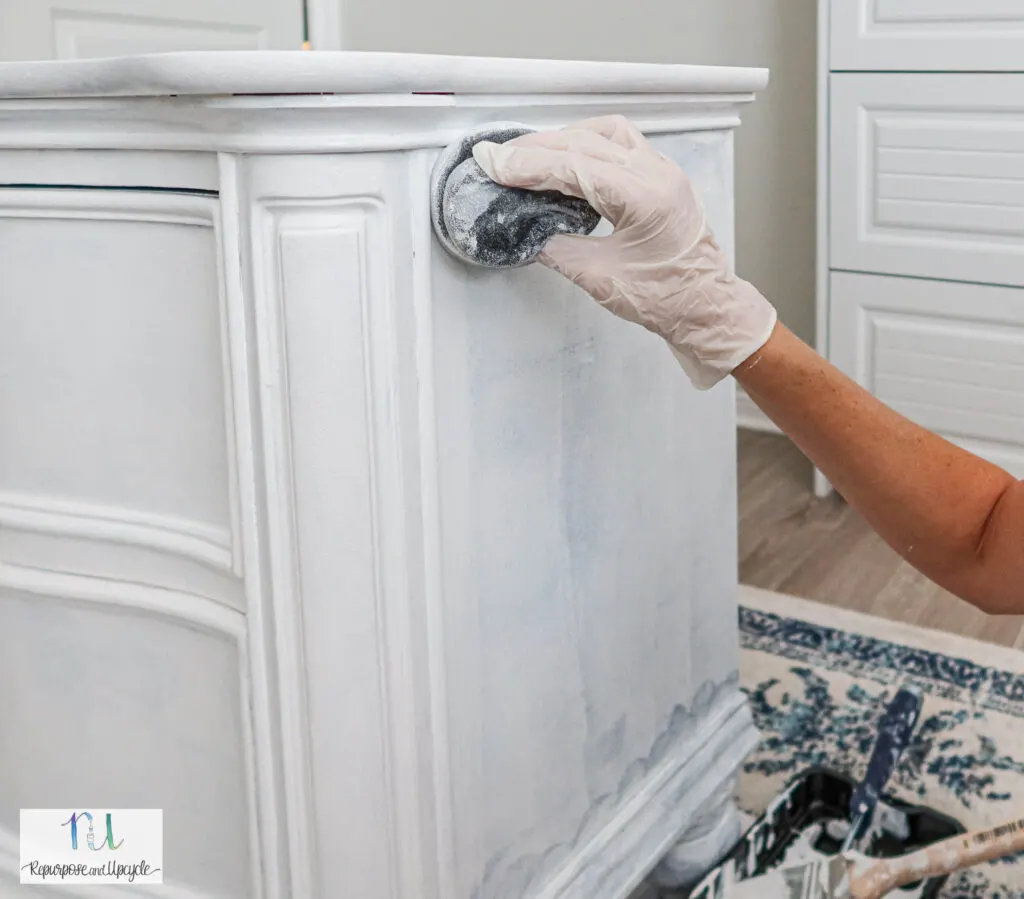
Next I used the sponge to stipple the corners and edges where the paint roller won’t get to.
Then I applied more paint to the surface with the brush and used the roller to even the paint out.
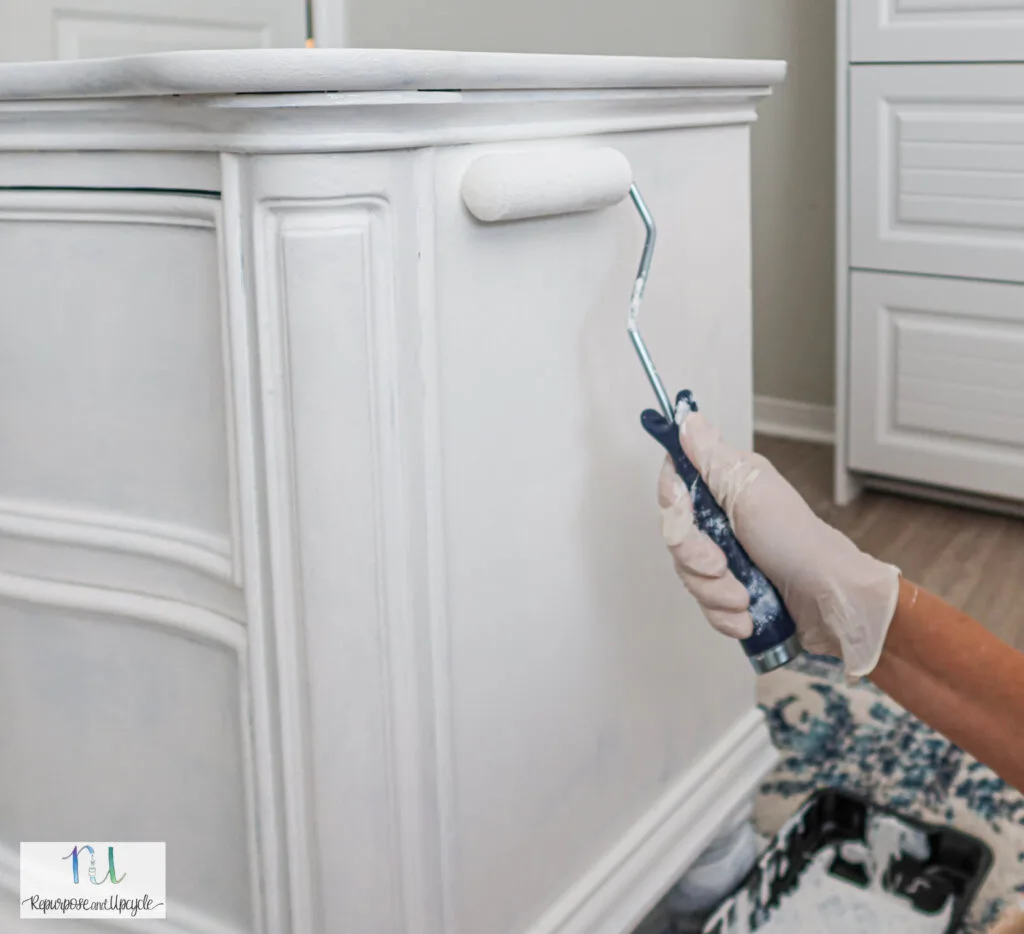
The point in using the roller isn’t to apply the paint, but to even it out and prevent brush strokes. Don’t apply too much pressure when you are using the roller. If you have to apply pressure, you don’t have enough paint on the surface.
After the second coat is dry, asses the piece and see if you need a third coat. Since I was painting a dark wood dresser white, I did apply a third coat to the top and front of the dressers.
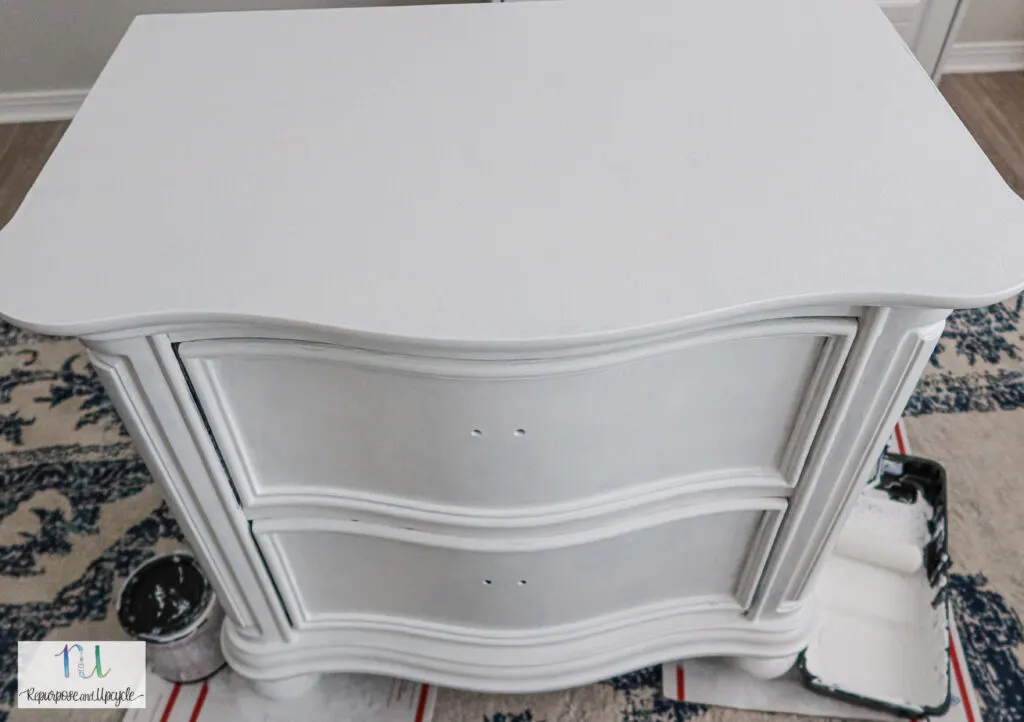
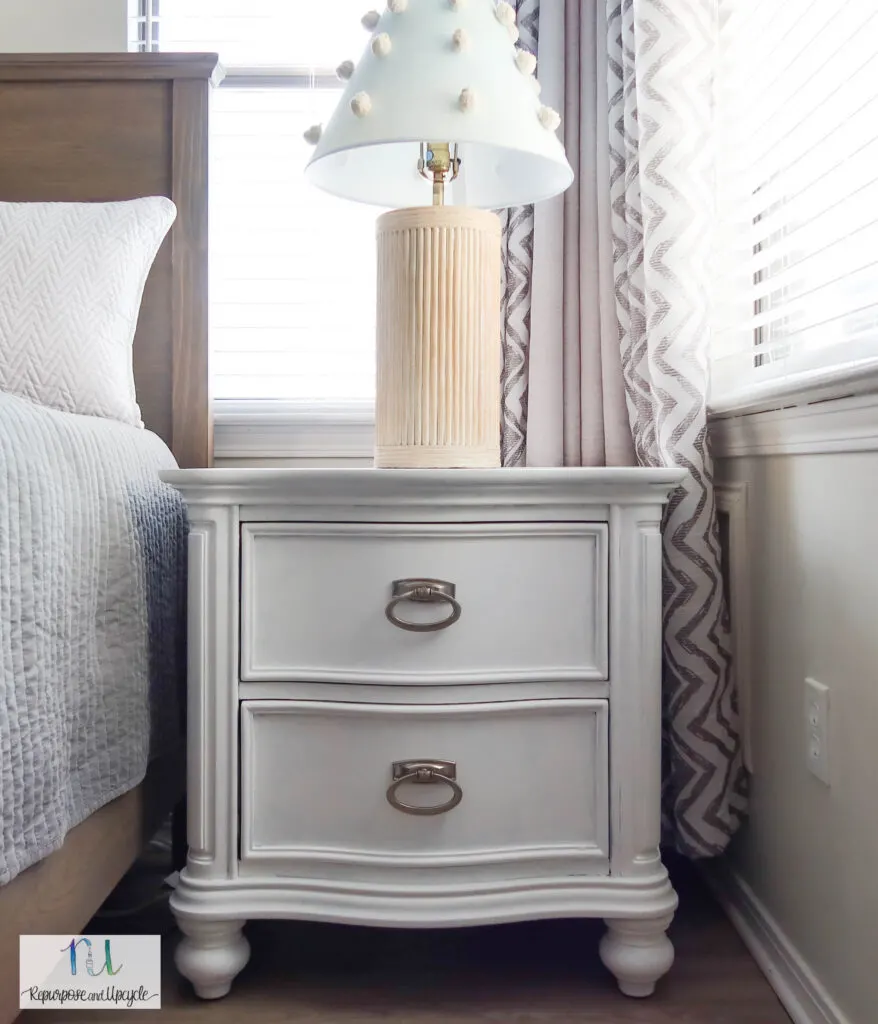
Look at my new bedside table now!
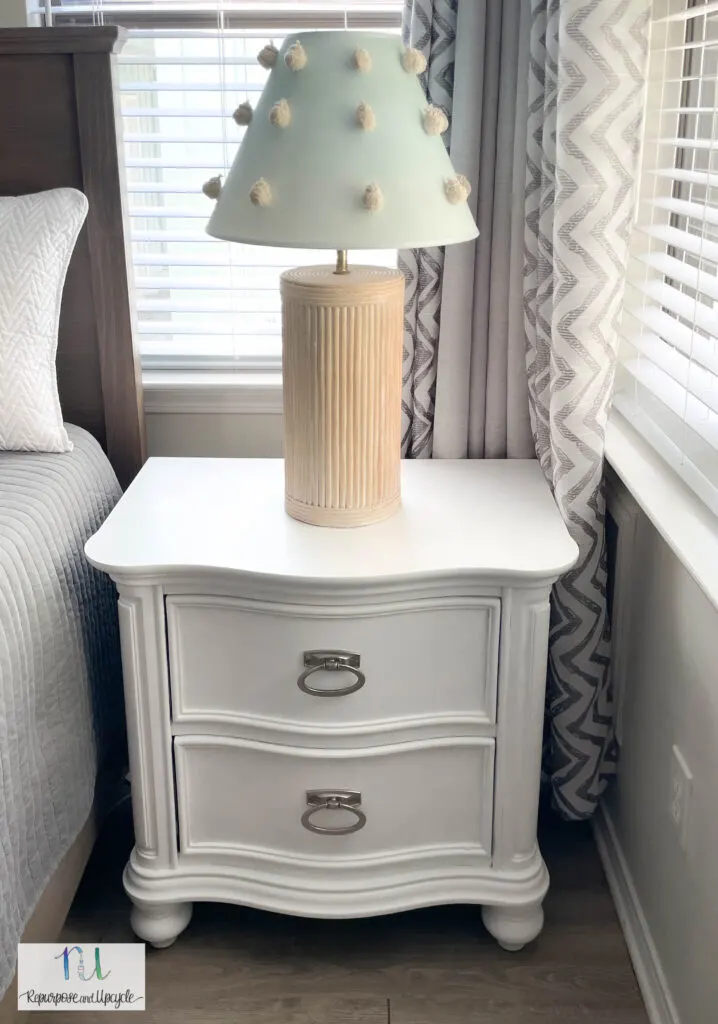
Look how much better this dresser matches the room! No more dark dated wood.
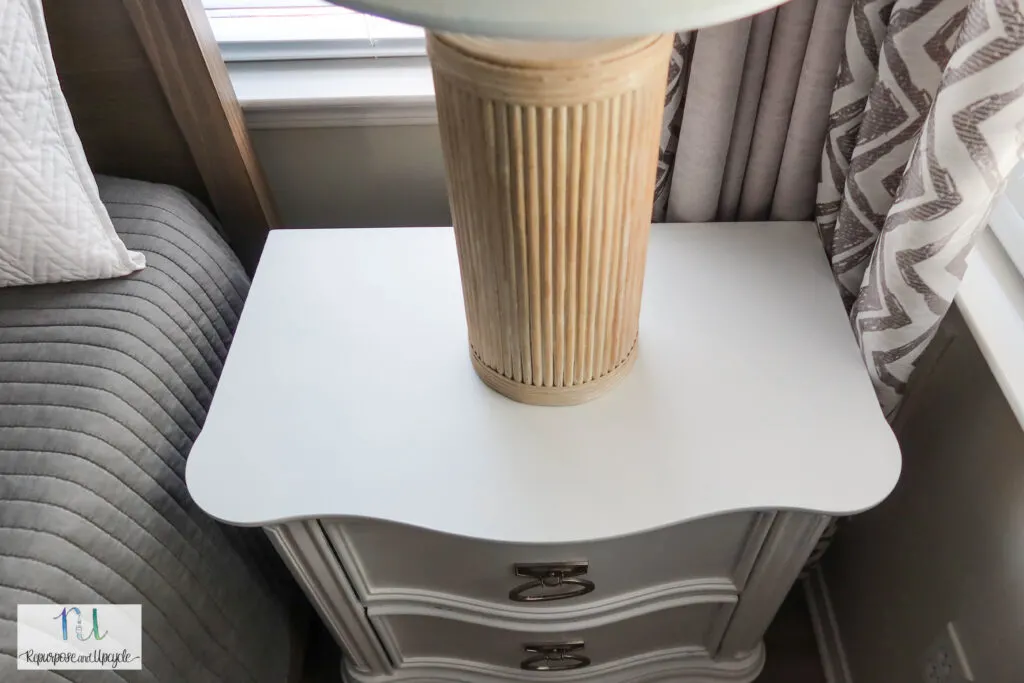
Is Heirloom Traditions ALL-IN-ONE paint durable?
It’s been a week since I painted the first dresser and I can honestly say that yes this paint is very durable. I can take my fingernail and apply decent pressure to the surface without any scratches.
I would definitely recommend this paint if you want a quick, easy and one step paint product. I even used it to paint the top of the bed frame where I had to repair the wood with Bondo after my dog chewed it.
I hope I’ve give you an easy tutorial on how to successfully use this ALL-IN-ONE paint. I really do believe it’s a great paint product. As long as you follow the recommended instructions, your project should turn out beautifully.
Lindsey**
Things to know Before Using Heirloom Traditions All-In-One Paint
Thinking of using Heirloom Traditions ALL-IN-ONE paint? This is a very durable paint, primer and sealer in one paint product. There is a technique you need to know before applying this paint. See an entire bedside dresser makeover tutorial and how I transformed a dark dated dresser with Heirloom Traditions ALL-IN-ONE paint.
Materials
- Paint brush
- Foam brush or Paint sponges (I would suggest the sponges over the foam brush)
- Degreaser or cleaner
- lint free towel
- ALL-IN-ONE paint in cashmere
- Drop cloth
Tools
- fine finish roller
Instructions
- Clean the surface with a degreaser and a lint free cloth
- Using a paint brush, apply a generous amount of paint to the surface
- Use either a paint roller and roll the paint evenly across the surface or a paint sponge to stipple the surface
- Work in sections making sure to eliminate paint drips
- Apply either 2 or 3 coats of paint to the surface
- Dry time is 30 minutes to 1 hour
Notes
This is a fast drying paint. Be mindful of this and work in sections to eliminate paint drips.
The point in using the roller isn't to apply the paint, but to even it out and prevent brush strokes. Don't apply too much pressure when you are using the roller or the sponge. If you have to apply pressure, you don't have enough paint on the surface.

It sure seems like a lot of trouble using this paint and a lot of paint just to get a smooth finish.
I have shiny kitchen cabinets dark wood do I sand them down first then paint them. There is alot of wood grain
If they are shiny then yes I would suggest giving them a light sand first. Also, you might want to check this post out. https://repurposeandupcycle.com/best-white-paint-products-for-kitchen-cabinets/
I just used this paint on my dining room chairs. I used the color Iron Gate (black). I watched toms of their videos and did the prep work. I applied on a area and used their foam roller and it made the paint bubble. Next I tried the foam pad to stipple, not good. So I used their brush and did it all with the brush. I’m going to have to do a third coat! I bought a quart size and already have used half the can and still need to do 2 barstools. I won’t have enough, so going to spray paint those. I does dry extremely fast! I did end up with some drips that I didn’t catch and will sand down before third coat. I must say even with using the brush it still dries with out too much brush marks showing. I got the chairs for free so can’t really complain, but not sure I will used this paint again. I am a beginner, so that doesn’t help. I should of ordered the sample and practiced with that first.
I’m so sorry you’ve had trouble with this paint. I have learned over the years that paint applies differently to EVERY surface so it’s always a good idea to test a small area first. I hope it all works out for you!
I’ve used heirloom traditions on a few projects, followed instructions & used their brushes & rollers. All have held up & turned out fantastic! I’ve learned over the years to follow instructions for certain products or your project turns out horribly.
Learn from our mistakes!!
I would definitely used this paint again!!
DS
@Sheila, I had the exact same experience as you. I’m on my fourth coat with Cashmere on my cabinets, and they have the same dull uneven finish. I’m not completely finished with all of the cabinets, but I think I’m bailing and going to Sherwin Williams
@Diann Soreide, Did you do your projects with white(Cashmere) or another color?
I have followed instructions on oak cabinets and have applied 5 coats. Most of it had been sanded but not all of it to the bare wood. I used the deglosser and wiped well. It has a dull uneven finish with black streaks still showing. I am not wasting any more time with this paint. I am heading to Sherwin-Williams tomorrow.
My friend used green on her son’s vanity and it turned out great.
I am hoping I only have to slightly sand.
Is there anything special that needs to be done in prepping a bare wood surface? bought a bare wood cabinet and using AIO to paint it. Have used the AIO before on a previously painted cabinet and it turned out great just wondering if the same process is necessary for bare wood?
Thanks,
Chuck
I would personally use probably one coat of primer just to make sure the tannins from the wood don’t eventually bleed through. Hope this helps!
I used Heirloom Traditions paint on kitchen cabinets for a client. I followed all of the instructions, but no matter what I did the paint raised up with bubbles covering the entire surface of the doors. It said it was self leveling—not so. It never leveled out. Instead it dried so rough I had to sand the doors. The home owner called the company, but all we got was a run around. This paint is expensive, so they WAISTED over $200.00 on this totally horrific paint. We had to buy more paint from Sherwin Williams to finish the job without completely ruining all the cabinets. I would not recommend this paint to my worst enemy. Please do not waist your time or money on this paint. And don’t expect them to ever give you a refund, they refused to make anything right for the home owner. And said,I didn’t follow the instructions.
@Tammy, I had same experience with one quart of it. The first quart was fine but the second one had bubbles everywhere that did not lay down. I tried everything!
Oh goodness, thanks for the input. I’m so sorry you had to deal with that. What did you clean the surface with before you applied the paint?
I just ordered a sample and will be testing the color on my bedroom furniture. My biggest concern is the top – my dad has painted some furniture in the past and we’ve had many problems with things sticking to the top. Any suggestions to avoid that?
@[email protected],
What kind of primer would you use? Would Kilz Tribute contemporary white eggshell work? I think it’s acrylic?! Not sure what Heirloom Traditions base is. Help. Thanks!
Since Heirloom is a water based paint, I think any water based Primer should work just fine.
If you are worried about it not sticking to the top I would use a good Primer. See more about primers here- https://repurposeandupcycle.com/best-primer-for-wood-and-wood-furniture/
Thank you! I wanted to know if you saw any difference in the adhesion between the 2 tables? With and without the primer?
Where the drawer slides in, has the paint rubbed off… on the top?
It has not but it doesn’t touch the top when it slides.
I’m wanting to put a polyacryllic sealer over the heirloom traditions paint . Do you know if it be work ok ? I painted my bathroom cabinets in linen color and feel since it gets so much use and water and exposure that a topcoat would be helpful.
If I were you I would absolutely cover it with a polycrylic. I don’t see why it won’t work.
I have an older mobile home, the cabinet doors are wood but the cabinet base is partical board covered in laminate. Can this paint be used on this type of cabinet?
Absolutely!
Honestly , I did it correct the first time , and it still came out similar to your boo boo application. Chalk paint is much easier , better coverage and in my opinion quicker . I’m now on a 5th coat in my bathroom cabinets . It isn’t the best paint. To cover with the white color . I’m committed now, but I will never use this brand again. To much extra coats to get the same effect with chalk and top coat . Brush and roll, is two steps . Roll with chalk paint . And it covers ! This isn’t user friendly.
I can totally relate. I’m in the process of applying another coat of white paint to this set months later. It is super durable though, compared to chalk paint.
Hi Lindsay:
I want to paint my coach, it’s in good condition but don’t like the print.
Do I need to use a roll too? Or a spobge brush?
Please advice, thanks
@dawn butler, no. Couch. The all in one is a fabric paint as it is able to stretch. I used it. Feels a bit rough. Would not recommend. Especially black since they suggest lightly sanding fir a more fabric feel. Black looks chalky after sanding.
@[email protected], I’m sure she probably means “couch.”
Hey Ana, what do you mean by “coach?”
I chalk paint and waxed a buffet but not happy with it. I want to use AIO paint in iron gate. Do I have to sand down a little or can I go ahead and paint?
Since you have a wax coating on the top, I would sand it down a little first. Good luck with your buffet!
Can you use this product over a previously painted piece or painted cupboards ?
YES! As long as the other paint isn’t chipping or tearing away from the surface.
HTP AIO paint is incredibly durable and versatile. It will adhere to almost any surface. I’ve even painted a slick plastic wet wipe box without problems! You’re right in that it’s the perfect paint for a straightforward paint refresh. It’s also great for painting car seats that have begun to tear or delaminate, couches, and is the perfect cabinet pain. Thank you for featuring this paint and giving the honest pros and cons.
Good to know about the other paint product!
fusion mineral paint is also a good choice.
I’ve heard that!