See this easy wood furniture repair with Bondo Wood Filler. Watch how to repair a chunk of wood missing from a bed frame.
My dog ate the base of our bed frame; yep, not kidding. This sounds like a lame “my dog ate my homework” kind of excuse, but unfortunately it really happened. So now what?
I recently wrote a post about wood putty vs. wood filler, and I’ve leaned hard on this list to decide which wood filler would work best for the missing veneer of my bed frame.
Most wood fillers are known to dry hard, but Bondo is typically the go-to filler for a super hard finish. It was originally created for automotive repair. That being said, it’s a little harder to work with than other wood fillers. It has to be precisely mixed with a hardener and it does dry fast (so you have to work fast!).
Recently I gave our bedside tables a makeover with Heirloom Traditions all in one paint to better match my coastal vibe. Then I decided to try to give the top of the bedside tables a makeover to match the wood tones in the bed by tinting polyurethane.
Today I’ll be showing you how to fix a missing piece of wood with Bondo wood filler.

Pictured above was before my dog ate the bed…..
Below is the chewed bed frame showing the damaged area. Poor little pup, he acts like we starve him!
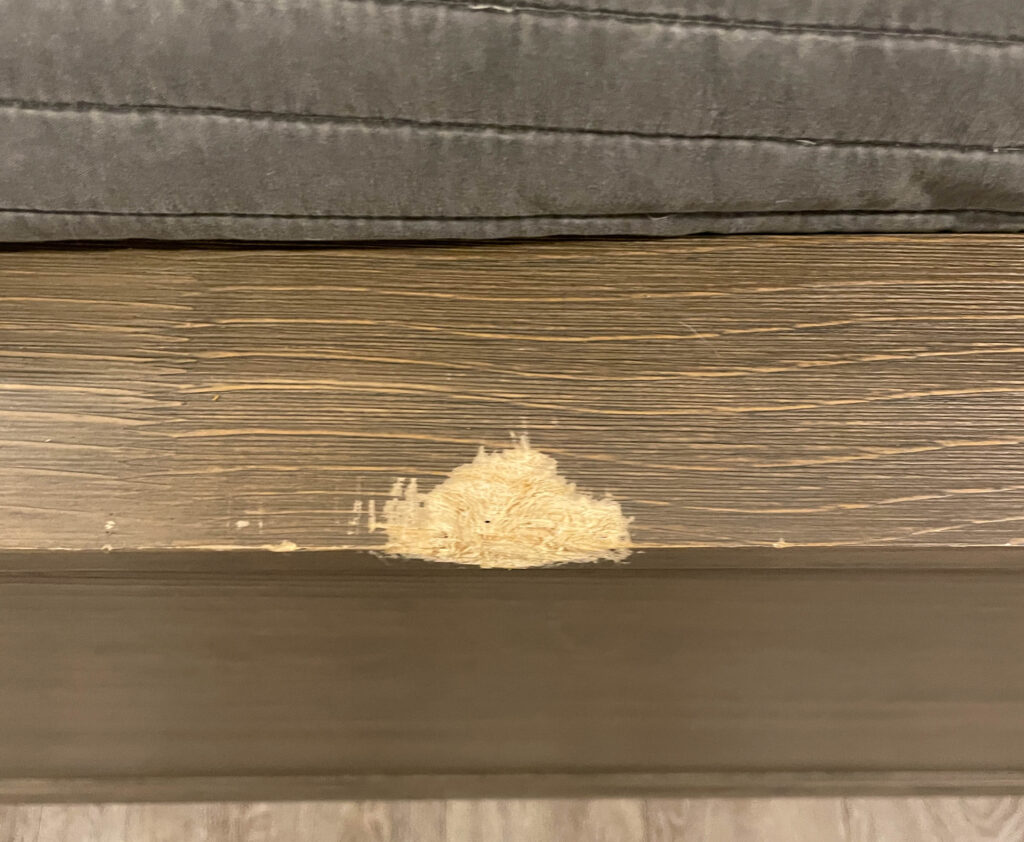
And here is the culprit of the chewed bed frame. It’s a good thing he’s cute! LOL.
Look at him, he knows he’s bad. I guess I should go easy on him. He is just a puppy.

Disclosure; this post contains affiliate links. As an Amazon Associate I earn from qualifying purchases. This disclosure statement refers to the rest of the Amazon links in this post.
Wood Furniture Repair with Bondo Wood Filler
There are a few different types of Bondo. They make Bondo All Purpose Putty, Bondo Body Repair Kit and Bondo fiberglass glass kit and they even make a drywall joint compound product just to name a few. For this post, though, we will be using the Bondo Wood Filler to fill in the missing chunk and thin layer of wood. I’ve used the all purpose Bondo putty before but this is the first time I’m using the wood filler product. It seemed to be the best wood filler to fill wood surfaces.
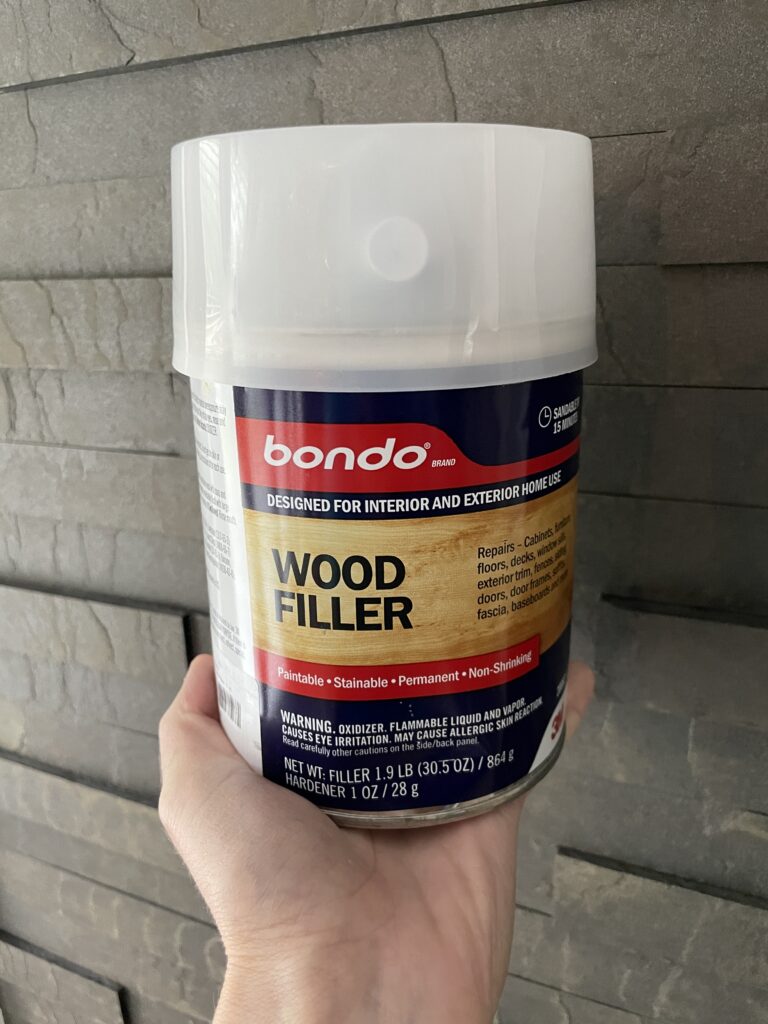
By the way, make sure to watch my video where I show you step by step how to repair a missing chunk of wood with Bondo.
Materials Used:
- Bondo Wood Filler
- Spatula, putty knife, utility knife or mixing tool
- Flat non porous surface
- 80 grit sandpaper
- 180 fine-grit sandpaper
- Cleaner or Degreaser
- Tack cloth
- Gloves
- Mask
- Razor blade
How to use Bondo Wood Filler to fix a chunk of missing wood
- Clean the surface really well. Sand it slightly if the surface isn’t smooth or there are any wood chunks. Make sure it’s dry and lint free.
- Open Bondo and remove a 3 inch circle 1/2 thick.
- Place it on a non porous flat surface like a scrap piece of wood or plastic plate.
- Next steps; Knead the Bondo hardener for a few seconds and then squeeze a 3 inch strip on top of the Bondo circle.
- Use a putty knife or paint stick and mix the Bondo solution for about two minutes until it’s a golden color.
- Apply the Bondo solution to the surface with a putty knife or spatula. Sometimes you need to make a mold if you are creating a specialized shape. For this project, I’m just going to glob it on and sand it into the shape I need.
- Let it dry. Dry time is 15 minutes at the most.
- Use 80 grit sandpaper first to shape the Bondo to conform to the rest of the surface or repair area.
- Use 180 grit sandpaper to feather the edges and make a smooth finish.
- Use a tack cloth or rag to clean dust.
- Paint or Stain
Above are my simple instructions in a nutshell to repair furniture with a can of Bondo. Of course nothing is as easy as it seems, but if you follow a few simple tips and basic techniques, it really does work!
You can see below where I was able to fill the hole that my dog ate a bite out of. Bondo is great at filling in a large area and even a small patch too. It really is the best choice for a smooth permanent repair.
Make sure to check out my review of Minwax High Performance Wood Hardener and Wood Filler before you leave! This product is the next best thing to Bondo. Yep, I still think Bondo is my #1.
Tips on using Bondo Wood Filler
- Mix small amounts of wood filler and cream hardener at a time. If you mix too much, it will dry out and become ineffective.
- Work in sections. If you have a handful of places you need to repair, do them all separately.
- Don’t spread the Bondo mixture too thin when mixing it. I made this mistake (watch the video) and it dried out before I could use it.
- Work quickly and effectively.
- Bondo makes a lot of heavy fumes so be sure to wear a mask and if you can’t work in a well-ventilated area, use a fan and open the windows!


Above is what it looked like after I applied the Bondo filler to the bed frame where my dog chewed it up.

One thing I love about Bondo is how easily it sands. The 80 grit sandpaper really created a good shape to match the wood.

Look how good it looks! I feel like the Bondo seamlessly blends with the wood and you can’t tell where one starts and where one ends.
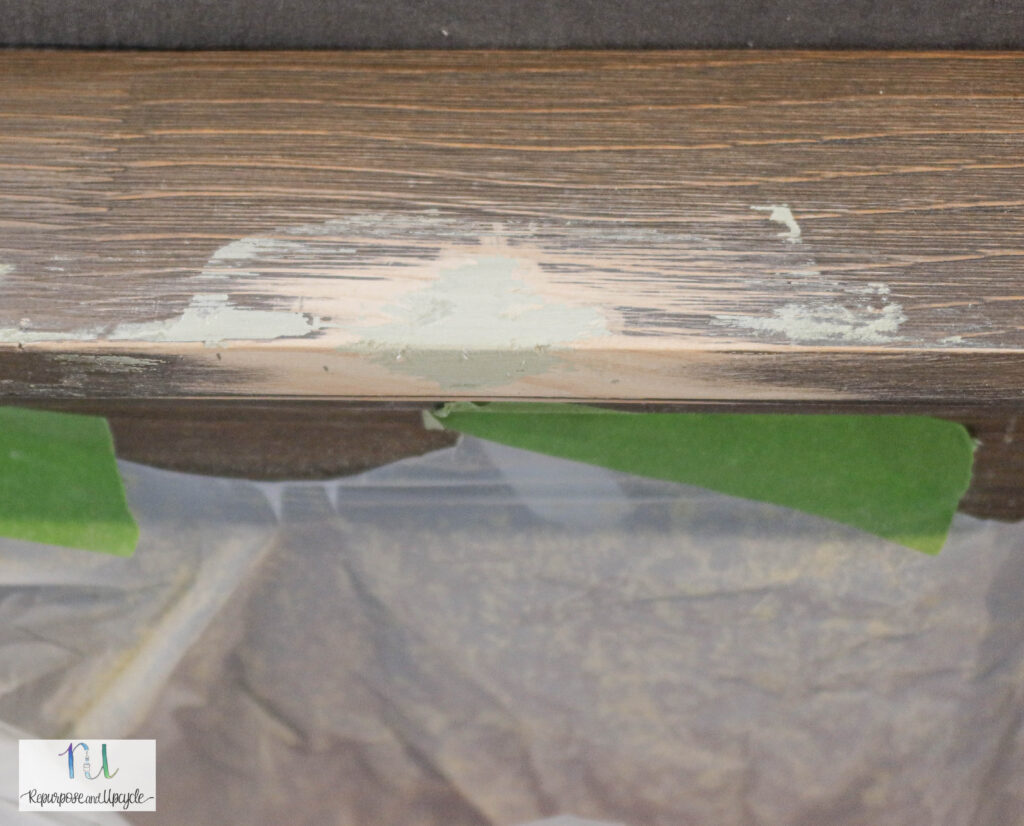
After the Bondo was good and dry (and sanded to a smooth surface) I used a tack cloth to clean up the extra dust.
Next, I used an All in One paint by Heirloom Traditions to paint the end of the bed frame. I thought the white would accent the dresser nicely and match the rest of the piece.

Look! You can’t even tell where I repaired the wood!

an you see where we repaired it? I hope not! LOL The only thing I could have done differently was create a faux grain of the wood with a grain tool. Maybe I’ll give that a try next time I use this product.
That’s it folks! I’ll definitely be using this amazing mold putty again. Bondo works great on old furniture, drawer fronts, faux wood like this lovely bed frame and even auto body repairs! Now I don’t have to shy away from chipped wood projects, I’ll just fix them! I hope this Bondo wood filler review will help you make a more informed decision about your next furniture project. It really is the best way to fix larger repairs and small areas too.

How to repair wood furniture with Bondo

See this easy wood furniture repair tutorial with Bondo Wood Filler. Watch how to repair a chunk of wood missing from a bed frame.
Materials
- Bondo Wood Filler
- Spatula, putty knife or mixing tool
- Flat non porous surface
- 80 grit sandpaper
- 180 grit sandpaper
- Cleaner or Degreaser
- Tack cloth
- Gloves
- Mask
Instructions
- Clean the surface really well. Sand it slightly if the surface isn't smooth or there are any wood chunks. Make sure it's dry and lint free.
- Open Bondo and remove a 3 inch circle 1/2 thick.
- Place it on a non porous flat surface.
- Knead the Bondo hardener for a few seconds and then squeeze a 3 inch strip on top of the Bondo circle.
- Use a putty knife and mix the Bondo solution for about two minutes until it's a golden color.
- Apply the Bondo solution to the surface with a putty knife or spatula.

- Let it dry. Dry time is 15 minutes at the most.
- Use 80 grit sandpaper first to shape the Bondo to conform to the rest of the surface.

- Use 180 grit sandpaper to feather the edges.
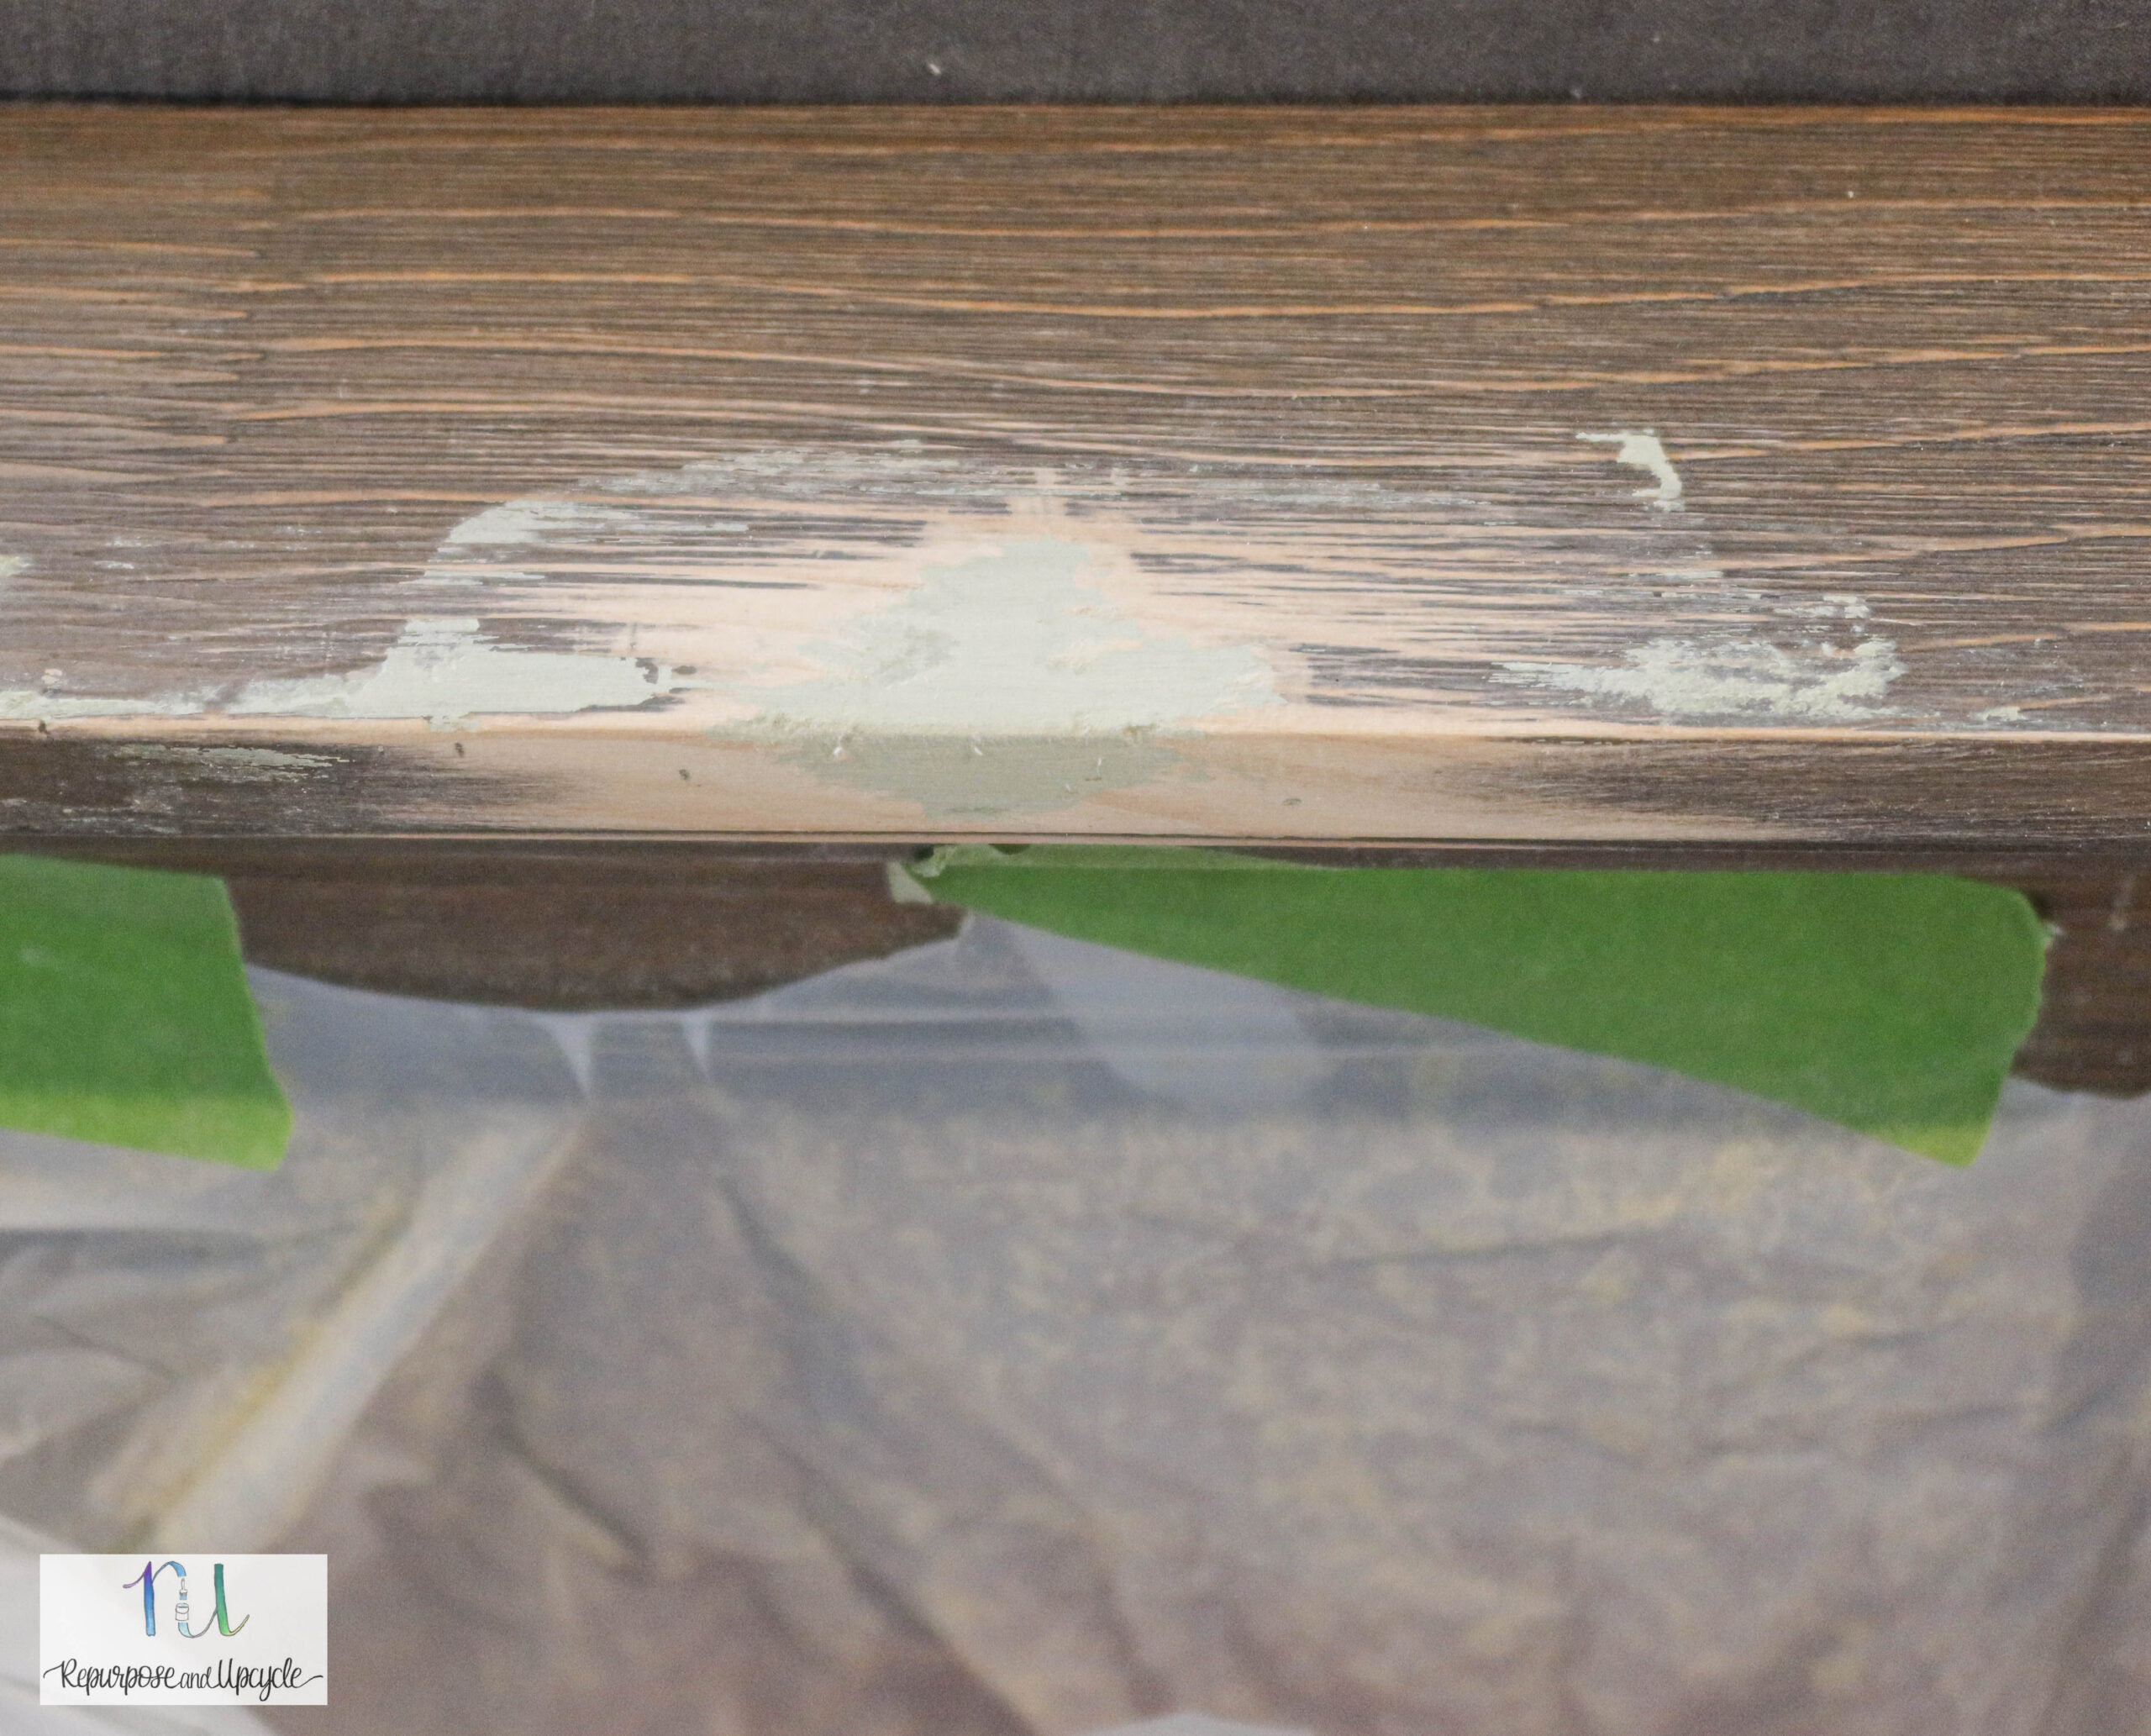
- Use a tack cloth or rag to clean dust.
- Paint or Stain

Notes
Recommended Products
As an Amazon Associate and member of other affiliate programs, I earn from qualifying purchases.


