When you think of wood dye, Keda Wood dye is probably one of the name brands that comes to mind. They are known for their vibrant and customizable wood colors which is why I chose to use this product for my wood cutting board project. It’s nearing the 4th of July and I wanted to create a piece of holiday decor. Let me show you how I gave a new cutting board a fun festive flair with Keda wood dye.
I’m a huge fan of using wood dye’s. You can generally find a wider array of colors in wood dye’s than you can in wood stains (If you’re curious, you can read all about wood dye vs. wood stain in a past blog post). This is actually the reason I wanted to use a wood dye for this project. I wanted to stain the wood in mainly blue and red hues and Keda dyes came in those colors.

What is Keda Wood dye?
Keda wood dyes are aniline dyes that can be mixed into a non oil based reagent. They come in either a powder kit (one quart of stain per color) or a liquid kit (two quarts of stain per color). They are extremely color potent and highly concentrated products that allow for a bright vibrant wood finish. They are intended to be used with a reagent that will soak deep into the wood grain and give it a beautiful lasting color.
What are aniline dyes?
Since Keda Dye’s are aniline dyes, you are probably wondering what they are. They are any group of dyes that are derived from Aniline, which is a coal-tar distillation product. They were the first basic dyes produced many years ago. Most of them are toxic so you need to use proper PPE when using them.
How do you mix Keda Wood dye?
Keda liquid dye mixes with many types of reagents such as: Lacquer Thinner, Alcohols, Acetone, keystones (non oil based) etc. but will also tint water based top coat sealers.
Keda powder dye is recommended to mix in warm water. If you want to speed up the mixing process, mix powder wood dyes into 1 tbsp of water first, then add isopropyl alcohol.
On Keda’s website they have a great flowchart on how to use and mix Keda Wood dye’s. This is a great tool if you are about to begin a project.
Disclosure; this post contains affiliate links. As an Amazon Associate I earn from qualifying purchases. This disclosure statement refers to the rest of the affiliate links in this post. See more on my disclosure page.
What sealer or clear coat do you use with Keda Wood dye?
Keda wood dye’s can be sealed with almost any sealer you wish to use. Make note that some sealers, such as oil based polyurethane’s can alter the dye’s colors. Spray sealers are easy to use and create a nice uniform finish to maintain the dye’s bright colors.
Keda’s website suggests using a UV protecting sealer. They suggest using a few coats with the first being a light thin coat.
How to use Keda Liquid Alcohol Dye
- Prepare the wood surface by sanding it with a 150-180 grit sandpaper. This opens up the pores of the wood so it’s more likely to show the wood dye deep into the wood grain.
- Clean the surface with a tack cloth or lint free cloth to ensure that the wood is free of debris.
- Prepare the concentrated Keda liquid alcohol dye by mixing it with a reagent (Lacquer Thinner, Alcohols, Acetone, keystones or any similar non oil based reagent) or a little water to dilute it.
- Start by adding a few drops at a time to the reagent (or water) and test the color on a separate piece to make sure you get the right color before applying it to the finished product.
- Use a brush, staining sponge or cloth to apply the wood dye and let it sit for a few minutes. Apply in the direction of the wood grain.
- Use a clean lint free cloth to wipe away excess dye and let it dry completely.
- Apply at least a few coats of sealer.
Helpful tip; Remember with dye (or stain), you can easily darken the dye color. It’s harder, however, to lighten it. For my project, I figured I would air on the safe side and start with a light dye or stain color and gradually make it darker.
Now that we’ve discussed all the facts about Keda wood dyes, y’all ready to see a wood cutting board makeover?
For this project I’m using Keda Liquid Alcohol Dye. You can also purchase it in a powder kit, but I decided to purchase the liquid kit.
Let me show you how I took a new maple wood cutting board and gave it a fun, fresh 4th of July vibe with blue and red Keda dye.
Maple wood cutting board makeover with Keda Dye
I purchased this simple maple wood cutting board from Amazon. I also purchased two Keda liquid dyes from Keda on Etsy. Here are the rest of the materials I used;
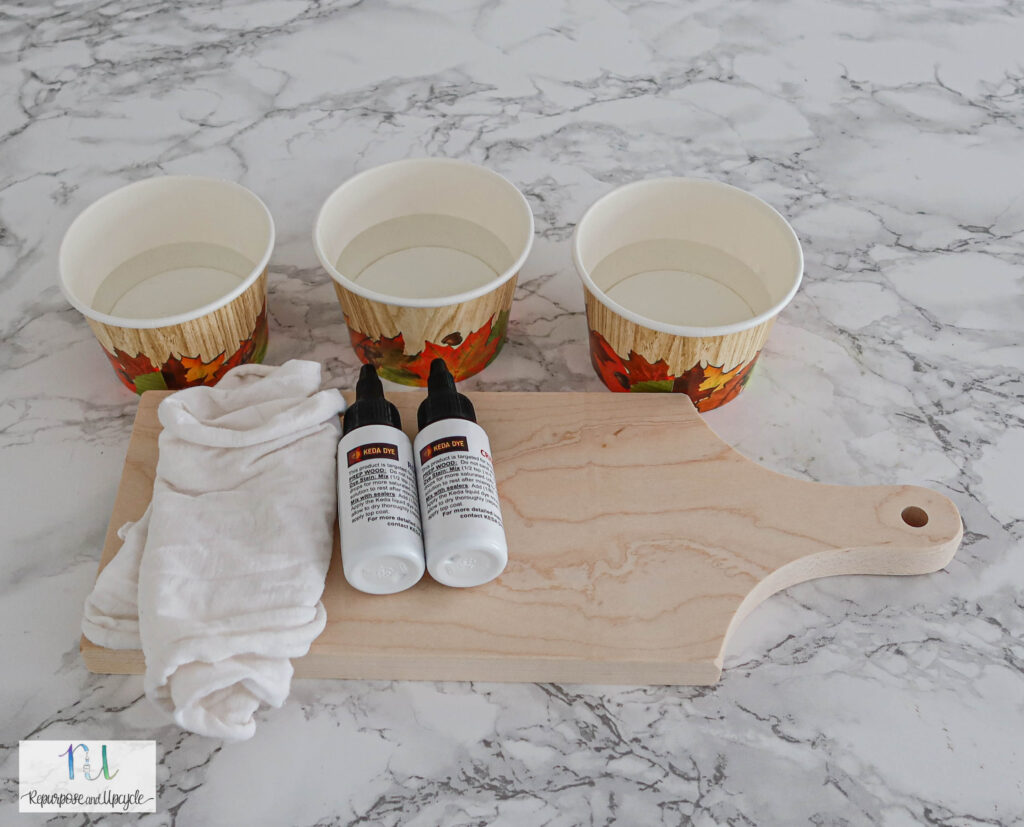
I used three disposable bowls with a little water in each to dilute the dye. My color palette for this project was blue, red and purple (blue and red mixed).
Like I said earlier, I wanted to air on the safe side by not making the color too dark so I decided to mix it with water.
Patriotic Cutting board makeover with Keda Wood Dye video


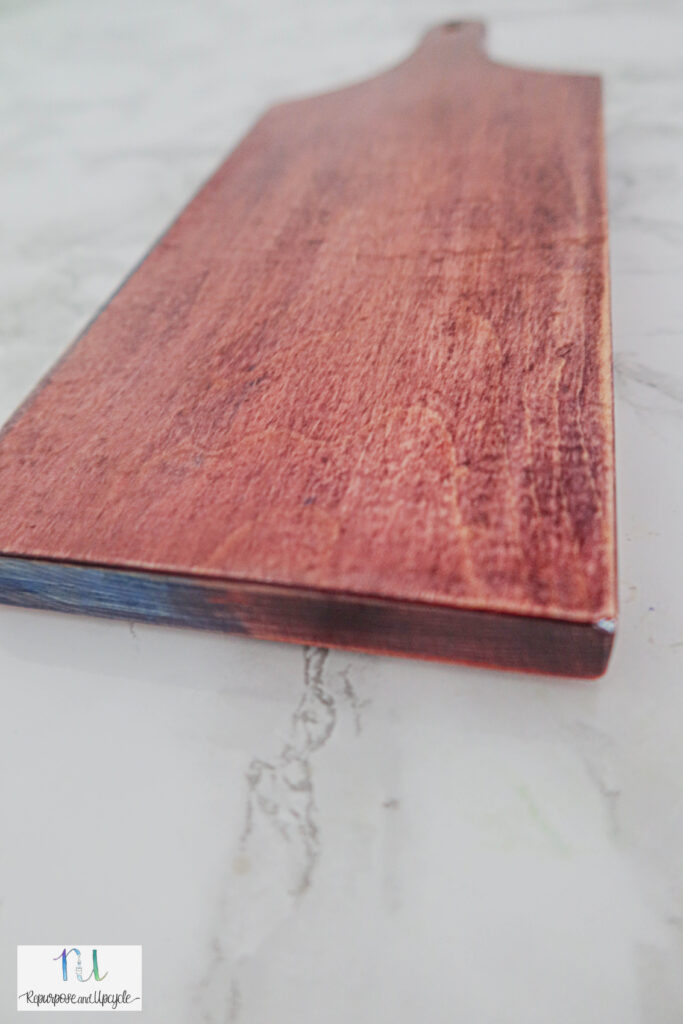
This is the backside of the cutting board. You can see the striations in the wood from where I might have applied the wood dye a little too heavy.

I love how easy this stuff is to use. Now I’m racking my brain to figure out something else to stain.
Until the next project,
Lindsey**


