This project is sponsored by KILZ® brand. As always, all opinions are my own.
I was so excited to start this project. Normally I’m excited to start a painting project but I’ve always wanted to create an accent wall with an Ombre paint technique. Not only did I create an ombre accent wall, but I added a desk to it as well! I can’t wait to share how to create an ombre paint effect.
It all started with a blank wall, an old desk and a few peel and stick wood planks. I knew I wanted to create a fun desk space for my daughters room, but I didn’t know exactly how to do it.
Then KILZ® reached out and asked if I wanted to be a part of their accent wall campaign and I knew then exactly what I would do!
My first thought for my daughters “accent wall/desk space” was to paint the desk a contrasting color to the wall planks.
Nah too busy…
Then I thought I could paint the desk and the wood planks the same color.
Hmm too boring…
What if I painted the desk and wall planks the same color BUT with an Ombre effect!
YESSSSSS!
Before I get into the painting process let me show you the space BEFORE the accent wall makeover.

This is what it looked like after I added the peel and stick wood planks to the center of the wall.
Don’t mind the black circles on the wall. 🙂 Those are hooks to hold cute little baskets. Sometimes I get ahead of myself with accessories!
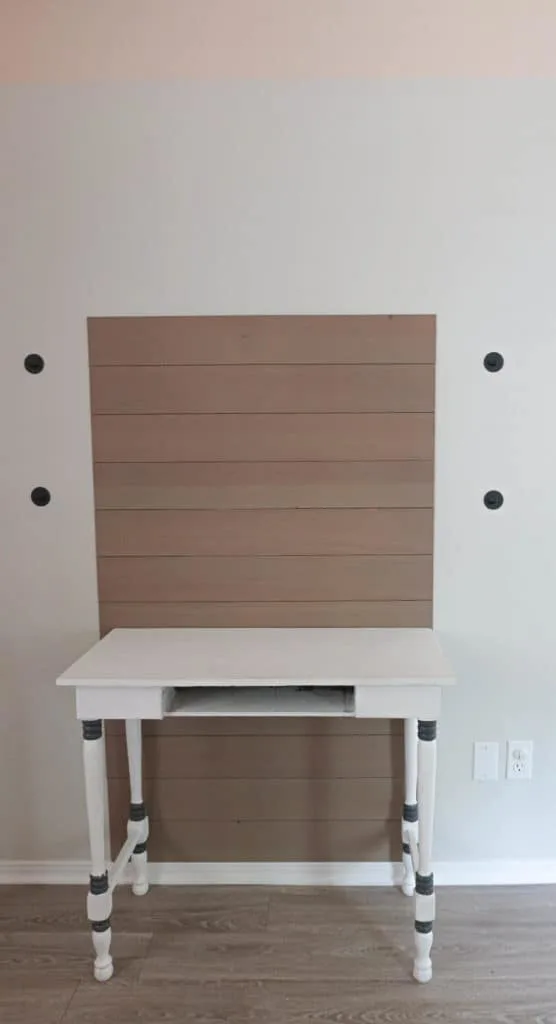
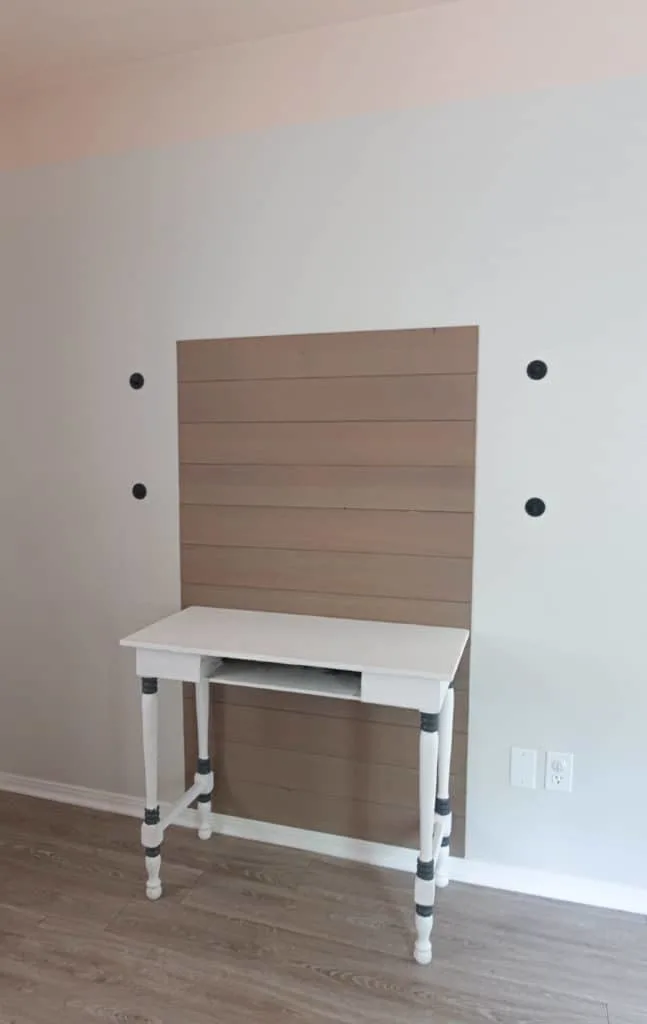
I didn’t want to go all the way up the wall with the wood planks because I still wanted a delineation between the “accent wall/desk” and the painted ceiling with the color block design.
You might be wondering;
Table of Contents
What is an Ombre paint effect?
The Spruce sums it up perfectly;
“An ombre wall treatment is a decorative color effect in which a single paint colors slowly melts into another, creating a dreamy, water-colored effect as it covers the spectrum between two colors.”
There are two main ways to create an ombre paint technique:
- You can blend different colors together
- You can lighten or darken one color
Personally, I think the easiest way to do it is by adding varying levels of white to an existing color. This is the technique I’ll be using for my ombre accent wall/desk area.
Time to paint!
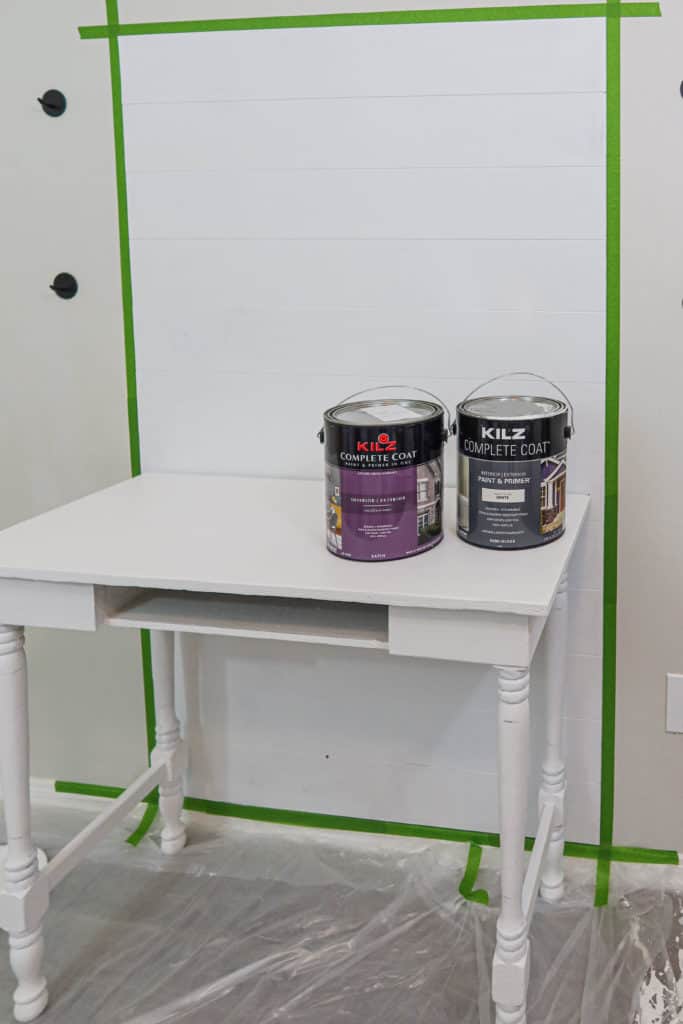
Speaking of paint, let’s discuss the paint I’m using.
KILZ recommended using the KILZ 3® Premium Primer and KILZ Complete Coat® Paint.
The KILZ 3 Premium primer has superior quality, fast drying, low odor, very low VOC, water-based primer-sealer-stainblocker all in one.
The low odor and low VOC were necessary because I was working in my daughter’s room with very limited ventilation. Also, I needed a primer that would hide stains really well because the old stains were starting to bleed through the previous paint job.
I decided on using the color Fathoms Below by KILZ. I had Walmart mix the color into their KILZ Complete Coat paint.
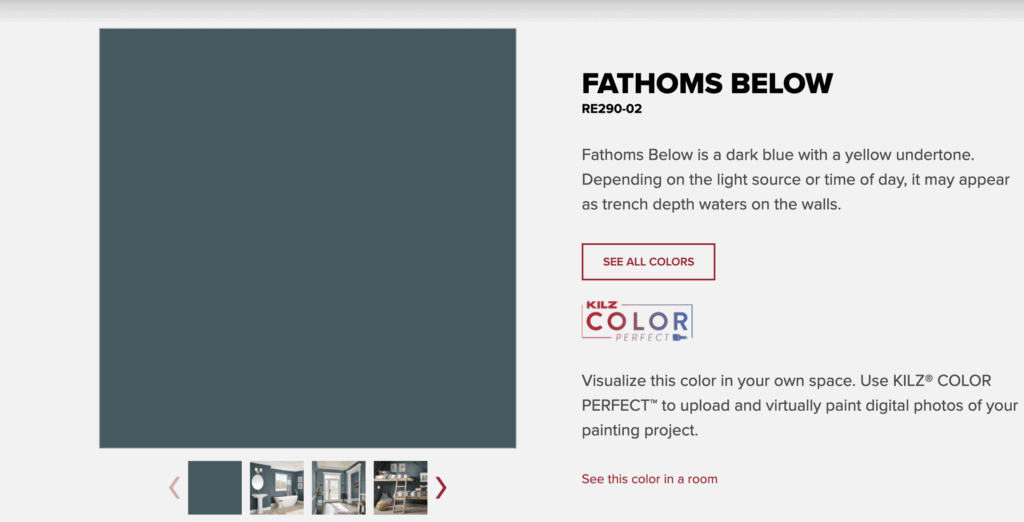
Materials for painting an Ombre accent wall
- Drop cloth or plastic tarps
- Paint roller – large and small sizes
- Paint brush
- Paper towels
- Painters tape or Frog Tape
- Paint tray
- KILZ 3 Premium Primer
- KILZ Complete coat
After heading to my local Walmart to pickup paint, primer and supplies I was ready to begin!
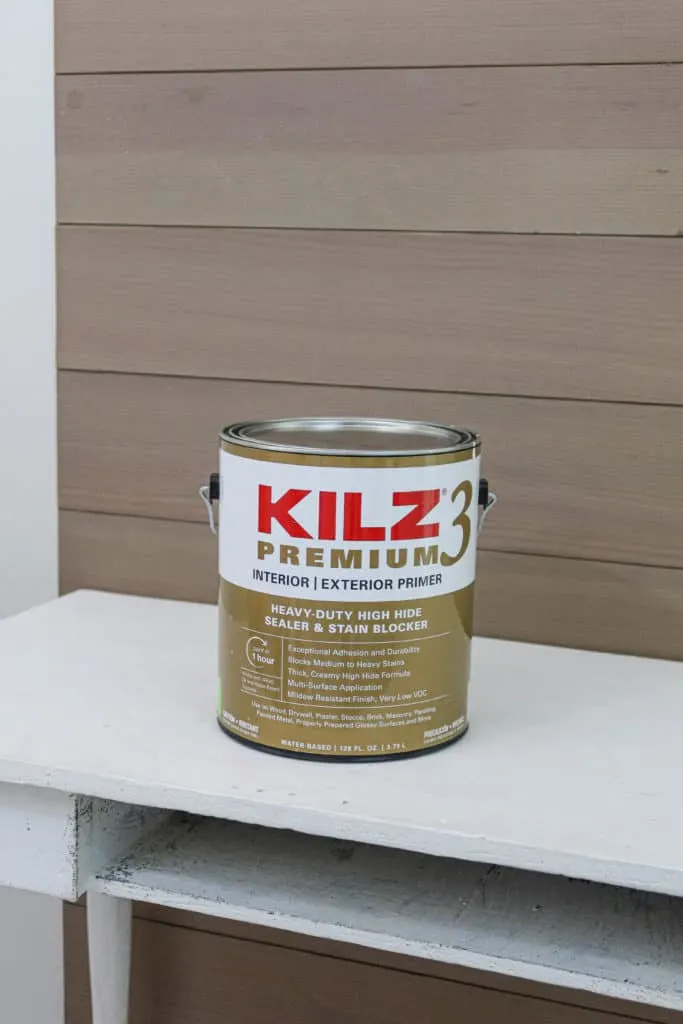
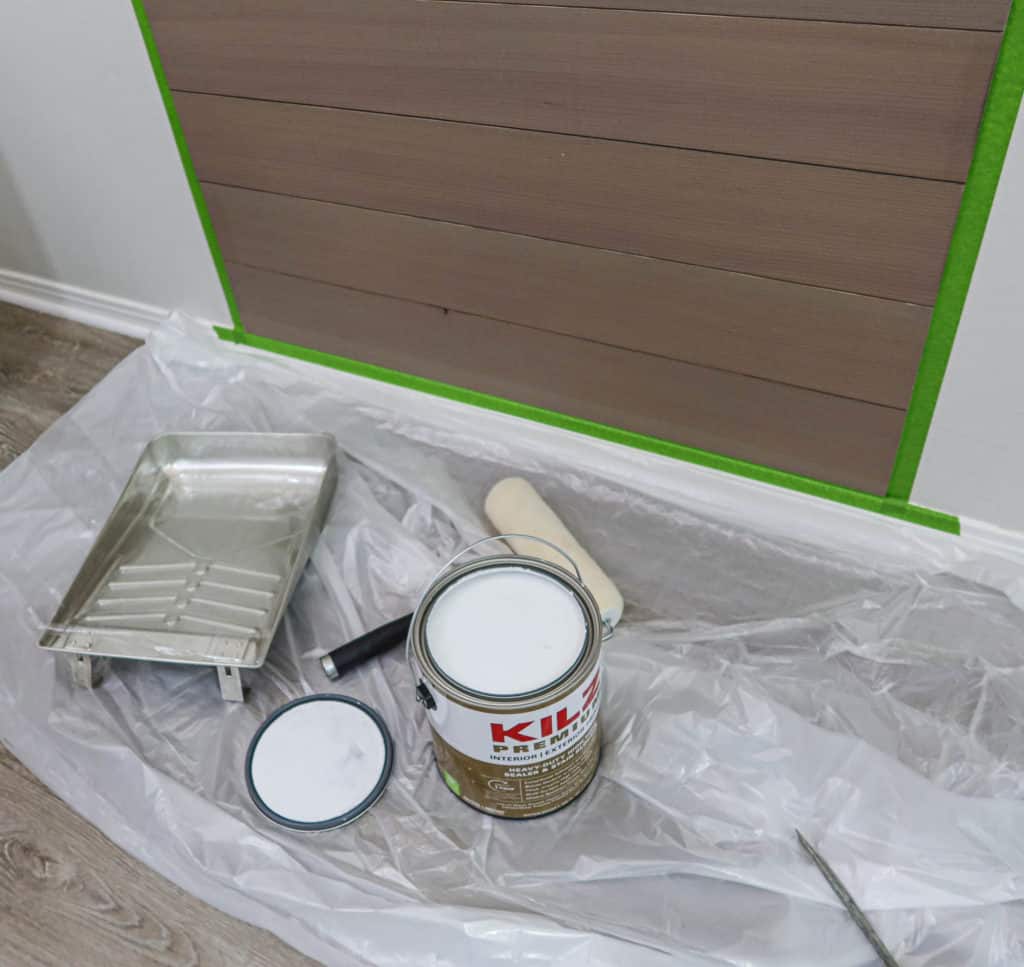
I used a large paint roller to roll the primer on the wall first. I then rolled primer onto as much of the desk as I could.
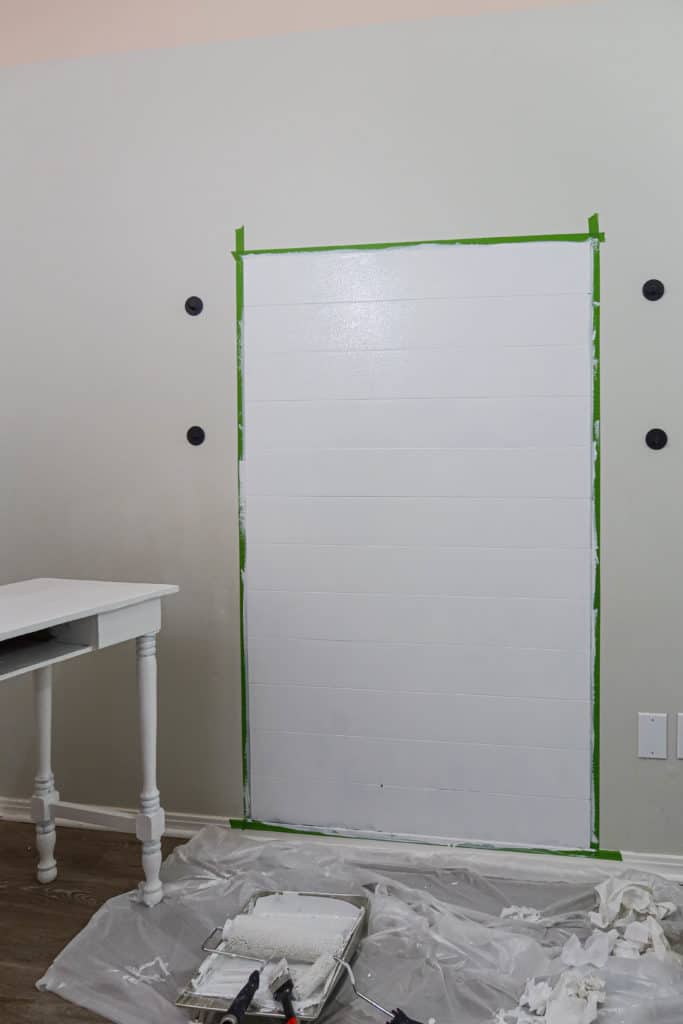
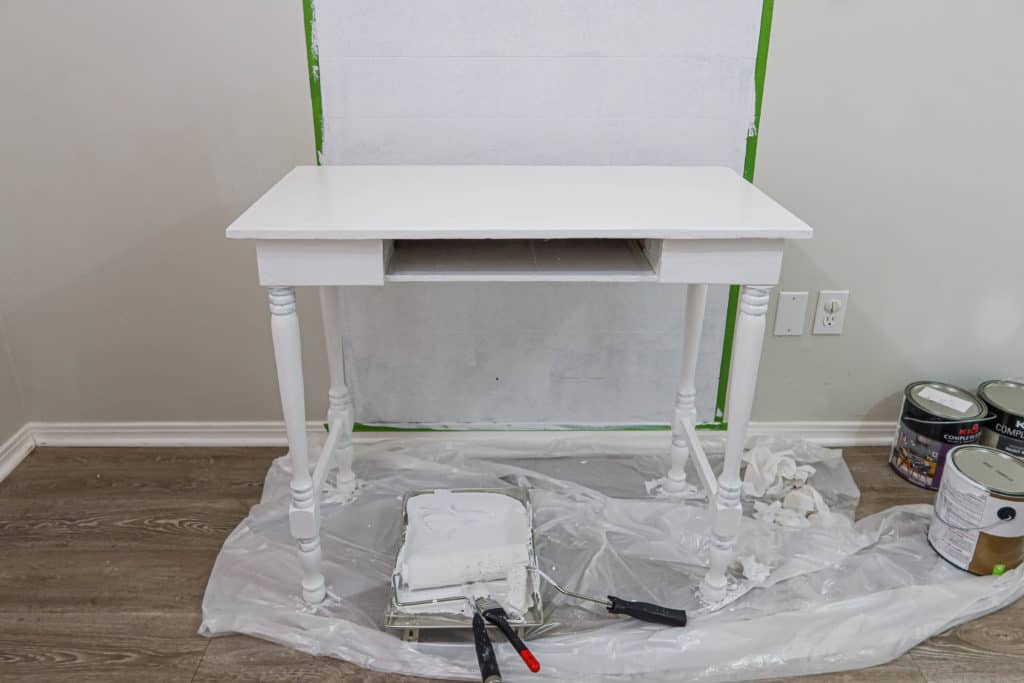
I used the small roller to roll primer inside the desk cubby and the long part of the desk legs. I used a paint brush to apply the primer everywhere else.
It took two coats of primer to completely cover the wall and desk.
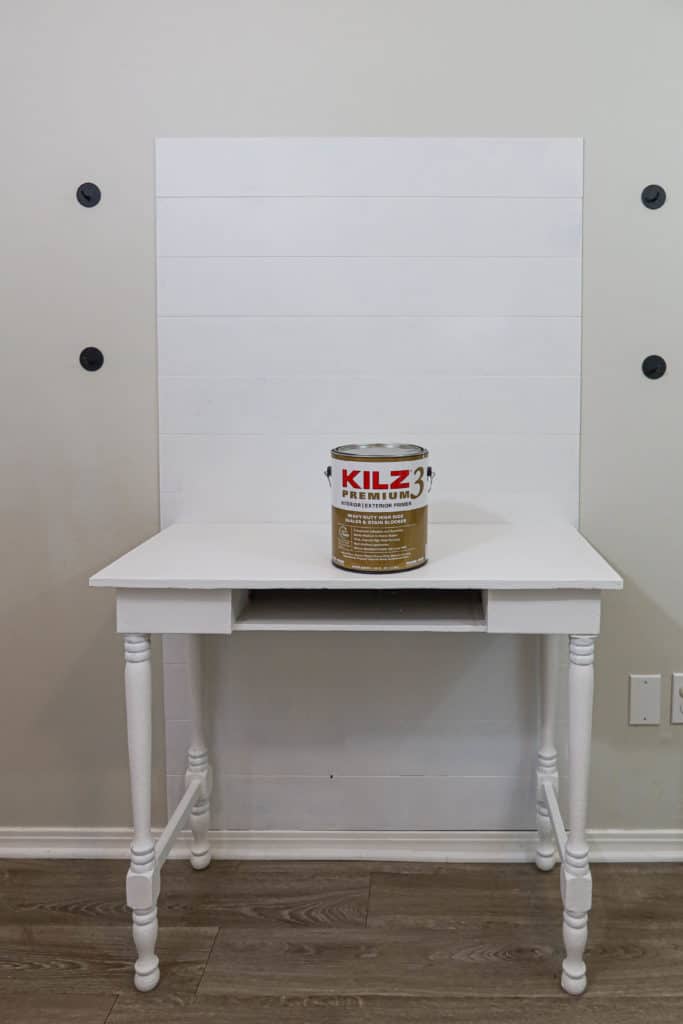
Now for the fun part!
How to create an Ombre paint effect accent wall
First decide how many “transitions” you will have between paint colors. I wanted a different paint color every two wood planks. This meant I would transition to a new color about every 12.5.”
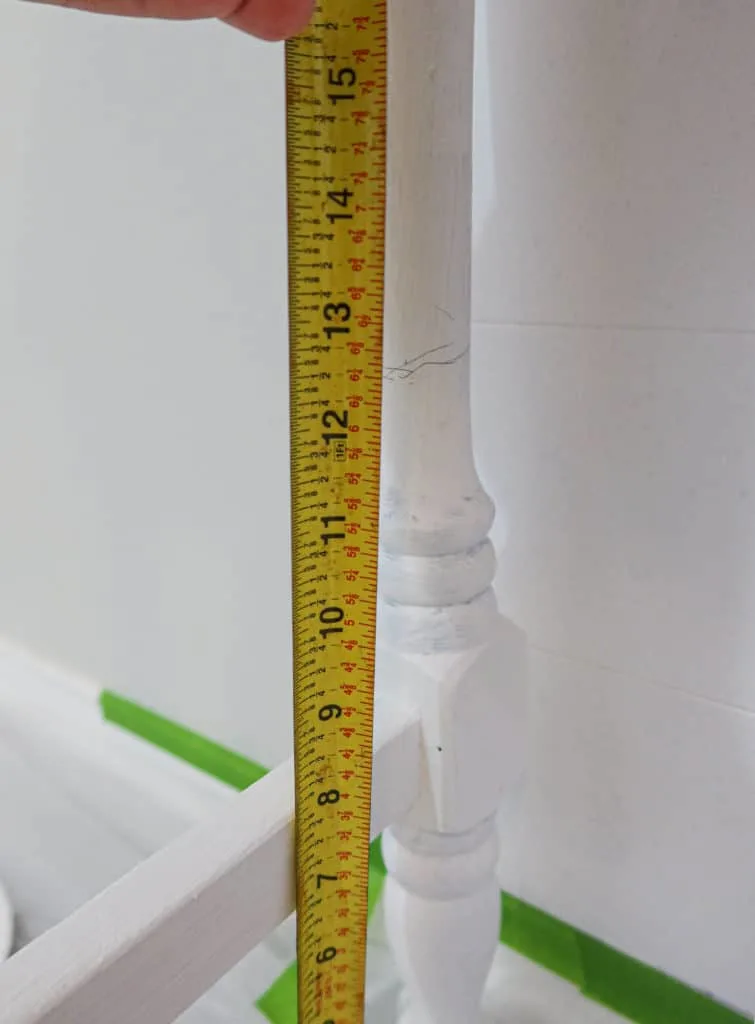
You can see I did a very “loose” mark of where the transition would be. It doesn’t have to be exact because you will be blending the colors around this mark.
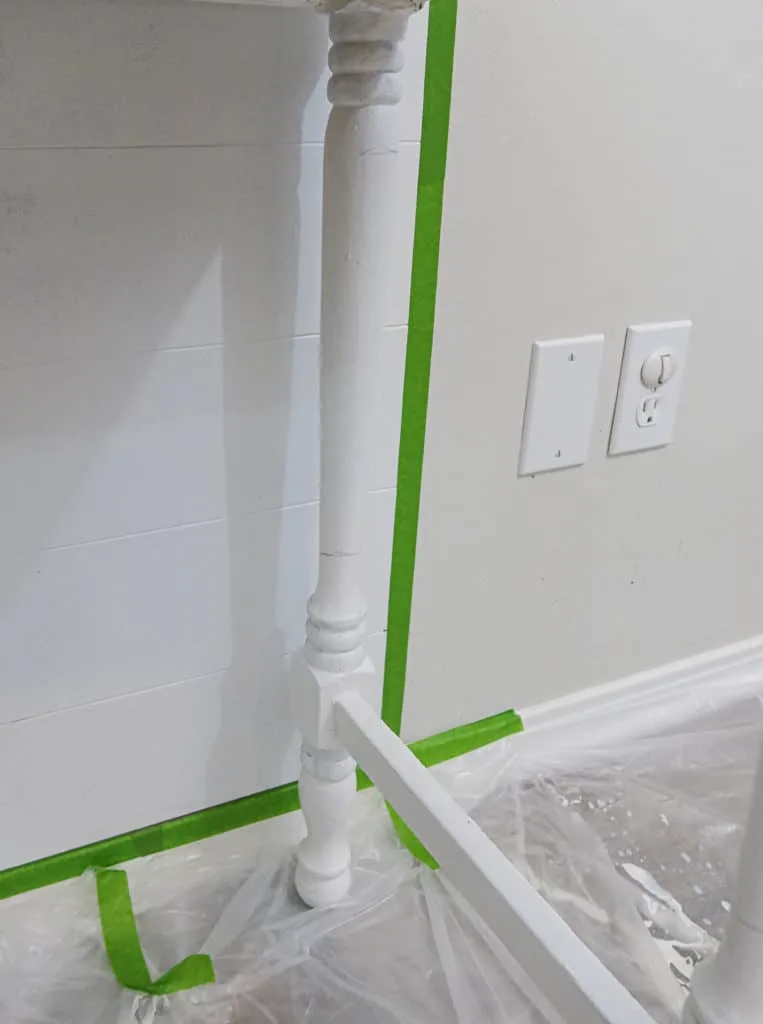
Since I measured by the space between the wood planks, I didn’t need to mark them.
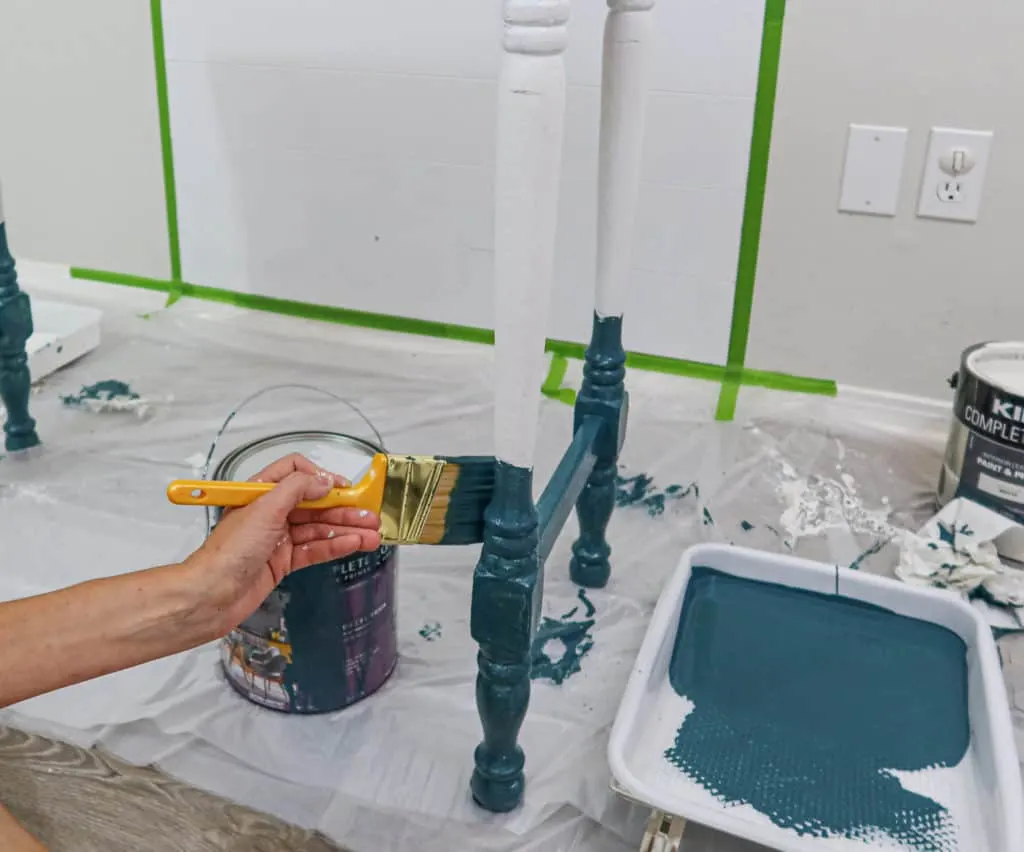
Next I poured a decent amount of paint into the paint tray.
I used a paintbrush to paint the first Ombre layer. You will not mix any white into this layer.
Side note; I brushed the desk first and then painted the coordinating wall planks after. I did apply two coats of paint to the first layer with the base coat of paint (no white added). I wanted the bottom layer to look solid. I only applied one coat of paint to the rest of the ombre layers.
While the first ombre layer of paint was still wet, I quickly added 6-7 tablespoons of white KILZ Complete Coat paint to the base color in the paint tray and stirred it well.
I wiped the excess paint from the same paint brush with a paper towel to try to dry it.
Next I dipped the paint brush into the newly mixed color in the paint tray and brushed on the second ombre layer.
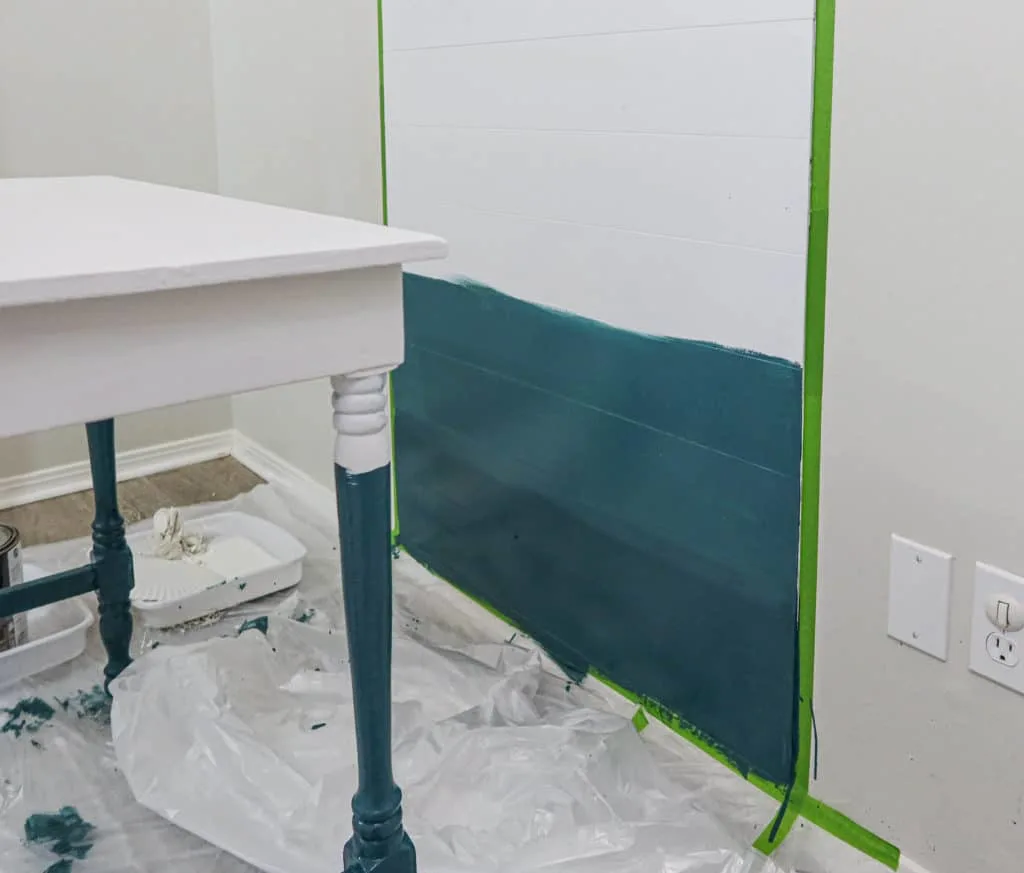
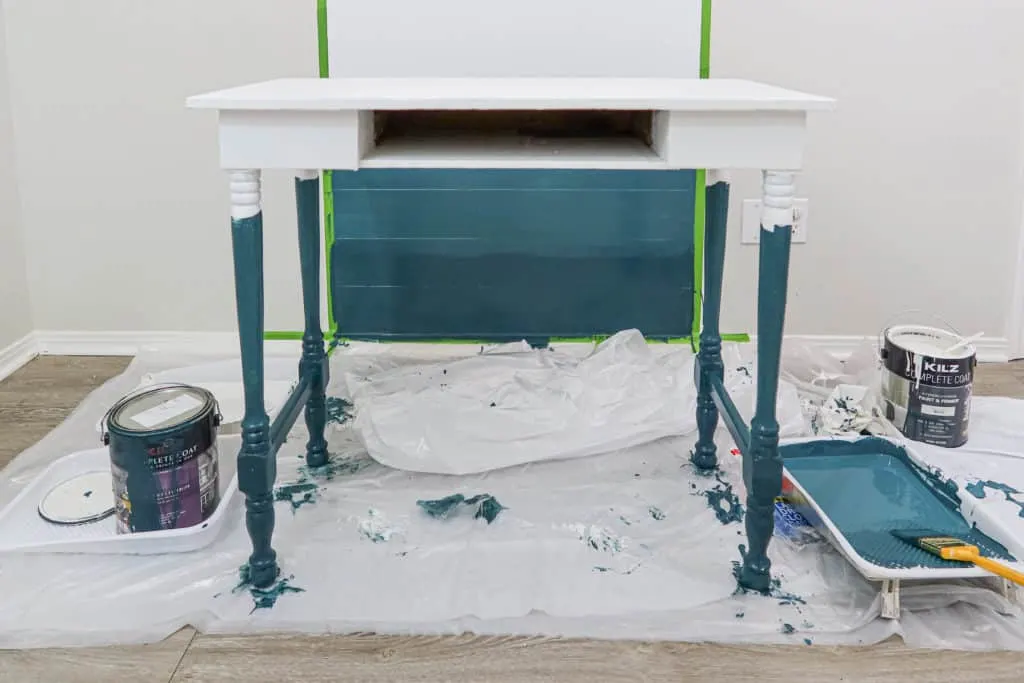
I continued with the same steps and worked my way up the desk and wall.
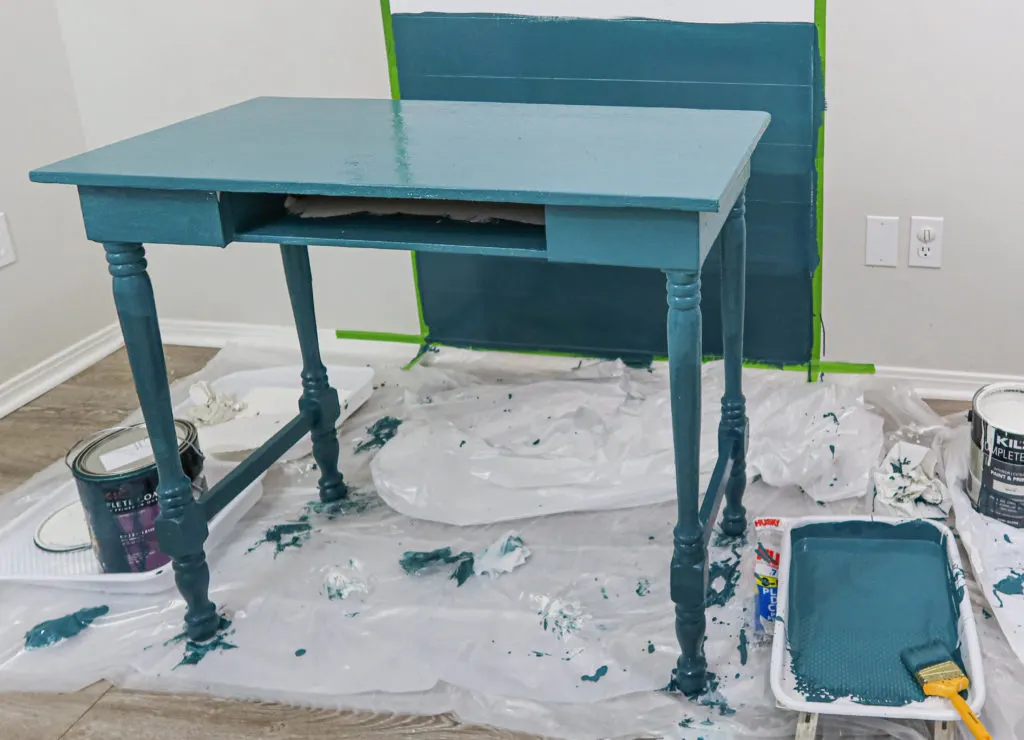
The third layer was the layer where I painted the top of the desk.
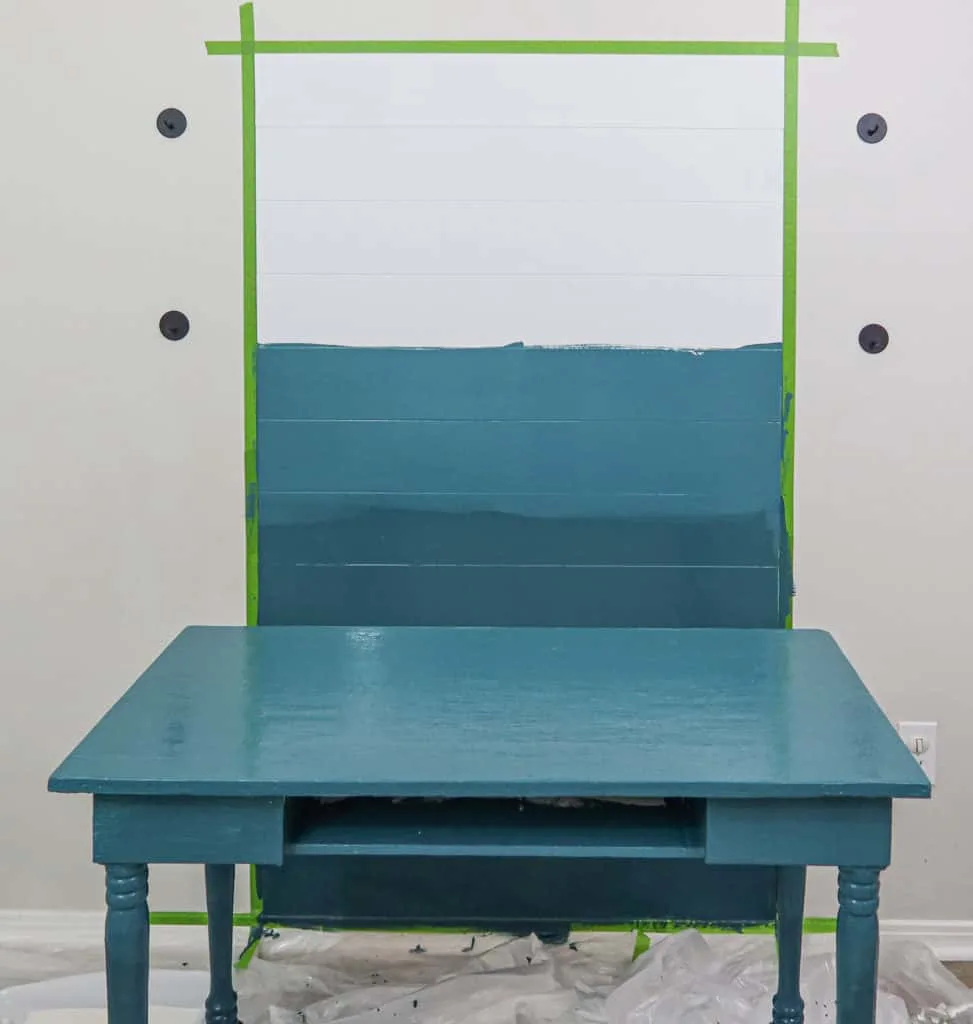
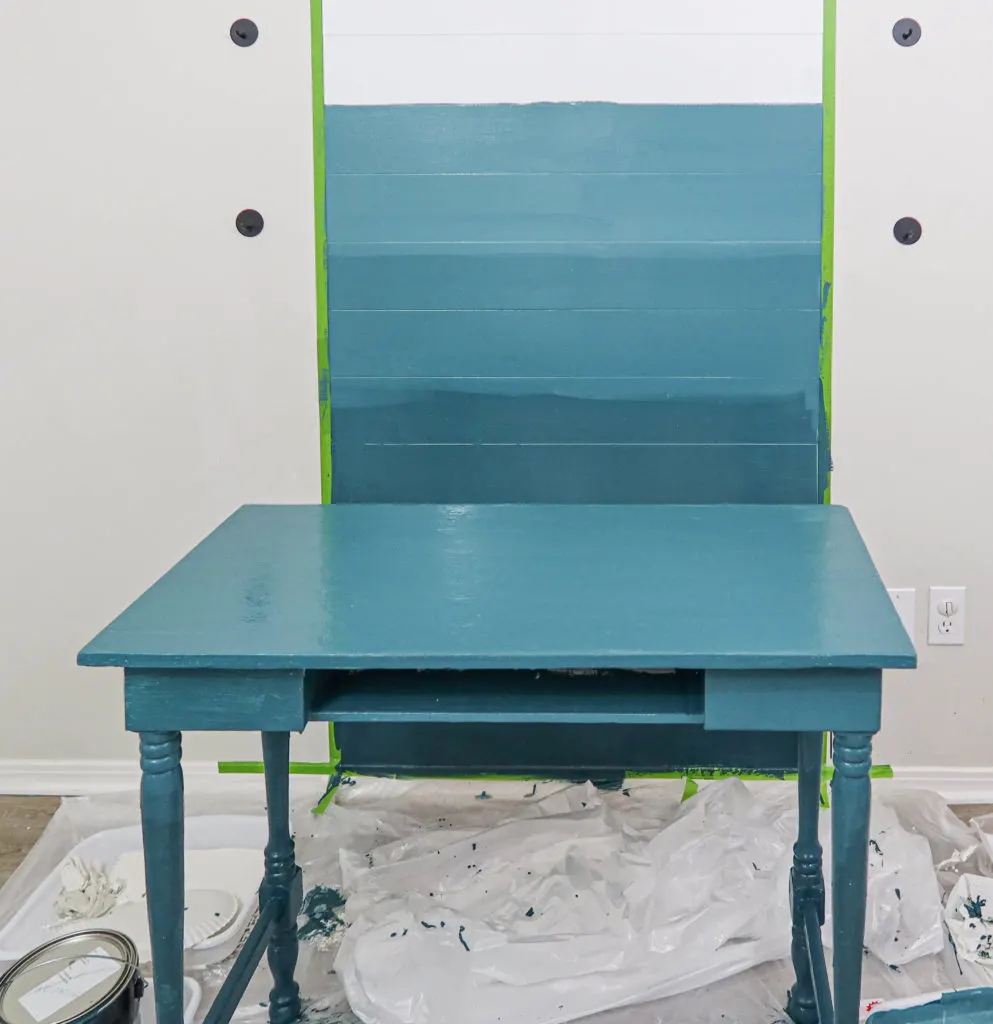
Almost done!
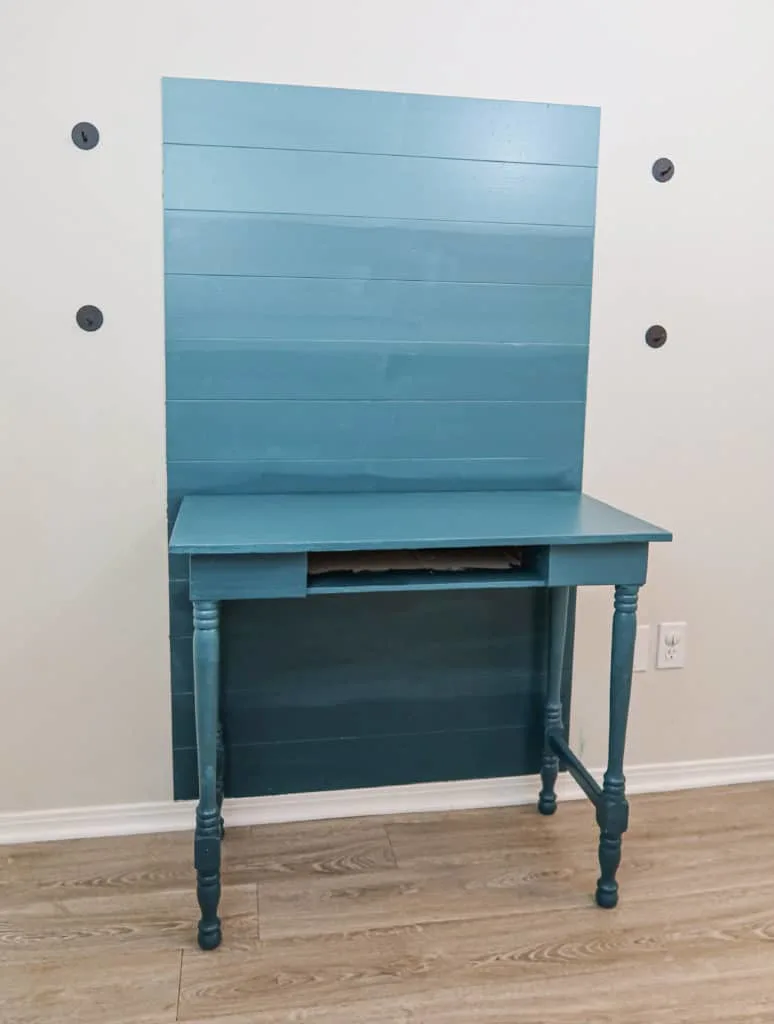
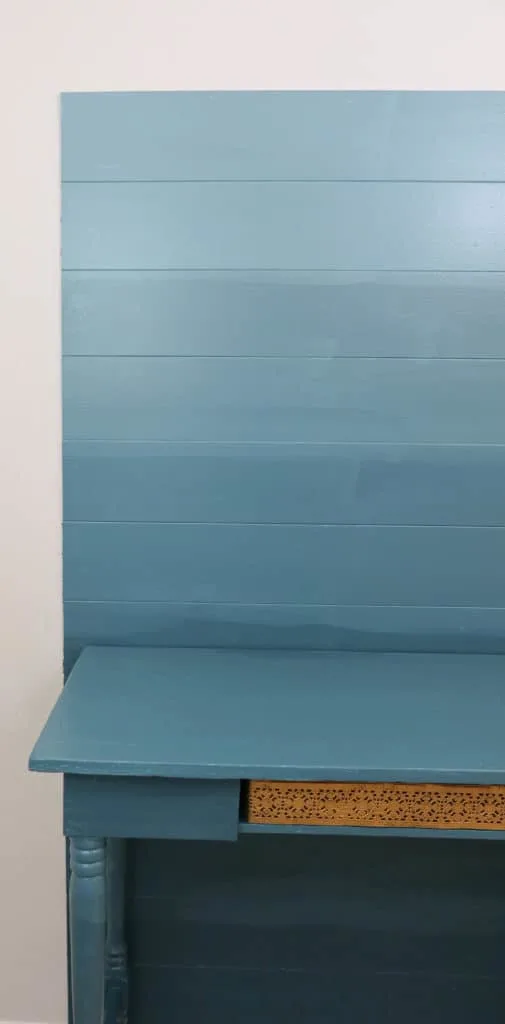
SEE THE FULL VIDEO TUTORIAL HERE
A few things to note about creating an Ombre accent wall;
- I didn’t do any special blending between colors because I was only using one color and white. I brushed the new color on top of a small amount of the old color when applying the new ombre paint color. If you are blending different colors together this method won’t work.
- Brush the paint color in long even strokes to prevent brush strokes.
- Make sure to keep a straight line when applying the different levels.
Check out my new Ombre accent wall with a desk!
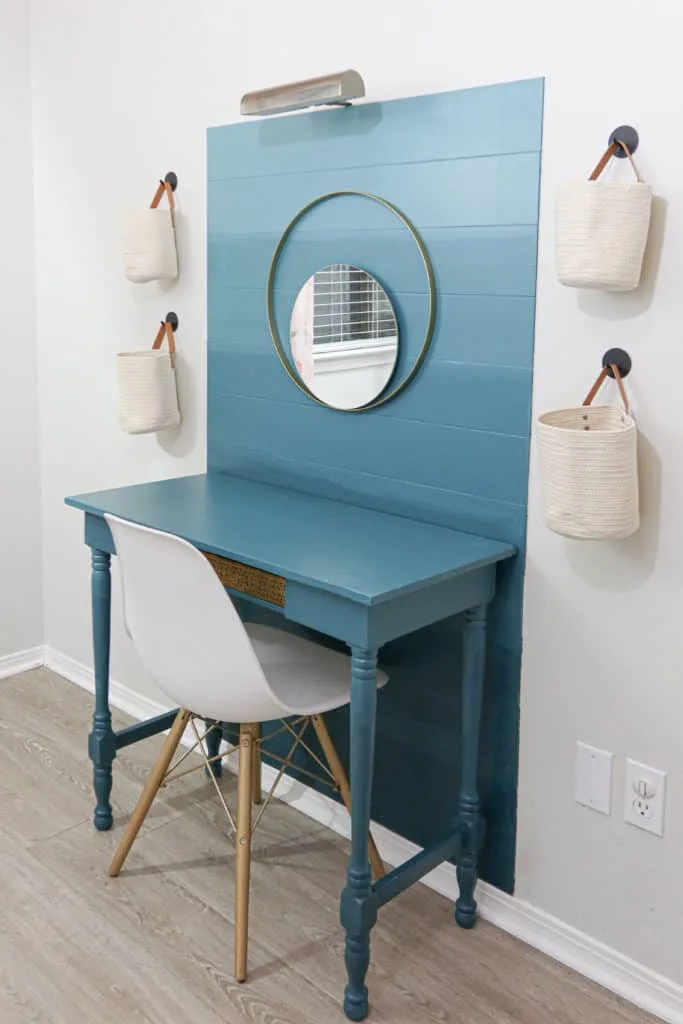
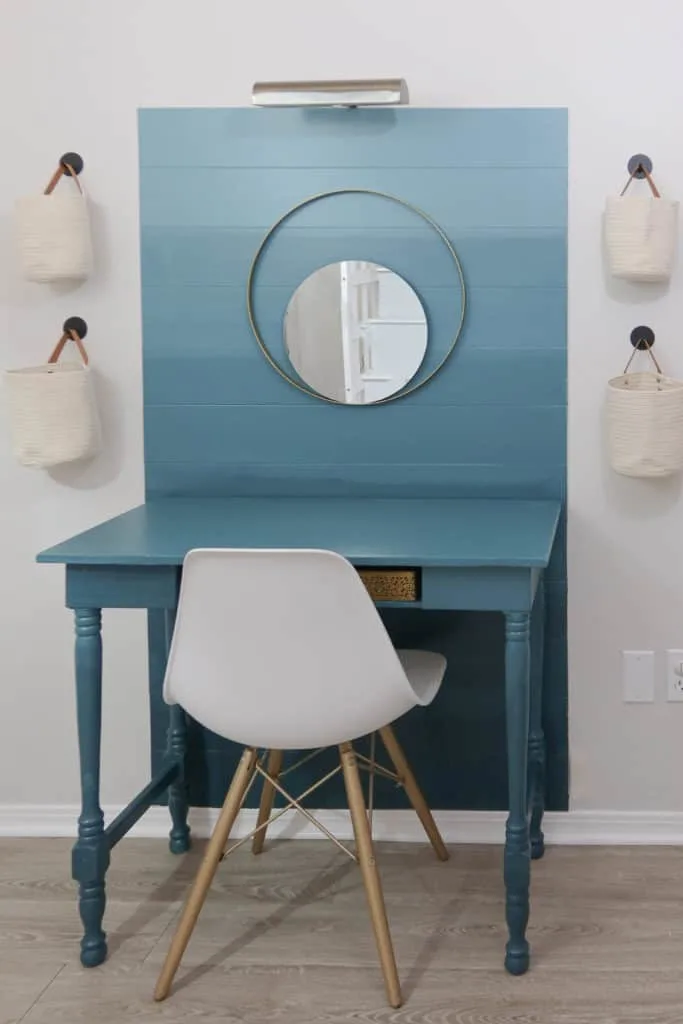
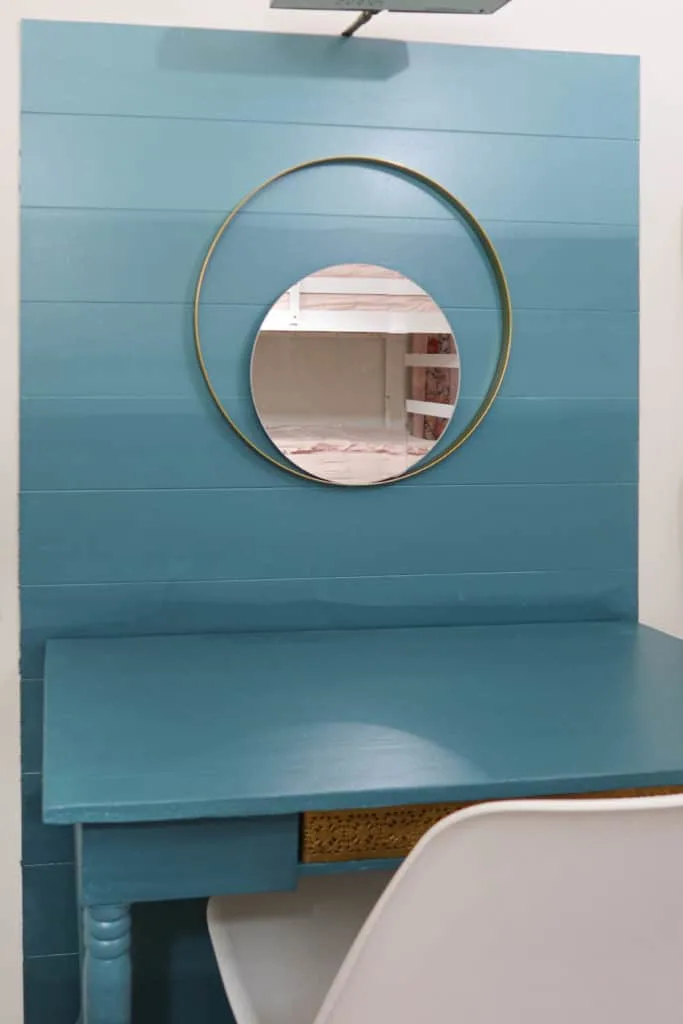
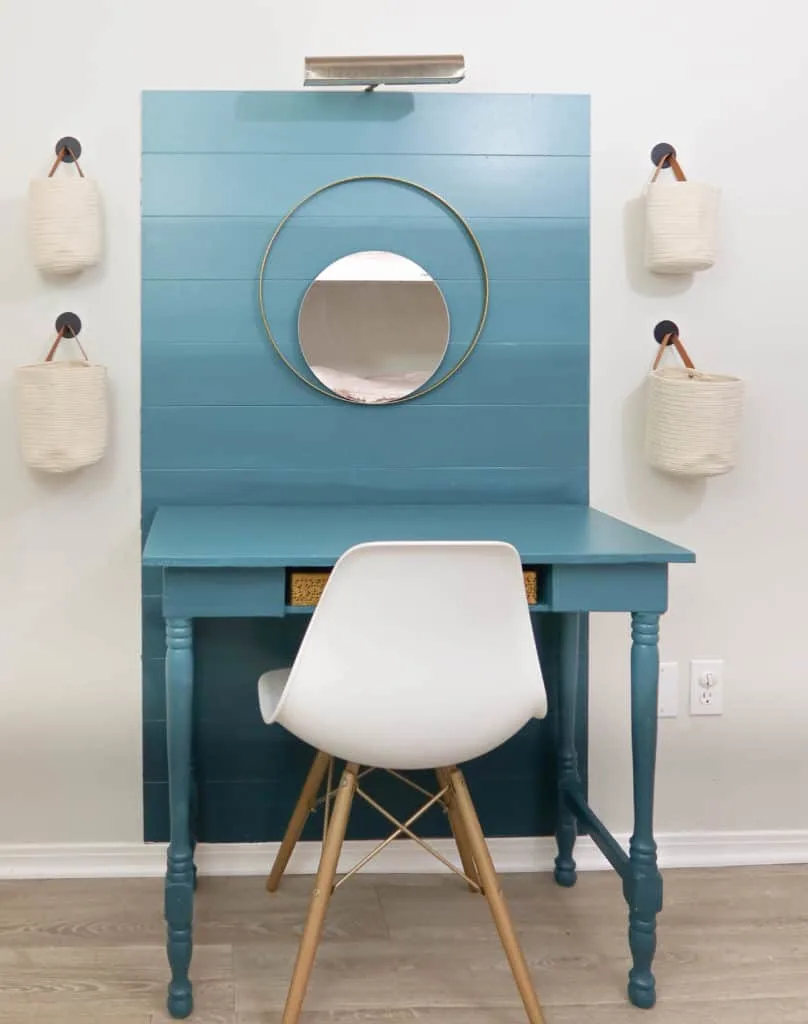
I’m ecstatic with how my daughters new accent wall/desk turned out!
The KILZ Primer and Complete Coat Paint made it easy to complete this project in less than one day!
SHOP THE POST:
Lindsey**


Leave a comment