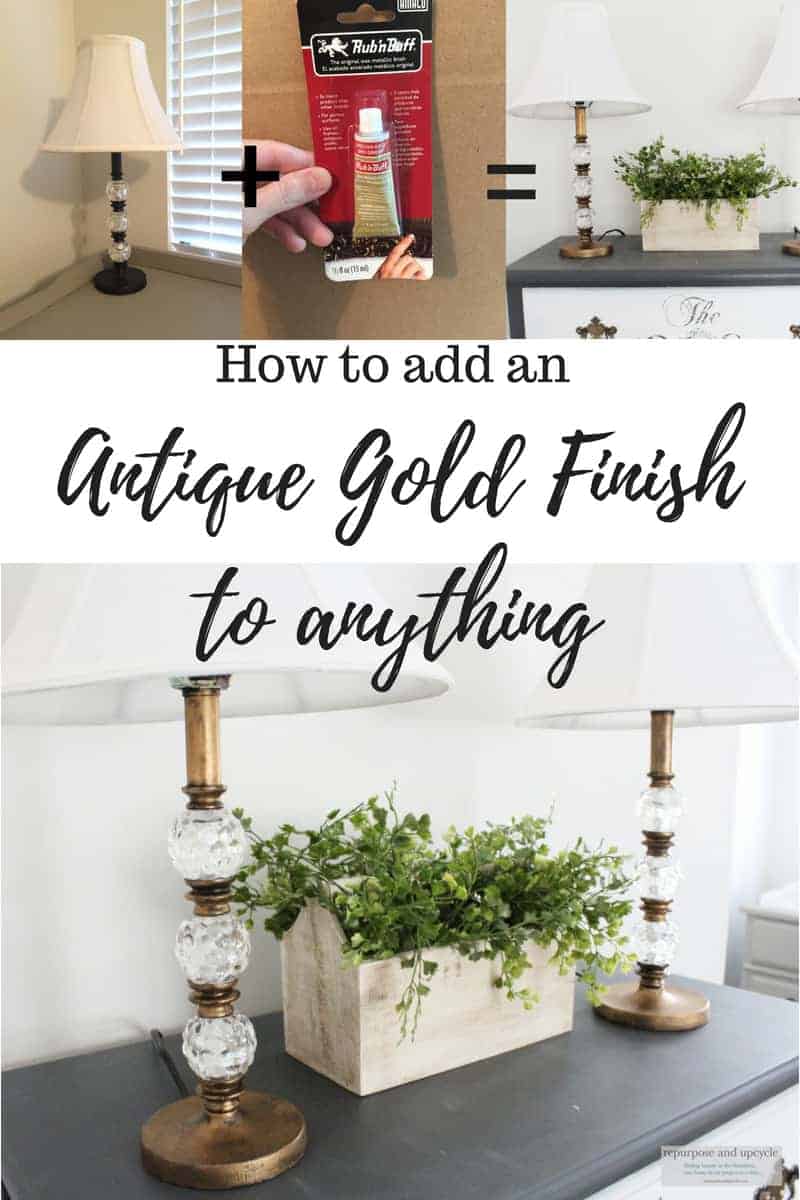
This is a tutorial on how to add an antique gold finish to anything with Rub N’ Buff. You can create a new gold finish on anything with this product.
Are you looking to add an antique gold finish to your furniture or decor? Look no further than Rub N’ Buff. This product is easy to use, affordable, and can transform any item into a vintage gold masterpiece.
Rub N’ Buff is a versatile product that can be used on a variety of surfaces, including wood, metal, plastic, and even shoes. With its easy application process, you can achieve an antique gold finish in no time. This product is perfect for those who want to add a touch of vintage charm to their home decor without breaking the bank.
Have you heard? Antique gold finish is in! Not that I do anything based on trends, but I do love this one. As a matter of fact, I’ve transformed a few furniture pieces with a little gold paint. You can see more about metallic gold paints for furniture here and more metallic paint projects here.
I used this same spray paint to DIY boho looking hanging planters from the dollar store. I even used to accent a few decor elements in our budget friendly beach cottage mudroom.
Also make sure to check out the best gold paints for wood before you leave too. Spoiler alert, Rub N’ Buff is definitely on this list!
Disclosure; this post contains affiliate links. As an Amazon Associate I earn from qualifying purchases. This disclosure statement refers to the rest of the Amazon links in this post. See more on my disclosure page.
I love the look of the antique gold spray paint, but I think I found my new favorite gold product.
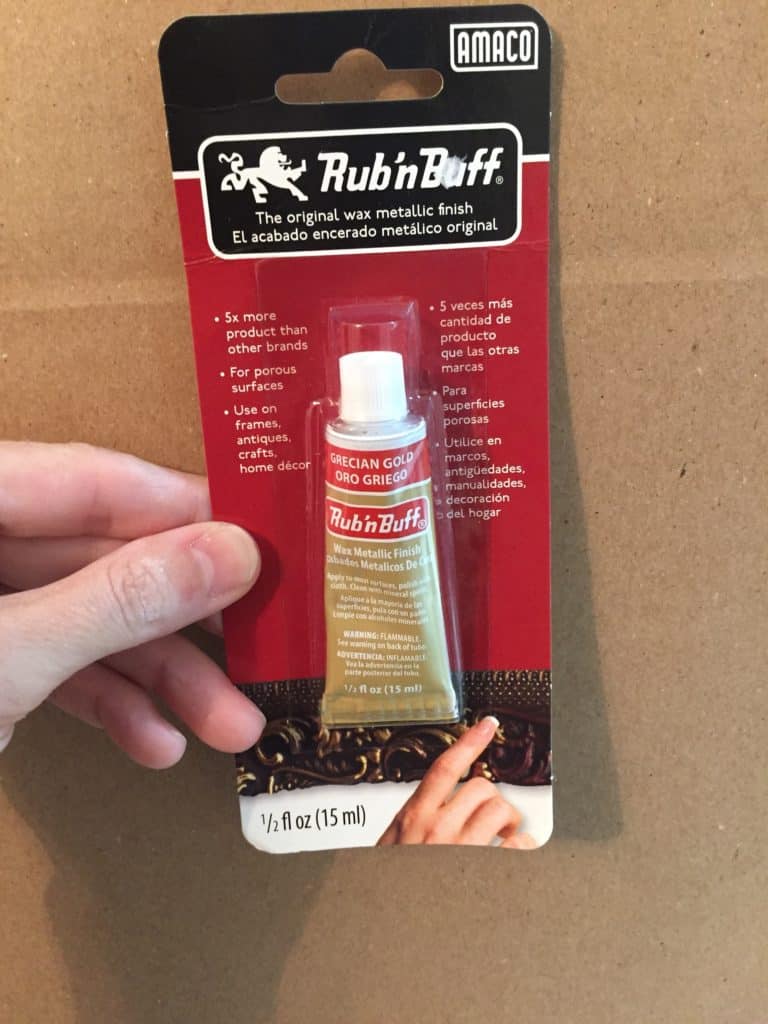
I stumbled upon this product at Hobby Lobby the other day while looking for more gold spray paint. It was only $5.99, so I figured I would give it a try. I’m so glad I did. Let me show you the product.
I’m planning my daughters vintage chic bedroom makeover, and a part of the makeover will include aged gold accents or vintage gold tones.
This new product called Rub N’Buff came to the rescue.
Y’all this stuff is so easy. I’ve been wanting to add some gold accents around our new rustic beach cottage, but I didn’t want to spend any money.
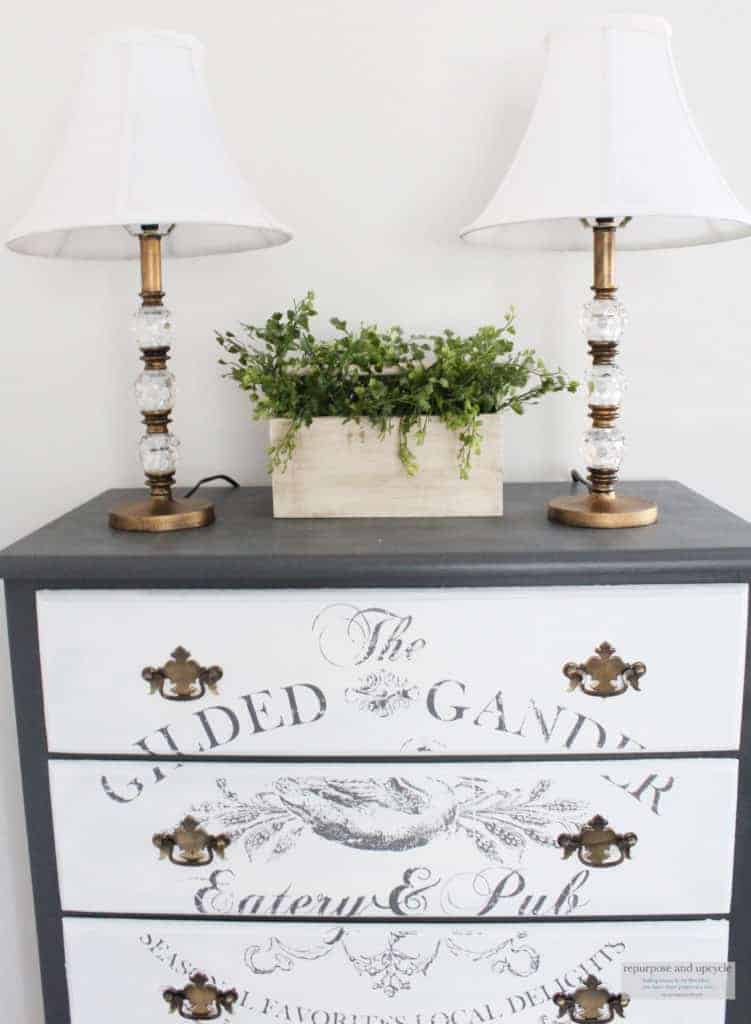
With a little DIY room decor, I’ve added pops of vintage gold color with these old lamps I almost threw away!
How to Add an Antique Gold Finish with Rub N’ Buff
Rub N’ Buff is a versatile product that can be used to create a variety of finishes on any surface. Here are some steps to achieve an antique gold finish:
- Clean the surface you want to apply the Rub N’ Buff to.
- Apply a small amount of Rub N’ Buff to a soft cloth or sponge.
- Rub the product onto the surface in a circular motion until the desired finish is achieved.
- Let the product dry for 15-30 minutes.
- Buff the surface with a clean cloth to remove any excess product.
Rub N’ Buff comes in a sampler pack with various colors and finishes, so the possibilities are endless. Try it out on your next project!
Now that y’all see how easy it is to create a gold finish on anything, let me share some more of their colors and finishes!
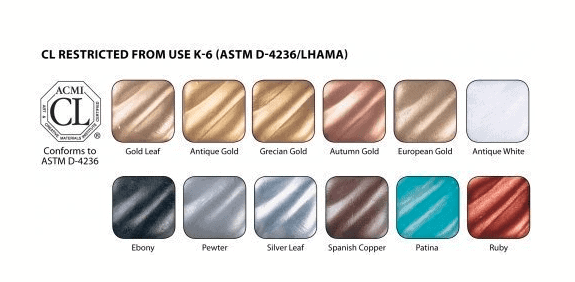
This product comes in a sampler pack (colors listed above) that I might just have to purchase soon. Oh the projects that I could create!
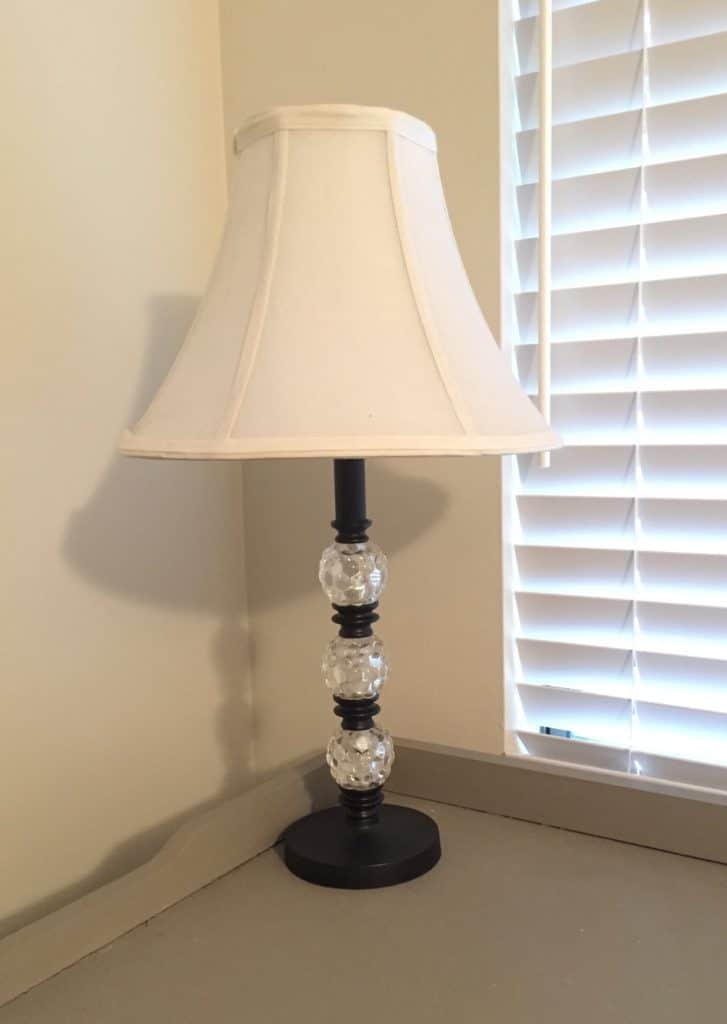
DIY Antique Gold Finish Lamps with Rub n’ Buff
Transform plain lamps into stunning antique gold pieces with Rub n’ Buff. This easy DIY project requires only a few materials and can be completed in no time. Follow these steps to achieve a beautiful antique gold finish:
- Clean the lamps thoroughly with soap and water, and let them dry completely.
- Apply Rub n’ Buff in small amounts with a cloth or brush, rubbing it onto the lamps in a circular motion.
- Allow the Rub n’ Buff to dry for a few minutes.
- Buff the lamps with a clean cloth to achieve a shiny finish.
- Repeat steps 2-4 until the desired level of gold finish is achieved.
This DIY project is a great way to add a touch of elegance to any room without breaking the bank. Give it a try and see the difference it can make!

I love how this simple product has transformed the lamps!

Frequently Asked Questions
How to Create an Antique Gold Finish with Rub n’ Buff?
To create an antique gold finish with Rub n’ Buff, first, clean the surface you want to apply it to, and make sure it’s dry. Then, apply a small amount of Rub n’ Buff onto a soft cloth or brush. Rub the cloth or brush onto the surface in a circular motion until the desired effect is achieved. Let it dry for 15-20 minutes, and then buff it with a clean cloth to bring out the shine.
What’s the Difference Between Rub n’ Buff’s European Gold and Antique Gold?
Rub n’ Buff’s European Gold has a brighter, more yellow tone, while Antique Gold has a warmer, more brown tone. Antique Gold is better suited for creating an aged, antique look.
Can I Mix Rub n’ Buff Colors to Achieve an Antique Gold Finish?
Yes, you can mix Rub n’ Buff colors to achieve a custom antique gold finish. Experiment with small amounts of different colors until you achieve the desired effect.
Is Rub n’ Buff Waterproof for Outdoor Use?
Rub n’ Buff is not recommended for outdoor use as it is not waterproof and may deteriorate when exposed to moisture.
Can I Use Rub n’ Buff on Metal for an Antique Gold Finish?
Yes, Rub n’ Buff can be used on metal surfaces to achieve an antique gold finish. Make sure the surface is clean and dry before applying.
Can Rub n’ Buff be Used on Picture Frames for an Antique Gold Finish?
Yes, Rub n’ Buff can be used on picture frames to achieve an antique gold finish. Apply a small amount to a soft cloth or brush and rub onto the frame in a circular motion. Let it dry and then buff with a clean cloth to bring out the shine.
I hope y’all were inspired to create something out of nothing! It doesn’t take a lot of time or money to repurpose or upcycle something that would otherwise be tossed to the side!
Thanks for stopping by.
Lindsey**


