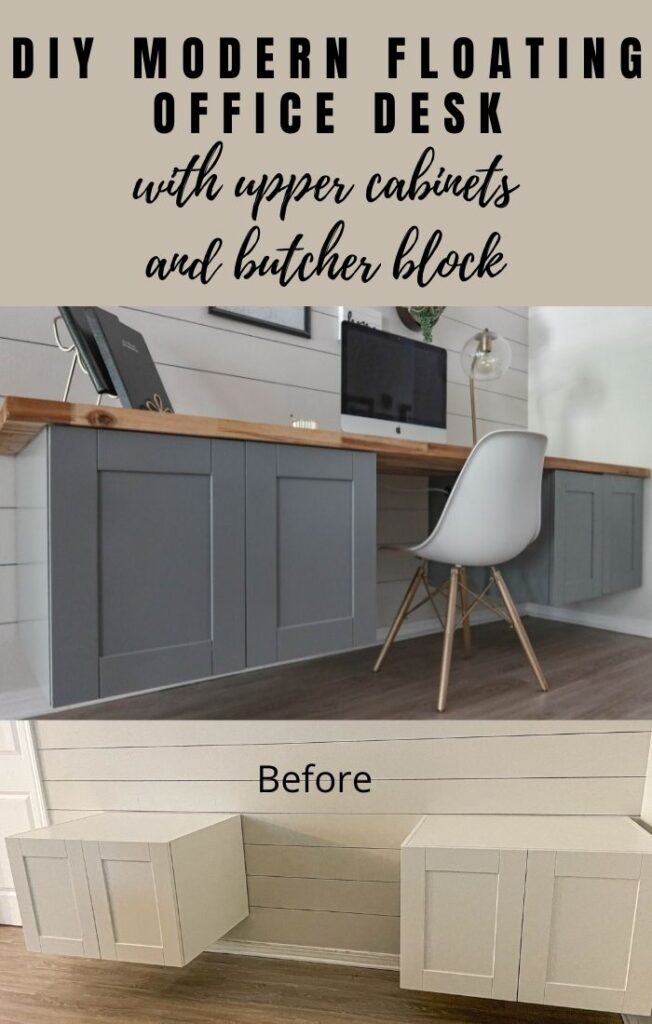
Learn how to make this DIY Modern Floating Office Desk with Acacia Butcher Block Countertop. This is a beautiful and functional modern floating desk!
When you think of a home office desk what do you think of? I think of a simple rectangular desk with a computer on it in a room not necessarily considered an “office.” This explained my current home office situation. It worked ok, but I found myself needing more desk storage and a bigger space to work with. Also I wanted to create a more unique look to the space. Since my office space is in our second living space (I don’t have a dedicated room) I needed to maximize it’s functionality and I decided to essentially create a DIY butcher block desk that’s floating.
The word “home office” has taken on a whole new meaning this past year. We’ve gone from a society working “part time from home” to home schooling and running businesses or a full time job from the four walls we do life in. Do most homes have extra home offices equipped for that? I would guess not. Even though I’ve always worked from home, my home office situation in our living room just didn’t work for me anymore. This is what led me to create a functional yet stylish DIY office desk.
Let’s go back to the beginning when we moved into our rustic beach cottage. I created a DIY hairpin leg table and I made over an old filing cabinet. It was a very modern type of desk.

It was simple and stylish…but not functional. I needed more space.
After about a year of living with this office space, I moved the hairpin leg table and brought back my old office desk. This is when the chaos abounded!
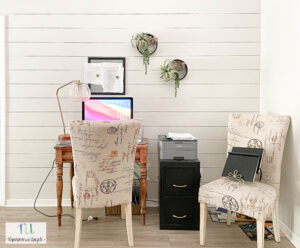
I knew it was too small, but I wanted a table with a drawer in it!
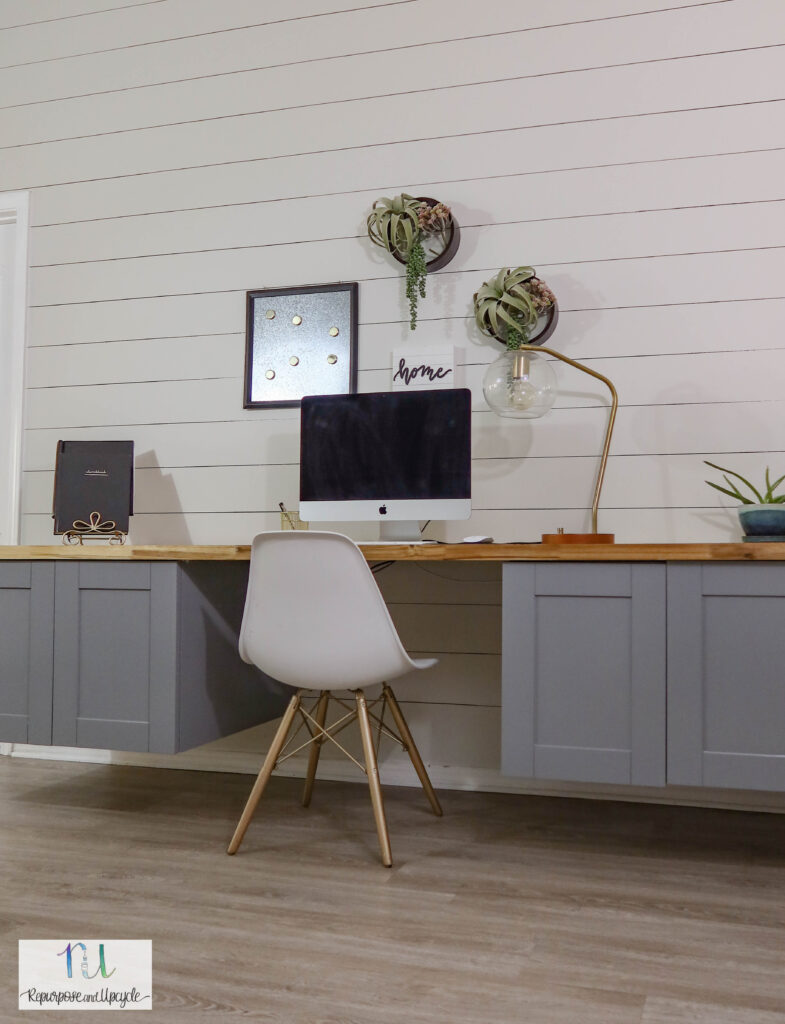
Time for a change! By the way, if you are wondering about my faux shiplap, see all the details in my DIY sharpie shiplap tutorial.
After six months of living with this configuration, I had an idea! I know a lot of folks that use file cabinets or filing cabinets with a butcher block on top to create a desk, but I wanted something that looked a little bit nicer.
I can’t take all the credit for this idea. On the blog Chris Loves Julia, I saw where they created a “fauxdenza” in their dining room with floating upper cabinets. This was brilliant because it gave functional storage with a modern twist. I’m not sure why I didn’t think about using butcher block countertops before. Also, the floating cabinets didn’t look like regular old cabinets. From this project I had a thought.
What if I could purchase a set of upper cabinets and buy a butcher block to put on top with a space between the cabinets for a chair? YES!
Disclosure; this post contains affiliate links. As an Amazon Associate I earn from qualifying purchases. This disclosure statement refers to the rest of the Amazon links in this post.
Materials for a DIY Floating desk
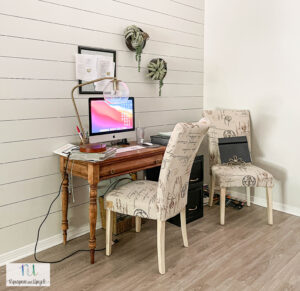
Upper cabinets from Home Depot (they have since stopped carrying this particular cabinet sadly. When looking for cabinets make sure they are 24″ deep. Check out THIS ONE. It is similar just a little shorter and longer.)
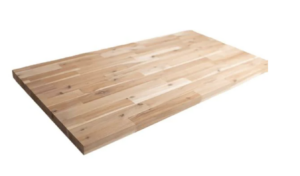
Piece of Butcher block countertop
Heavy duty L Mount Brackets- these aren’t available anymore on Etsy.
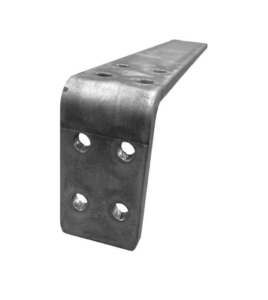
Let’s talk about the L mount brackets. Originally I didn’t intend on using any brackets because I assumed the wall cabinets would be able to support themselves as long as I drilled into the studs. That being said, the cabinets were heavier than I expected and knowing that I would be adding to the weight with a heavy butcher block (not to mention the weight of stuff we put in cabinets) I decided to brace the bottom of the cabinets with these heavy duty L mount brackets. Are the necessary? Not sure. I wanted to be safe rather than sorry though.
How to make a DIY modern floating desk with upper cabinets and Acacia butcher block
The coolest thing about this DIY wall mounted desk project was that I didn’t have to build anything- I installed all the materials and painted them. This simple desk is easy to create for DIY beginners.
Disclosure; I’m not a cabinet installer. This is the way I hung the cabinets and they are pretty dang sturdy. Just a little FYI!
Hanging the cabinets for the DIY floating desk
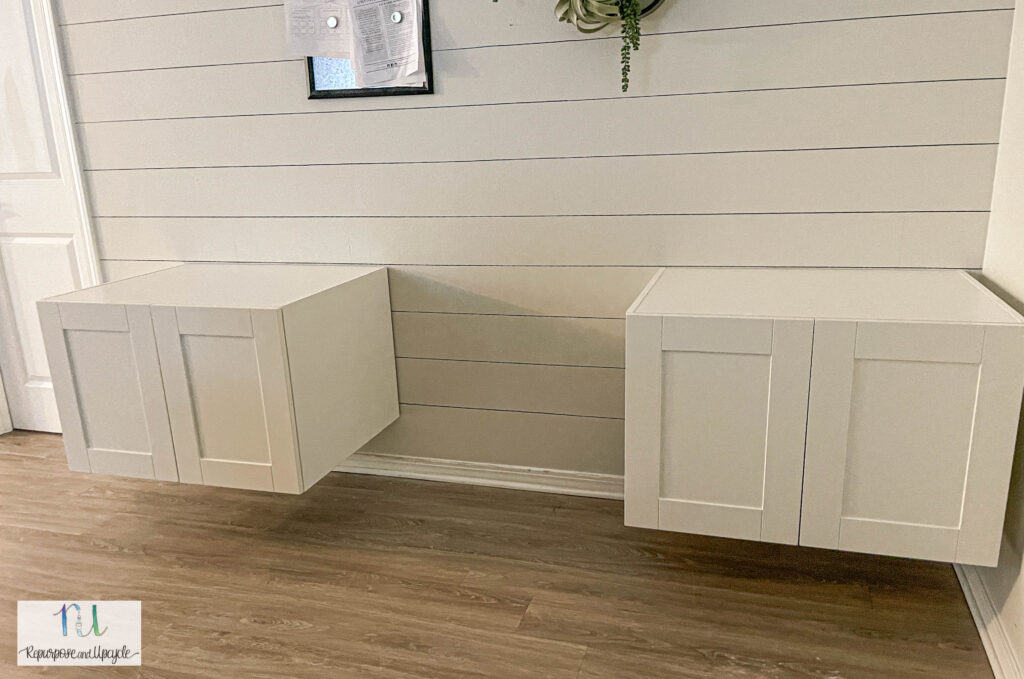
Since I’m a visual person I put the upper cabinets exactly where I thought they needed to go below the wall and measured and made sure they looked ok.
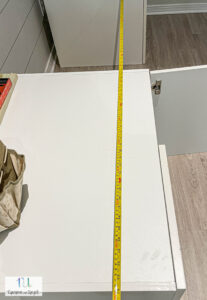
Since most desk heights are supposed to sit 29″-30″ high, I decided to make it 29.5″ for the perfect height. Make sure to include the width of your butcher block when measuring where to place the cabinets.
I wanted the butcher block countertop all the way up against the back and side of the wall, so I measured so the right cabinet would sit just a few inches inside the wall.
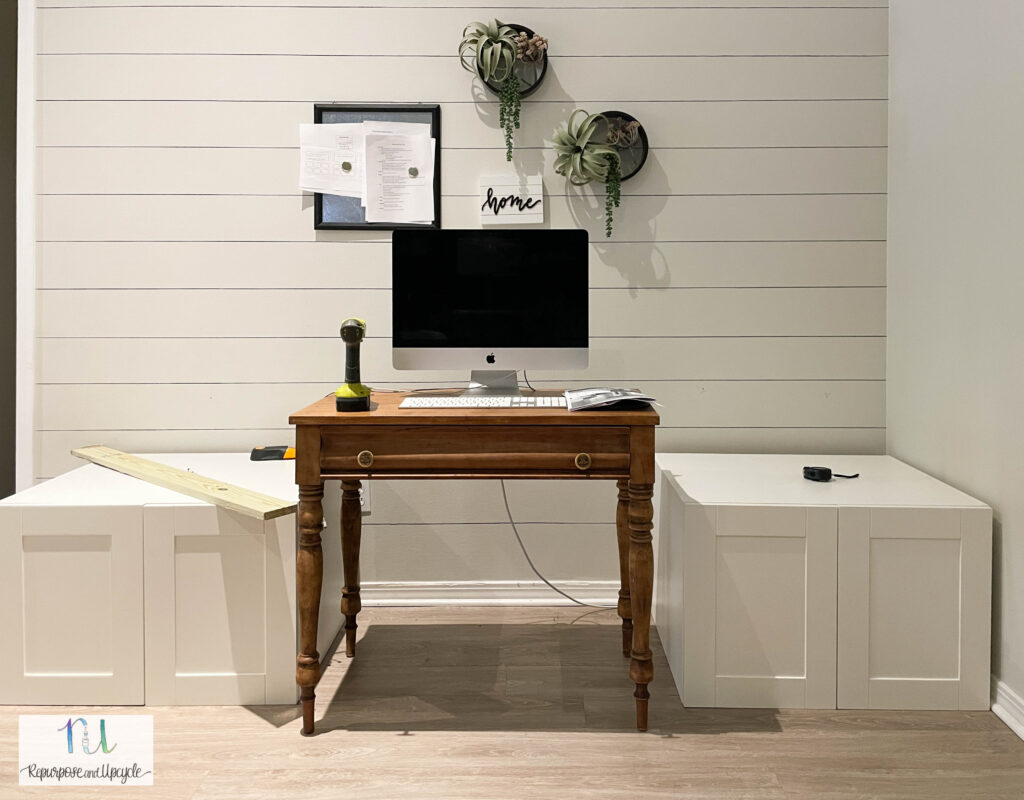
Once I knew exactly where the cabinets would sit, I measured and hung the “braces” for the cabinets.
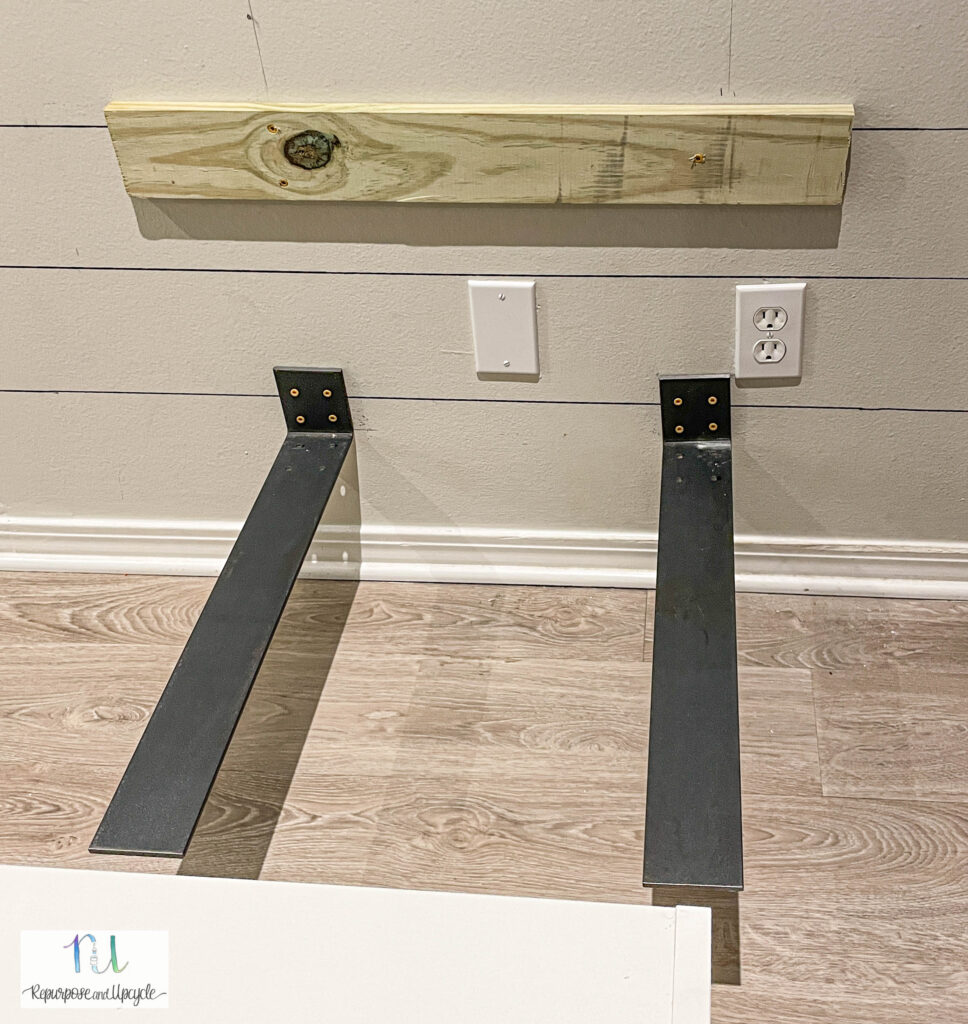
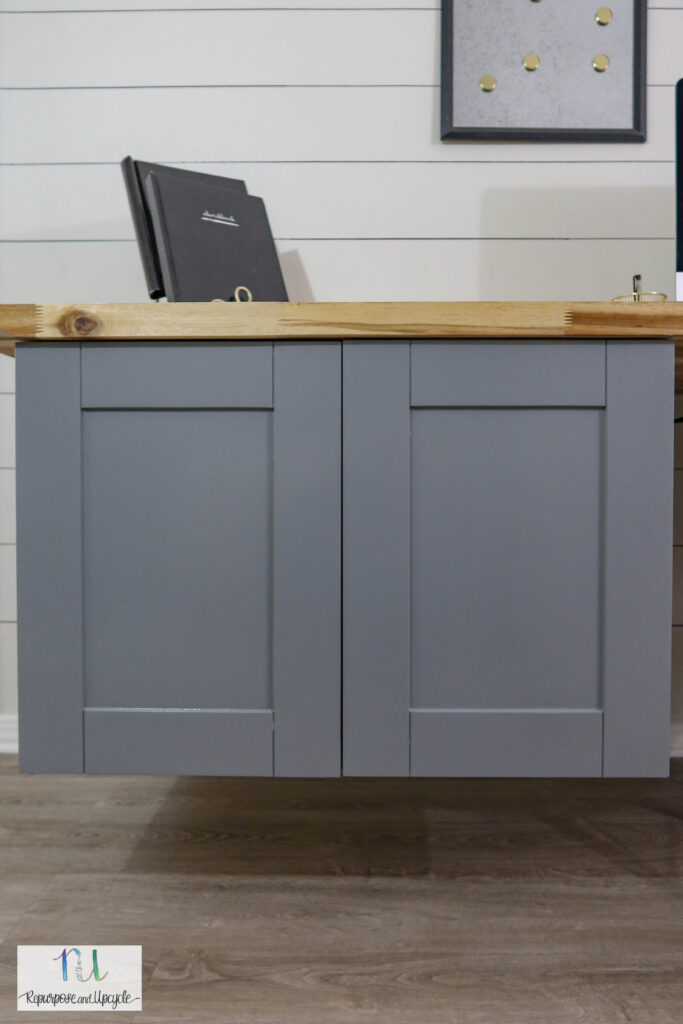
I decided to hang two types of “braces” for the cabinets. The first would be a piece of scrap wood that the cabinet would sit on. Let me show you.
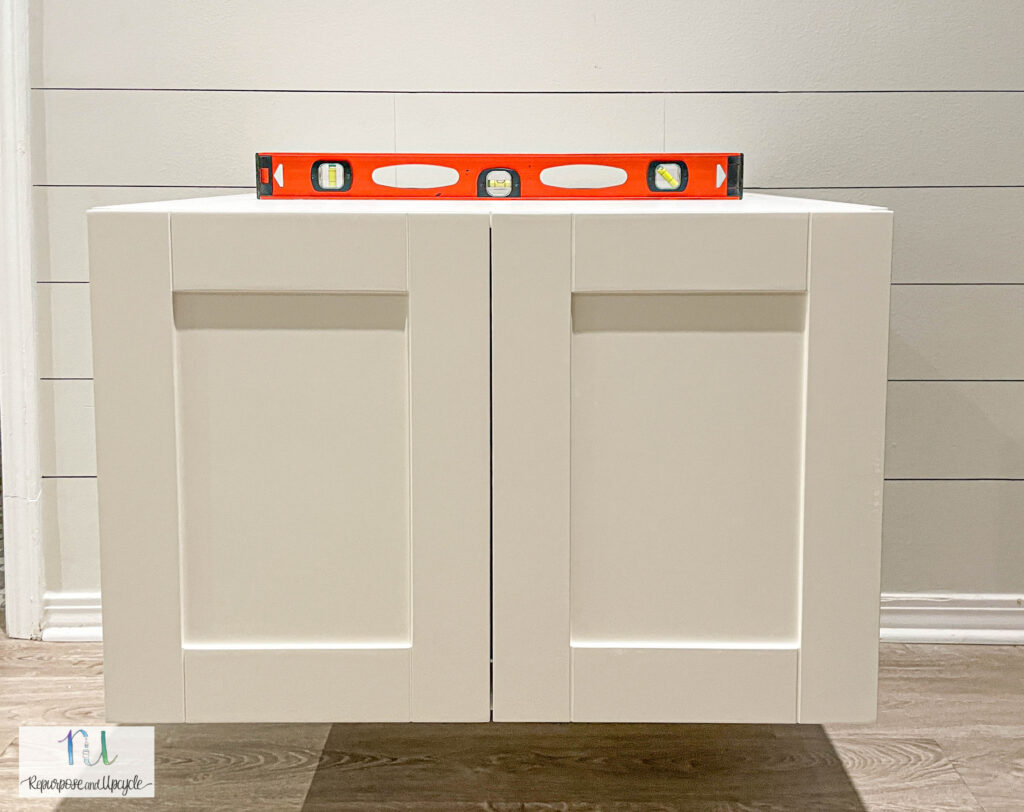
You see the piece of wood at the top of the cabinet? That piece of wood sits on the top of my piece of scrap wood I screwed into the wall.
Before I screwed the scrap piece of wood into the wall, I found the studs that sat behind each of the cabinets.
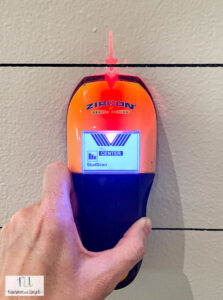
I made small marks on the wall where the studs were and used a level to make sure the wood piece was straight. Then I used wood screws and screwed them into the studs behind the wall.
I measured and installed the floating desk brackets so that the bottom of the cabinets would sit on them. By the way, at least one screw from each bracket is installed into a stud.
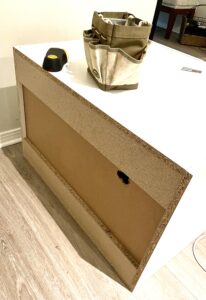
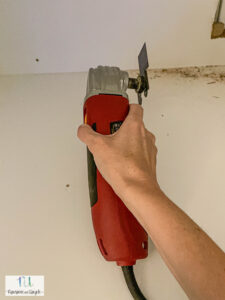
NOTE; if the cabinets are going to cover an electrical outlet, go ahead and cut the back of the cabinet out to expose the outlet. I started with a small spade drill bit to make a hole in the back of the cabinet and then used a Dremel tool to cut the rectangular shape.

Now for the fun part; making sure the cabinets sit level! Thank goodness my measuring was on point and I didn’t have to alter anything.
I had my husband sit the cabinets on the supports to make sure they were level. Once I knew they were level, I used wood screws to screw directly into the studs.
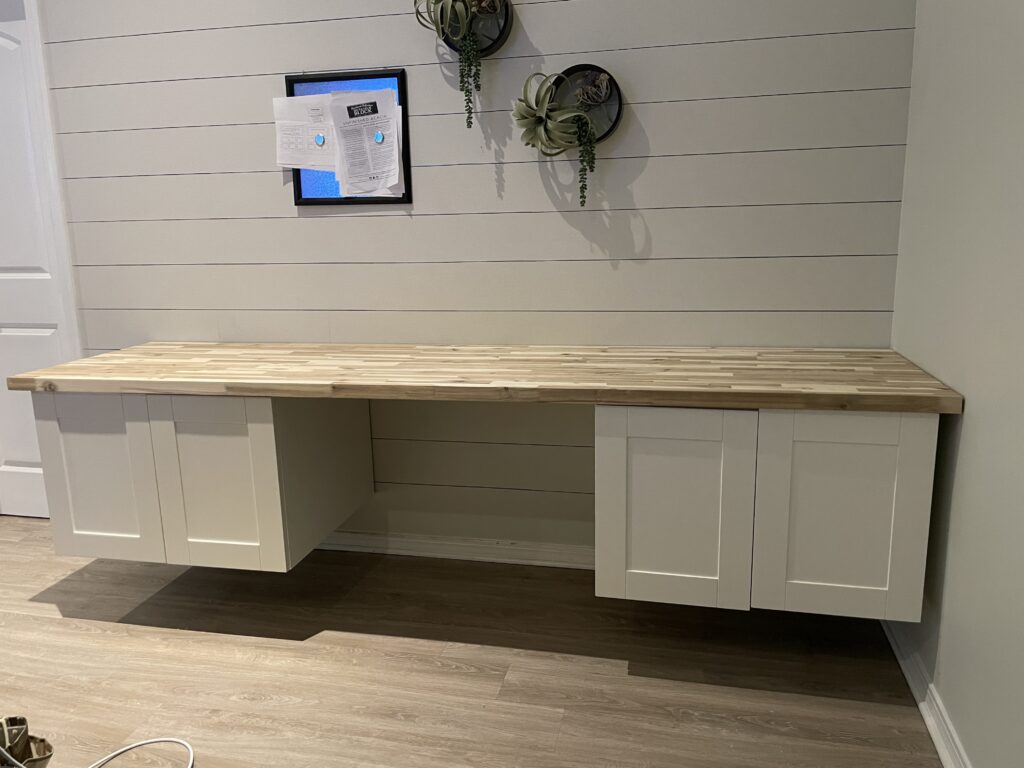
So far so good! The real moment of truth is when you sit the butcher block on top to make sure it’s level! Sit your beautiful butcher block on top of the cabinets and pray it’s still level.
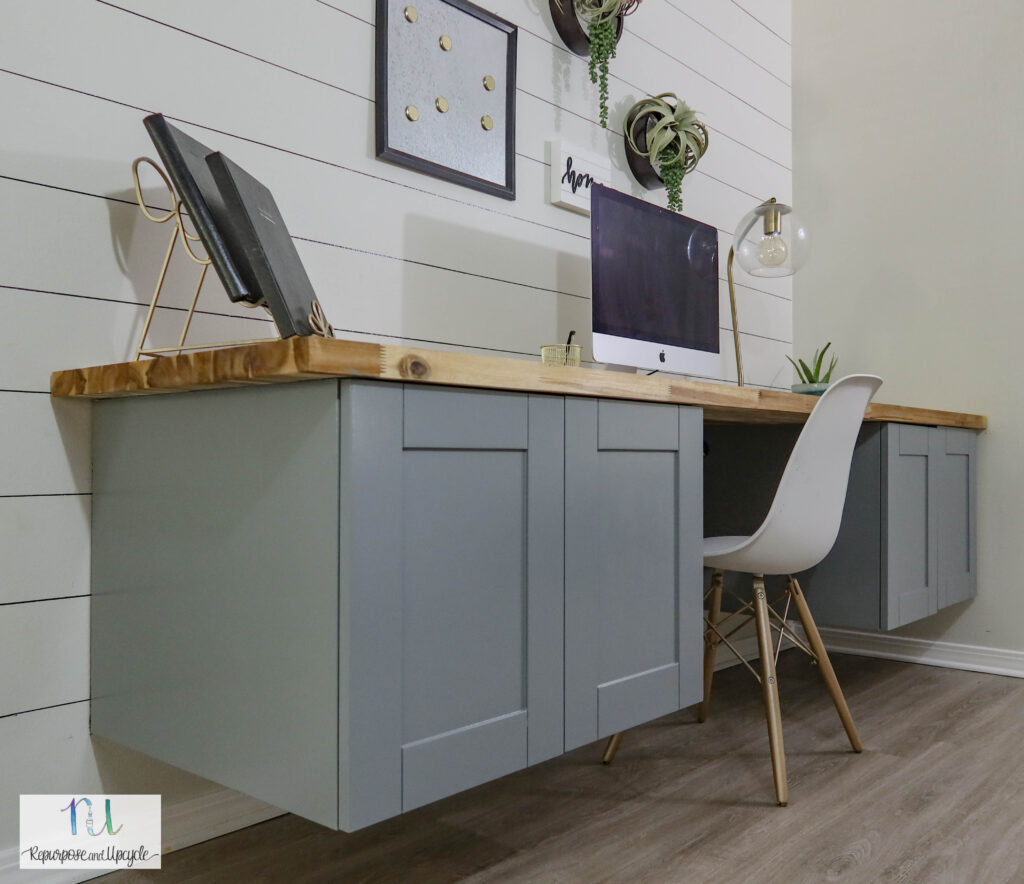
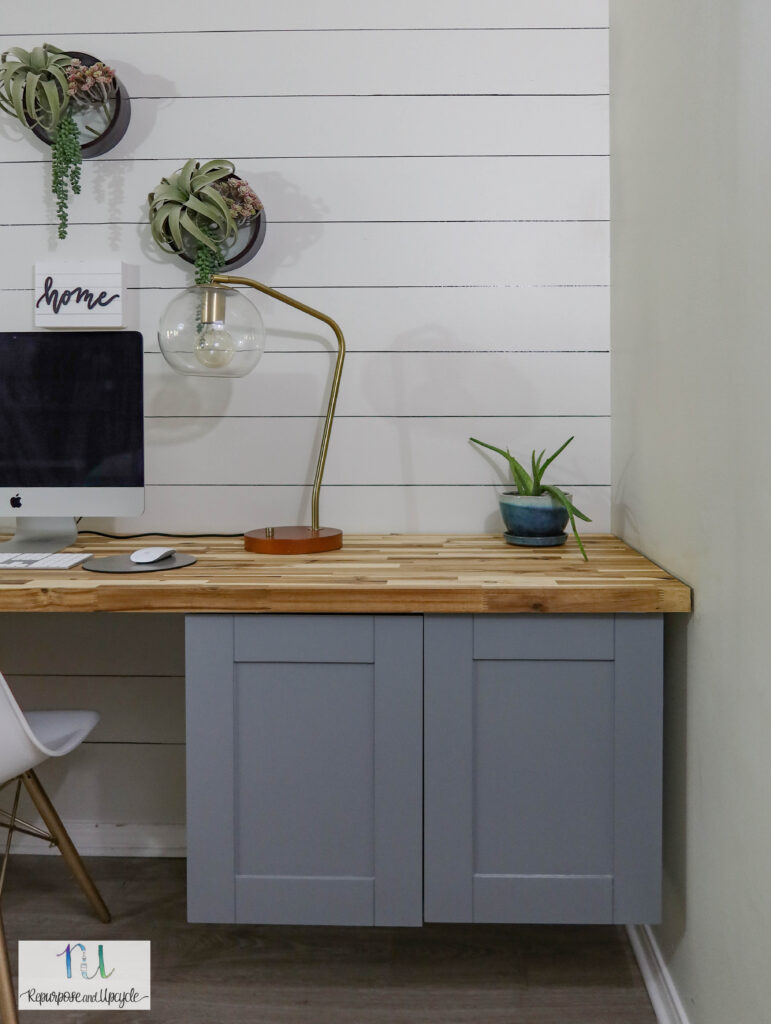
Yay for my floating wall desk! The best thing about this new desk is all the extra storage space it creates.
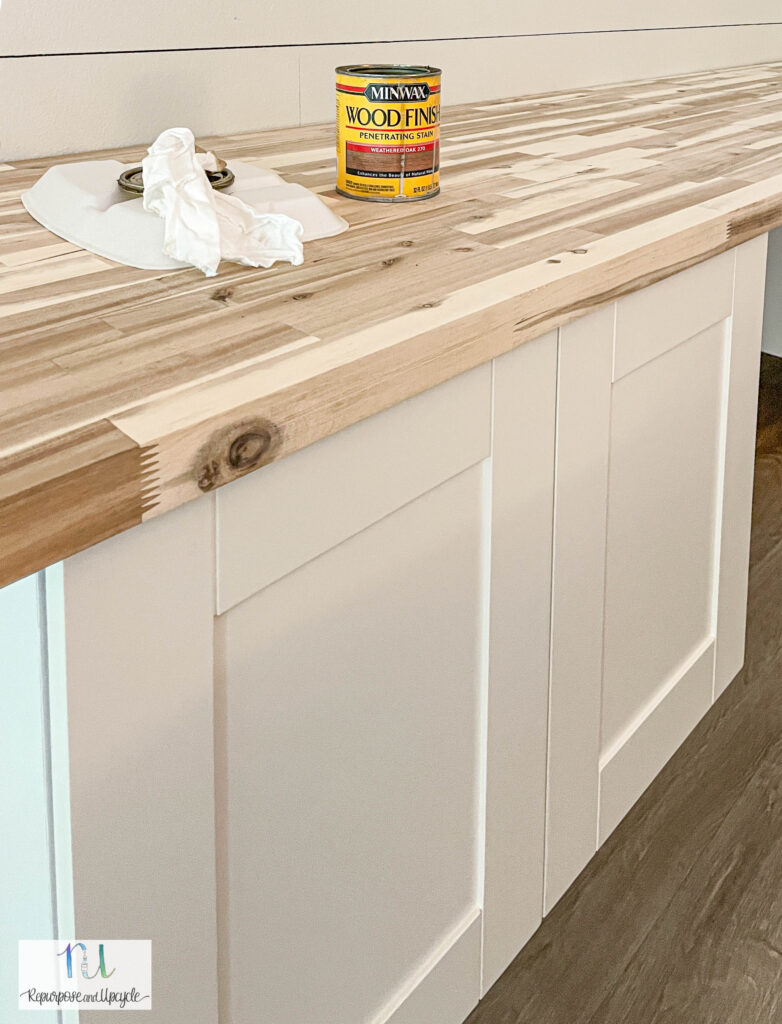
It’s looking good AND it’s level! I used two wood screws per cabinet to drill from the inside of the cabinet up into the butcher block. Next I sealed the wood. There are a handful of ways to seal butcher block. Some people use mineral oil, tung oil, polyurethane, the list goes on. My advice is to do a lot of research on the exact type of wood you are sealing and follow the best instructions you can find.
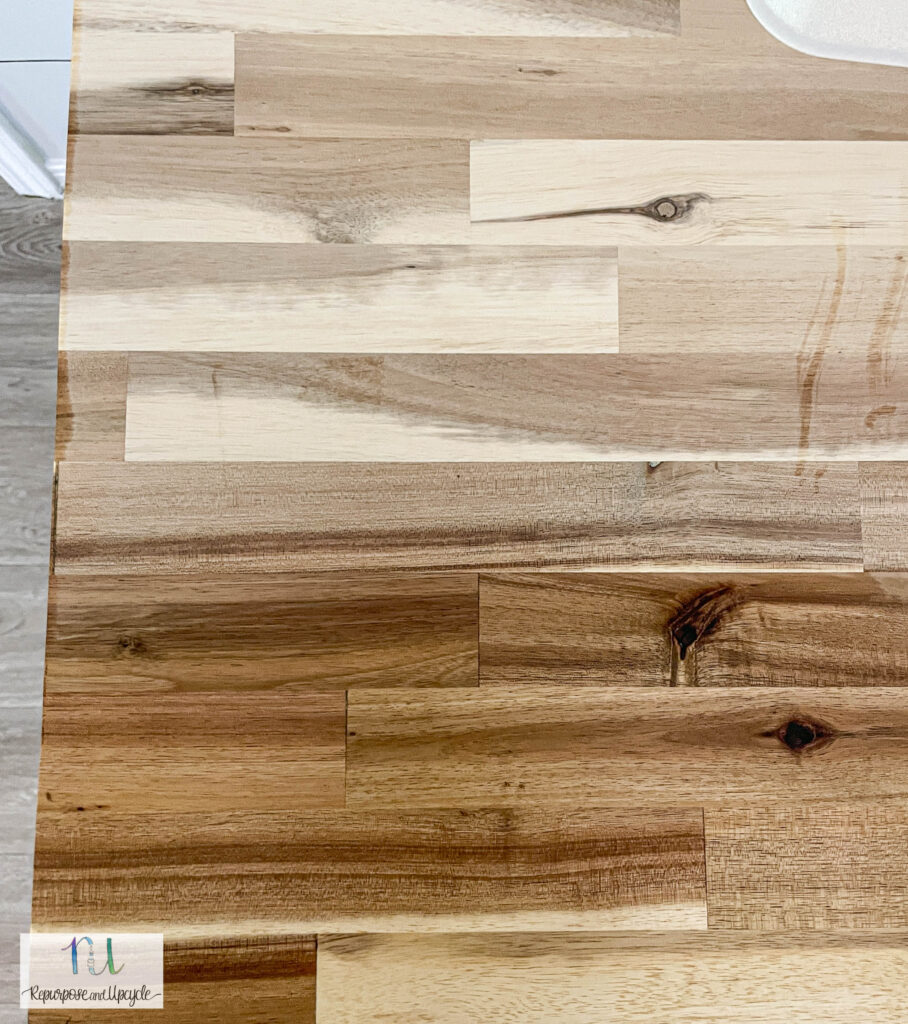
The instructions said to keep it wrapped up until right before you seal the Acacia butcher block, which is what we did. Once we set the Acacia butcher block and screwed the cabinets into it, that’s when I did a little research about how to seal it.
Materials used to seal the butcher block desk top:
These materials are easy to find at any hardware store.
Sealing Acacia butcher block
Traditionally, especially if using butcher block in the kitchen, you want to seal Acacia butcher block with a natural wood oil like Linseed or Tung oil. Most experts advise not using a top coat like polyurethane because it creates a barrier between the wood and whatever is on top of it. This finish might require more long term upkeep because generally the entire finish will need to be removed in order to remove scratches or bare spots. They suggest re applying an oil every six months or so to keep scratches down to a minimal.
Now that I’ve explained that, let me explain what finish I chose and why I did. Hear me out.
Since I was not going to be cutting on the surface or even placing food on it (like you would a kitchen countertop), and I didn’t want to have to re seal it every six months with a new coat of oil, I chose a weathered wood stain by Minwax.
Yes this sealer will create a barrier between the wood and anything on top. Yes it’s more permanent than the oil. The key is that I shouldn’t have to re seal it.
What can I say other than I’m not much of a rule follower. 🙂
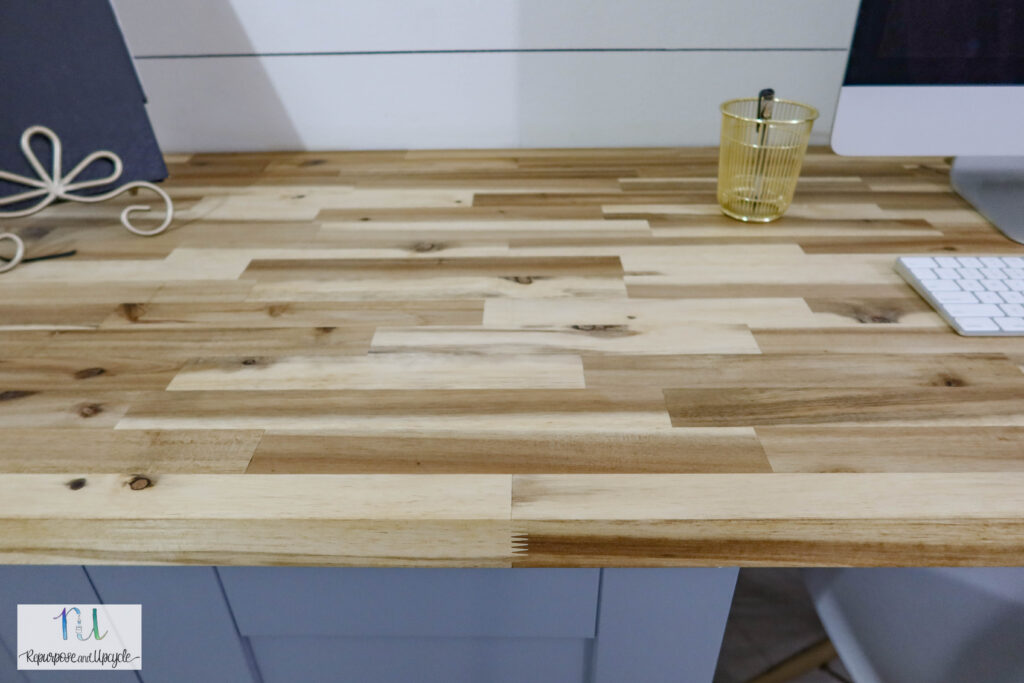
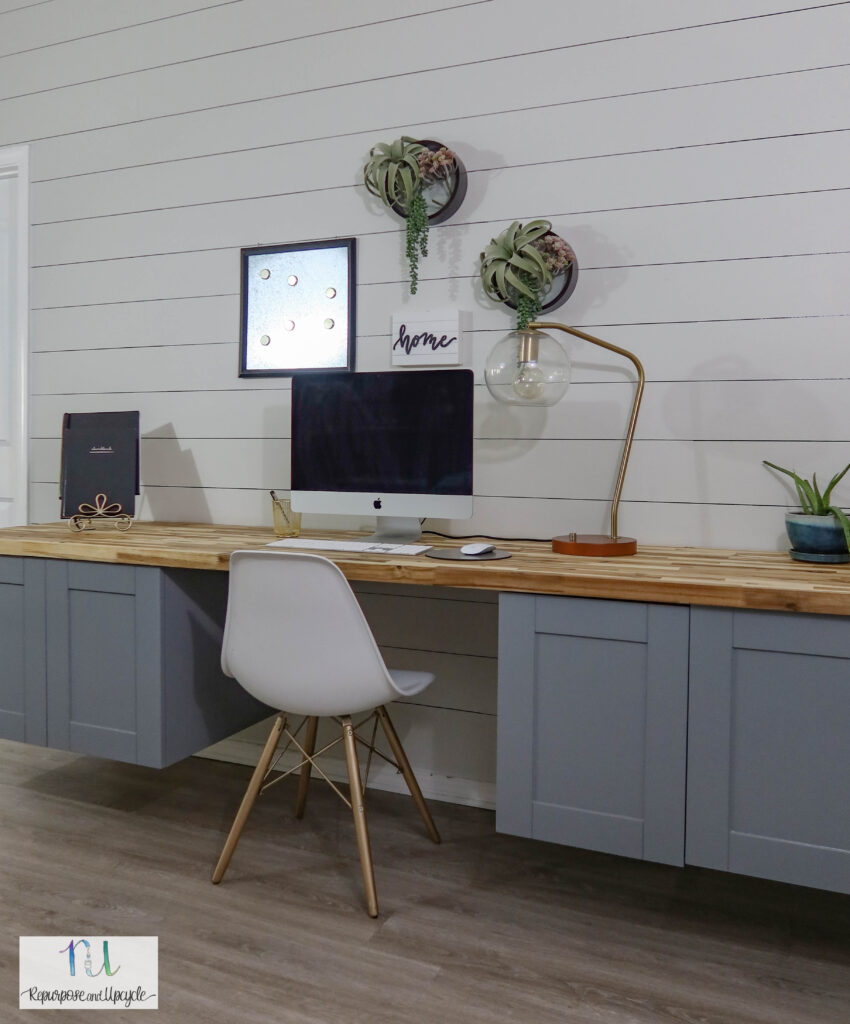
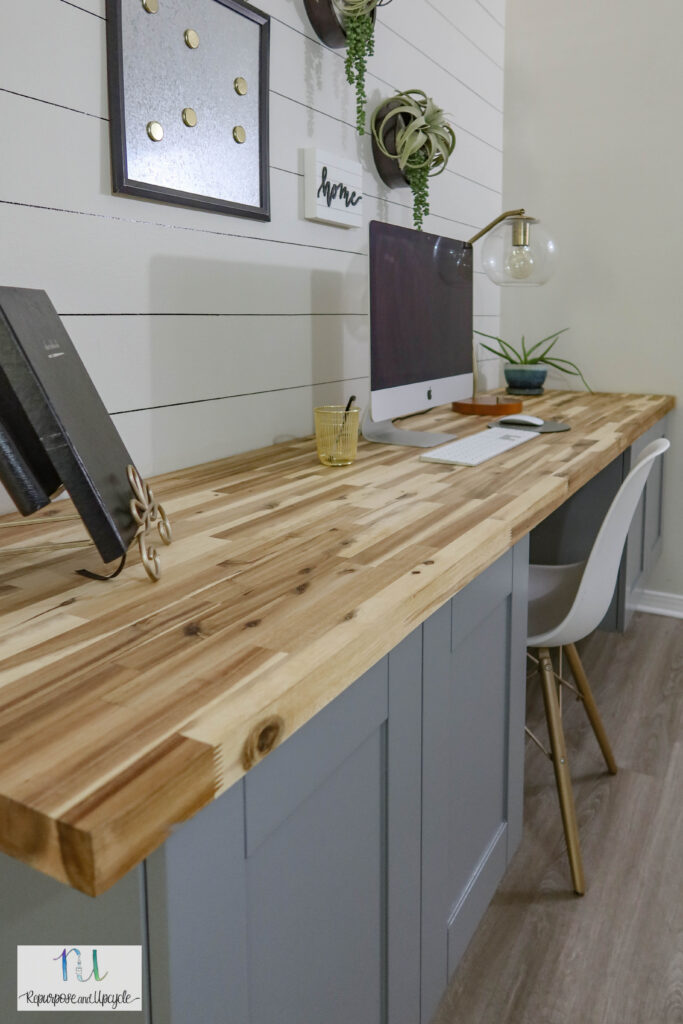
I love the look of my new desk surface!
After I applied one coat of stain, I did apply two coats of water based Polycrylic sealer for extra protection. You can see more about how to seal painted or unpainted wood for a high traffic surface here.
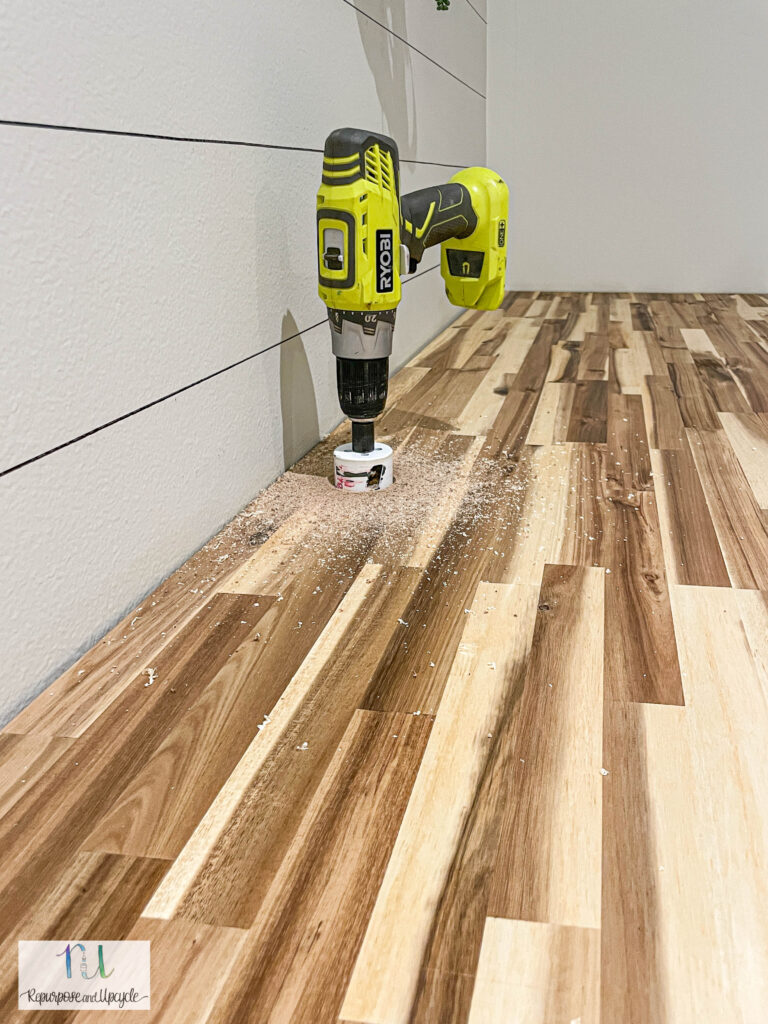
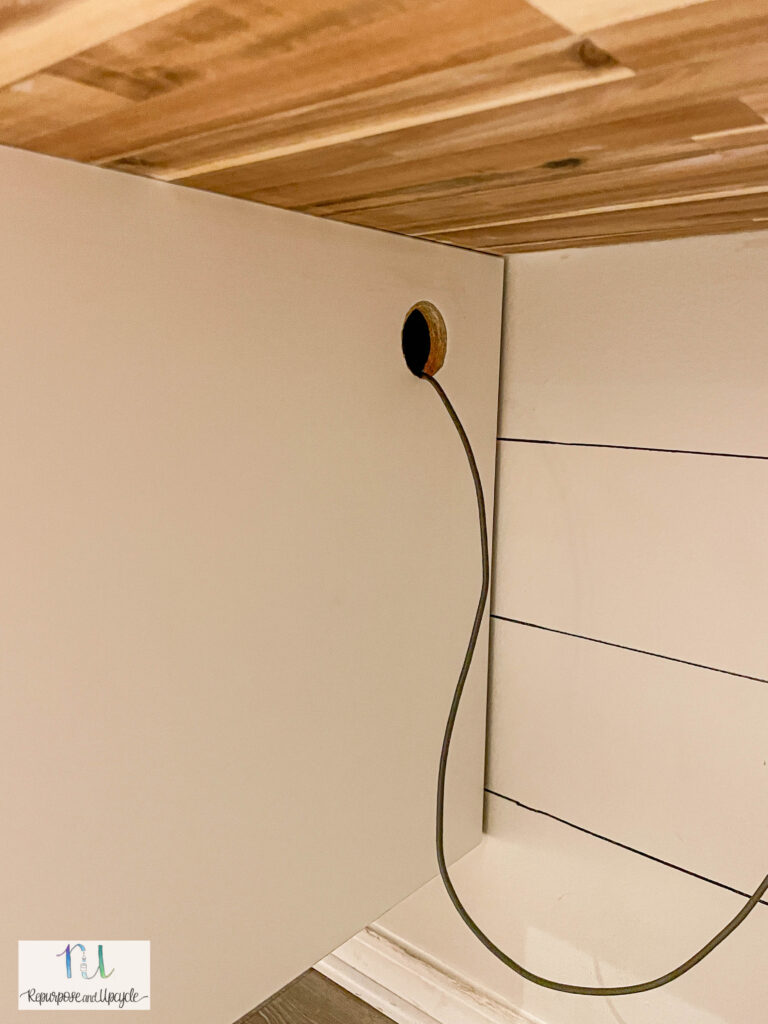
Once the top was sealed and ready to use, we drilled holes in it for the cords to drop through. We also drilled holes in the cabinets.
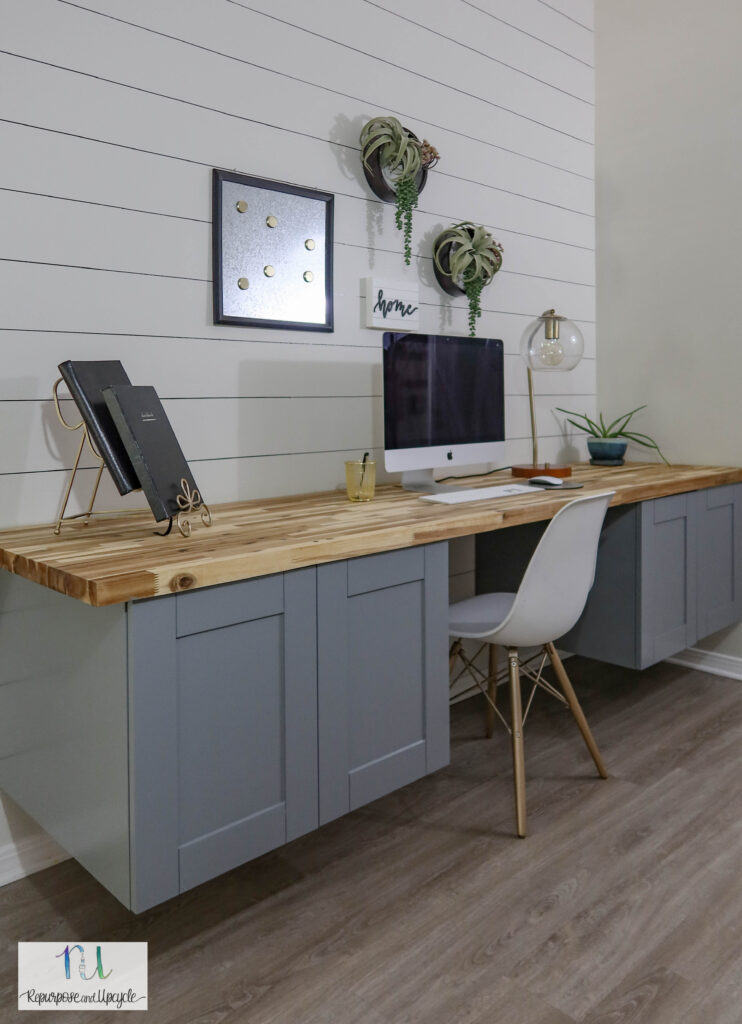
My DIY floating modern desk is ready to use! I’m smitten already. By the way, you can also choose to use something a little less expensive like plywood to create a plywood desk top. I would suggest using a cheaper material if you are making a desk for your kids. Check out how I made a LEGO desk for my kids with a plywood countertop and a few storage bins. I love the look of the Acacia butcher block, but a maple butcher block top is beautiful too.
The last thing I did was paint the cabinets. Maybe I should have painted them before they were hung, but you live and learn. I started painting the side of the desk, or should I say cabinet. I won’t go into details because I completed an entire blog post on how to paint melamine cabinets without a paint sprayer.
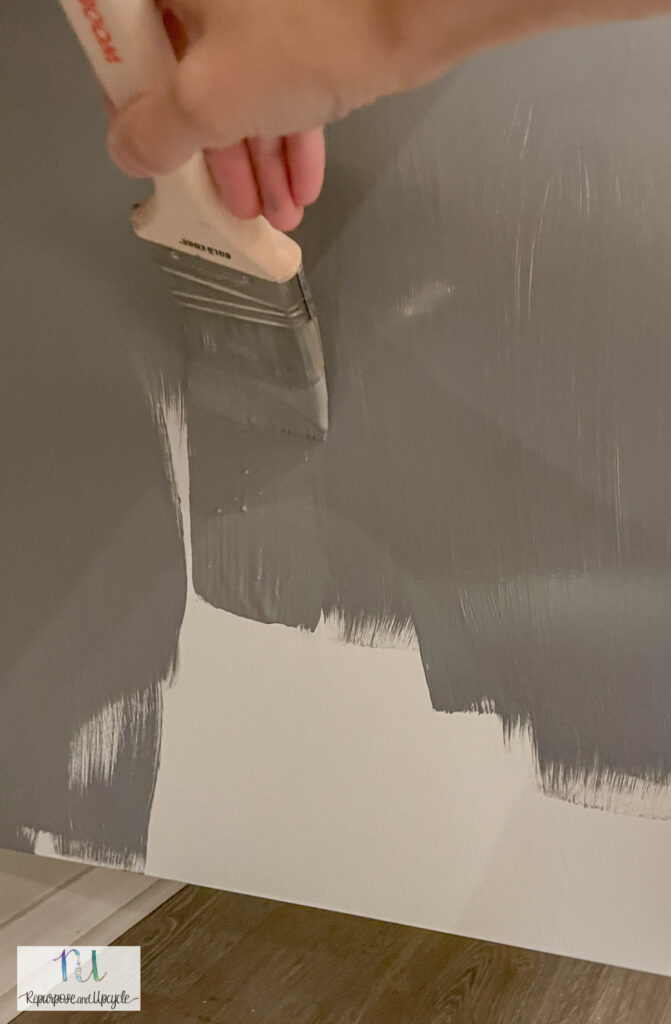
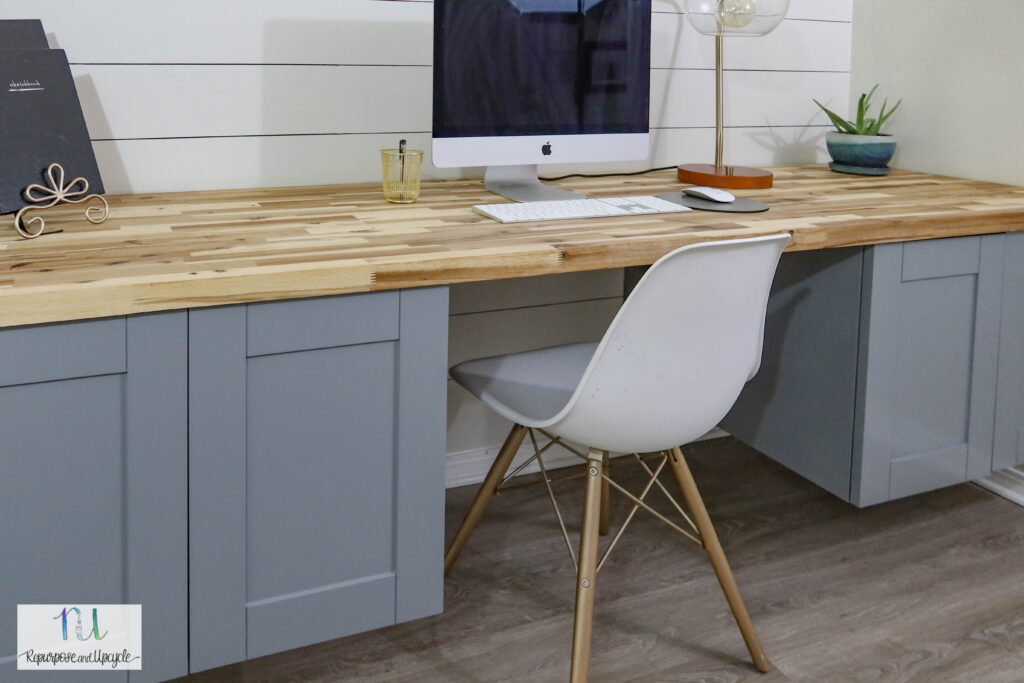
I love the contrast of the Acacia butcher block with the dark blueish cabinets.
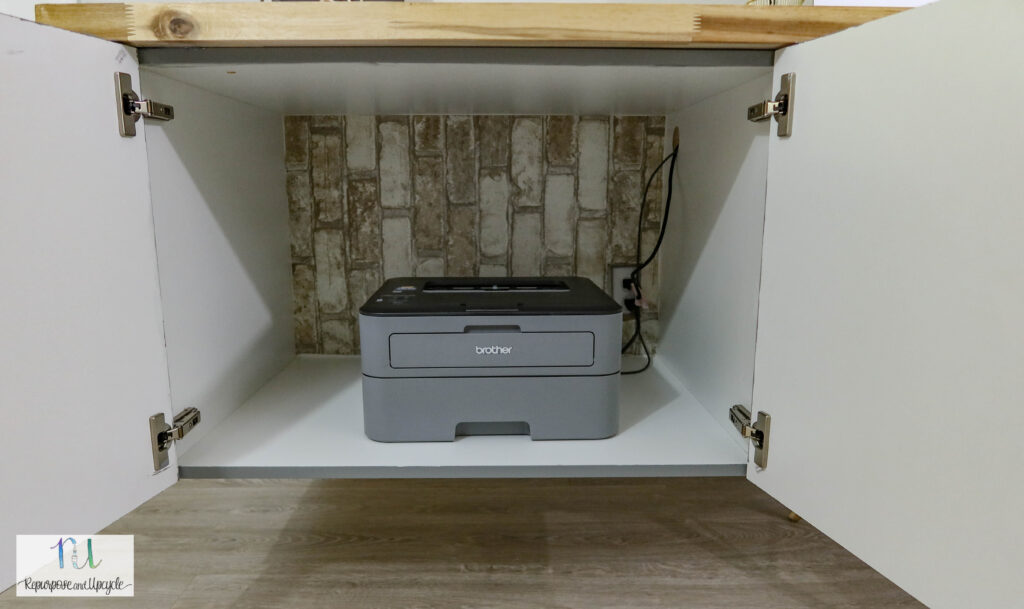
I even decided to add a little dimension to the back of the cabinets with some old brick wallpaper I had. See how to install wallpaper with the details about this wallpaper product here.
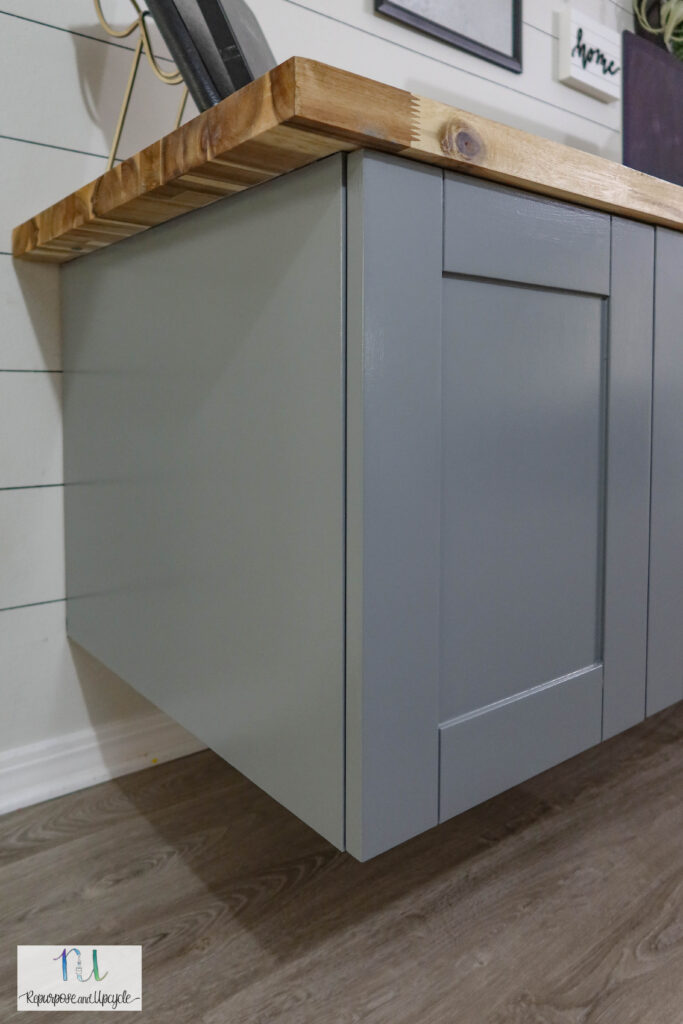
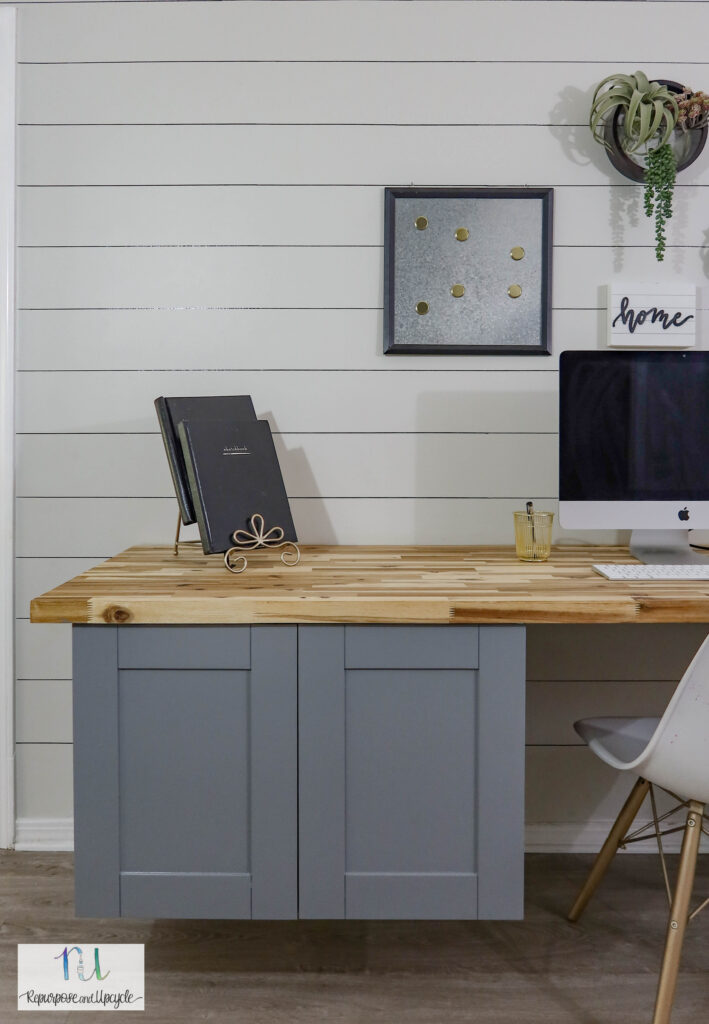
I love how smooth the finish is! I’m so excited to have my own desk that actually looks like it was meant for this space and not a hodge podge.
I need to work on those cabinets because they don’t line up perfectly. Ugh always something isn’t it!
Just so you have a visual, here is what the other side of the wall looks like. My tone on tone feature wall matches perfectly!

I’m so thrilled with how functional and awesome this space is now. Even though it might seem like a big project, it didn’t take me that long to complete. This might be my favorite DIY to date…for now at least. 😉
Lindsey**