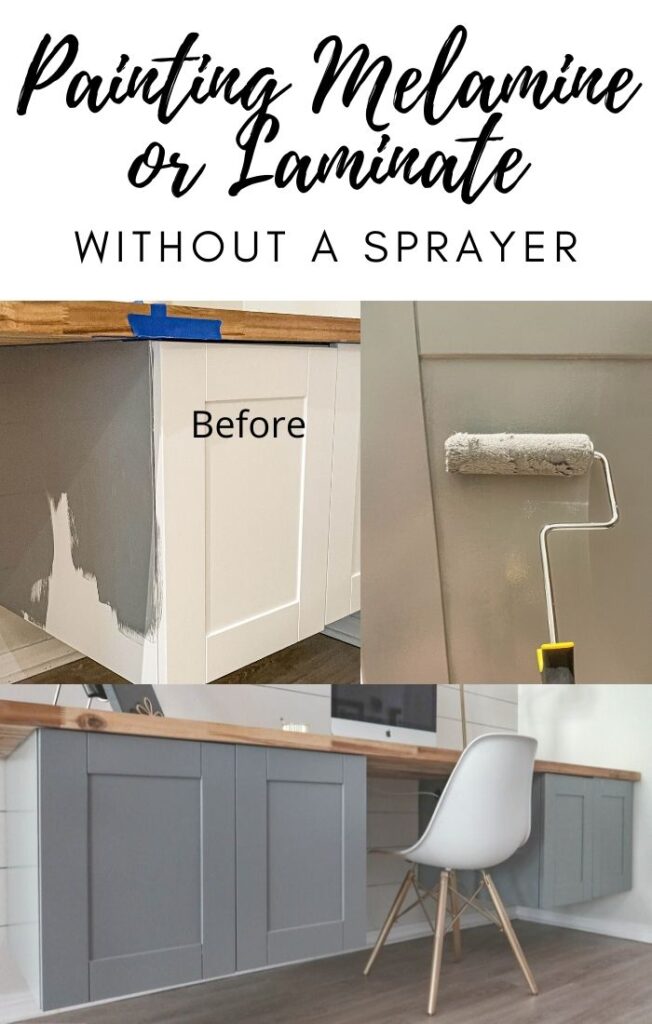
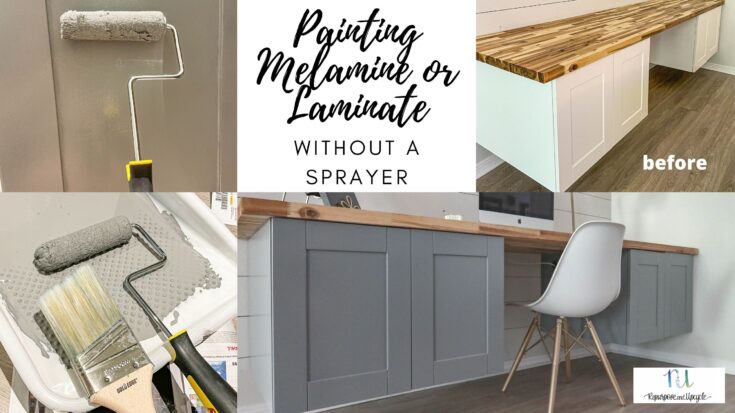
Learn how to paint melamine or laminate cabinets without a paint sprayer. I’ve shared a detailed tutorial with video on how to get a lasting, smooth finish.
Painting kitchen cabinets has been on the up trend for about ten years now. The old wood cabinet look has taken a back seat to white painted cabinets and more recently, bold colored cabinets. The real question is “can anyone paint melamine or laminate cabinets without a paint sprayer?” Absolutely. In this post I’m sharing a straightforward way to paint melamine or laminate cabinets…with just a paint brush and roller.
Before I dive into the specifics, remember when I painted my laminate kitchen cabinets in our old house? I can’t believe that was about five years ago. After living with them for over a year I wrote an extensive review about how my painted laminate cabinets were holding up. I used a paint sprayer for the majority of the cabinet doors but I did use a paint brush and foam brush for the kitchen island cabinets.
I learned a lot from painting those laminate surfaces. A few of the main take aways I’ve learned (some the hard way) when painting laminate and melamine cabinets are;
- always degrease and clean the surface really well before applying primer
- always use a bonding primer before paint (even if the paint has primer in it)
- if you aren’t using a paint sprayer, using a fine finish roller will help eliminate brush strokes for a smoother finish
- make sure to let each coat of paint or primer dry fully before applying the next coat (duh but you would be surprised how this affects the finished product- I’m talking to those impatient folks (ME))
- use a super fine grit sandpaper in between paint and primer coats for an ultra smooth finish (just make sure to remove the dust and debris before applying next paint coat)
- don’t let the paint dry fully before removing the painters tape- it will peel the paint off. You can opt to score the painters tape with an X-acto knife before removing it if you wish.
- each laminate or melamine surface is different; test the paint on that surface to make sure you achieve the finish you want before tackling the entire project.
Are melamine and laminate cabinets made from the same material?
Both melamine and laminate cabinets have very similar materials. As a matter of fact, melamine is also knows as Medium Density Laminate (MDL). Although they are similar, they have their differences and the differences mainly depend on quality of the product. Both are made using paper and resin. The resin gives it that plastic like finish.
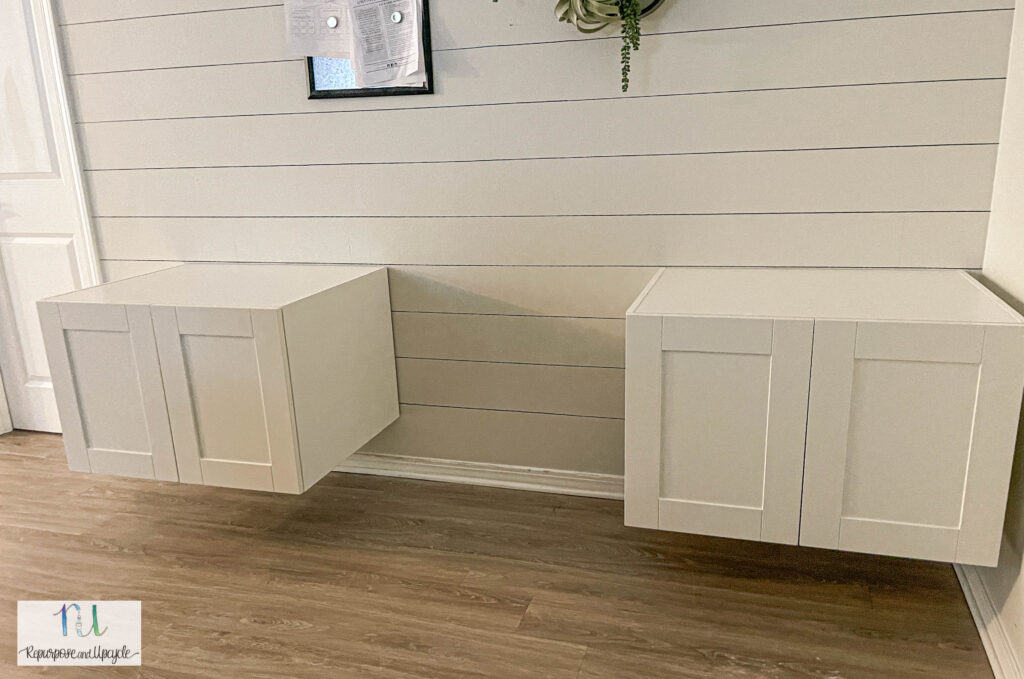
For this painted cabinet project, I painted a DIY desk that I created from upper melamine cabinets from Home Depot. I’ll share the process below.
Disclosure; this post contains affiliate links. As an Amazon Associate I earn from qualifying purchases. This disclosure statement refers to the rest of the Amazon links in this post.
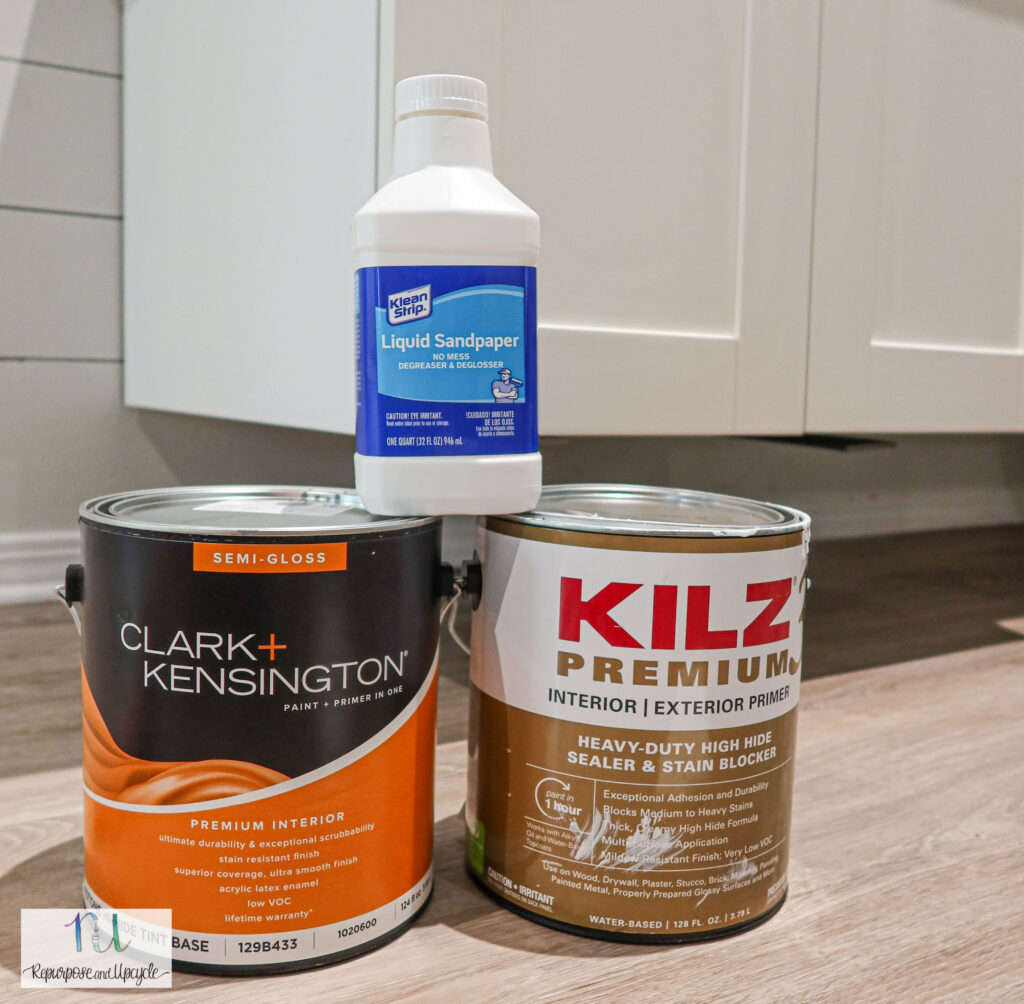
Materials:
- Liquid sandpaper (or liquid de glosser)
- Tack cloth or lint free cloth
- Primer
- Paint brush
- Fine finish roller or short nap roller
- Paint – your choice*
- Sealer if needed
- Fine sandpaper or sanding block
- Painters tape – Frog Tape is my favorite
*As far as paint goes, there isn’t a special cabinet paint you need to use. I used an Ace Hardware latex/acrylic paint. I prefer to use water based products as I find that oil based tend to peel in large chunks and are harder to touch up. That is my opinion though. Be mindful of compatibility with oil based vs. water based products (I’ve detailed some tips on this post).
How to paint melamine or laminate cabinets without a paint sprayer
- Make sure to start with a liquid sandpaper or liquid de glosser product to clean and slightly “etch” the surface. You don’t necessarily have to sand (or liquid sand) a laminate or melamine surface before painting it. You DO have to clean it thoroughly though.
- Once the surface is clean and free of any dust and debris, use painters tape to tape around anything you don’t want painted.
- Apply the first coat of primer. Use an angle brush to get in all the corners, edges and hard to reach areas.
- Use a fine finish sandpaper or sanding block if desired.
- Apply second coat of primer if needed. If you are going from a dark color to a light color I would suggest two coats of primer. Use either an angle brush again or a fine finish roller.
- Sand the final coat of primer.
- Apply first coat of paint with an angle brush just like you did with the primer.
- Lightly sand the first coat of paint if desired.
- Apply the second coat of paint with a fine finish or short nap roller.
- Apply third coat of paint if necessary.
- Follow paint instructions to decide if a top coat is necessary.
As far as top coats and sealers, I like to apply those with a foam brush and then chunk the foam brush when I’m done. Some paints are formulated to NOT need a top coat (like enamels and most acrylic paints) so always follow the paint instructions for recommended sealers.
Below are the cabinets (before paint) that I used for my DIY floating desk project.

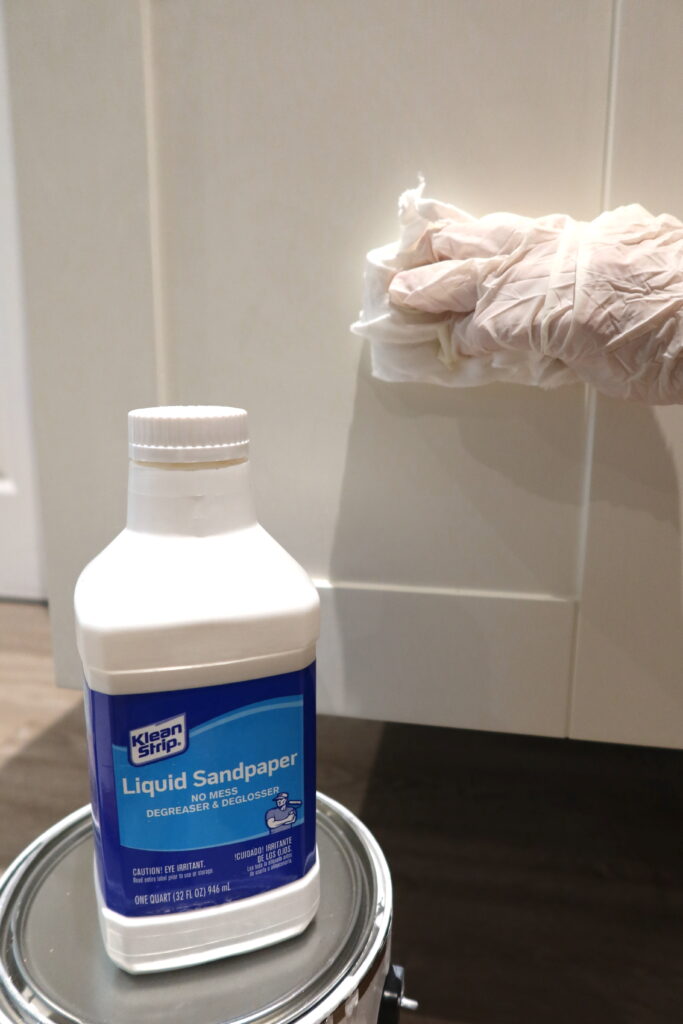
When you use a liquid sandpaper product, the instructions say to apply it with a lint free cloth in a circular motion and let it dry fully. Once it’s dry, it’s ready to paint over.
Do you need to wipe off liquid sandpaper after it’s been applied?
No. Liquid sandpaper is intended to de grease and de gloss the surface and hopefully clean it as you wipe. The instructions say to fold and re saturate cloth frequently to prevent re depositing soils back to surface.
Next I used painters tape to tape around the cabinets. Now we are ready for primer.

I used an angle brush to apply the first coat of primer. This way I could get into all the detailed areas and hard to reach areas.
I only used one coat of primer because I was going from a light color (white) to a dark color and I felt like one coat was sufficient.
I did use a fine grit sanding block to lightly sand the surface after the primer coat was fully dry.

Once I lightly sanded the surface I used a tack cloth to remove all the extra dust and debris.

This is the brush and the nap roller I used. For the first coat of paint, I did use the brush to make sure to cover all the detailed areas sufficiently. After the first coat of paint was dry, I did lightly sand it and clean it like I did with the primer.
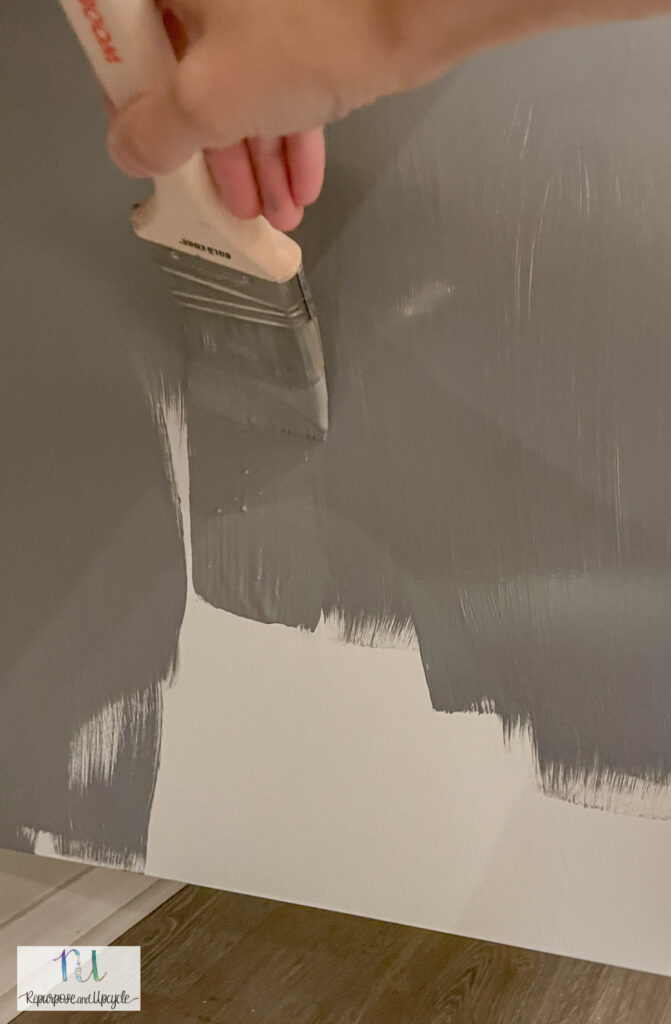

Once the first coat of paint was dry, I did lightly sand it. Sanding is optional, but it does help with making a smooth finish. You can read all about how to paint kitchen cabinets without sanding here.

Next I used the nap roller to roll paint on the surface.
A roller really helps prevent brush strokes and gives a decently smooth finish. It won’t be quite as smooth as a paint sprayer, but I promise not many people will know the difference.

I debated back and forth if I needed a sealer or top coat for my cabinets. Ultimately, I decided against it.
Do you need to use a sealer or top coat when you paint laminate or melamine cabinets?
Using a sealer or top coat for laminate and melamine cabinets is fully dependent on what type of paint you use. Most enamel and acrylic paints are formulated to be used without a top coat. That being said, always follow the manufacturers instructions.
My best piece of advice about whether or not to use a top coat; do a “scratch test.”
What is a scratch test?
A scratch test is my words for using your fingernail to lightly scratch the surface to see if the paint comes off. Make sure you pick an area that is hidden! If the paint scratches slightly, then use a top coat. You will determine how durable your paint job is when you complete this test.
Since the paint I used is an enamel/acrylic paint, I decided not to put a top coat on it. Also, my paint job passed the scratch test (meaning no paint came off when I scratched it). Could I still use a top coat? Absolutely.
If you are using a milk paint, chalk paint, or any other specialty paint, chances are it will require a top coat.
What top coat should you use for laminate or melamine cabinets?
My suggestion is to use a Polycrylic rather than a polyurethane. The polyurethane top coats are known for yellowing over time (especially when applied to white cabinets).I used this product on my other Painting Laminate cabinets part 2 post. Also check out my post on the best clear coat for wood for more sealer options.
My new painted melamine cabinets
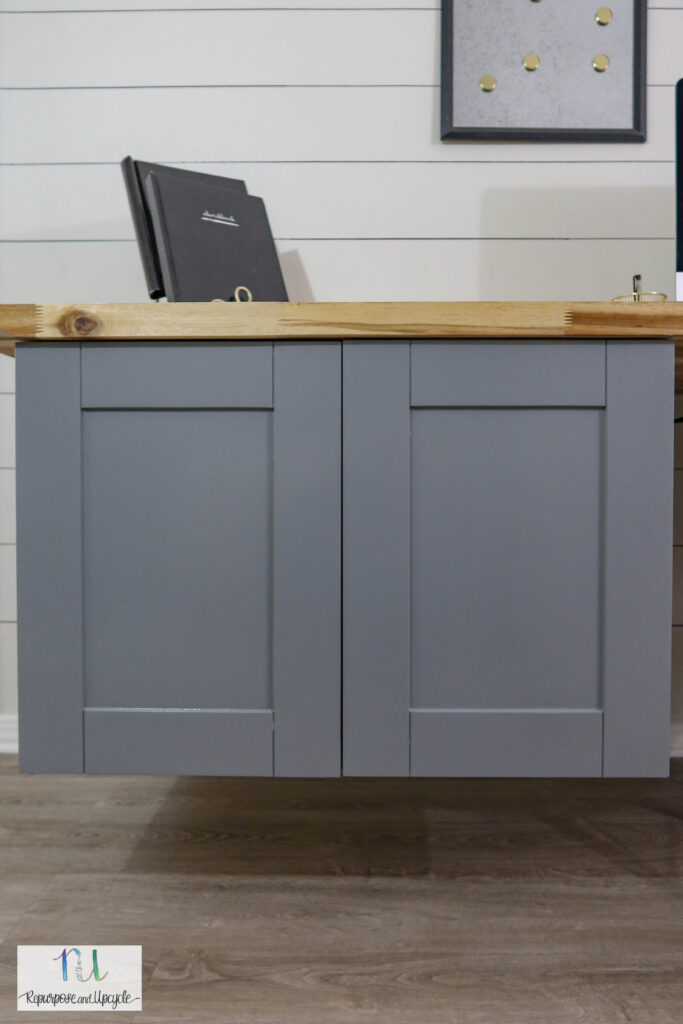
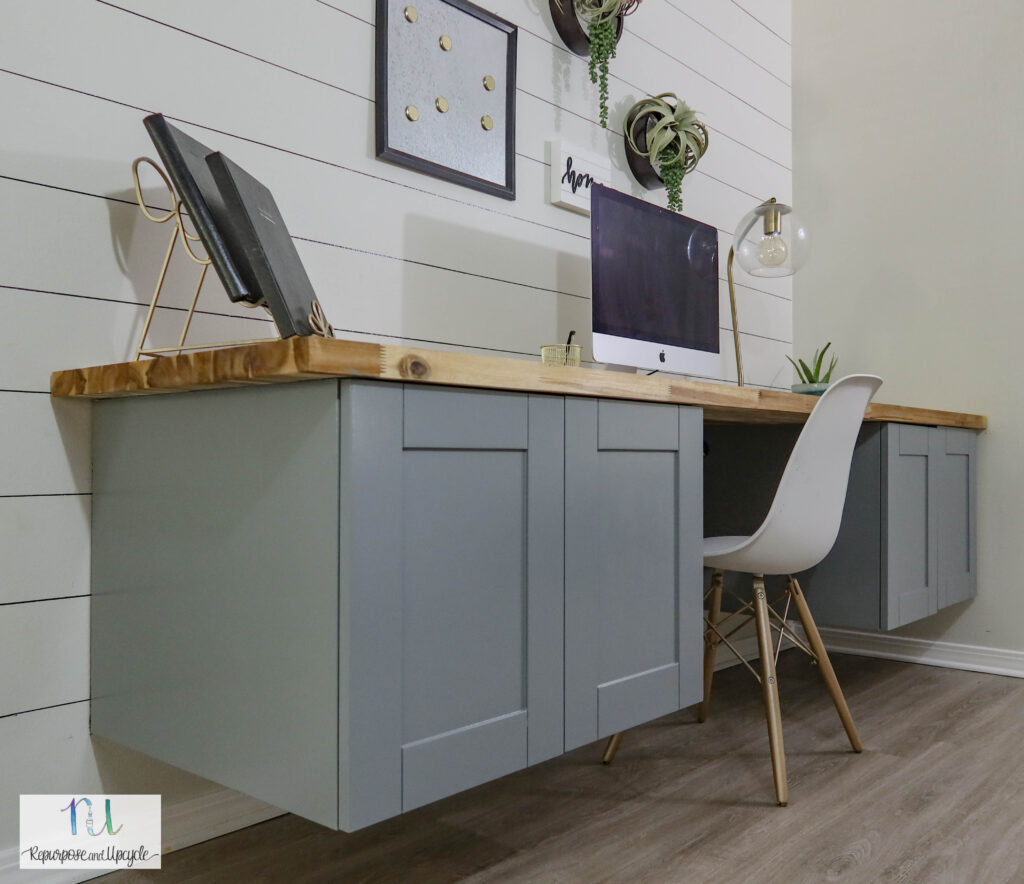
What do you think about my new desk? I love it. Did I mention that it matches my DIY feature wall?

I hope this post has given you the knowledge on how to successfully paint a set of melamine or laminate cabinets without a paint sprayer!
Painting Melamine or Laminate Cabinets without a Paint Sprayer
Learn how to paint melamine or laminate cabinets without a paint sprayer. Painting cabinets can be done with just a roller and paint brush.
Materials
- Liquid sandpaper (or liquid de glosser)
- Tack cloth or lint free cloth
- Primer
- Paint brush
- Fine finish roller
- Paint - your choice*
- Sealer if needed
- Fine sandpaper or sanding block
- Painters tape - Frog Tape is my favorite
Instructions
- Make sure to start with a liquid sandpaper or liquid de glosser product to clean and slightly "etch" the surface. You don't necessarily have to sand (or liquid sand) a laminate or melamine surface before painting it. You DO have to clean it thoroughly though.
- Once the surface is clean and free of any dust and debris, use painters tape to tape around anything you don't want painted.
- Apply the first coat of primer. Use an angle brush to get in all the corners, edges and hard to reach areas.
- Use a fine finish sandpaper or sanding block if desired.
- Apply second coat of primer if needed. If you are going from a dark color to a light color I would suggest two coats of primer. Use either an angle brush again or a fine finish roller.
- Sand the final coat of primer.
- Apply first coat of paint with an angle brush just like you did with the primer.
- Lightly sand the first coat of paint if desired.
- Apply the second coat of paint with a fine finish roller.
- Apply third coat of paint if necessary.
- Follow paint instructions to decide if a top coat is necessary.
Notes
As far as top coats and sealers, I like to apply those with a foam brush and then chunk the foam brush when I'm done. Some paints are formulated to NOT need a top coat (like enamels and most acrylic paints) so always follow the paint instructions for recommended sealers.
There isn't a special cabinet paint you need to use. I used an Ace Hardware latex/acrylic paint. I prefer to use water based products as I find that oil based tend to peel in large chunks and are harder to touch up. That is my opinion though. Be mindful of compatibility with oil based vs. water based products.


