A comprehensive list of all the painting tips and tricks I learned on my own painting journey. I’m sharing useful tips about painting that you might not know.
When I started painting furniture years ago, I started with spray paint because all it required was a can of paint. Spray paint was safe because I knew how to shake a can, point and spray. About six months after I painted my first piece of furniture, the paint started chipping really bad. That’s when I knew that I had no clue HOW to paint furniture.

Fast forward a few years….ok maybe a decade or so 🙂
Since then I’ve painted a lot of furniture. I’ve made a LOT of mistakes, but I’ve also learned a thing or two along the way.
There are lots of how-to paint furniture posts, and this not really one of those. This post is my effort to share ALL THE THINGS that I WISH I had known when I started to paint furniture that you might not find in another post.
These painting tips and tricks have helped me and I want to share them so maybe they can help you on your furniture painting journey too!
Just a side note; this post isn’t solely about painting furniture, but tips and tricks on painting and refinishing any surface in general.
Disclosure; this post contains affiliate links. As an Amazon Associate I earn from qualifying purchases. This disclosure statement refers to the rest of the Amazon links in this post. See more on my disclosure page.
General Painting Tips and Tricks
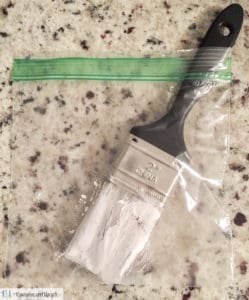
- Seal your paint brush in a zip lock bag (or saran wrap) and store it in the refrigerator in between paint coats.
- You can almost always mix any color of paint into a cheaper brand of paint. For example, if you like a Benjamin Moore paint swatch but you don’t want to pay for it, take the swatch to another hardware store, big box store (Walmart) and have them mix the same color into a cheaper paint.
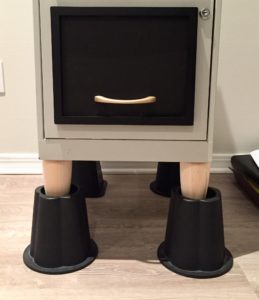
- When painting the bottom of heavy furniture, place the furniture piece on bed risers.
- When painting a laminate or plastic surface, ALWAYS USE PRIMER. See how I painted my laminate cabinets here.

- You CAN apply latex paint over oil based paint, but you CANNOT apply oil based paint over latex. Rub a little denatured alcohol on a rag and wipe the surface to see what it is. If it comes off on the rag, it’s latex.
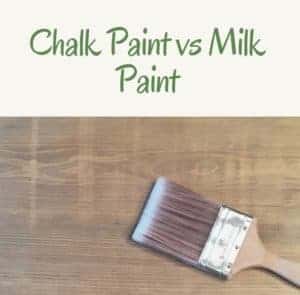
- Each different brand of paint will have an entirely different finish, especially when it comes to chalk paint and milk paint. Don’t buy one chalk paint brand thinking that it will have the same finish as another (the same goes for milk paint). The “big box” brands might be A LOT cheaper, but they might only cover 1/4 of the surface area as the more expensive brands. See my post on chalk paint vs. milk paint and the one I prefer for more details.
- Before removing painters tape from any surface, score the tape at the edge with an X-acto knife or something similar. Trust me on this one; there is nothing worse than having to repaint the wall after the painters tape peeled a good bit of it up.

- Use Vaseline to cover anything you DON’T want painted like screws or hinges. You can even use vaseline to distress a piece of furniture by adding it to a few areas where you don’t want the paint to stick.
- When painting any sort of metal, wipe it down with vinegar to clean it AND it keeps the paint from cracking!
- Keep paint chips from all the paint you’ve used on your house and put them on a keyring.
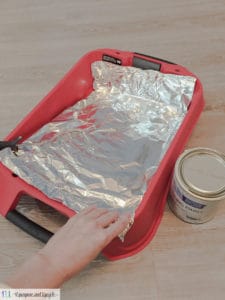
- Line a paint tray with aluminum foil for easy clean up.
- To prevent the old paint or stain from bleeding through the new color, always use primer first. You will see this happen A LOT with vintage and antique furniture that has been refinished. Learn from my mistakes; always prime previously stained or painted pieces first.
- Use a sharp edge to paint corners and ceilings so you don’t have to use painters tape.

- To avoid streak marks or roller marks, roll the entire height of the wall and overlap on the wet edge. Roller marks happen when you roll wet paint over paint that’s already partially dry. Try to always keep a wet edge!
- When using chalk paint, don’t use furniture wax over a surface that will receive a lot of use. Instead, use a good sealer like THIS.
- See more tips on how to seal furniture for high traffic use here.
- Use bed risers to paint those hard to reach areas and to avoid getting paint on the floor.
- When spray painting a small item, spray in a disposable box for easy cleanup.
Wax and Sealer and Finishing Tips
- Use a screw in the end of the caulk tube to prevent it from drying out.

- Always apply a little bit of clear wax before using dark wax. If you apply dark wax first, it might soak into the surface and create an uneven and darker finish than you want.
- Be careful applying polyurethane to a light or white surface, as it will most likely yellow over time. Instead, use a Polycrylic product.
- Apply your sealer coat with a disposable foam brush to minimize cleanup and reduce brush strokes.
- Paste wax is not the most durable for high traffic surfaces. My suggestion is to always use a polyurethane or polycrylic sealer for the areas that get a lot of use. Wax doesn’t hold up or protect as well.
Stripping, Sanding and Staining Tips and Tricks
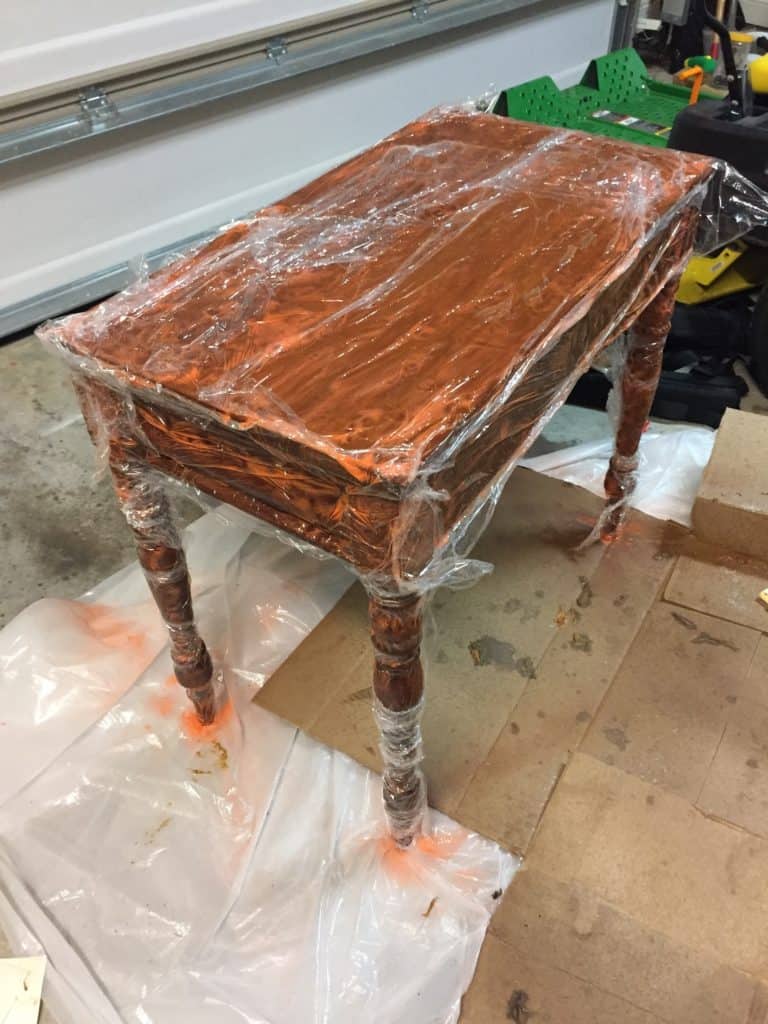
- After applying paint stripper to any surface, cover with saran wrap or a large bag. See more details on my post all about stripping furniture the easy way!
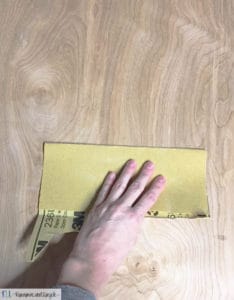
- Try using a liquid sander/deglosser to sand the hard to reach areas. I’m talking about the nooks and crannies of surfaces that aren’t flat. It doesn’t work quite as well as sanding, but it will definitely help with the hard to reach spots like I’ve pictured below.

- Before staining wood, use a wood conditioner. Wood conditioner prepares the wood to soak the stain more evenly.
- Wipe off all excess stain in the direction of the grain with a rag to ensure the stain dries evenly.
- You can always make a stain darker by applying another coat. If you want to make a stain lighter, there are a few options thanks to some new products. I’ve detailed a post about how to apply wood stain over wood stain.
- Apply oil based stains in a well ventilated area. The fumes for any oil based product are much more potent than water based.
- Always apply stain in the direction of the wood grain.
- Also, always sand in the direction of the wood grain.
- Use a fine grit sandpaper to lightly sand in between coats of paint to achieve that “factory smooth” finish. Note: Different paints work better than others with the smoothing effect.
I will continue to add to this list as I think and learn of more painting tips and tricks.
As always, thanks for following along! I hope I’ve shared a few useful ideas for your painting journey!
Lindsey**


