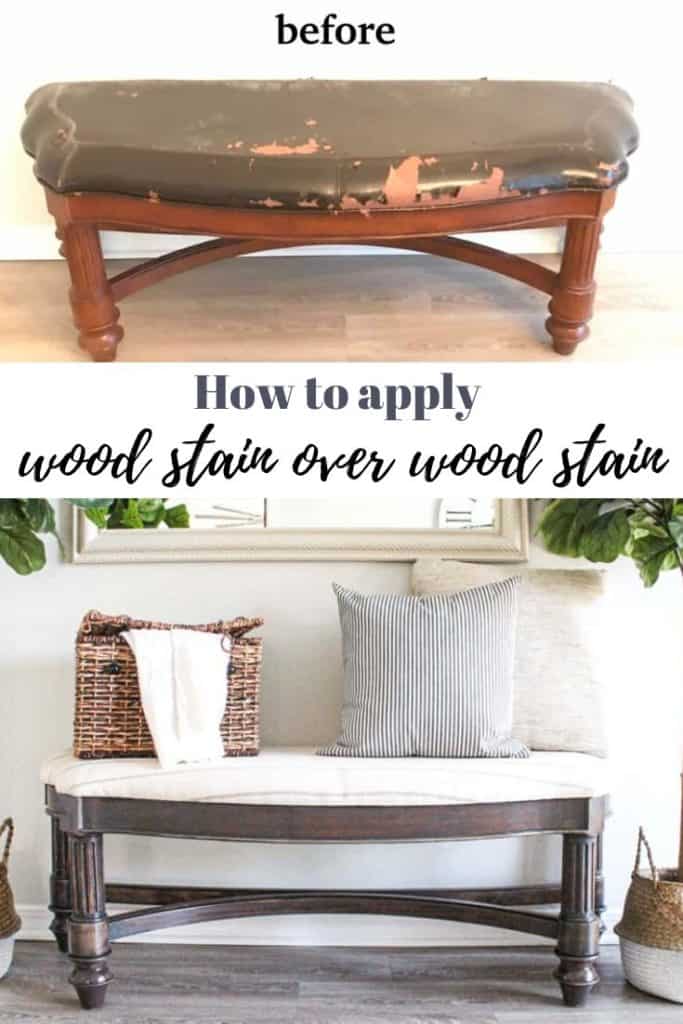
Want to learn how to apply stain over stain on a piece of furniture? I’ve shared how to do this with a bench makeover.
Can you apply wood stain over previously applied wood stain or do you need to paint over the previous stain? I don’t know about you, but sometimes I want a furniture finish other than regular old paint. Don’t get me wrong, I do love painted furniture, but if you’ve got a nice solid piece of wood, why cover up the wood grain? The problem for me with this project was that the wood had been previously stained.
I’ve noticed that the “painted furniture craze” seems to be less popular. Not that I do anything for popularity, but I’m enjoying seeing more trends toward raw wood. After a friend gifted me a great solid wood bench, I knew instantly what I would do with it! No painting, just adding more wood stain on top of the existing stain.
First let me show you what the old bench looked like in its original form.
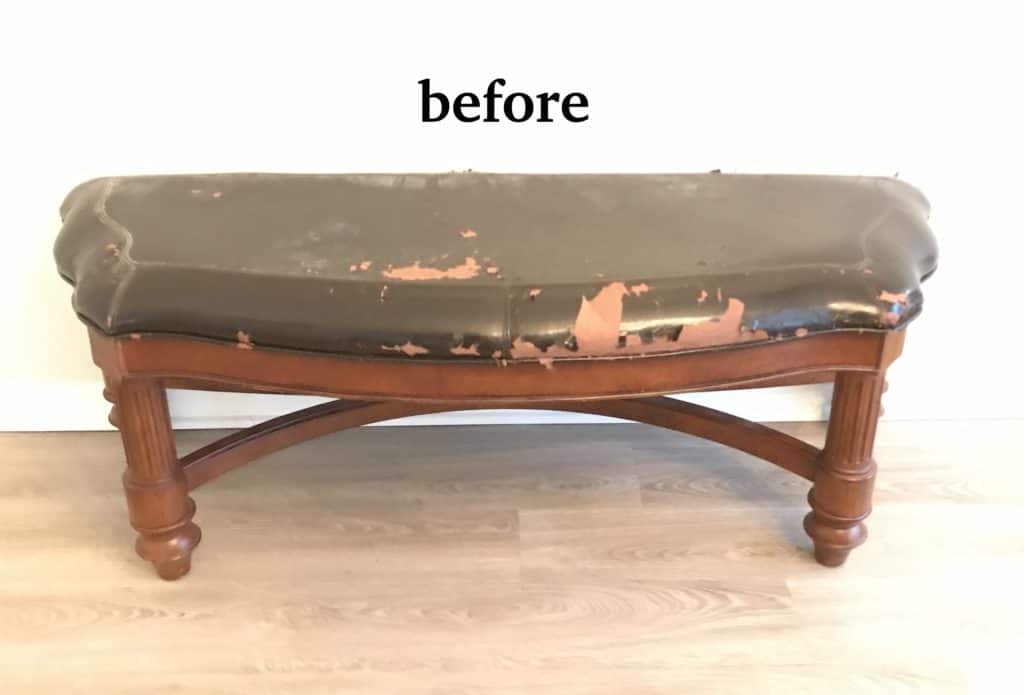
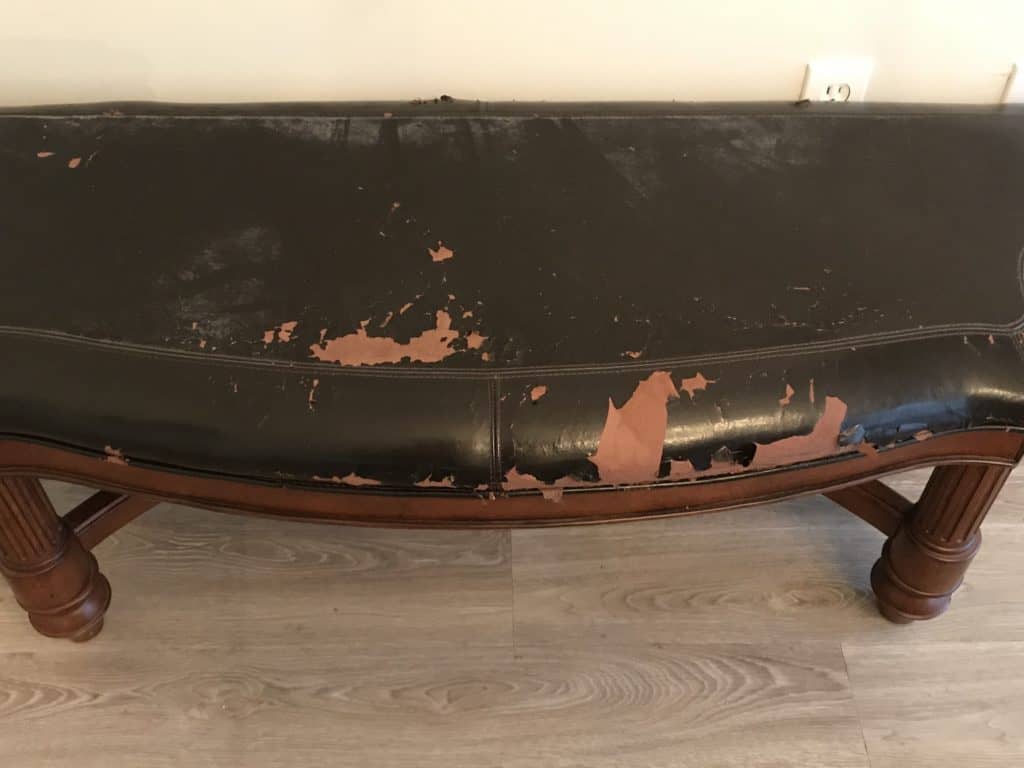
The top obviously needed to be reupholstered. I’m no stranger to reupholstering a few things, but since this bench had some curves, I decided to hire this job out.
As far as the solid wood base; I wanted to give it a good bench makeover without paint.
I’ll be honest, my first thought was to paint it. That would be the easiest thing to do. The thought of stripping the varnish and stain was not super appealing.
That’s when I had another idea.
I thought about applying wood dye to the bench. I wrote a post a while ago about wood dye vs. wood stain and how to use each.
Next I thought about trying to re stain the wood with a few household items like coffee and tea. Ultimately, I didn’t think the household stains would show up over previously treated furniture.
Then I thought, could I apply stain over old varnished wood stain?
YES! I’m going to show you how because there ARE a few things you need to know in order to do it successfully.
Disclosure; this post contains affiliate links. As an Amazon Associate I earn from qualifying purchases.This disclosure statement refers to the rest of the Amazon links in this post. See more on my disclosure page.
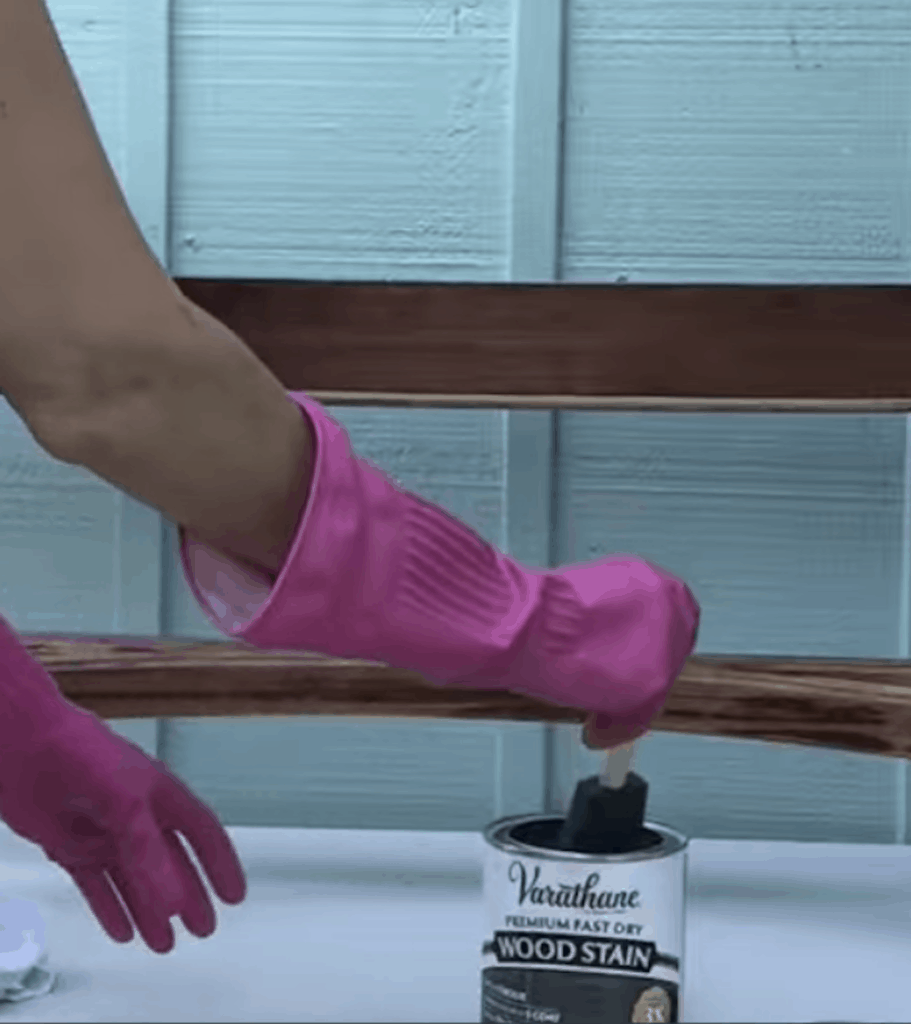
How to apply stain over stain on a piece of wood
- First and foremost the stained wood surface needs to be free of a varnish or top coat. If you apply the wood stain directly to a top coat it won’t adhere properly. If you need to, strip the top coat of sealer off first.
- Add a wood conditioner to the surface. Stain is intended to penetrate the wood and if it’s been previously stained, some areas will soak up that new stain more than others and look darker. The wood conditioner helps to give the wood a more even toned finish.
- Once you have prepared the wood surface by removing the previous top coat (if necessary) and conditioning the wood, you can apply the new stain.
- Follow the directions for the stain of your choice.
While I’m at it, I figured I would answer a few more stain questions too.
Can you paint over polyurethane?
You can paint over polyurethane with a handful of paint products as long as you know a few caveats. There are certain paints that have bonding agents in them that make painting over polyurethane successful like chalk paint products and some mineral paints. For the paints that don’t bond well, you can always apply a primer product to bond to the polyurethane surface before applying paint.
Can you stain over paint?
Yes you can definitely stain over paint. Most people would call staining over paint “glazing” wood furniture.
Wood stain is mostly meant to soak into the wood grain to highlight it and or accent the wood.
Paint is meant to sit on top of the wood surface and cover the wood.
So what does this mean as far as staining over paint?
This means in order to stain a piece of painted furniture, you will essentially be applying the stain to the surface and not allowing it to soak into the wood. As yourself, “Is this really the end result I want?”
If you are looking for the glazed wood look, then yes, slap that stain over the paint!
My opinion? Your best bet is to check out some wood glazes that are meant to be applied over paint.
A few wood staining tips:
- Always apply stain in the direction of the wood grain
- After you apply the stain, give it a few minutes and then wipe the excess off with a lint free rag.
- Add as many coats of stain as you want to get the desired finish.
- If you want the wood to look darker, add more stain.
- You can also apply mineral spirits to the stained surface and then immediately apply the new stain to allow the new stain to “glide” easier and for a smoother finish. This technique also helps prevent a “blotchy” finish.
There used to be a general rule that you could only apply darker stain to a lighter one. If you wanted to lighten a stain, you had to strip it.
Thanks to the invention of a few new products, this isn’t necessarily the case anymore!
Furniture stains that can be applied over a darker stain
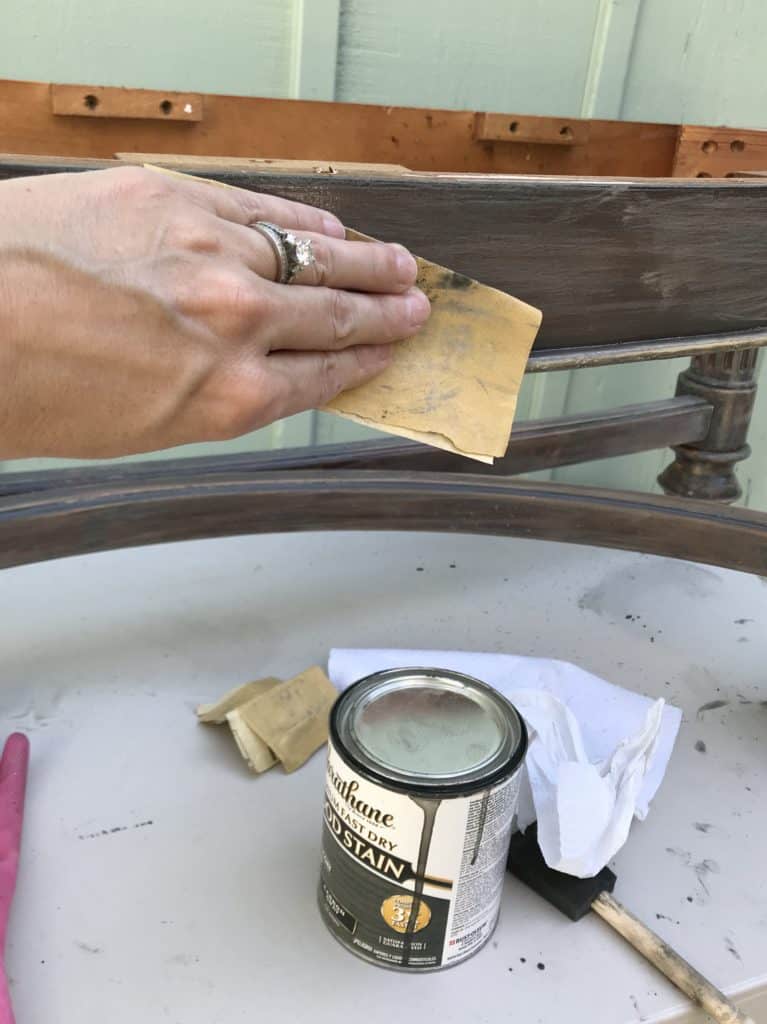
- Varathane makes a line of colored stains that WILL cover a darker stain and give it a lighter color. For this bench project, I’m using a stain in the color Carbon Gray to cover the old dark stain. It also comes in colors like weathered gray and even antique white.
- Gel stains can also be used to apply over an existing stain. Gel stains are thicker and won’t penetrate the wood like regular stain will. General finishes make a great line of gel stains in all sorts of colors like White and Gray.
While I’m on the subject, I thought I could answer other questions about painting and staining previously stained wood.
Can you paint over stained wood?
Yes you can definitely paint over stained wood. The key is using primer to allow the new paint to stick to the old stain.
How to paint over stained wood
- First prepare the wood surface by wiping it down with a tack cloth or lint free cloth to remove any dust or debris
- Choose a good primer and apply 1-2 coats of primer making sure the first coat is dry before applying the second
- Once the primer is dry, you can apply the paint product according to the manufacturer’s instructions
- If using a paint that requires a top coat, apply a top coat or sealer last
As long as you follow these simple instructions, you should definitely be able to paint over stain.
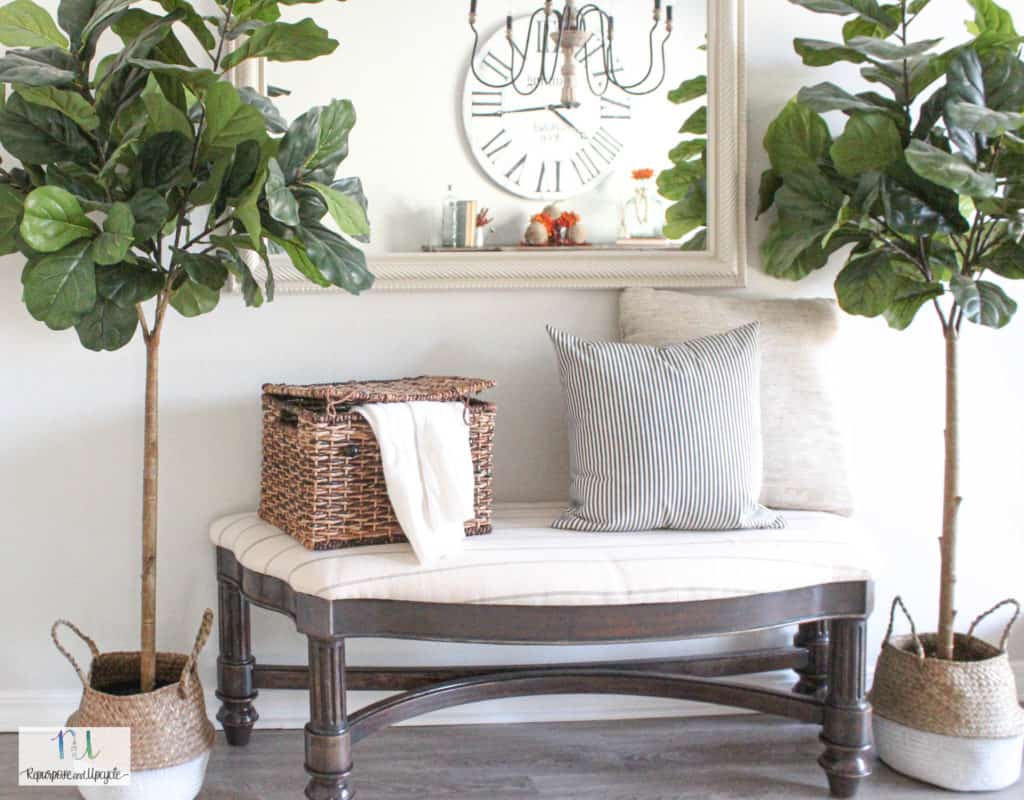
Check out my new cottage style bench with wood stain applied over previous wood stain.
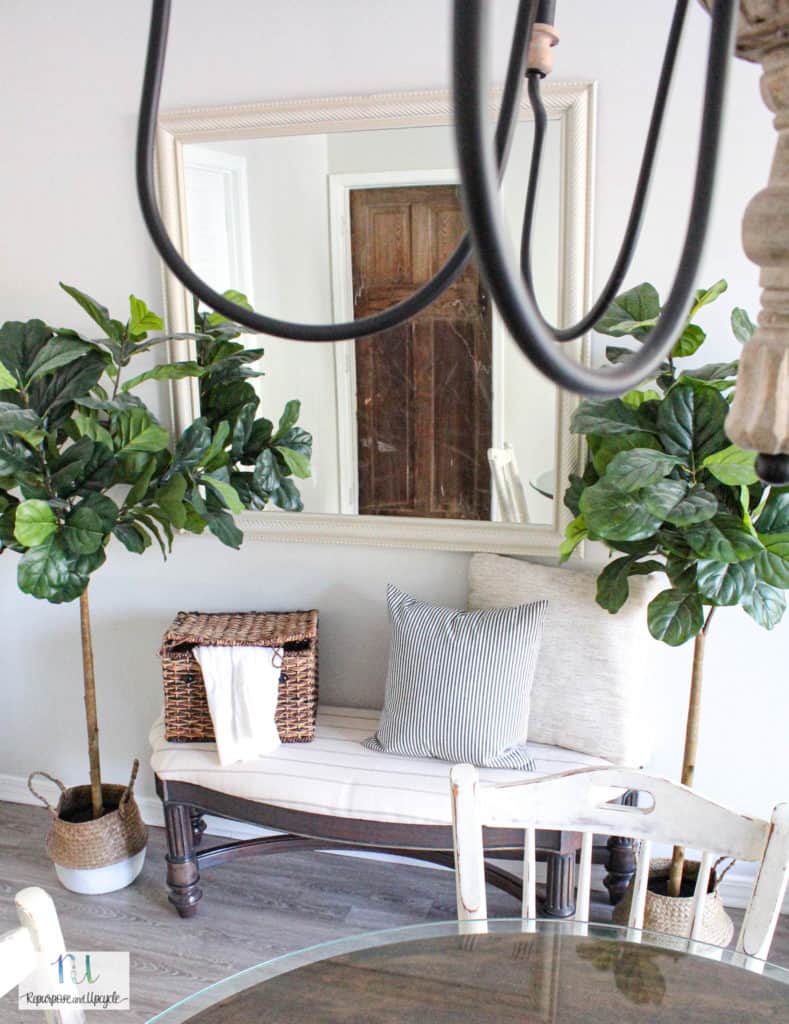
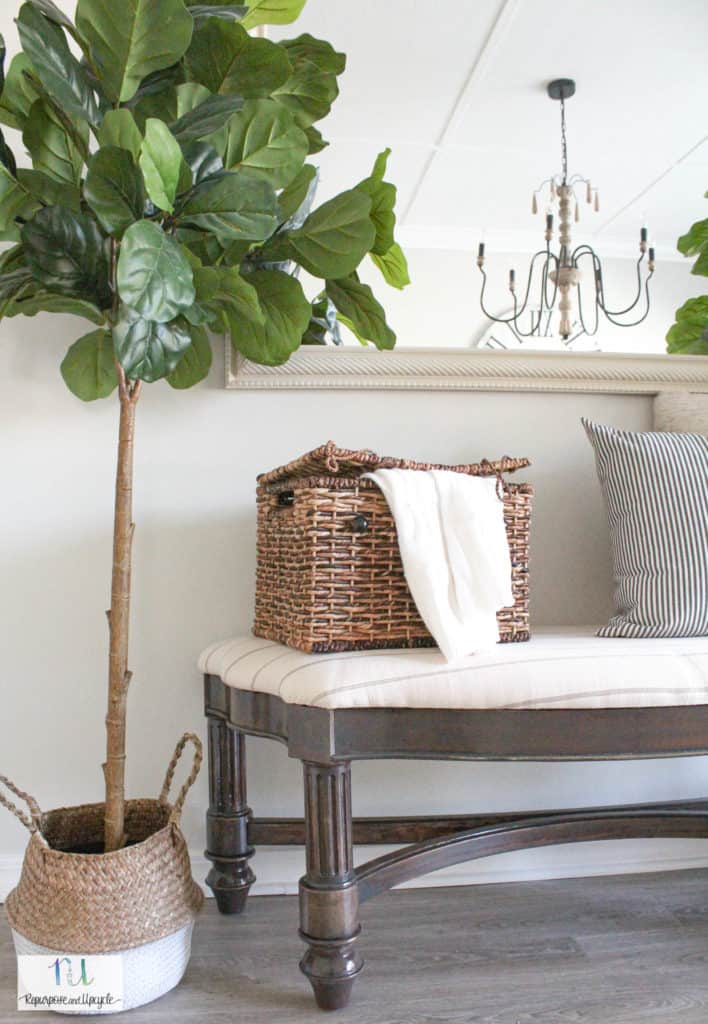
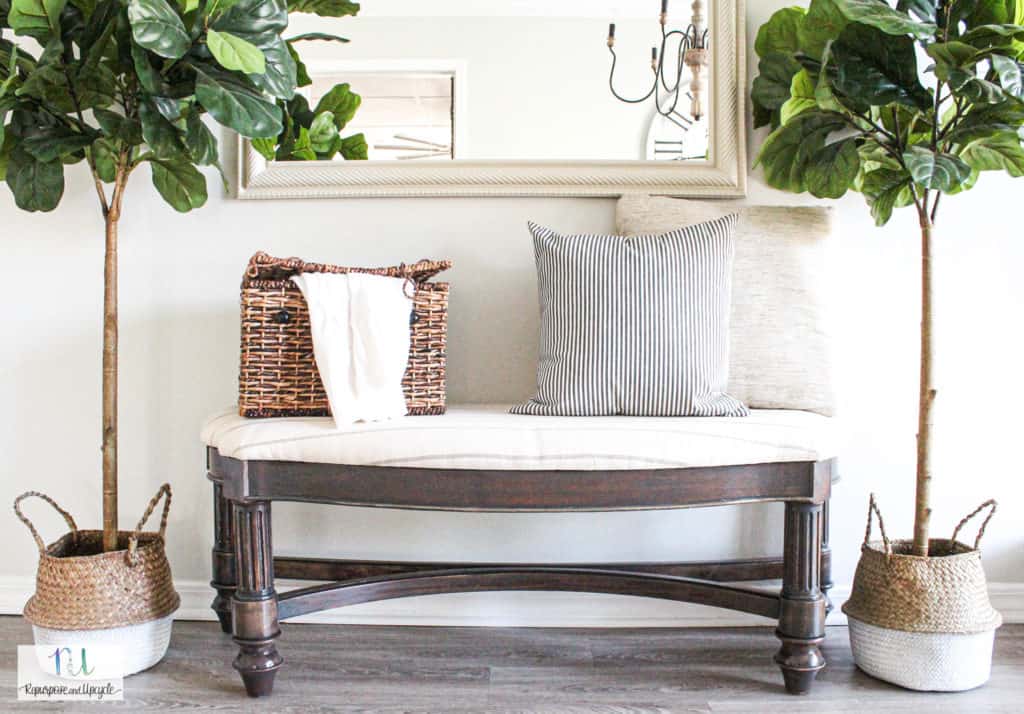
I love how you can still see specks of the old wood finish through the new stain.
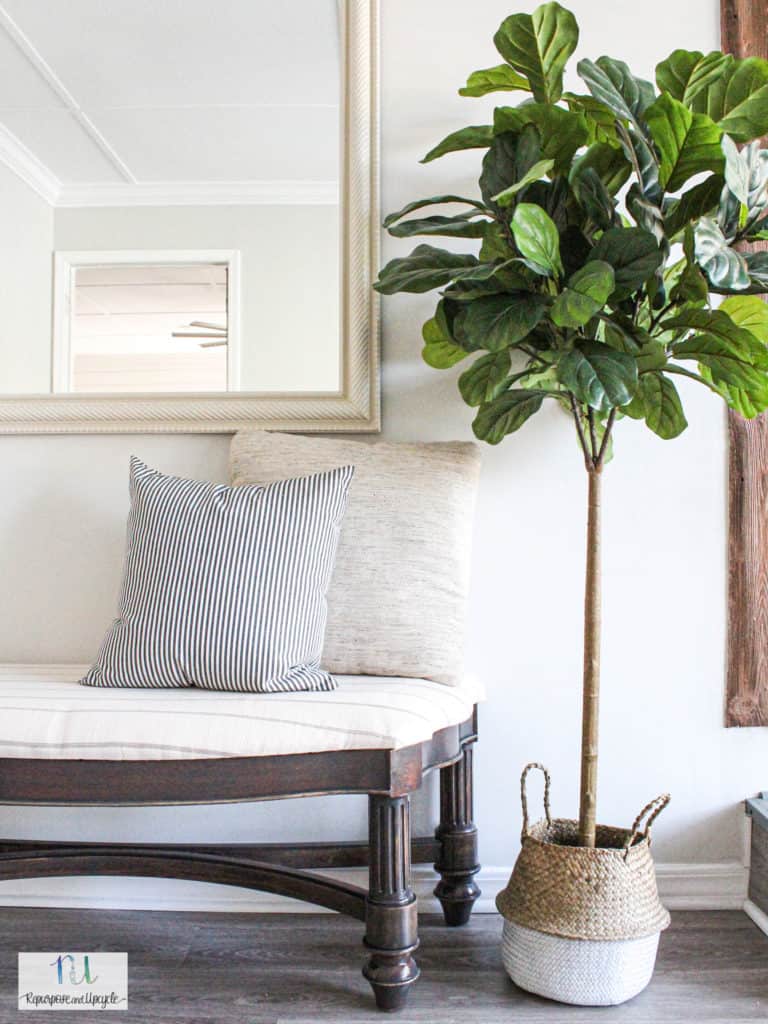
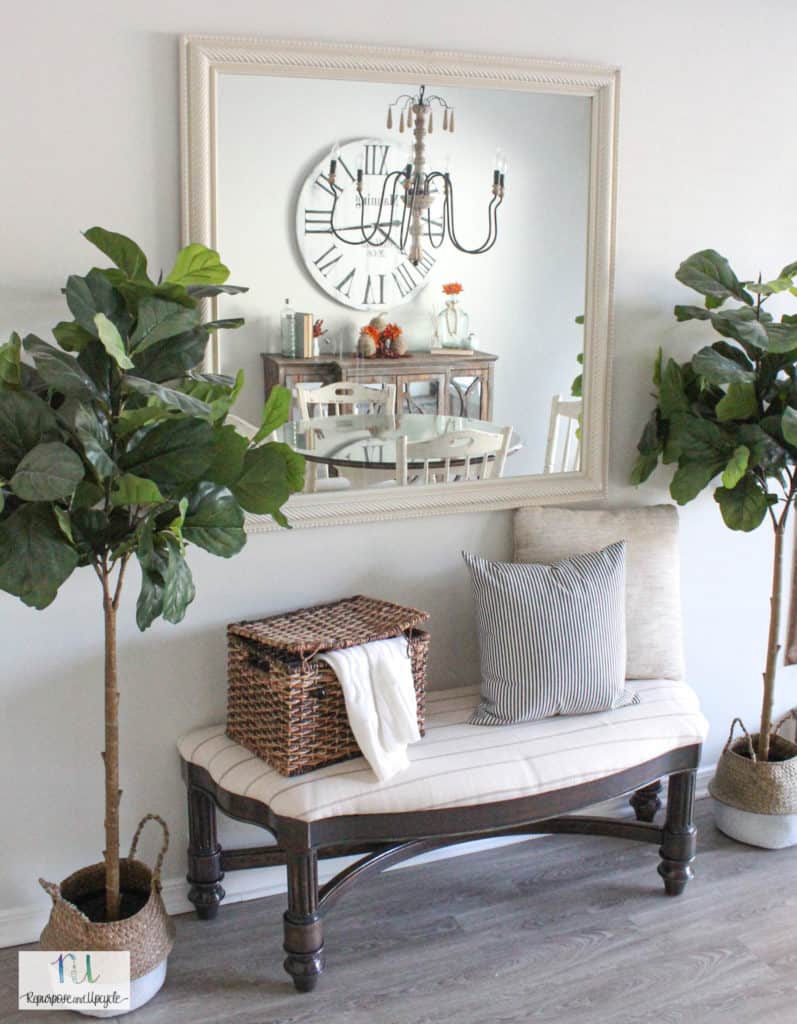
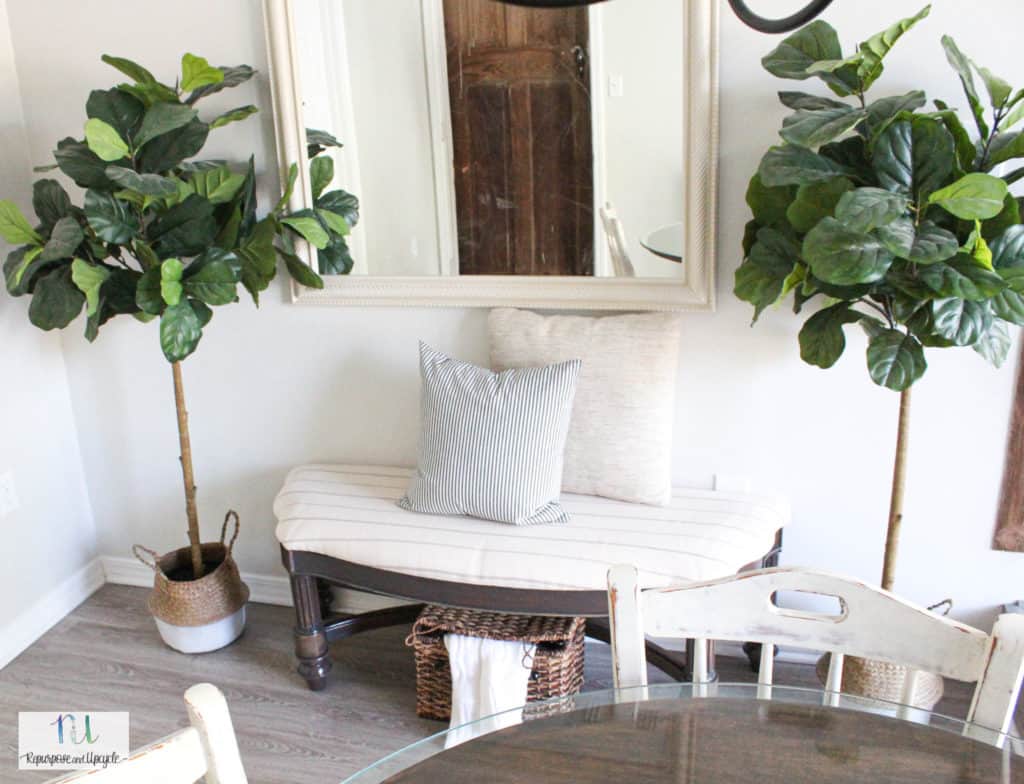
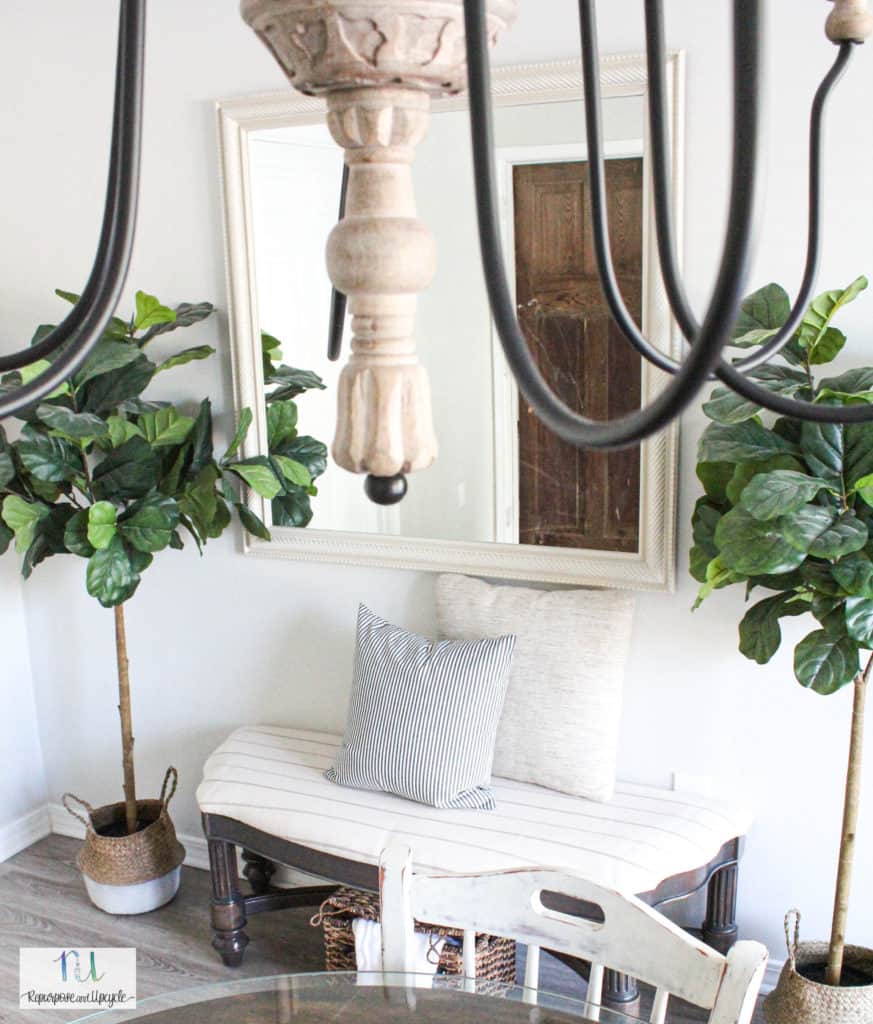
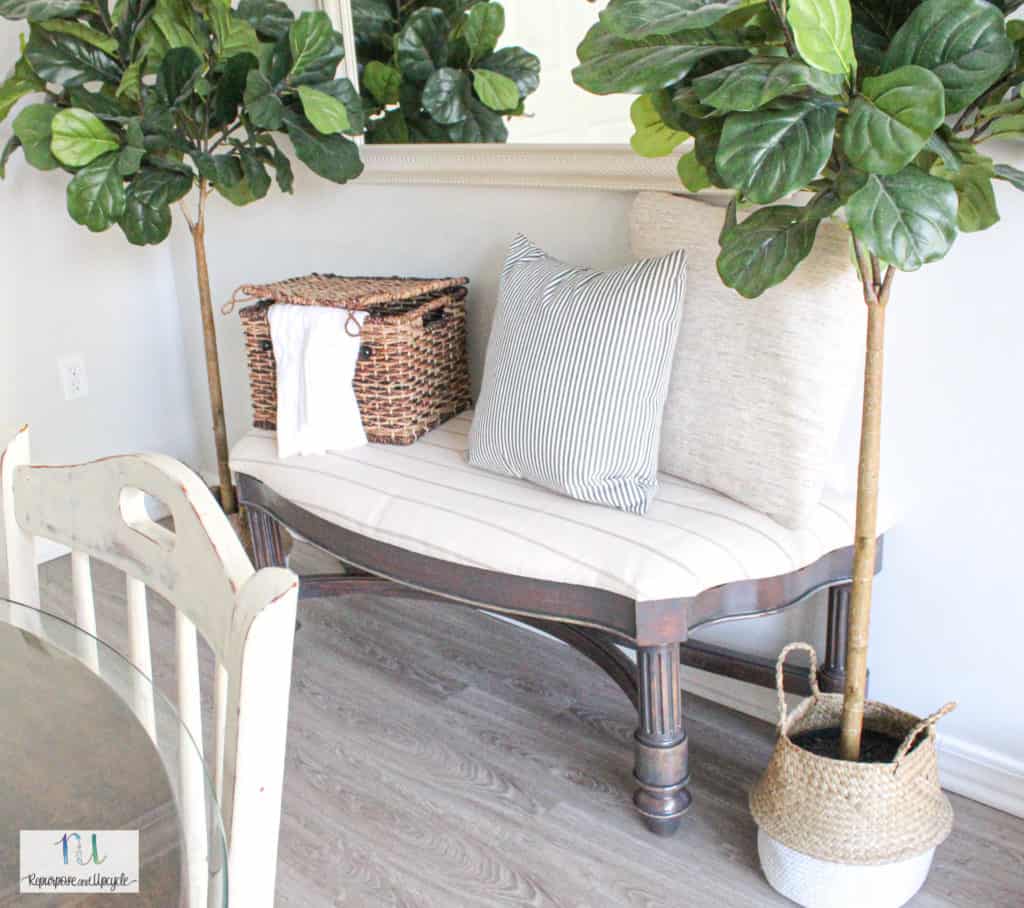
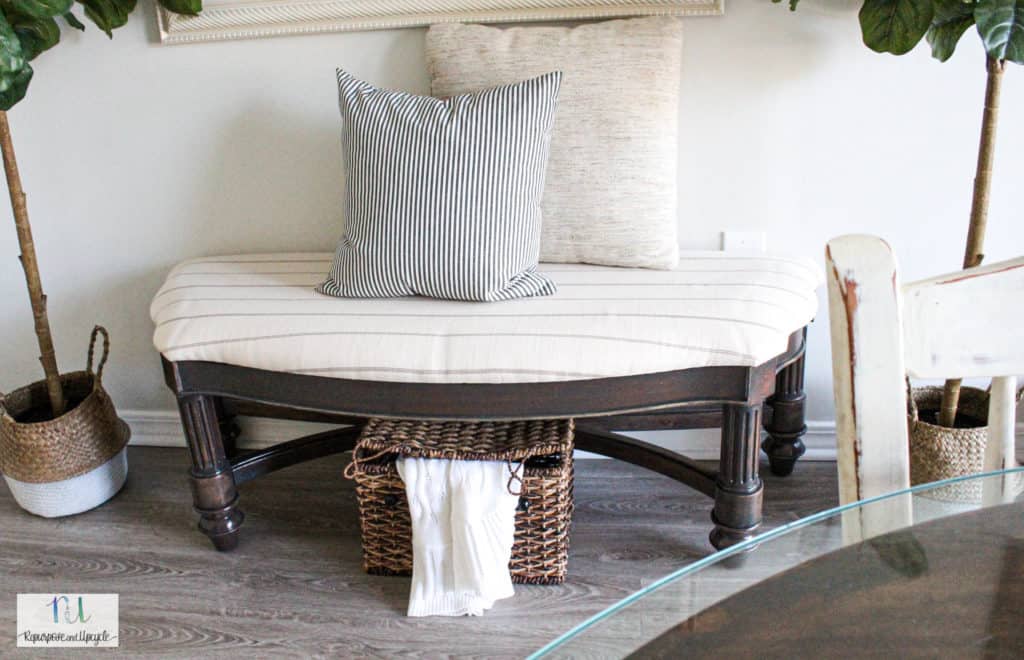
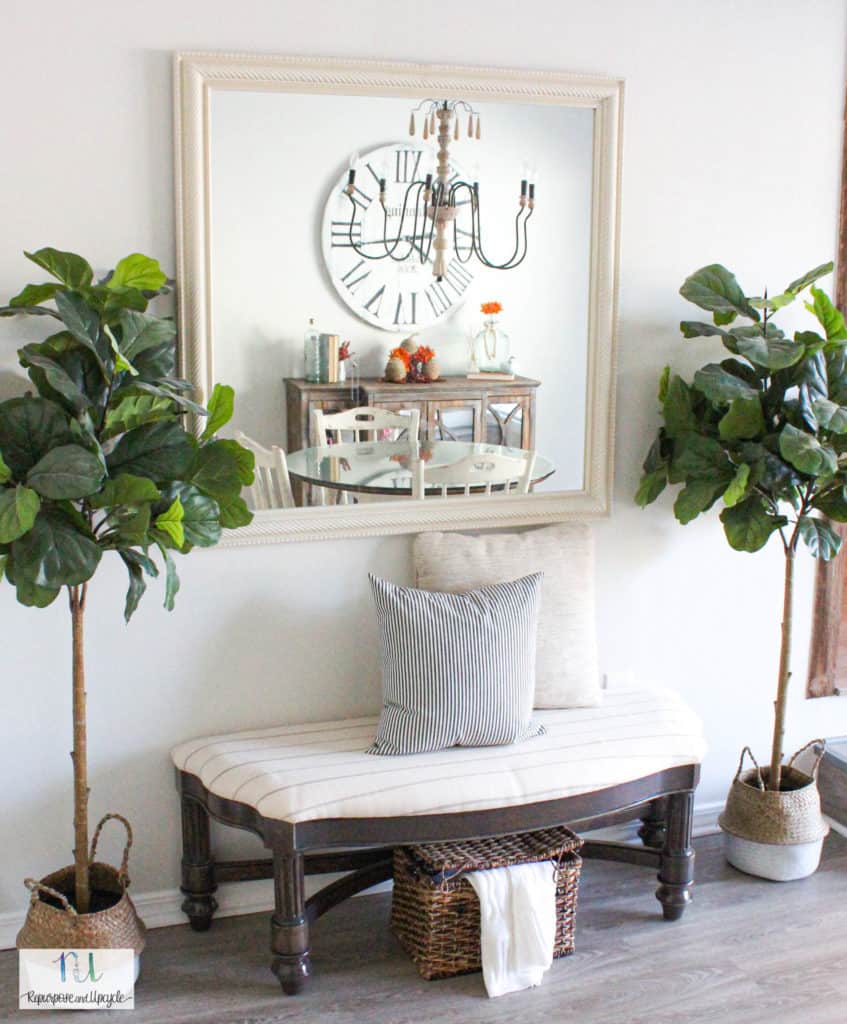
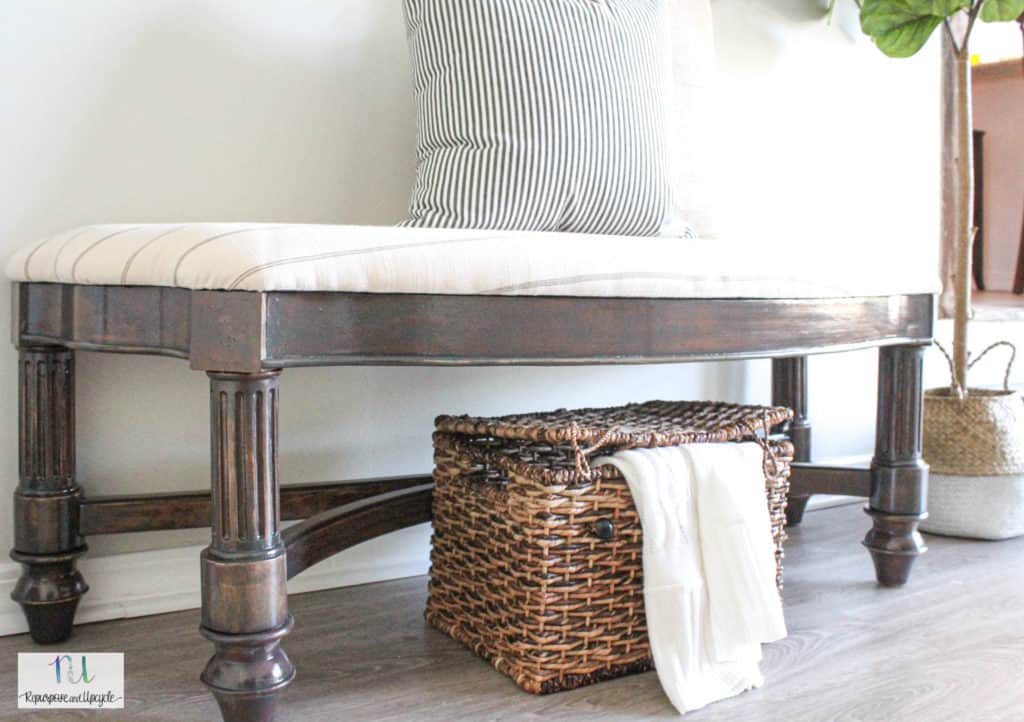

I love how the bench makeover turned out! My favorite part of the new wood color is how the blues and grays covered the red wood tones without completely hiding the wood grain.
If you’ve been successful at applying a colored stain over a wood tone, let me know what products you used! These colored wood stains are new to me and I’m excited to learn more about them.
Until next time,
Lindsey**


