I’m no stranger to making my own DIY open shelves. After all, we all love the look of some styled shelves right? Today I’ll be sharing a full tutorial on how I made a few easy DIY thin floating shelves for my new twin bed nook with step-by-step instructions. Side note, this project was made easy by purchasing pre made shelf brackets.
It all started out with my ceiling curtain track DIY for a beautiful and cozy twin bed nook. My new twin bed nook looked great, but I wanted to add a few shelves to make the space a little more functional.

What type of shelves should I make? Do I buy or DIY? Well, I chose to do a mix of both!
What are floating shelves?
Floating shelves are shelves that appear to “float” without visible support brackets or hardware, creating a sleek and clean look in any room. The brackets themselves are typically made of metal or wood and are designed to be mounted directly onto the wall studs.
I love the look of floating shelves, but this space is small so large floating shelves just wouldn’t look good. What about small, thin floating shelves? YES!
I knew that in order to make thin solid wood shelves, I wouldn’t be building the typical “box” that normally encompasses floating shelves. Instead, I decided to marry two pieces of wood together with wood glue and use pre-made hardware.
Using pre-made hardware is an easier way to make floating shelves because you don’t have to worry about making the normal floating shelf brackets. No need to worry with brad nails or a nail gun, pocket holes or a Kreg jig, or any other different type of tool. All you need is a regular old saw (miter saw, circular saw, jig saw, etc.) to make straight cuts, a screw driver and the shelf bracket hardware. Let’s start with the pre-made hardware.
By the way, If you are looking to make the real floating shelves with floating shelf hardware, I’ve got you covered with my post on how to make DIY floating dining room shelves. I’ve even got a cut list and material list included!

Disclosure; this post contains affiliate links. As an Amazon Associate I earn from qualifying purchases. This disclosure statement refers to the rest of the Amazon links in this post. See more on my disclosure page.
Floating shelf hardware
First step, I ordered a floating shelf bracket that attached the wood to the back wall in the middle of the twin beds. The cool thing about these brackets is that they will be mostly hidden under the wood shelves. I know you are thinking “but floating shelves are floating because the hardware is hidden!”
Well, in this case, since the shelves will be super thin, it’s going to be hard to hide the brackets inside the shelves, so we will hide them “under” the shelves instead.
By the way, these brackets come as a set of 4. This means I had two sets of 2 for two shelves!
The thing I love about these type of brackets vs. the regular floating shelf brackets is that they can normally hold more weight. Years ago I made my own floating shelves and installed the traditional floating shelf hardware (which sits inside the shelve). After a few years, my kids bumping them, and a few heavy objects sitting on them, they inevitably began to sag downward. I know you are thinking they probably weren’t secured to the studs properly, but they were! Because this type of hardware supports the bottom of the shelf, that means it can usually hold more weight in comparison to the traditional floating hardware. How much weight depends on the hardware you purchase.

So now that we have the hardware, what kind of wood type should I use for the shelves?
The wood needed to be paintable or stainable grade. If you want to know more about the best wood for DIY furniture, check out this post.
I chose to buy a 12′ long piece of Spruce wood in 1″ thick by 8″ wide. Since it’s only 1″ thick, I had the hardware store cut two pieces of wood about 3′ long each. I decided that after I married the two pieces with glue, I would cut them in half again. I don’t have a cut list per se since the sky is the limit as far as the size of shelves you want to make.


After the wood glue dried, I added water putty to the seams. Water Putty is one of my favorite wood filler products as it doesn’t shrink like some other wood fillers or wood putty does.


Once the wood putty dried, I cut the spruce wood in half with a miter saw (you can also use a circular saw or table saw). Now I had two 2″ thick shelves!
Next step, I sanded the surface. I won’t go into too many details because you can see all the details on how I sanded and stained Spruce wood here in another post. Make sure to read that post too because Spruce wood can look blotchy if you don’t stain it the right way.


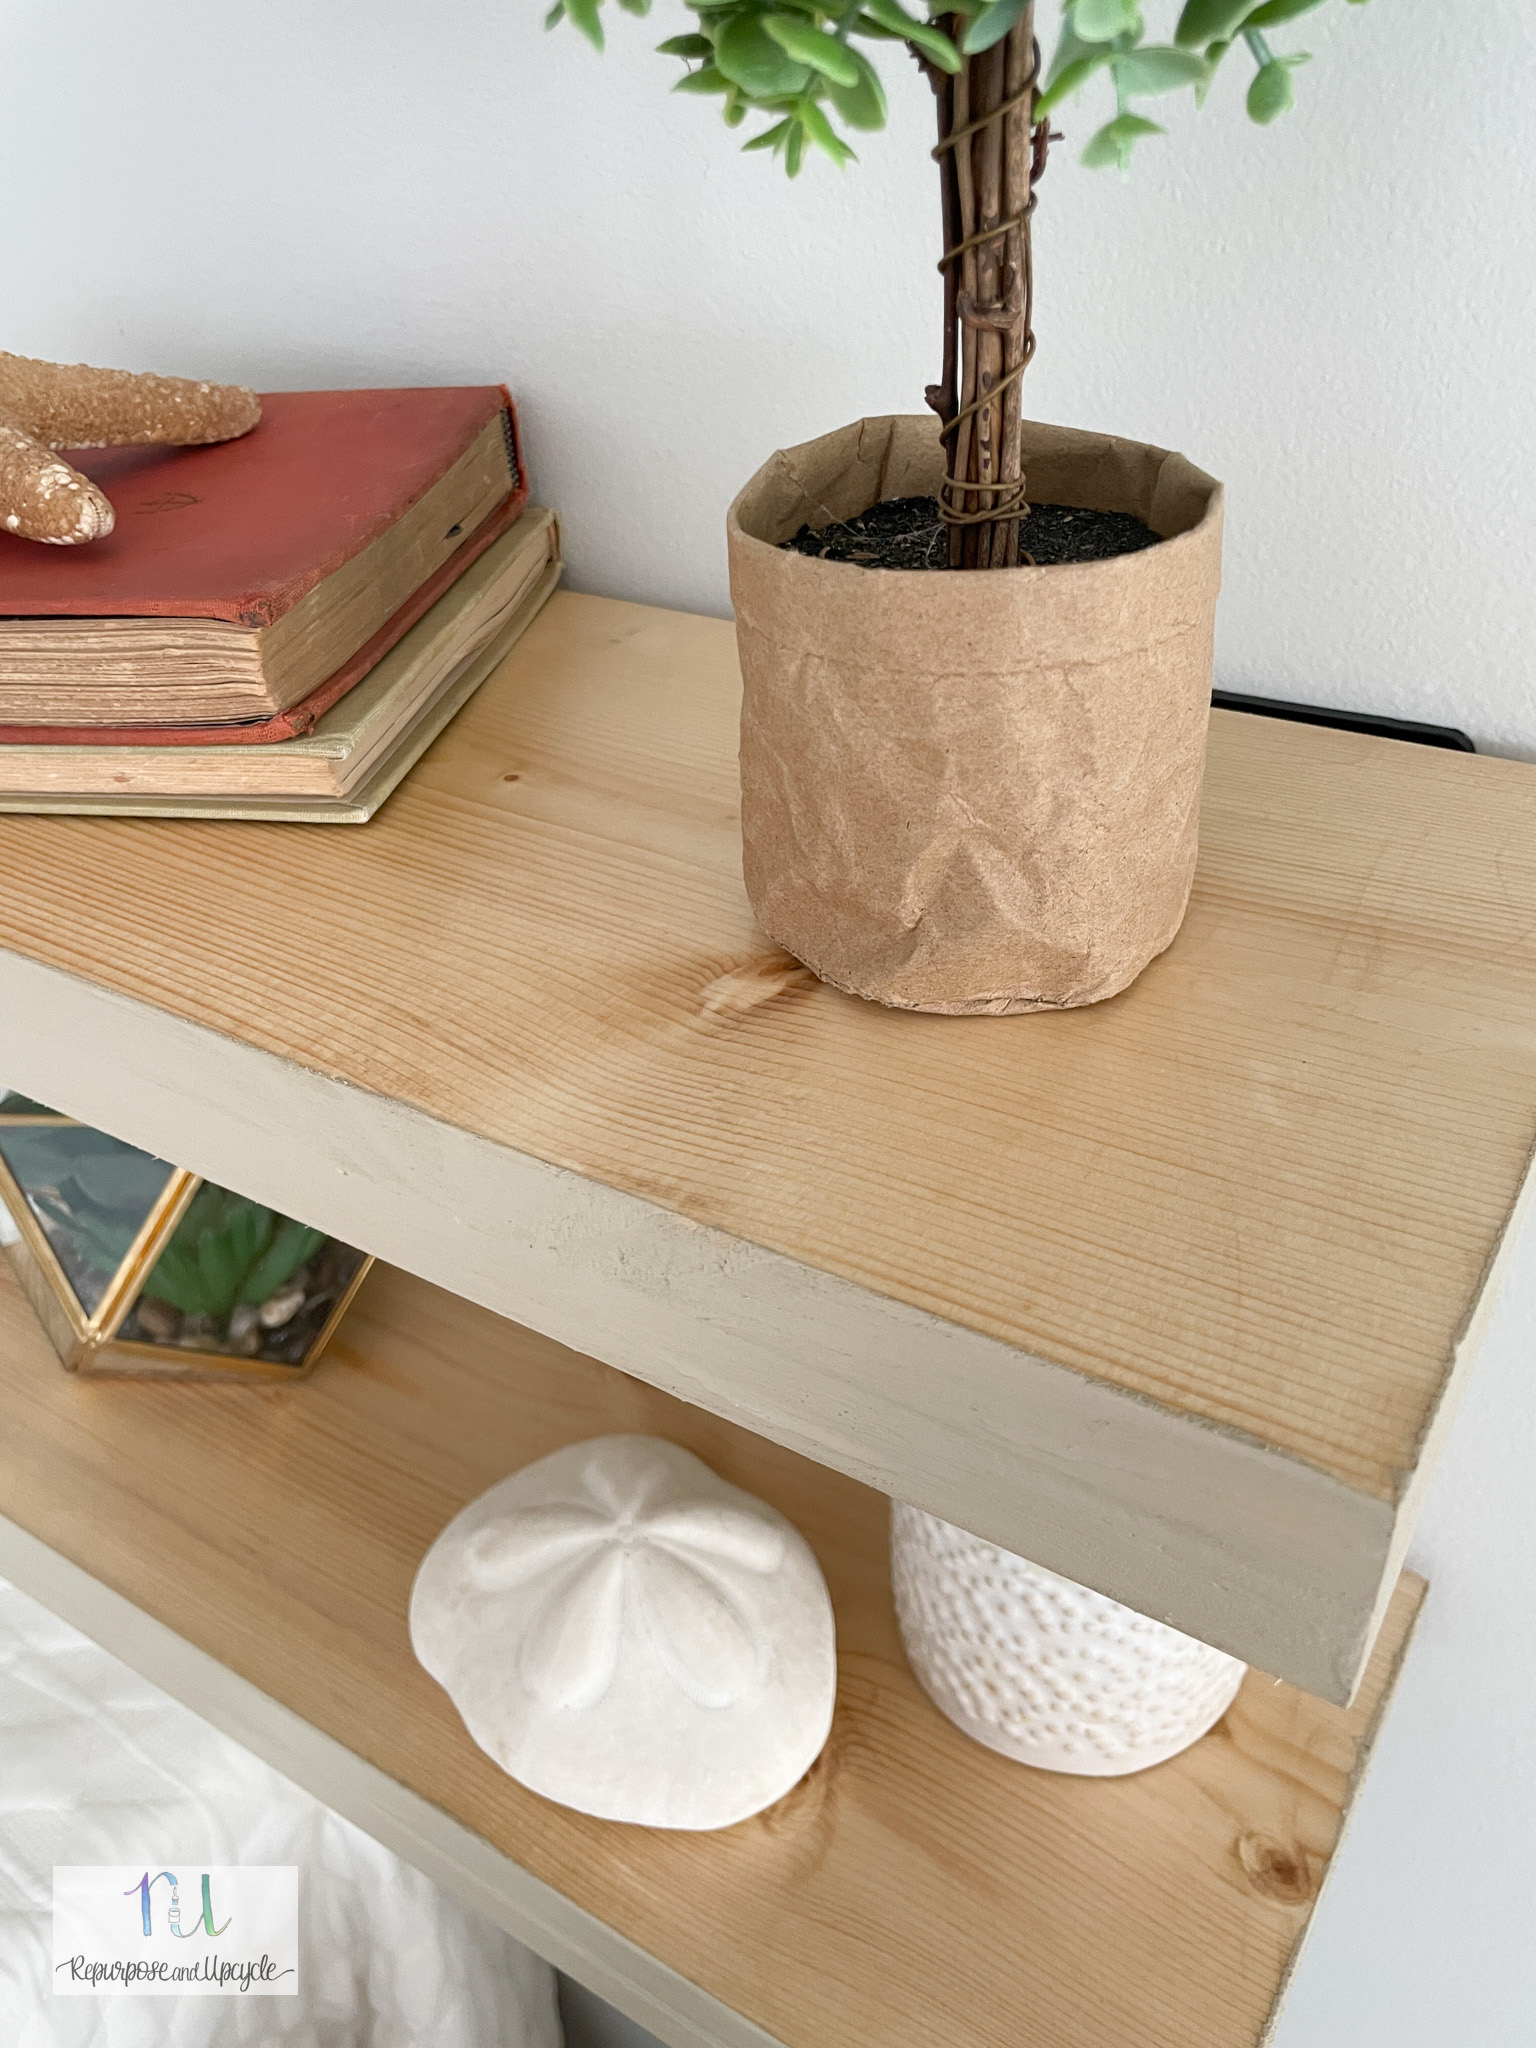
I used a mix of two stain colors and then decided to paint the end pieces, front board and sides of the shelves with a very generic latex paint color. I decided to paint the edges to make it look a little more “finished,” since I wasn’t 100% happy with the way the side pieces looked.

You can see what the front piece or front of the shelf looked like pictured above.
Installing the Thin Floating shelves
First thing before you begin thinking of mounting the hardware, grab a stud finder to see if you can find any studs around where you plan to install the shelves. Ideally, you want to place the screws in a stud and not have to use wall anchors.

Lucky for me I found one stud to drill into. The brackets came with their own screws which was great. It came with longer screws that went from the hardware into the wall and shorter screws that were drilled from the base of the hardware up into the bottom of the wood. All I needed was the appropriate drill bit to pre drill the holes.

Once I drilled a few pilot holes first to make sure I was in a stud, I mounted the hardware with the screws. After I installed one of the brackets into a stud, I used a level to place the other bracket to make sure it was straight! Always measure and level it first to avoid unnecessary nail holes.
Progress!

Time to install the floating shelves, right?
One mistake I made when I installed these shelves; I should have started by installing the hardware at the top and then securing the shelf before installing the bottom brackets. It made it hard to access the bottom of the shelf to install the screws for the top shelf. Just a little FYI.
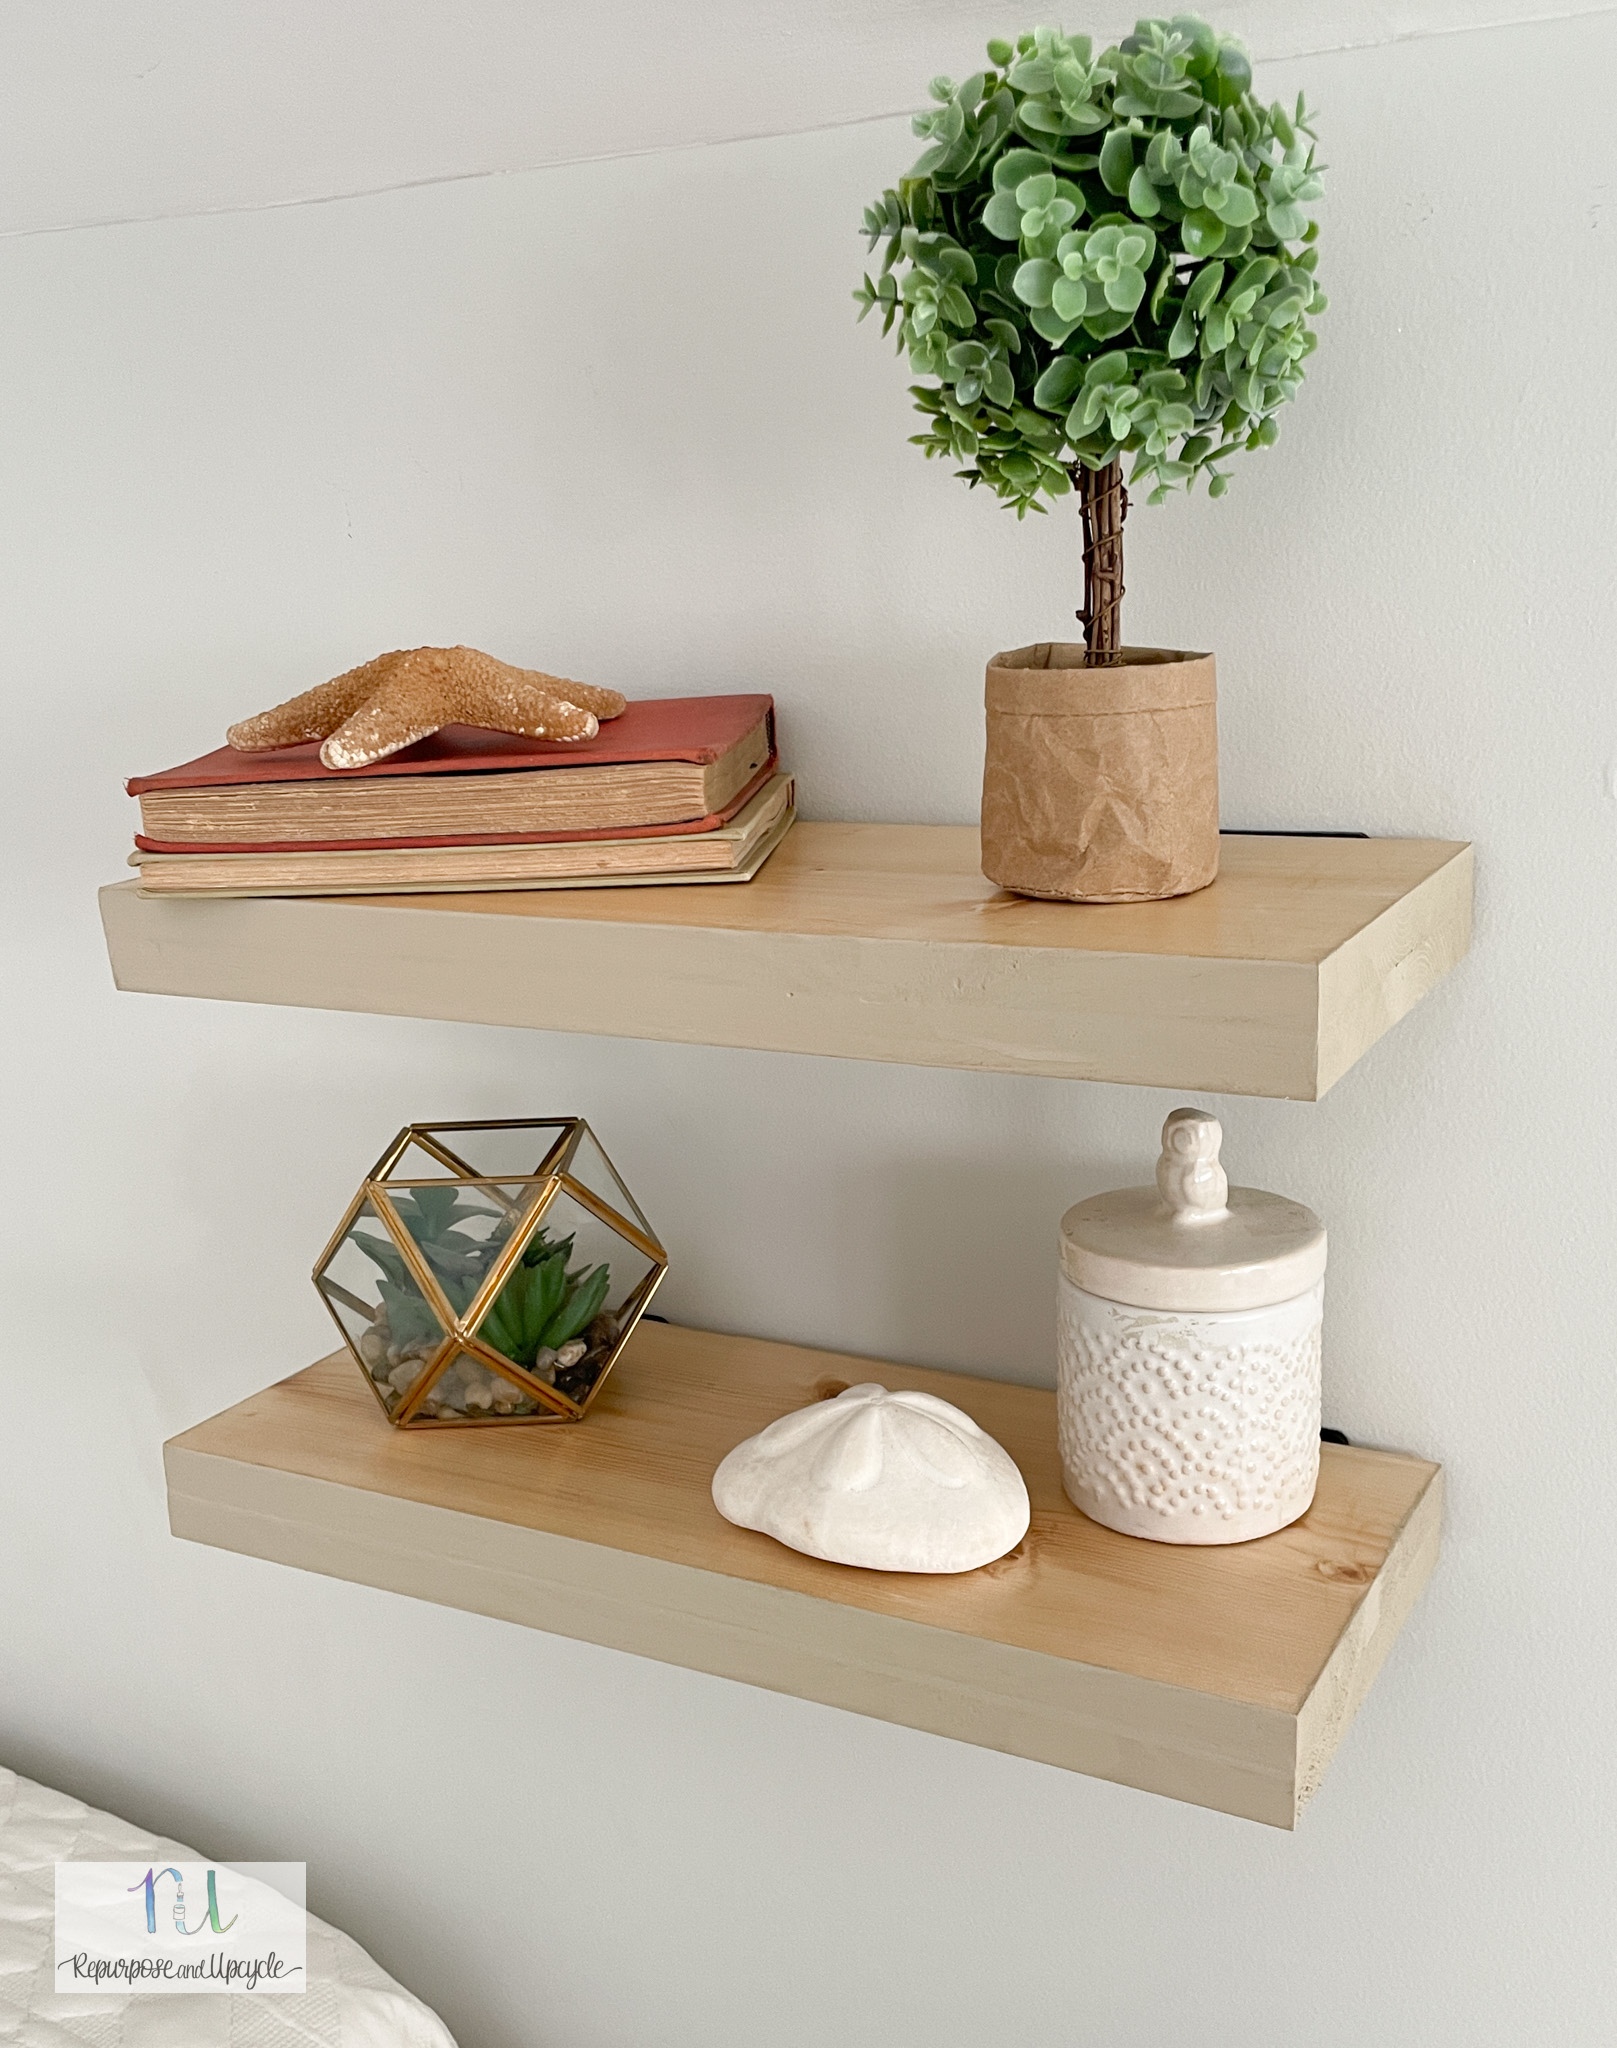
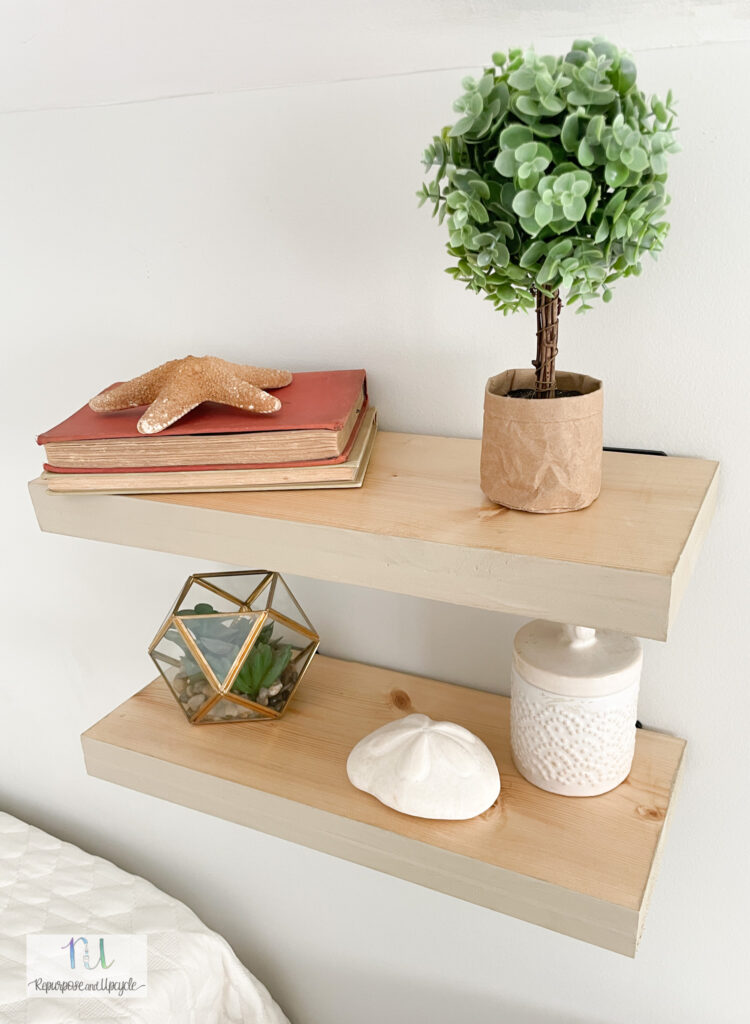
DIY Thin Floating Shelves with Pre Made Shelf Brackets
Here they are! My new thin floating shelves. Below is a close up of the top of the shelf. I love how natural the wood looks.

Just because I used Spruce wood, doesn’t mean you can’t get a lovely finish with pine board, hardwood, or even a higher quality thick plywood product!
These pre-made shelf brackets really create sturdy shelves that will hopefully function for years to come.
Even though my shelves are only 3′ long each, you can alter this easy tutorial to create whatever length of your shelf that you want!

What do you think about the paint on the front of the shelves? I’m happy I added it.

I hope you’ve found this simple tutorial easy to follow and easy to replicate. As always, if you have any questions, drop them in the comments below.
Lindsey**


