I’ve always wanted a beverage bar. You know what I mean when I say beverage bar? I mean an area with a counter that holds the coffee maker, a few cabinets to store cups, koozie’s and glassware, and a mini fridge. Let me show you how we made our own DIY rustic beverage bar!
Think about it, most of the time that we go to the kitchen it’s for drinks. Am I right? So why not put these items in the same place out of the way from the rest of the kitchen? I know, I’m genius. LOL.
When we moved to our rustic beach cottage I finally got my opportunity to build a DIY beverage bar.
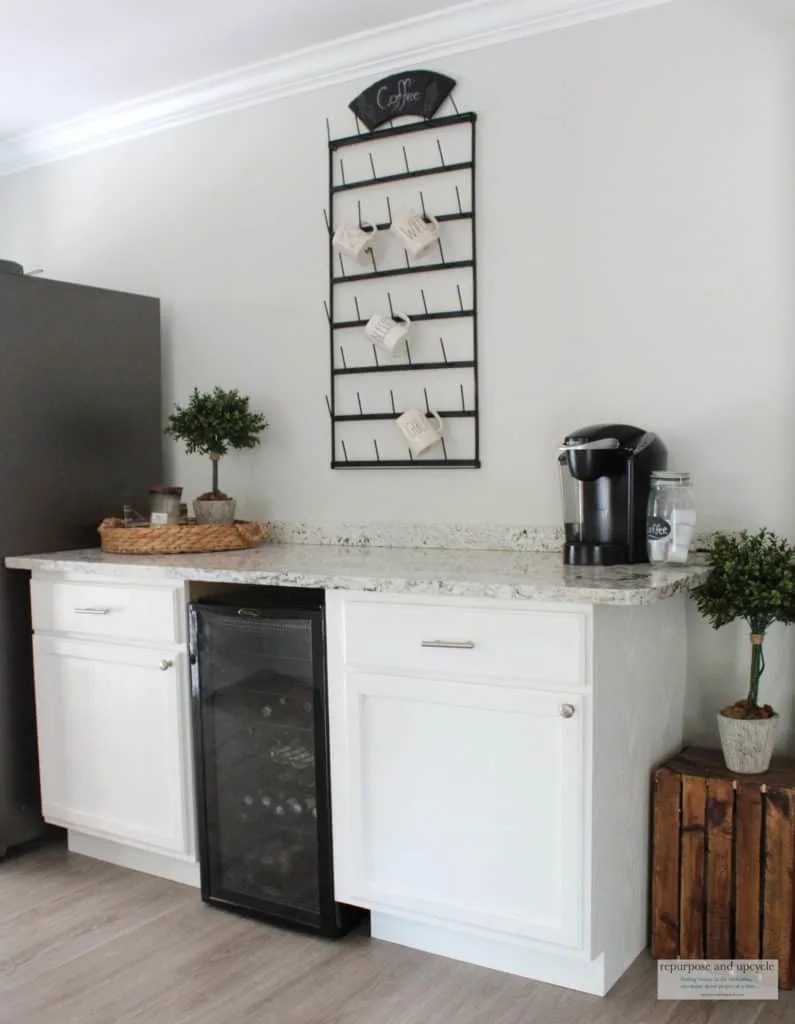
When we were looking to buy our rustic cottage, I knew the assigned area for the refrigerator would not work. The home was built in the 80’s and I guess refrigerators were smaller then? I say that because the place the fridge was supposed to go would not fit our current fridge.
Our current fridge would have stuck out waaayyyyy into the middle of the kitchen area. It was just awkward. What could I do with that space? It was time to do a little kitchen refiguring.
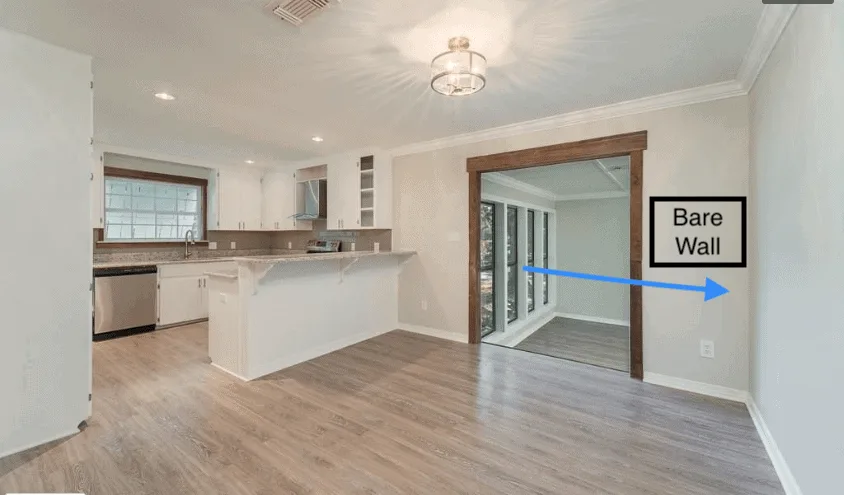
There just so happened to be a bare wall across from the kitchen where I could move the fridge.
I didn’t want the fridge to sit alone on the wall and look out of place, so I realized this might be my opportunity to create my own DIY beverage center or coffee bar.
I was excited, thrilled for a little kitchen redesign, and frustrated because I realized after moving expenses we might not have much money to create this new beverage bar.
Side note; you can watch a video on how we maximized space in our small 1980’s kitchen with a DIY beverage bar.
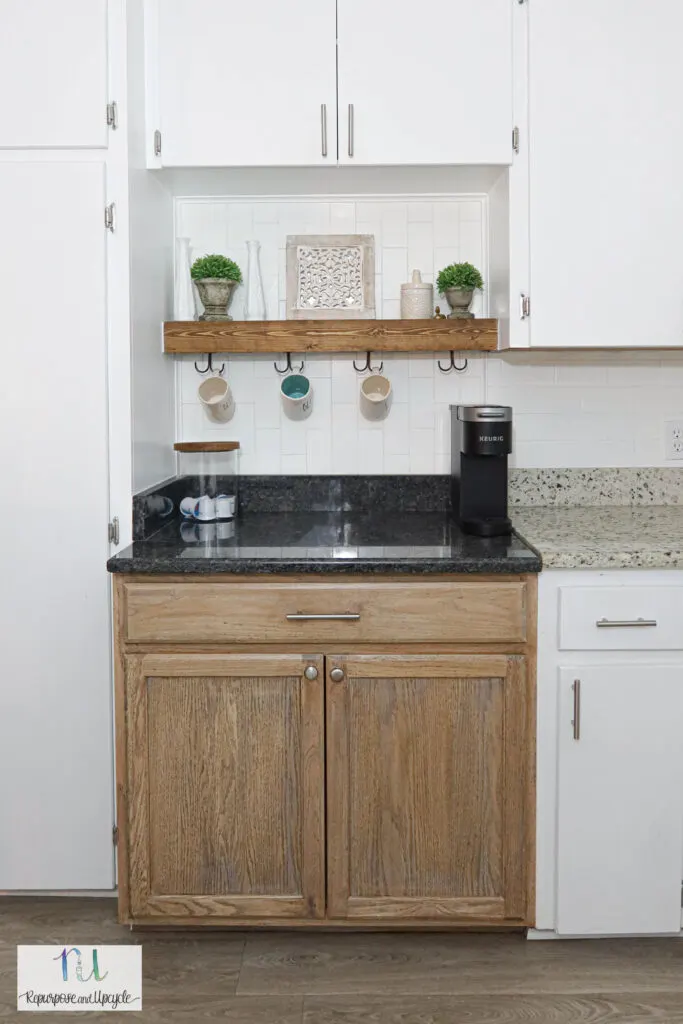
UPDATE; since this post has been written I updated our kitchen nook with a two toned cabinet coffee bar. I love it! Check out that post to see more details.
If you are looking for more coffee bar ideas, I’ve got another post with a handful of ideas.
Elements needed for the DIY beverage bar and coffee bar
- countertop
- mini fridge
- cabinets
I was able to find a great deal on two cabinets on the Facebook Marketplace.
Facebook marketplace has become an obsession for me lately. I love to look at all the stuff for sale and see if I can find a steal. I rarely buy anything, but I think it’s fun to find great deals.
Speaking of great deals on the facebook marketplace, kitchen cabinets are for sale daily. If you get lucky, you will find someone giving them away for free! No joke. I’m a little worried the marketplace might put places like salvation army out of business! Hmmm, hope not.
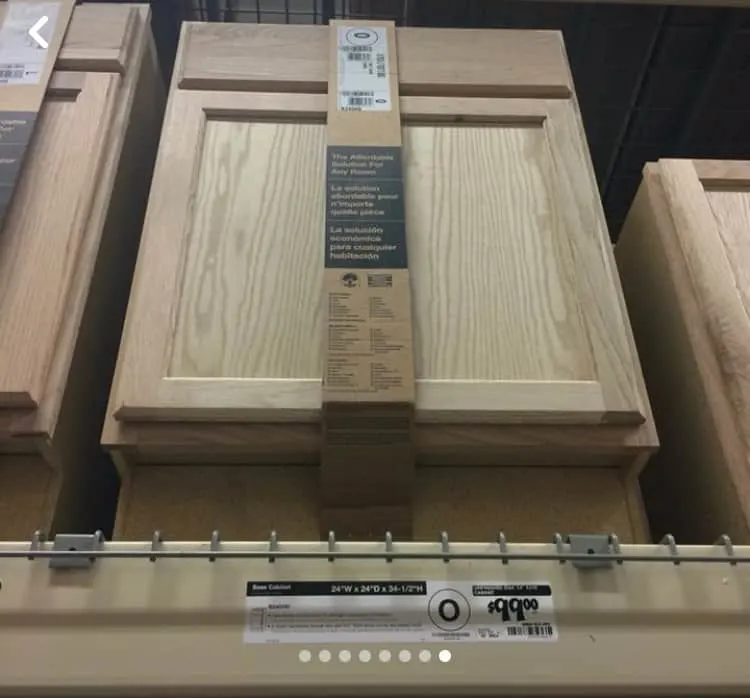
Let me show you the cabinets I found.
These are the cabinets I found on Facebook Marketplace. I purchased two of them for $100. The picture above is showing these cabinets new from Home Depot. They are originally $99 each, which still isn’t too bad. They come unfinished, and you have to paint them.
I had my cabinets, I just needed a mini fridge and the countertop.
We already had a “wine fridge” on hand, and decided to use it for the meantime. Since this post has been written we have updated this space with a real fridge! Keep reading to see.
A little side note: when we were placing the two cabinets on the wall, we made sure that the space for the mini fridge would accommodate any size. We knew we didn’t want to keep the wine fridge forever, so we needed to know that another fridge was interchangeable.
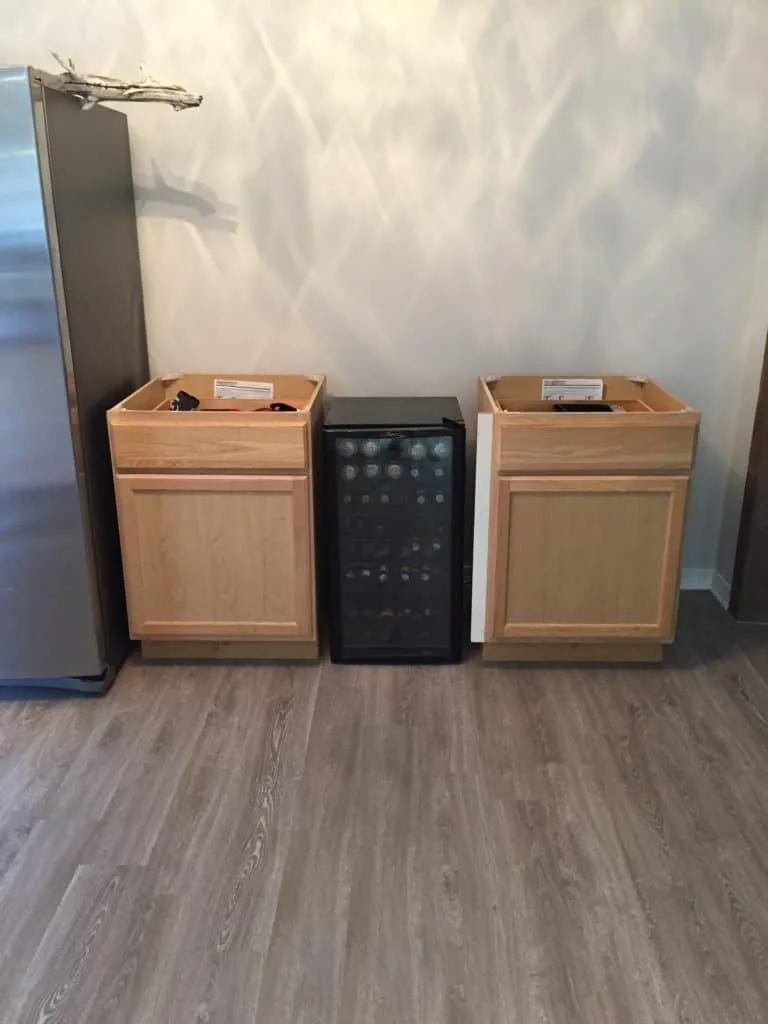
My new DIY beverage bar was starting to take shape!
The wine fridge didn’t look perfect, but we can’t have everything right?
Next on the DIY beverage bar list was painting the cabinets.
I originally thought about staining them to match the rustic beams, but I couldn’t get the stain color to match, so I went with white. You can see a handful of painting tips and tricks here.
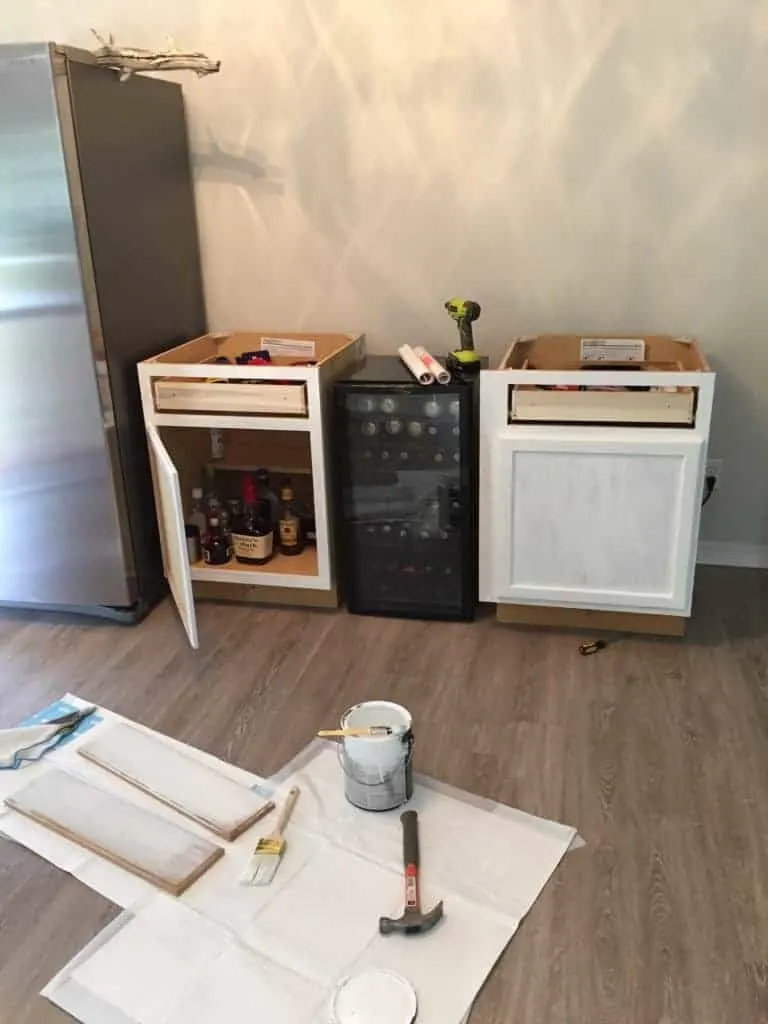
Another side note about these DIY cabinets; the cabinets come unfinished on the sides and the base area. After you’ve configured the cabinets the way you want them, you can purchase already cut baseboard wood and side panel wood. I used a nail gun to install them. Afterwards, you paint and finish them the way you want to!
The last thing I needed to create my beverage center was the countertop.
I was a little nervous about this part.
I called the granite guy that installed the granite in the kitchen to give me a quote for the existing granite….. $900. Le Sigh
I thought about making my own piece of wood for the top. But I really wanted a nice piece of granite to sit my coffee pot on for my coffee bar!
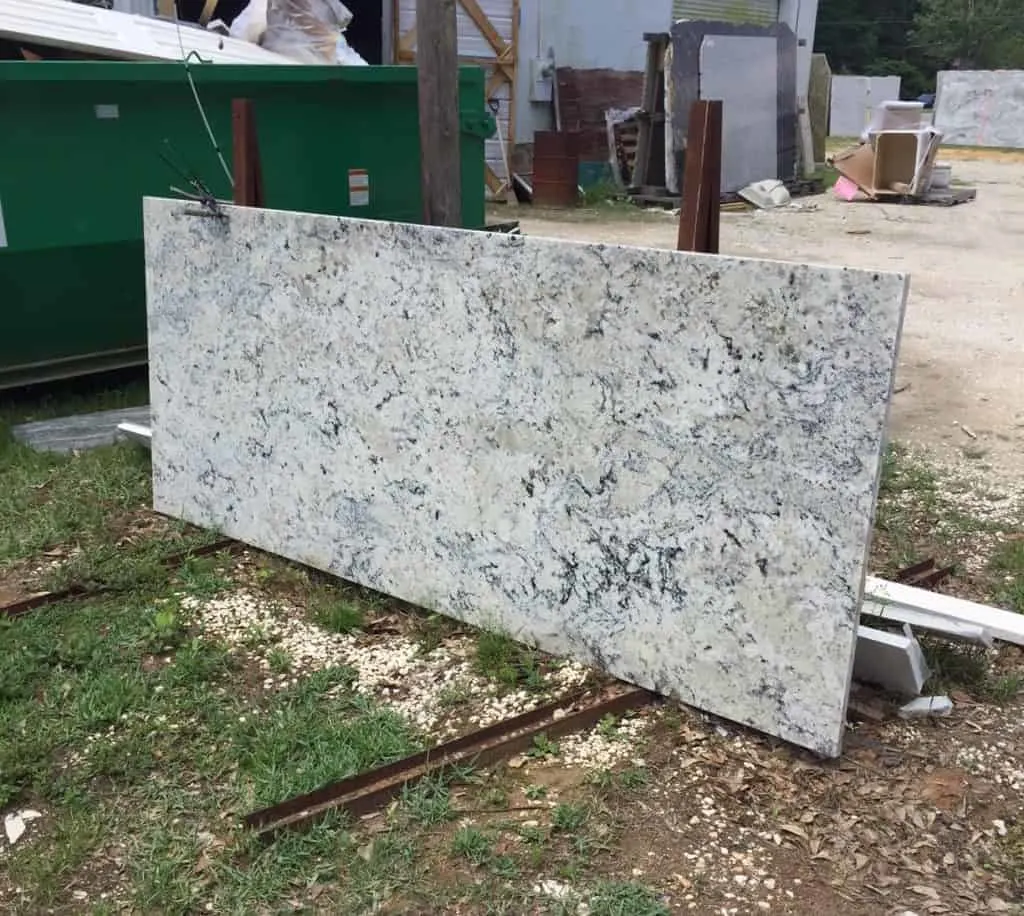
I realized if I was going to have my counter top anywhere in the next few years I needed to find a scrap piece of granite. And that’s just what I did. I scored a beautiful piece of granite that was a remnant for $350. That price included install and everything.
Don’t ever give up thinking you can’t make your dream design come true because of budget. Shop around and ask around, there is always a budget friendly solution. I completely renovated my last kitchen (and it was a big one) for under $4,000.
Disclosure; this post contains affiliate links. As an Amazon Associate I earn from qualifying purchases. This does not affect the price you pay. This disclosure statement refers to the rest of the Amazon links in this post. See more on my disclosure page.
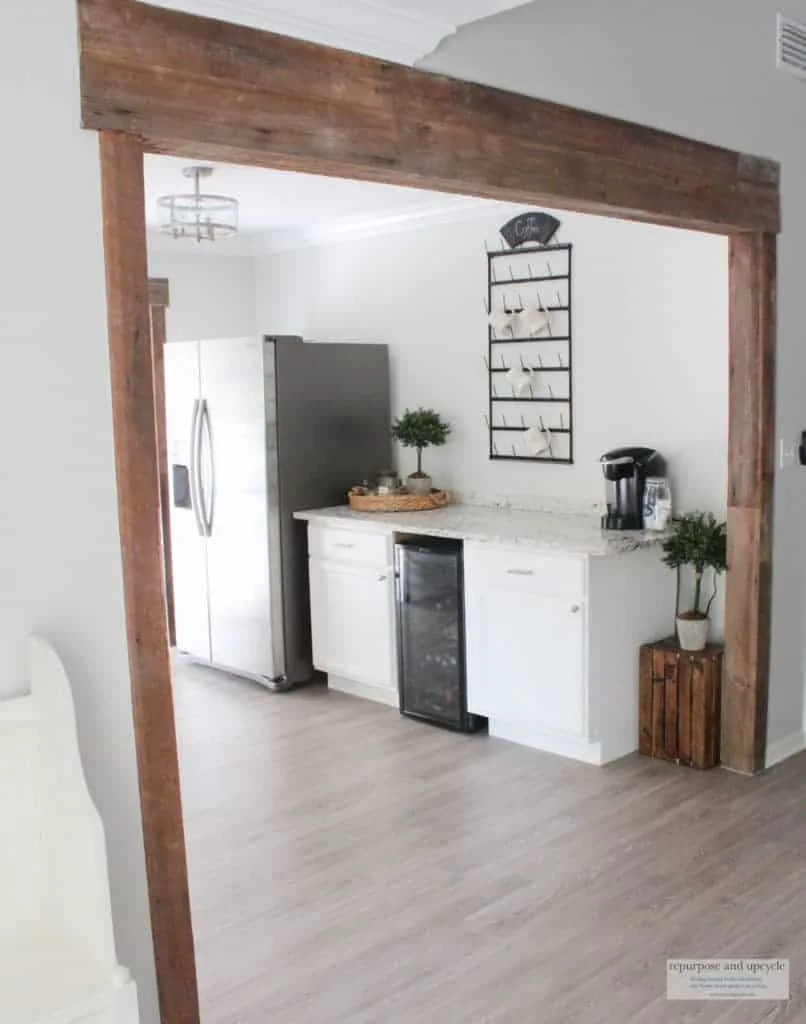
A few finishing decor touches, my Keurig Coffee pot and this space was done!
DIY beverage bar
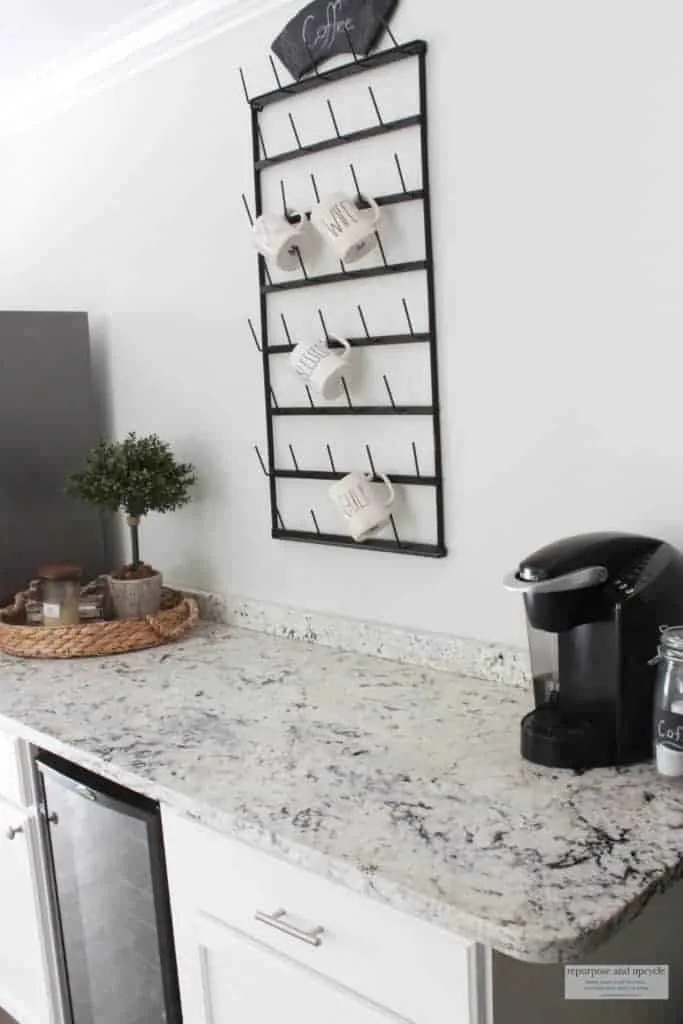
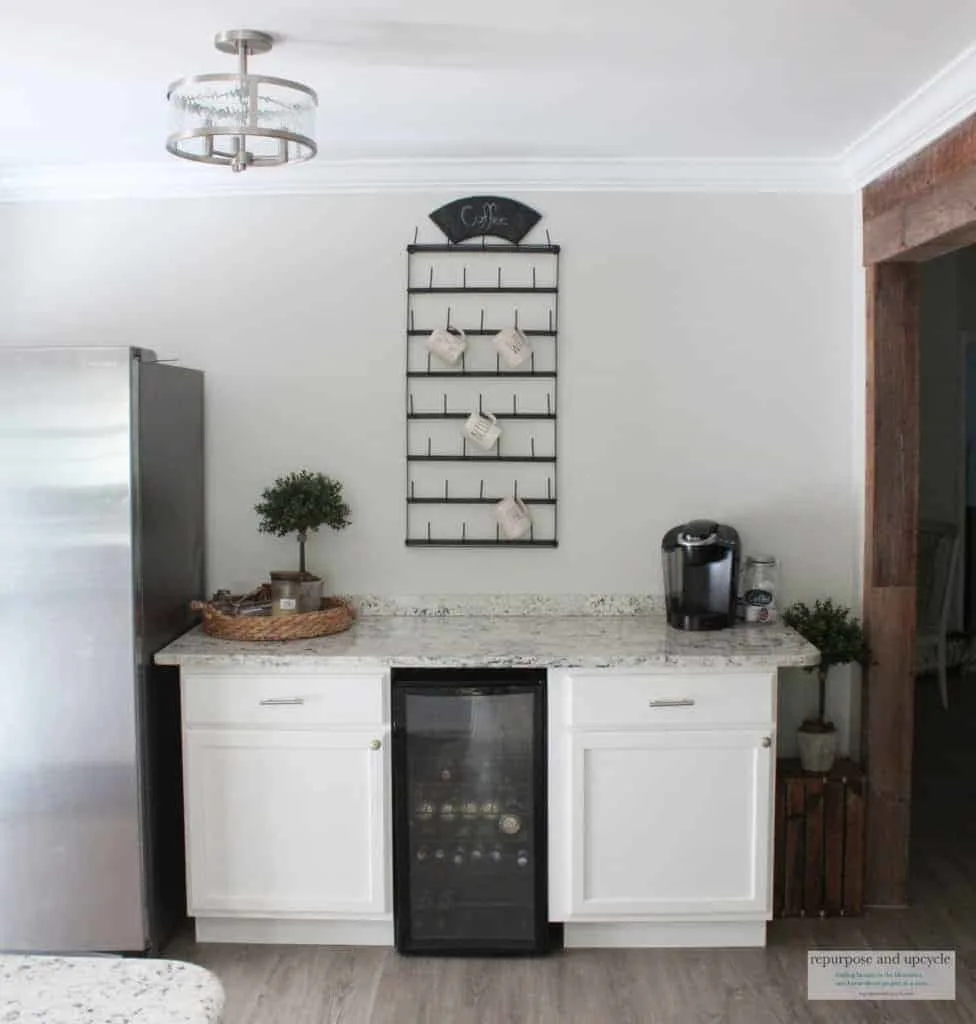
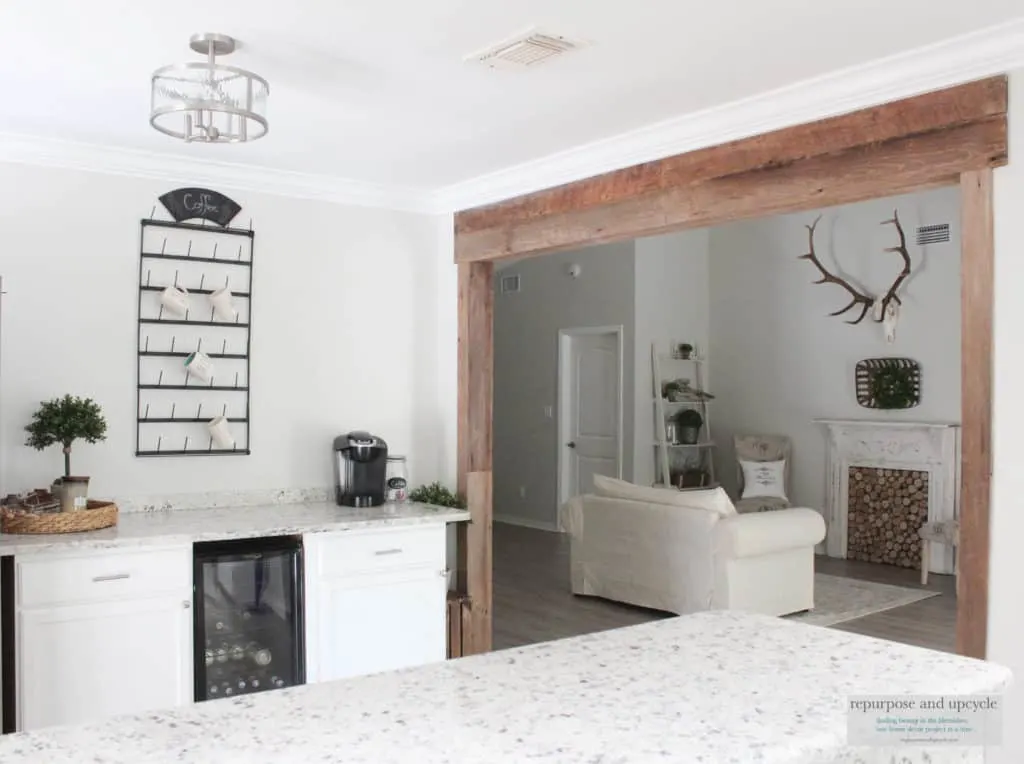
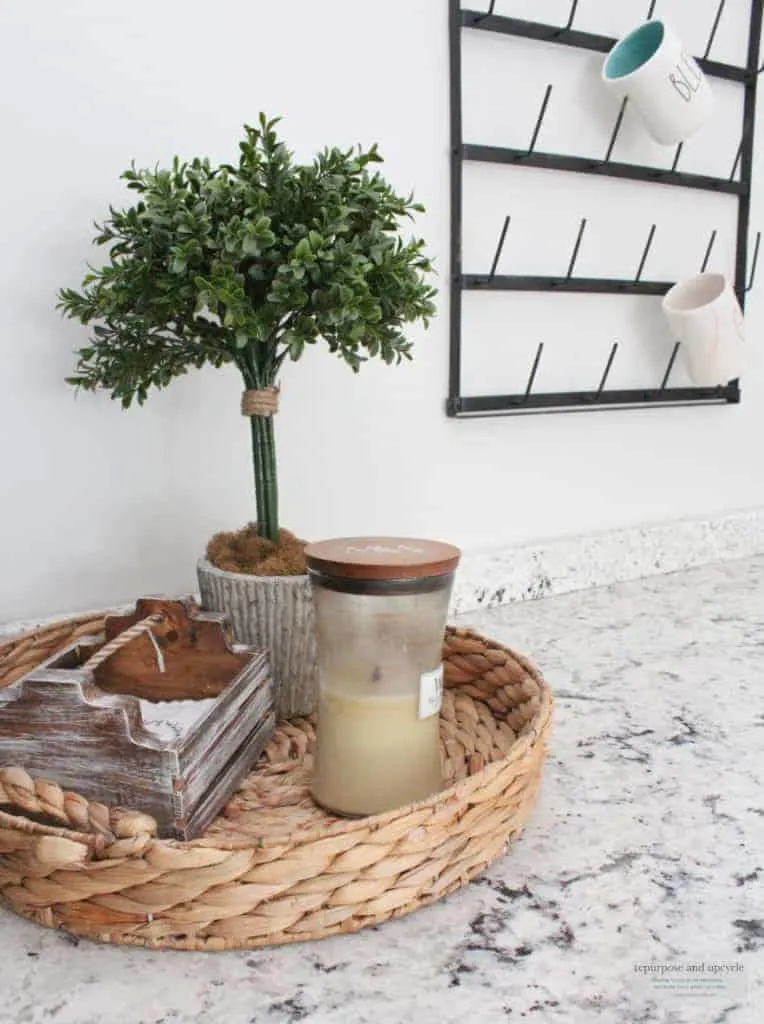
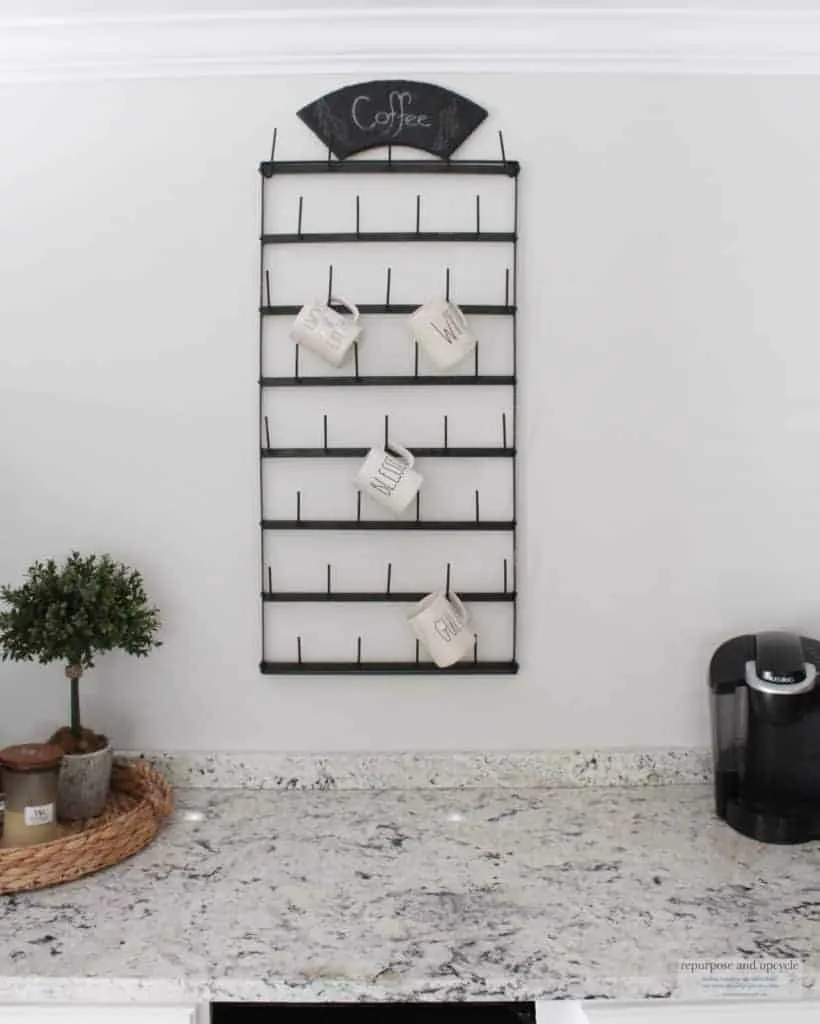
Like I said earlier this space has already gone through a little makeover. Check out my modern eclectic beverage bar now! Also check out more DIY bar shelf ideas here too.
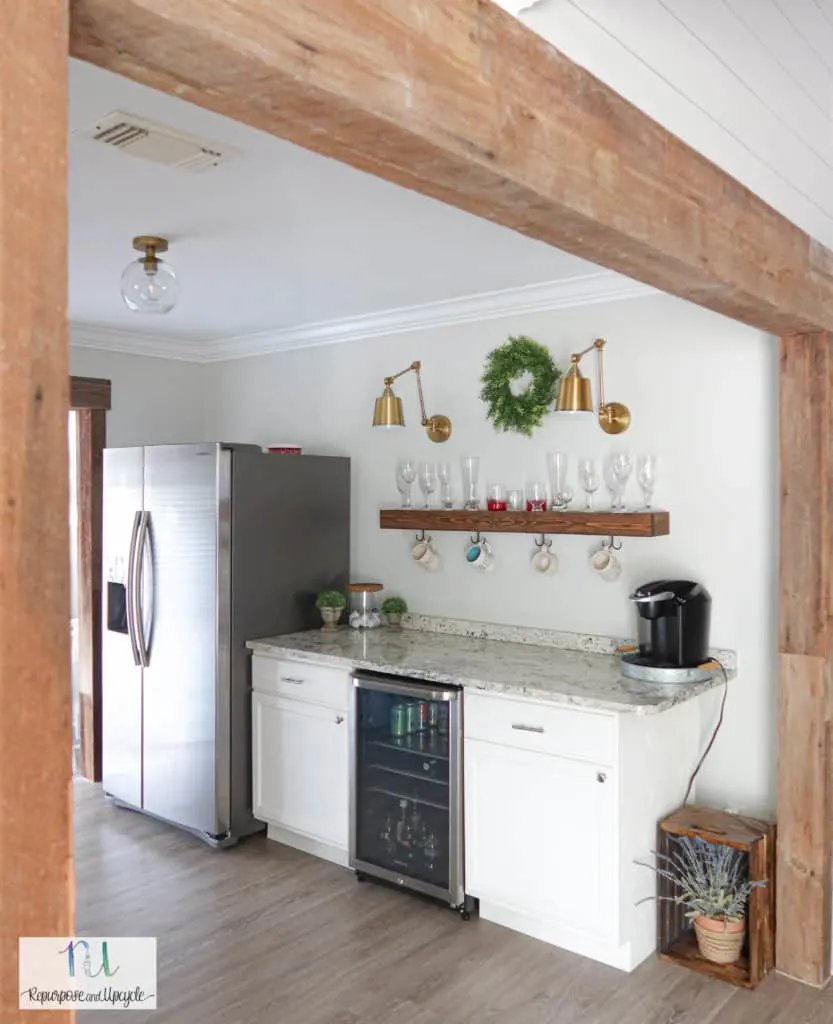
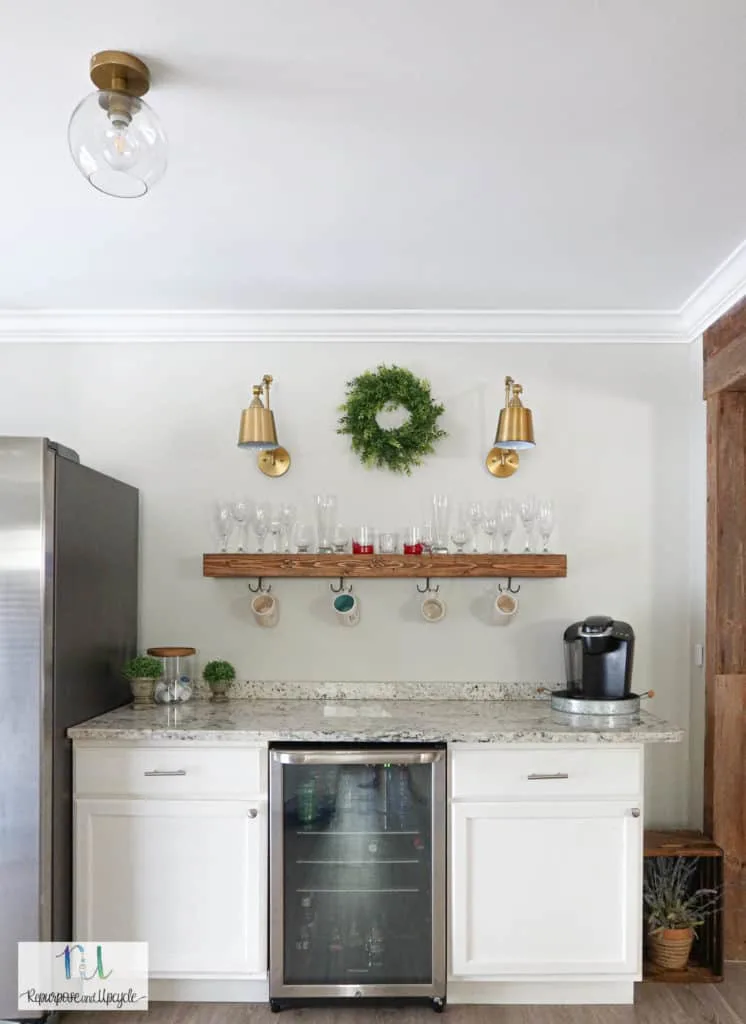
Lindsey**

I love the idea of a beverage bar. i can’t wait to get started on one. I have the perfect spot.
I just hope mine turns out as great as yours did!
Thank you Dawn, it has been such a great addition to our kitchen!
What a wonderful idea! Everything looks so tidy, stylish and appealing. Your DIY Rustic Farmhouse Beverage Bar would make a great addition to any home. Thank you so much for sharing, and for being a part of the Hearth and Soul Link Party. Pinning and sharing.
Just what is needed a beverage bar to cool us off during these hot summer months. Lindsey your post is our most popular over at Sweet Inspiration, Congratulations.
Awesome job Lindsey. The beverage bar looks perfect in that spot and it’s got everything you need too.
[…] Repurpose and Upcycle: DIY Rustic Farmhouse Beverage Bar […]
Wow, you did a lovely job. It is always a wonderful feeling when you get it all done and it is exactly how you want it.
Stop by Over The Moon Party since you are being featured.
Hugs,
Bev
You’re coffee bar turned out beautifully:) And what a great find on the granite!
Thank you Tiffany!
It really turned out great and looks perfect in that spot! Thanks for sharing with SYC.
hugs,
Jann
How tremendously clever! And really do-able for most of us. I like that you used that marble top to give it some extra oomph. Our second hand home store always has a lot of cabinets at budget-easy prices. No need to buy something already made. Great DIY!
Thank you Jean, it’s been one of the most functional spaces I’ve created so far.
You did a great job. It does make the refrigerator look like it was always meant to be there. Plus it’s a handy spot.
Thank you Debra! I feel like the fridge blends well too. Thanks for stopping by.