A quick and easy tutorial on HOW to chalk paint furniture WITH an instructional video.
Chalk paint; you have changed the furniture painting game. Let’s be real, you’ve changed the painting game in general! I’m so excited to share HOW I create that chalky paint finish and all the things I know about chalk paint. Whether you’re new to the chalk paint game or a seasoned DIY’er, I hope you will gain a little insight and knowledge on how to use chalk paint on furniture.
What is chalk paint?
Chalk paint is best described (and invented) by Annie Sloan as velvety and ultra matte in finish. She created this versatile paint to use on furniture without sanding and to create a number of different paint techniques.
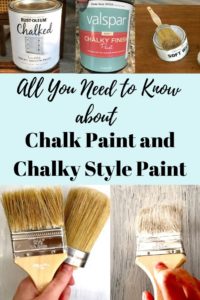
Since then, there have been numerous businesses that have created their own “chalky style” paint.
- Chalk paint is {mostly} made of latex paint, calcium carbonate and water. The calcium is what makes gives it the chalky finish.
- One of chalk paints biggest draws is that it does not require a primer because it will stick to almost any wood finish. In the furniture refinishing business this was huge. You could paint over polyurethane, wax, even glue and it would stick! Gone were the days of Stripping paint and sealer off of furniture.
- Chalk paint distresses easily with a little sand paper. It comes off in a fine powder, which also makes it very forgiving.
Speaking of numerous companies that have created their own chalk style paint; in my experience every different style of chalk paint is completely different from the next. Don’t expect the same results from different chalky style paints.
P.S. Most chalk paint direction claim that they don’t require sanding or primer. This isn’t always the best idea. You can read more about using primer and when to use it (even before using chalk paint).
What’s great about chalk paint?
Chalk paint has “self leveling properties.” This means that after only a few coats it looks smooth and finished!
This is what I love so much about it!
That being said, different types of chalky paint have varying degrees of “self leveling.”
Speaking of different types of chalk paint, I’ve shared all about how to use chalky style spray paint with a bookcase makeover. Or you can see how to use chalk paint in a paint sprayer if you prefer that route.
In my opinion, I have found that the more expensive chalky style paints self level really well, while the very cheap ones don’t self level much at all. You might find a different conclusion, but this has been my experience.
Before I dive too far into the HOW, we need to gather the right supplies. Chalk painting furniture is easiest (not required) when you have the right brushes and tools.
Disclosure; this post contains affiliate links. As an Amazon Associate I earn from qualifying purchases. This disclosure statement refers to the rest of the Amazon links in this post. See more on my disclosure page.
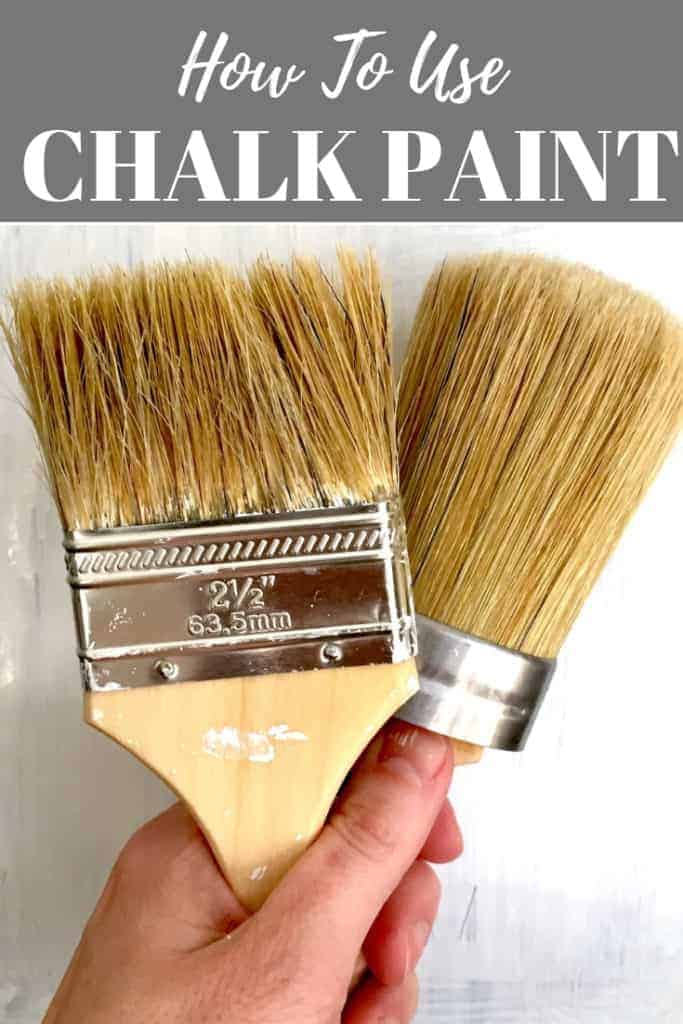
Let’s talk about Chalk paint brushes for a minute. It is recommended that you use Natural bristle brushes, not the synthetic ones like you would use to paint a wall. A round brush is preferred (especially when using wax to get into the nooks and crevices), but the regular brushes are ok too.
Materials needed to use chalk paint
- Round bristle brush (great for wax) or for a more affordable option, Natural bristle brushes
- Lint free rags
- Chalk Paint of choice (I’ll be using THIS paint by DecoArt)
- Furniture piece
How to Chalk paint furniture with instructional video
- Clean or degrease the furniture piece and remove hardware if needed.
- Stir and shake the can of chalk paint really well especially from the bottom of the can.
- Apply the first coat of chalk paint with a bristle brush or round brush.
- Follow the directions of your chalk paint as to how long it will take to dry.
- Apply the second coat of chalk paint and allow it to dry.
- After the second coat is dry, make sure there is an even coverage. Most furniture pieces only require a second coat, but if you aren’t pleased then add a third.
- Next decide if you want to distress your furniture. If so, this is when you want to do it.
- After you are happy with the final product, it’s time to add a sealer.
- Most chalk paints suggest a wax finish. Follow the directions on your sealer or wax.
- Enjoy your new chalk painted furniture!
I tried to cover everything in my video. If I missed anything or you have any questions, please feel free to ask!
Lindsey**


