See how I took an affordable small Target shelving unit and upcycled it to make it look like a more expensive wood shelving unit.
I love a good shelf upcycle! Shelves can be expensive, but with a little DIY know-how, you can save tons of money.
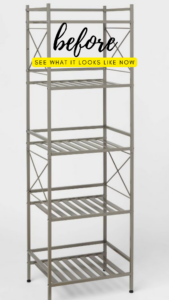
I purchased this affordable metal shelf unit from Target a few years ago. It’s nothing fancy, but my daughter needed some more storage bins in her small bedroom and this was the cheapest option I could find at the time.
After a few years, I finally made some room in her closet and was able to remove these unsightly shelves from her room. I thought about getting rid of them, but I knew they had potential!
Disclosure; this post contains affiliate links. As an Amazon Associate I earn from qualifying purchases. This disclosure statement refers to the rest of the amazon links and other affiliate links in this post.
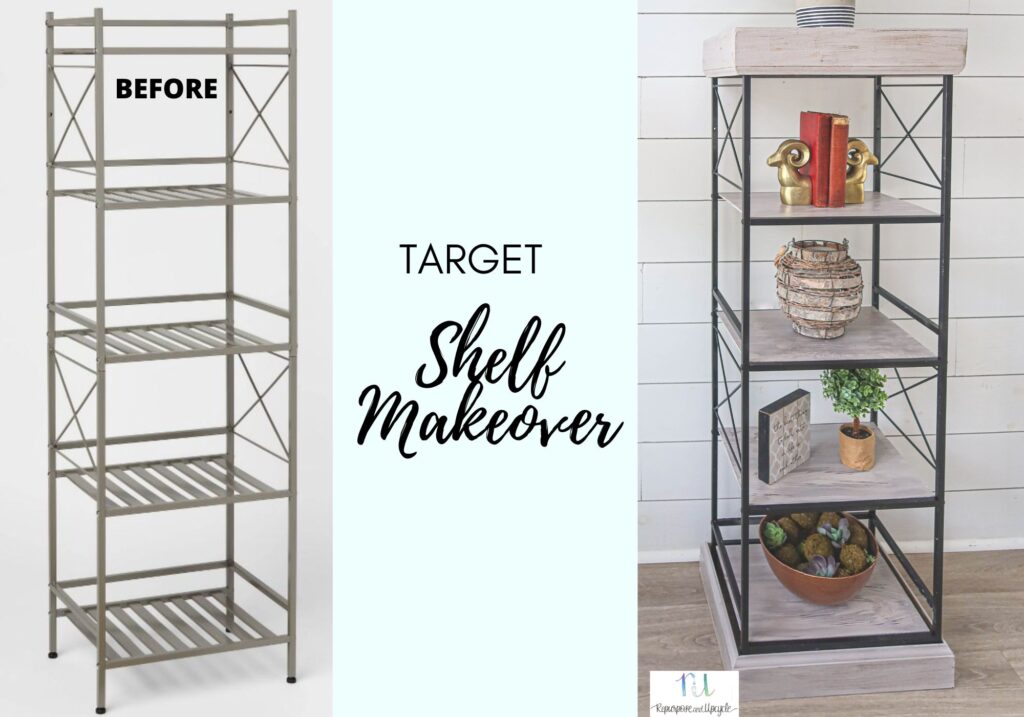
Affordable Target wire shelf vs. the inspirational shelf
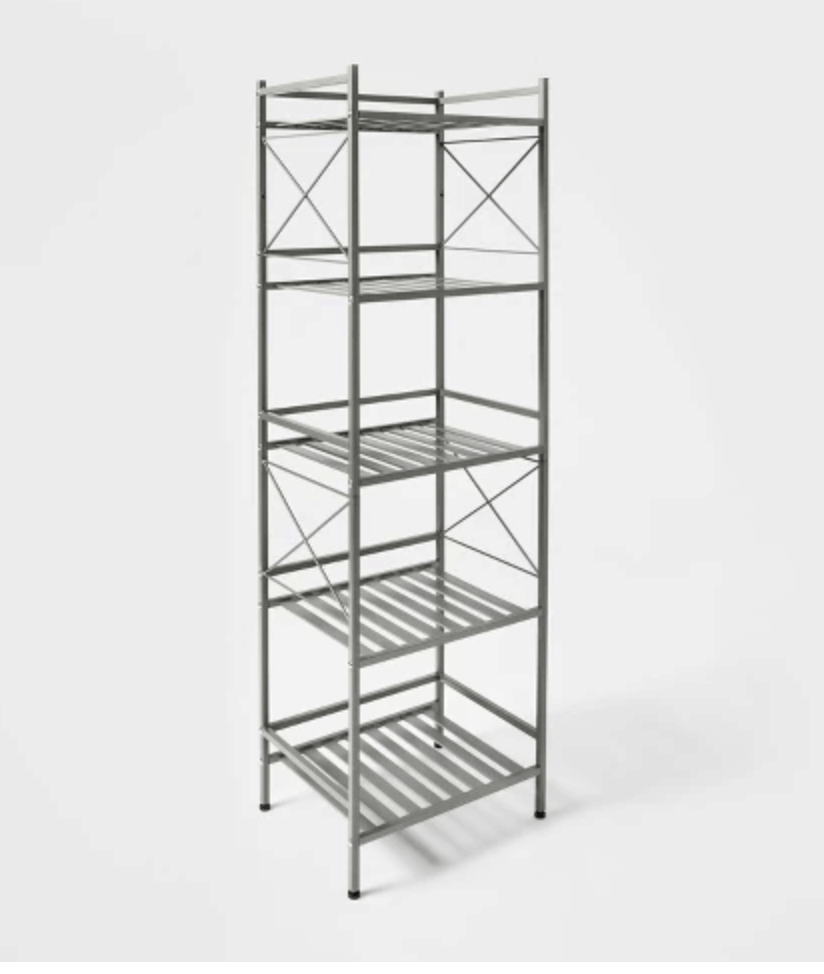
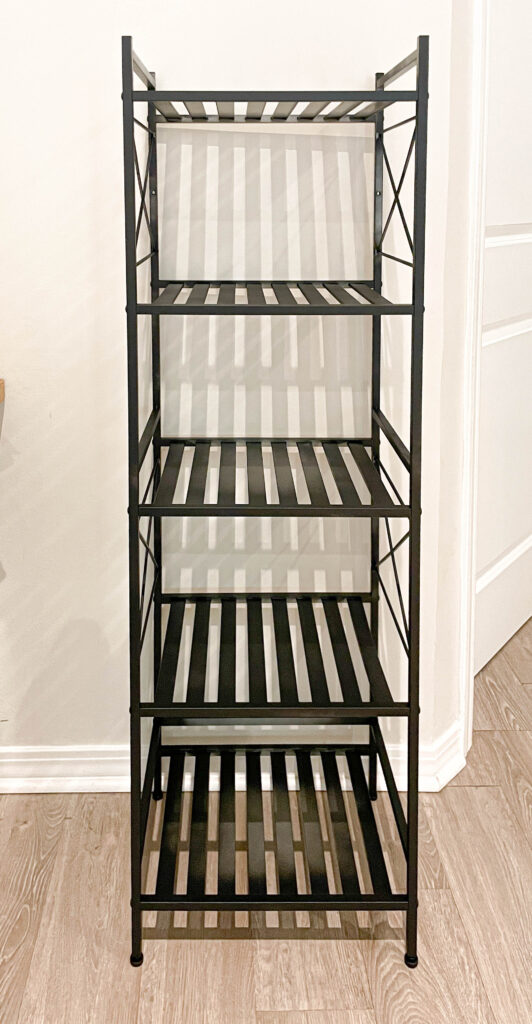
You can see the stock photo of the shelf I purchased below. It was only fifty dollars. Although it’s purpose is mainly functional, I knew it could look better.
Target Decorative Wall Shelf
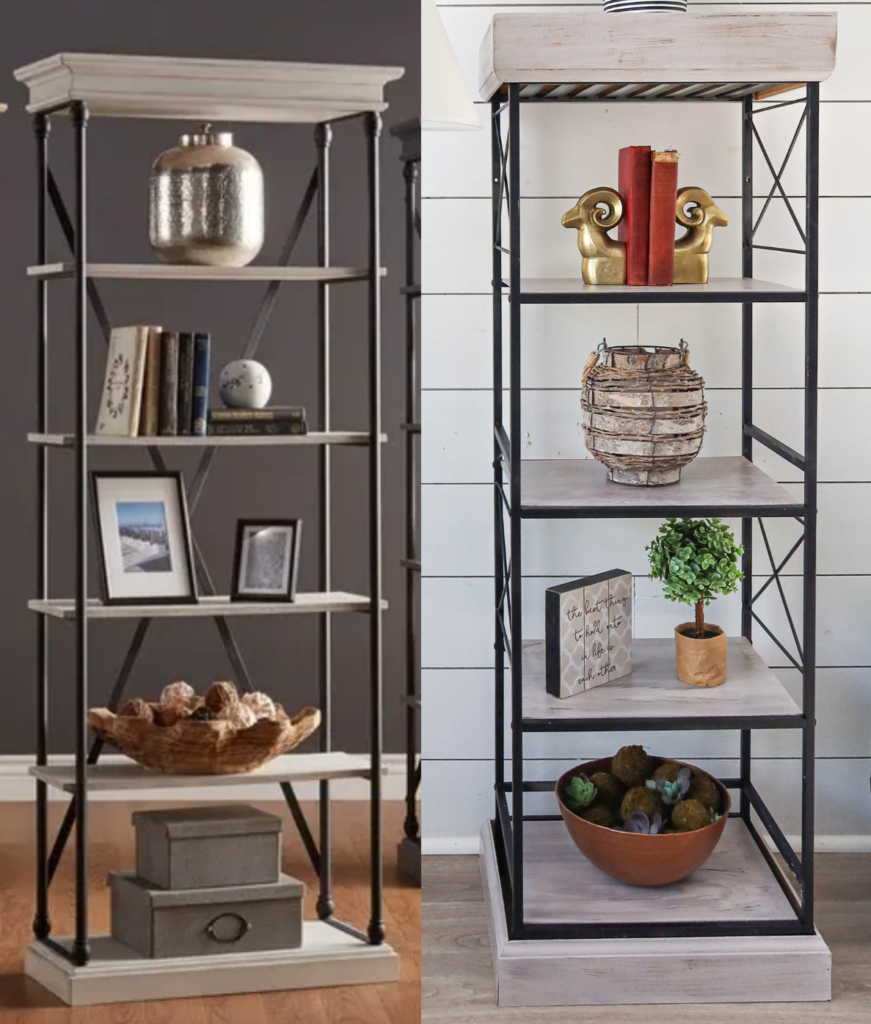
Below is the inspirational shelf I found. Unlike the Target shelf, it costs around $600.00. I didn’t need a shelf for $600. If I did maybe I would pay it, but I couldn’t justify that for something we really didn’t need.
Overstock shelf inspiration

Could I make my ugly wire shelf look like this beautiful modern shelf from Overstock? I hope so!
Small Target shelving unit makeover
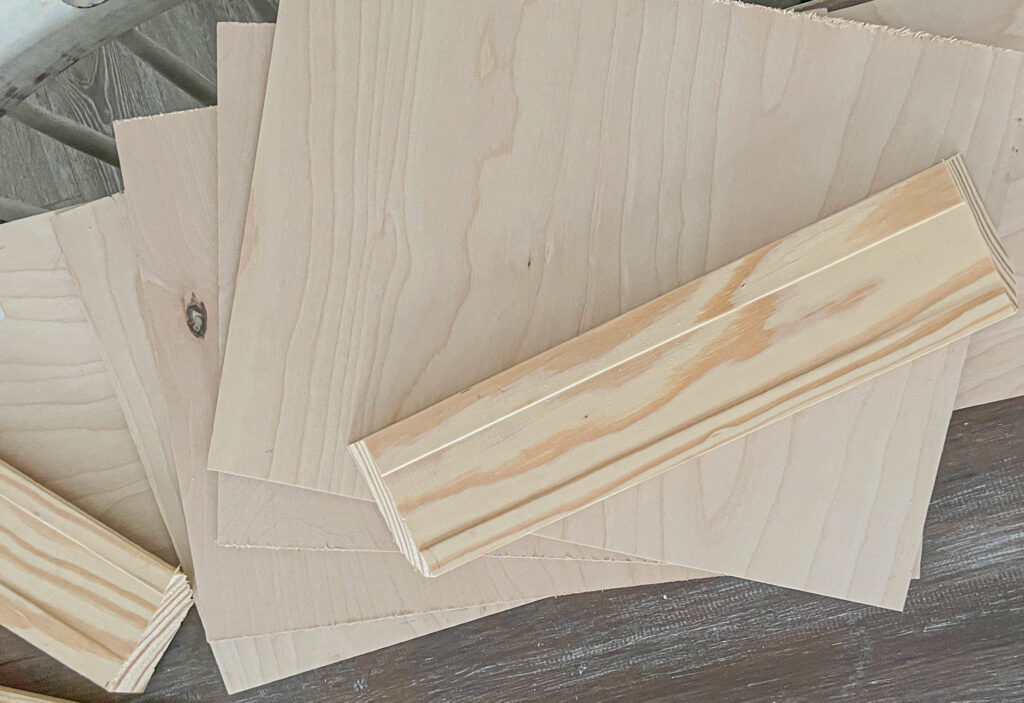
This was a fairly simple process of upcycling this unsightly shelf. I didn’t buy any fancy wood or make hard cuts. A beginner DIYer could replicate this. All you need is baseboard wood, birch plywood and a miter saw.
As always, before you start any project, make sure to wipe the surface clean with a lint free cloth.
Next I applied two full coats of black matte spray paint to the shelving unit and let it dry.
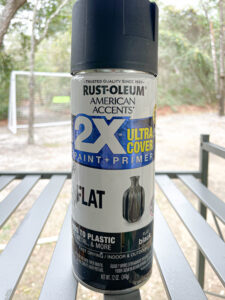
Spray paint is my go-to paint for metal surfaces. I’ve covered this and more in another post about painting and maintaining outdoor furniture and also my post about how to choose the right type of paint for any surface.
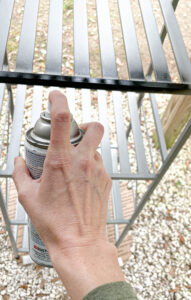
Spray paint gives an even finish and is the easiest way to paint hard to reach areas like this shelf with all of its slats. Also, spray paint adheres really well to metal surfaces.
Notice I didn’t worry too much about painting the inside slats completely black because I knew they would be covered with wood.
Once the shelves were painted, it was time to purchase supplies.
Materials to make the wood shelves and moulding
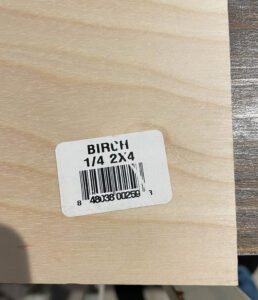
- Birch 1/4″ 2 by 4 Plywood
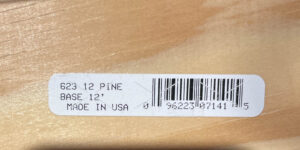
- 12′ unfinished Pine baseboard
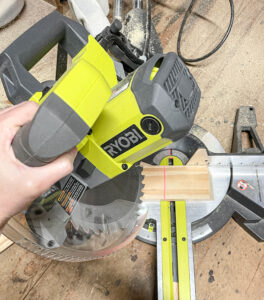
- Miter saw
- Nail gun
- Nails
- Wood filler
- Electric sander
- Industrial adhesive
- Polyurethane top coat
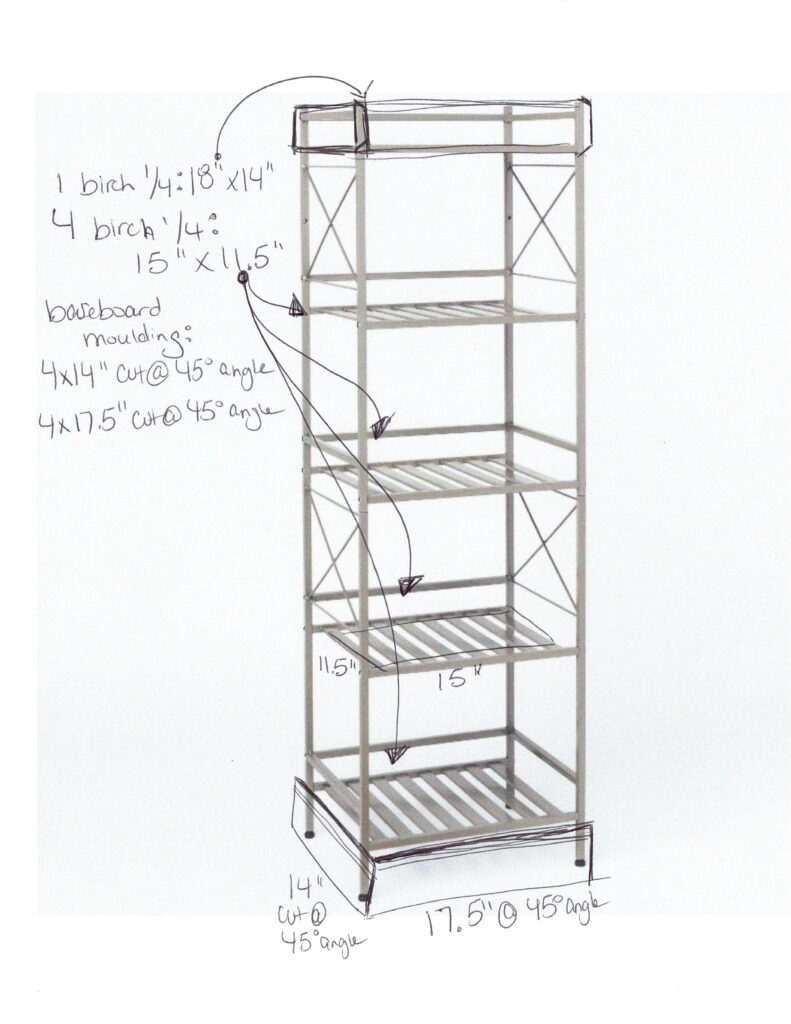
Here is a quick sketch I did to figure out my measurements.
Side note; I cut the top four baseboards and assembled them to get the exact measurements for the top birchwood board.
Making the cuts for the shelving unit makeover
I used the miter saw to make straight cuts to the measurements of the shelves so the wood would fit in between the front and back rail. I made four 11.5″ by 15″ shelves (I waited to get the exact measurements before cutting the top birch wood piece).
Next I set the miter saw to a 45 degree angle and cut the baseboards to make the border on the top and bottom.
I assembled the “top border” first to make the box so I could get the measurements for the birchwood that would sit on the top.
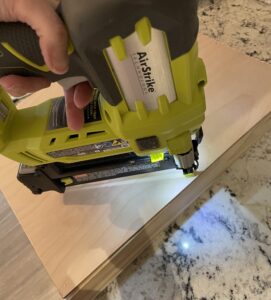
I used a nail gun to assemble the moulding box.
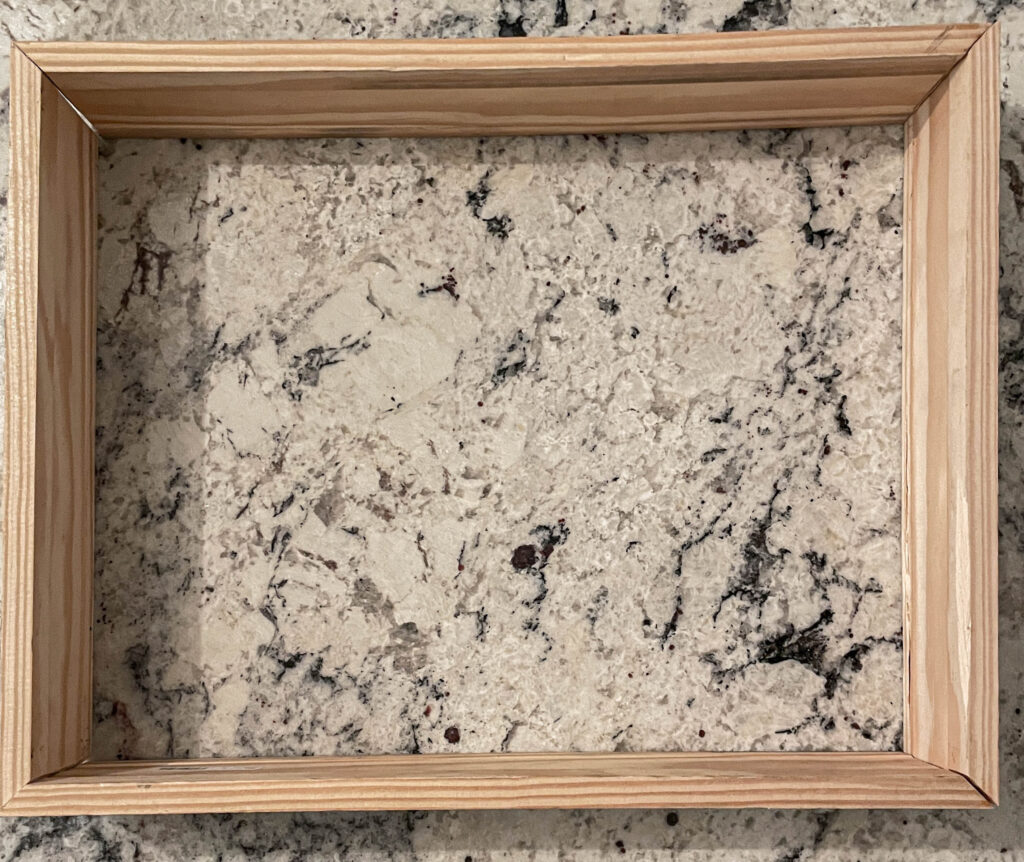
Then I cut one piece of birchwood for the top of the shelving unit to 18″ by 14″ which I then nailed to the moulding.
Note; one side of the moulding is flat. This is the side that I nailed the piece of birchwood to. This box will sit (birchwood side up) on top of the shelving unit.
The box wasn’t perfect, and I needed to cover those nails, so I went back and added some wood filler. The only bad thing about using the wood filler is that it affected my ability to stain the wood.
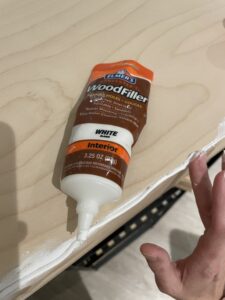
I knew there was no way to stain the wood and wood filler and make them look the same. I had to paint it.
How do you paint wood and make it look like it’s stained?
One of the best way I’ve found to make paint look like wood is with a graining tool. The graining tool can transform paint or any medium and give it real texture like wood.
In the past I’ve used something called Liquid Wood which infuses small particles of wood into a paint product. This product works great to apply a small amount of real wood to any surface.
I thought about using this product, but I wanted to see if I could replicate the wood look with just paint.
I won’t go into the details on how I used a wood grain tool with paint because I have an entire post dedicated to that. Make sure to check it out and let me know what you think.
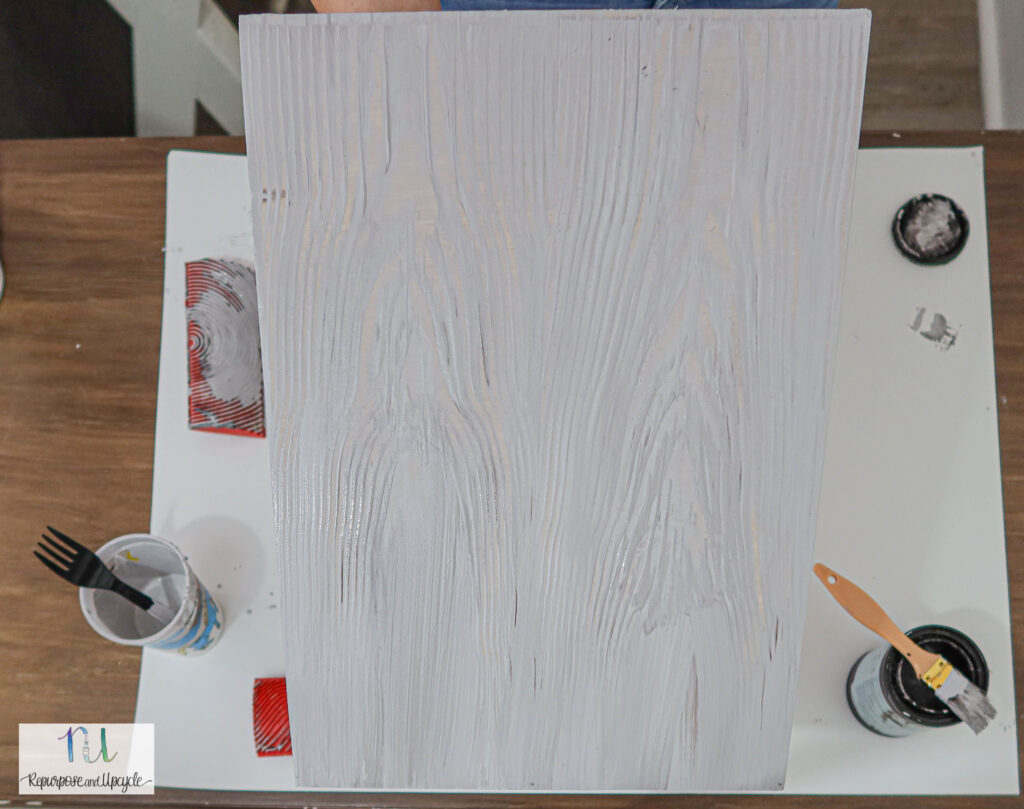
It looks good doesn’t it! Can you believe that’s faux wood grain?
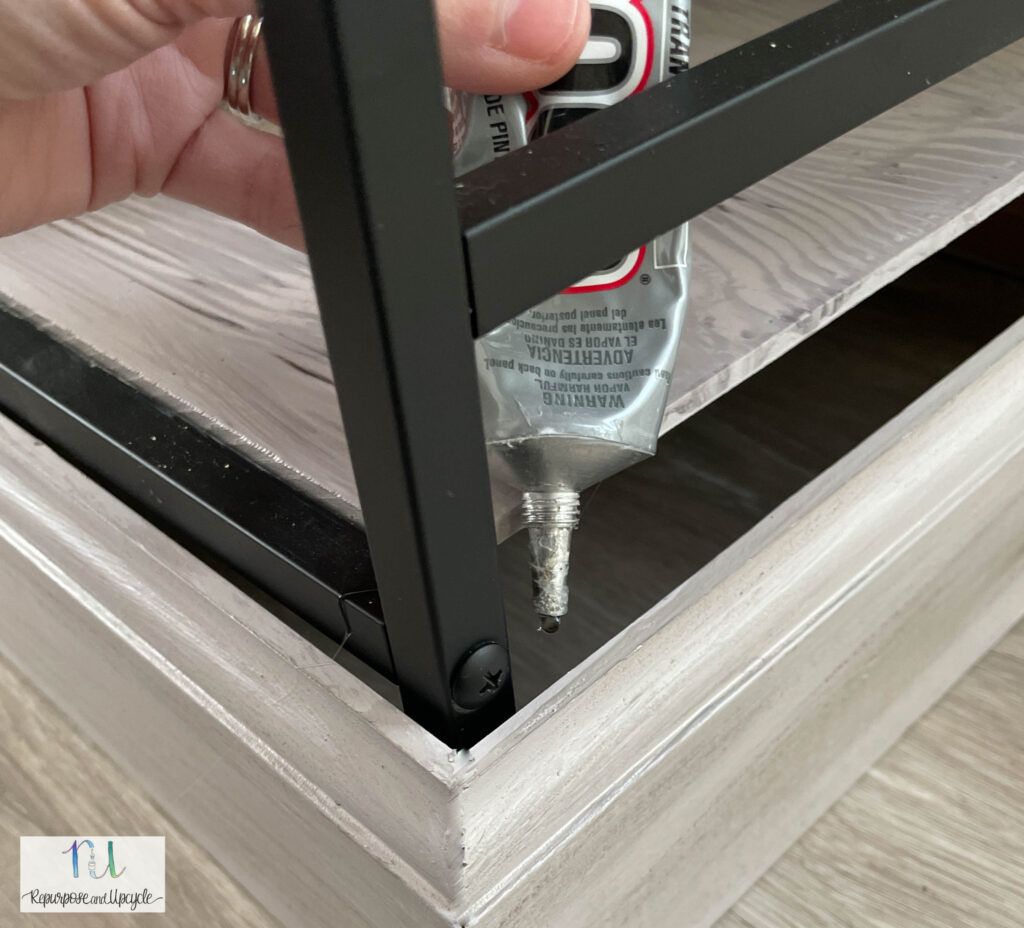
After the faux wood grain dried, I assembled the shelf. I applied this glue to any point of the wood that touched the shelf.
For the bottom baseboard wood, I used a nail gun to assemble the box around the metal shelving unit.
I had to be a bit creative when it came to glueing the bottom baseboard wood to the shelves. I move it around until the front side of the “baseboard box” touched the metal legs. This is where I applied the glue.
Once the glue was dry, it was finished!
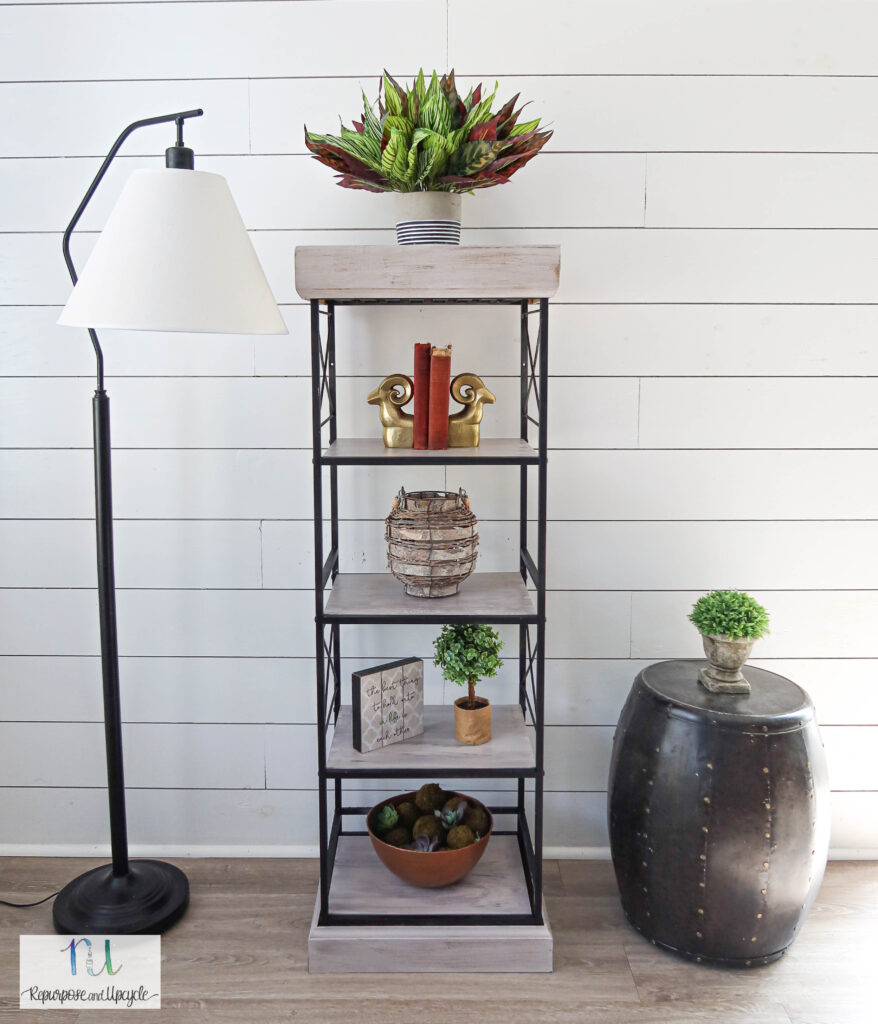
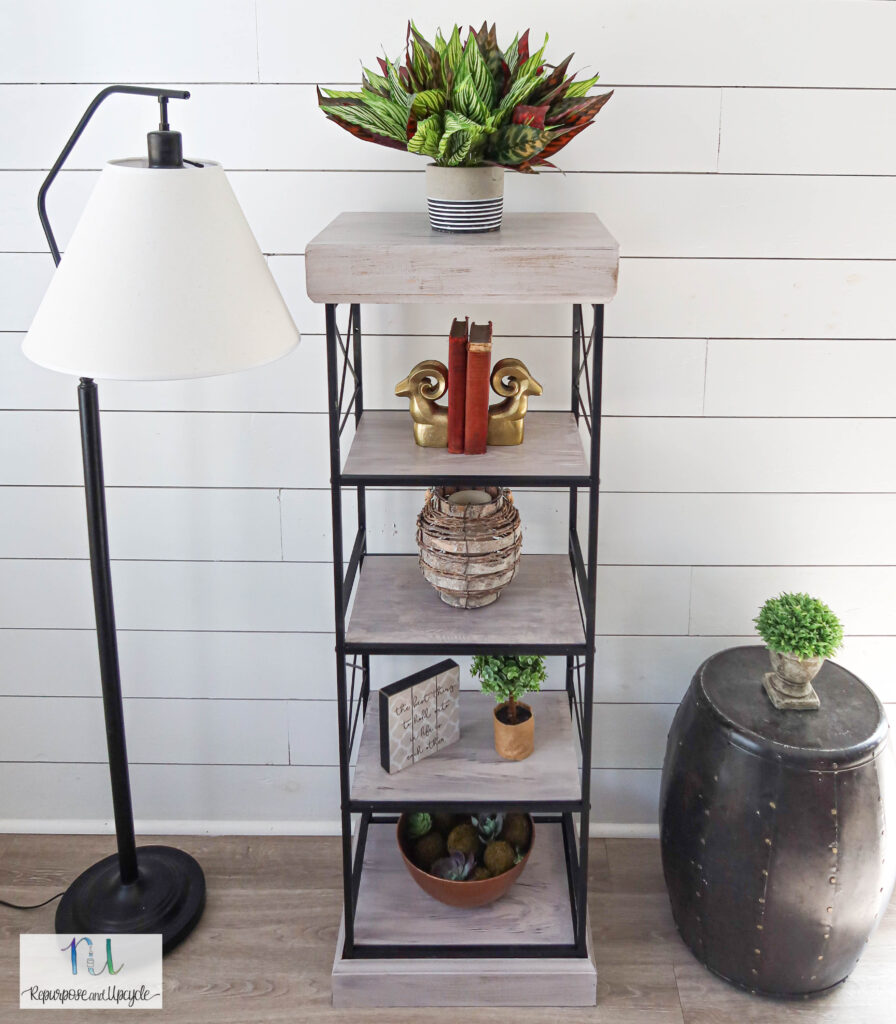
Small Target Shelf Makeover
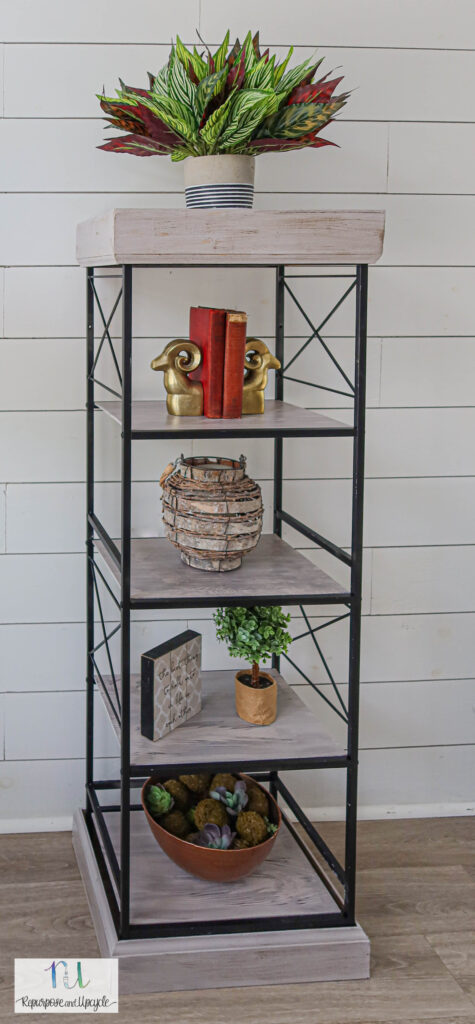
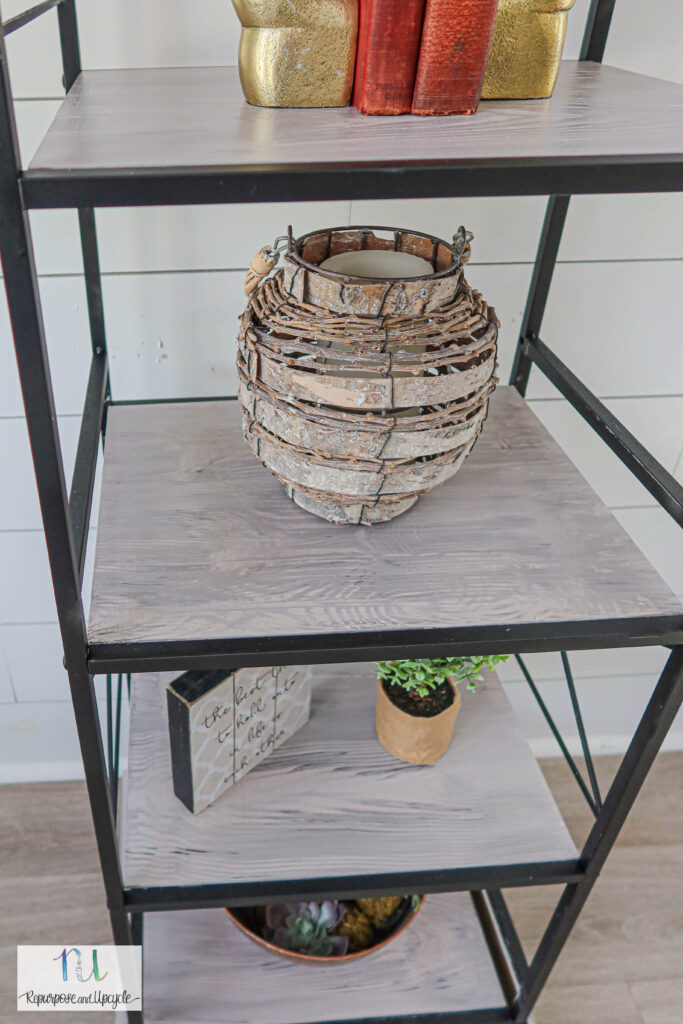
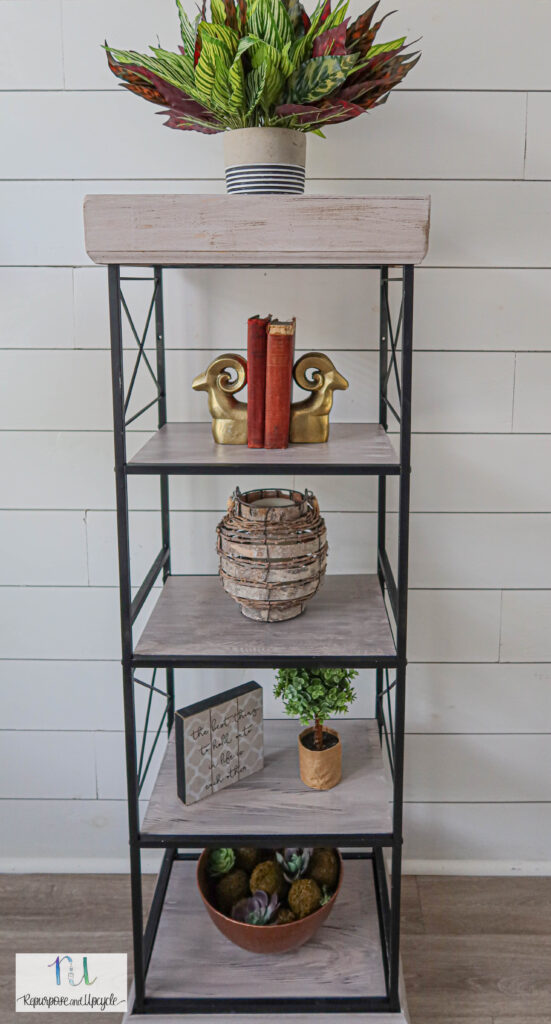
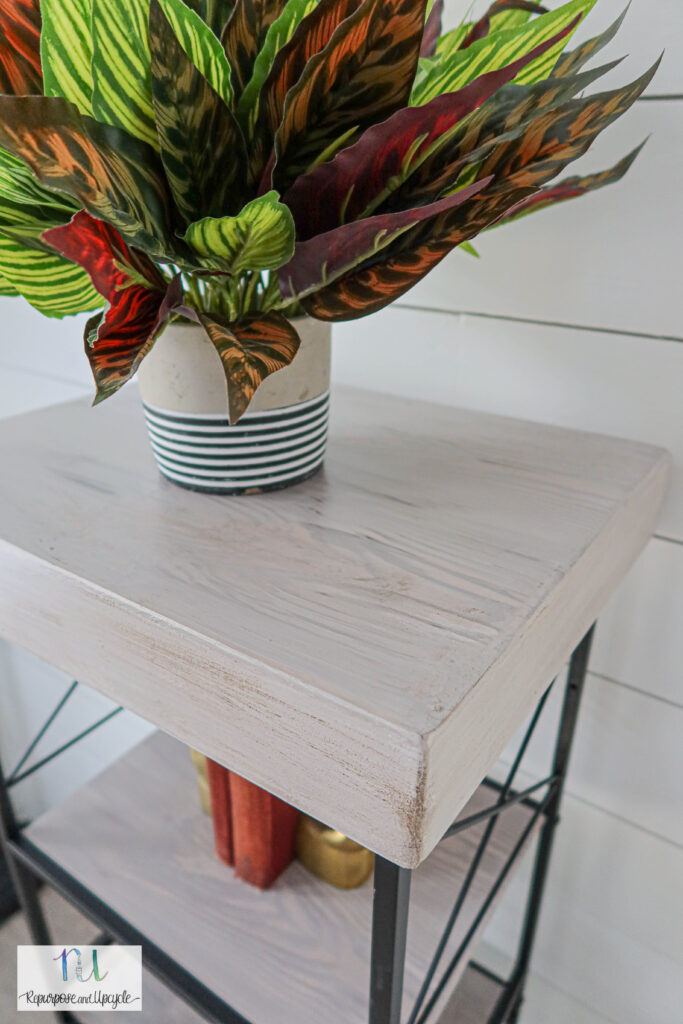
I love the faux wood grain! It’s crazy how real it looks.
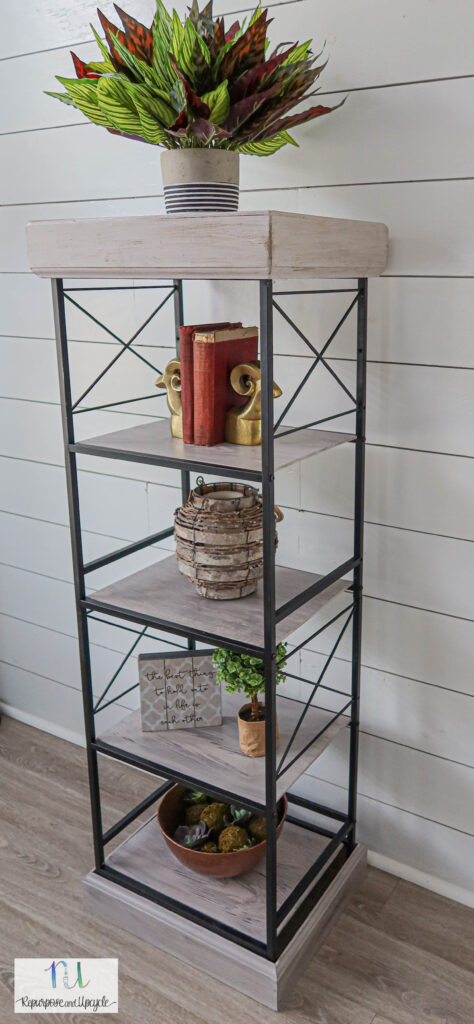
Let’s look at my inspirational shelf side by side with my new makeover shelf!
If you want to know more tips on how to style shelves, I’ve got you covered.
I’m so pleased with how it turned out! What do you think?
As always, thanks for following along friends.
Lindsey**


