My oh my I never thought I would be using a product like this! From chalk paint to milk paint to white wash, I feel like I’ve used it all. Then I discovered how to use Retique It Liquid Wood. This stuff is so cool! Who would have thought you could blend actual wood into a paint product. Let me show you how with a folding table makeover.
Every day there are new paint products on the market. Friends, this one is different.
When the folks at Retique It reached out and wanted me to create a project using their liquid wood, I figured I would makeover an old dresser. But the more I thought about it, the more I decided I wanted to transform a non wood surface into a real wood surface. This old folding table top was the perfect product. Why not right?
Hence the folding table makeover…
Where do we start?
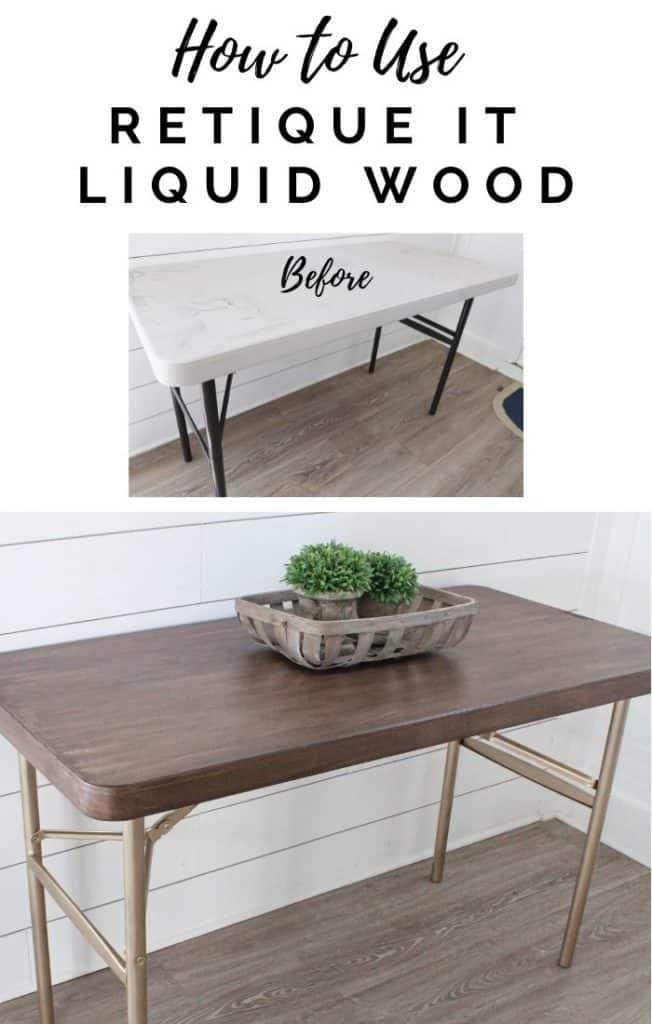
Folding table BEFORE Liquid Wood

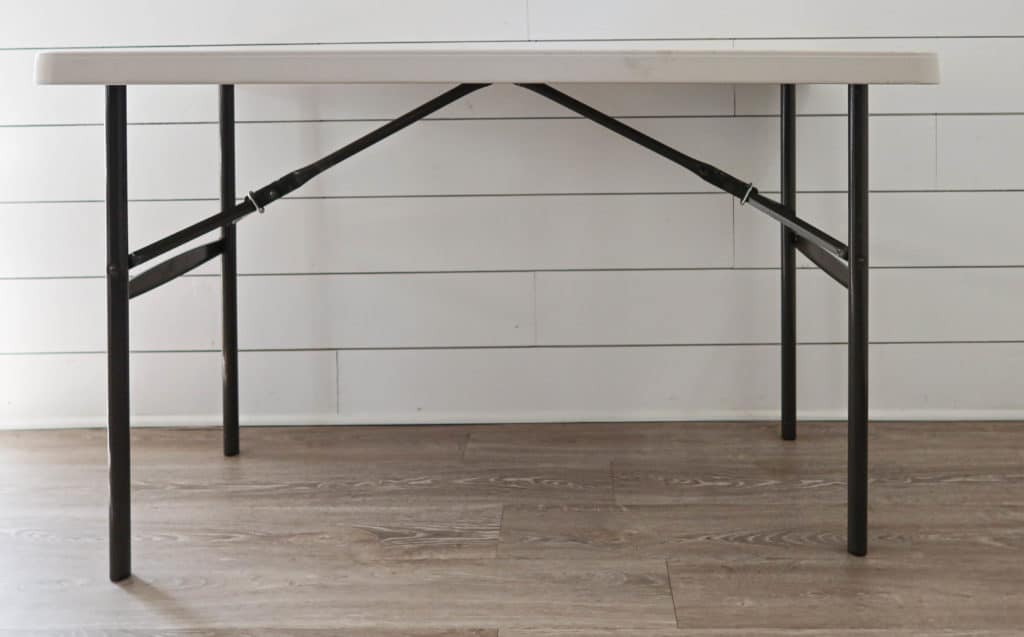
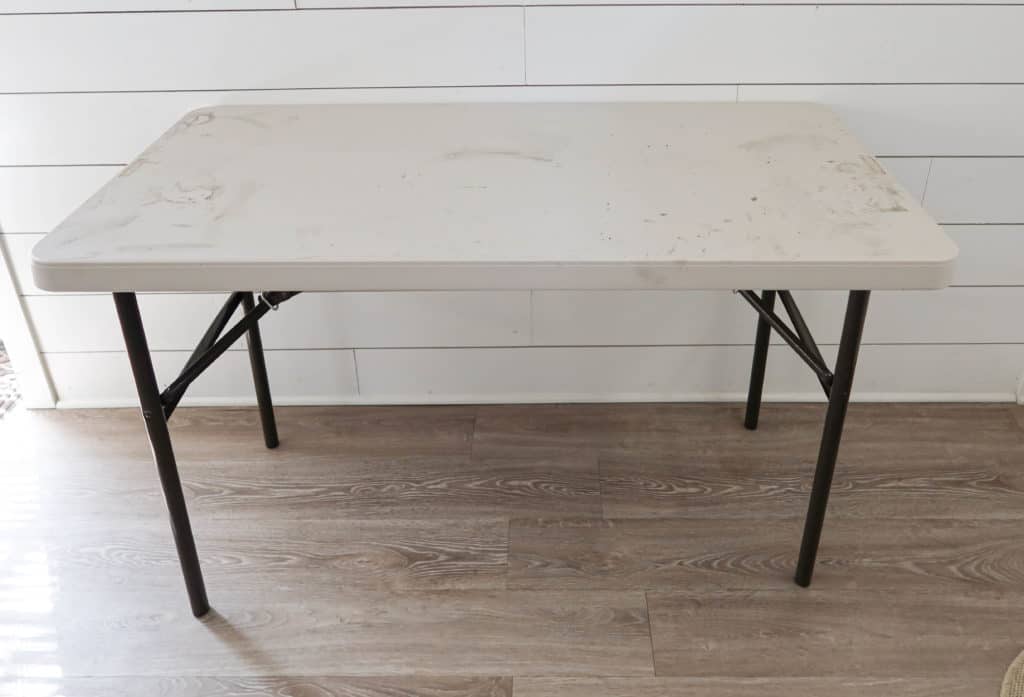
Folding tables can be so functional and I’m about to make it functional and fabulous.

Disclosure; this post contains affiliate links. As an Amazon Associate I earn from qualifying purchases. This disclosure statement refers to the rest of the Amazon links in this post.
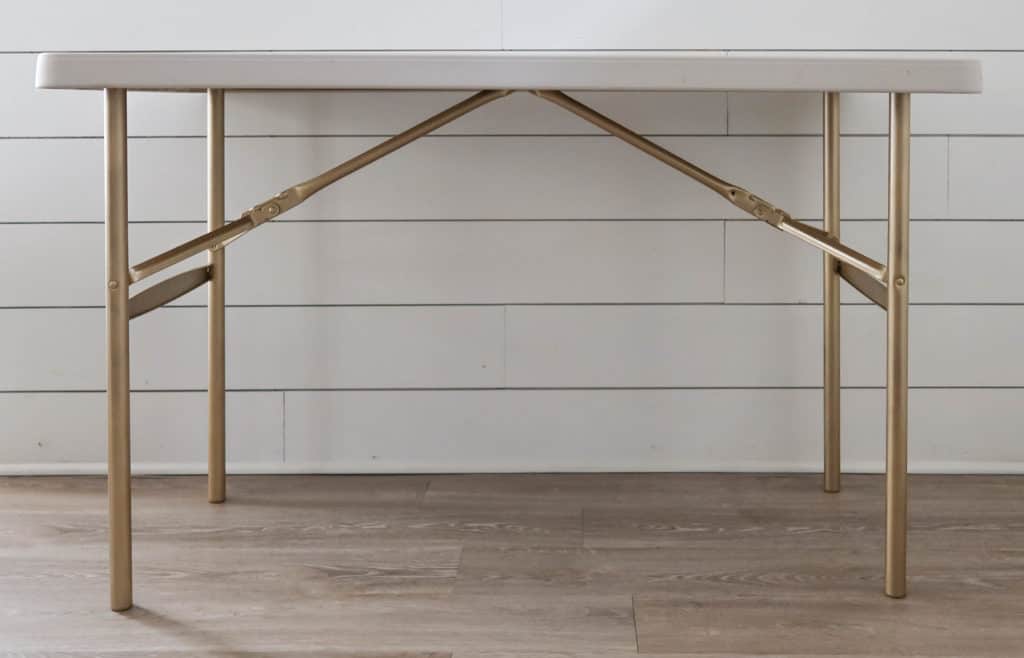
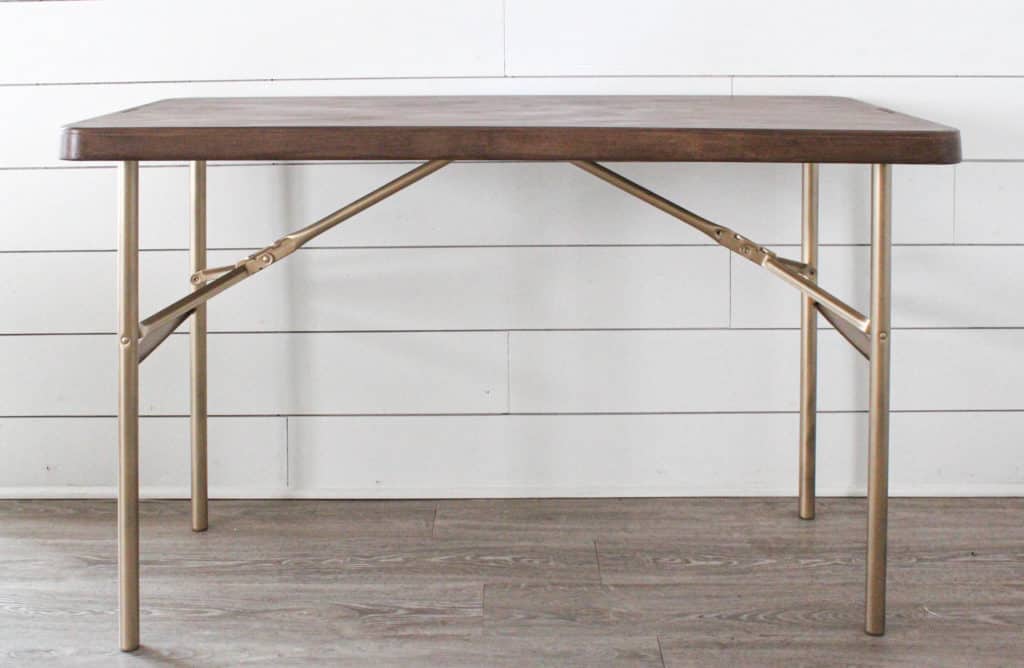
Before I get into the liquid wood tutorial, let me show you what I did to the base.
I spray painted the legs and base with my favorite gold spray paint!

If you’ve been inside my house you will notice tons of surfaces painted with this spray paint. Like I always say, don’t underestimate the power of paint, even a little spray paint!
It’s looking better now! Or maybe I think everything looks better in gold. 🙂
Now for the fun part…
Supplies for Folding Table Makeover
- Retique It Liquid Wood
- Retique It java stain
- Retique It polyurethane
- Synthetic paint brush
- Foam brush
- Gloves
- Lint free cloth
- Graining tool
You can buy a “graining tool kit” from Amazon here. It includes the Liquid Wood product, stain, graining tool set, paint brush and staining cloth.
After you’ve cleaned the surface, open the Retique It Liquid Wood product and stir it really well. Make sure scrape the bottom of the can to mix all those little wood sediments real well.
How to use Retique It Liquid Wood for a folding table makeover
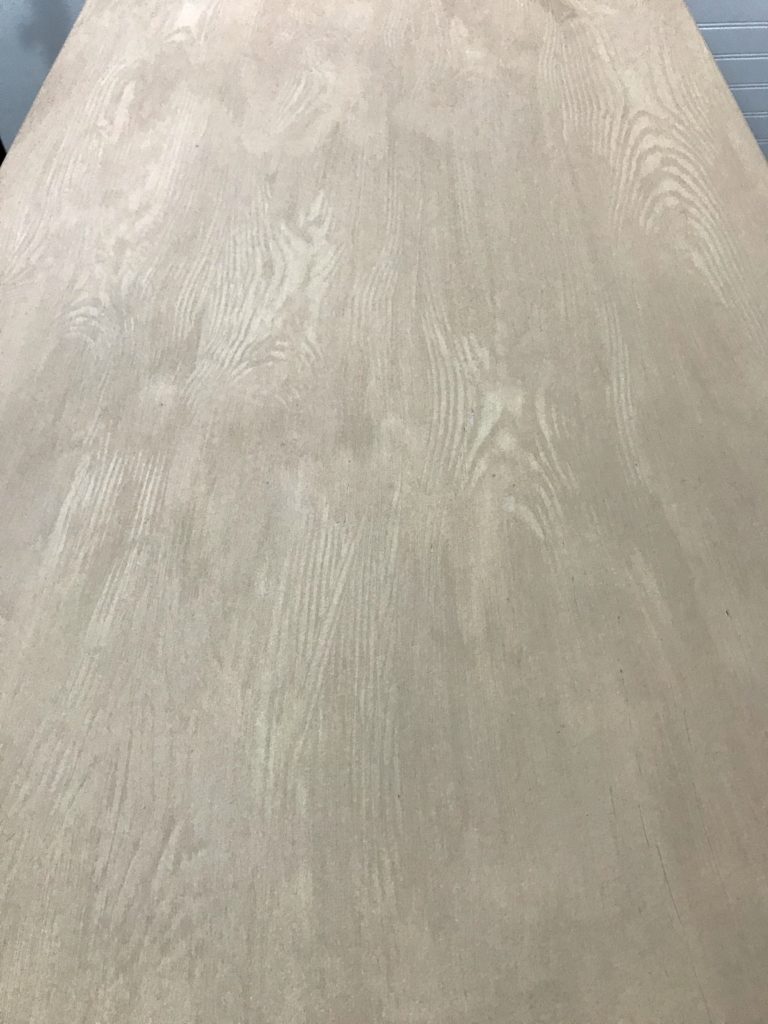
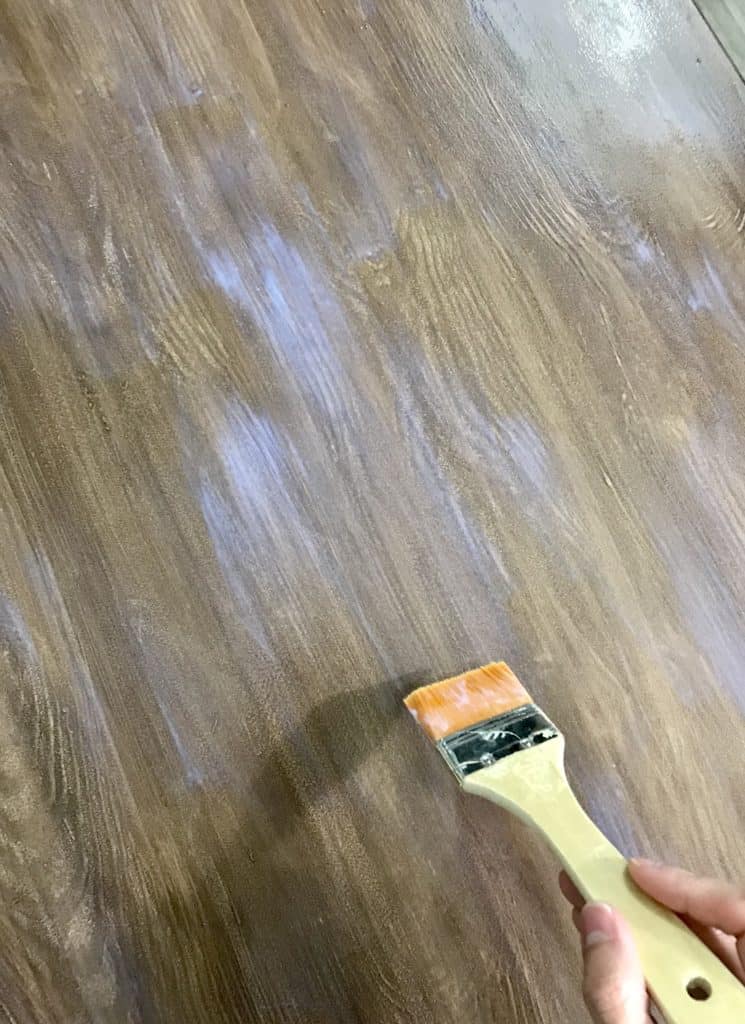
- Apply the first coat of Retique It Liquid Wood in long even brush strokes with a synthetic paint brush.
Make sure you use a synthetic brush with the Liquid Wood. Don’t use a bristle brush (the brushes you use with chalk paint).
Let the product sit on the top of the table for two hours to dry. Don’t worry about brush strokes.

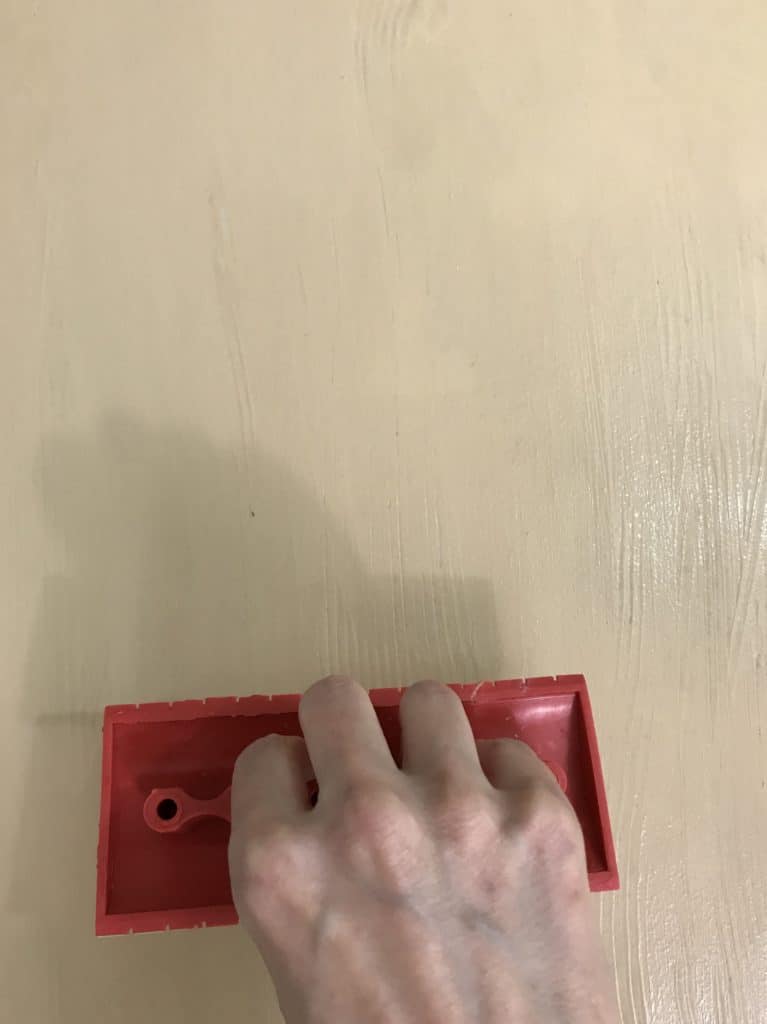
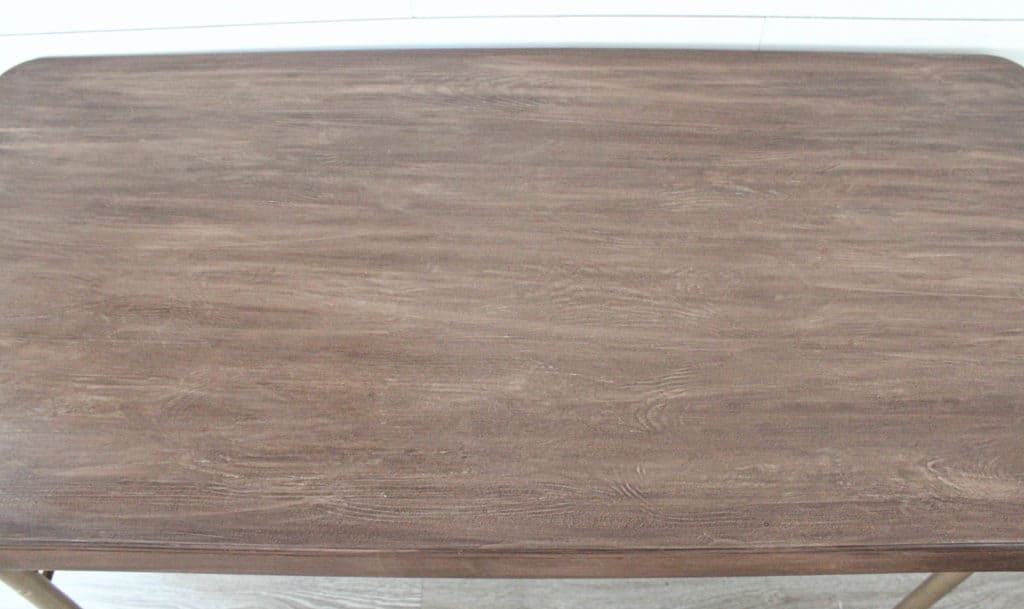
2. Apply the Second coat of Liquid Wood and while it’s still wet use the graining tool.
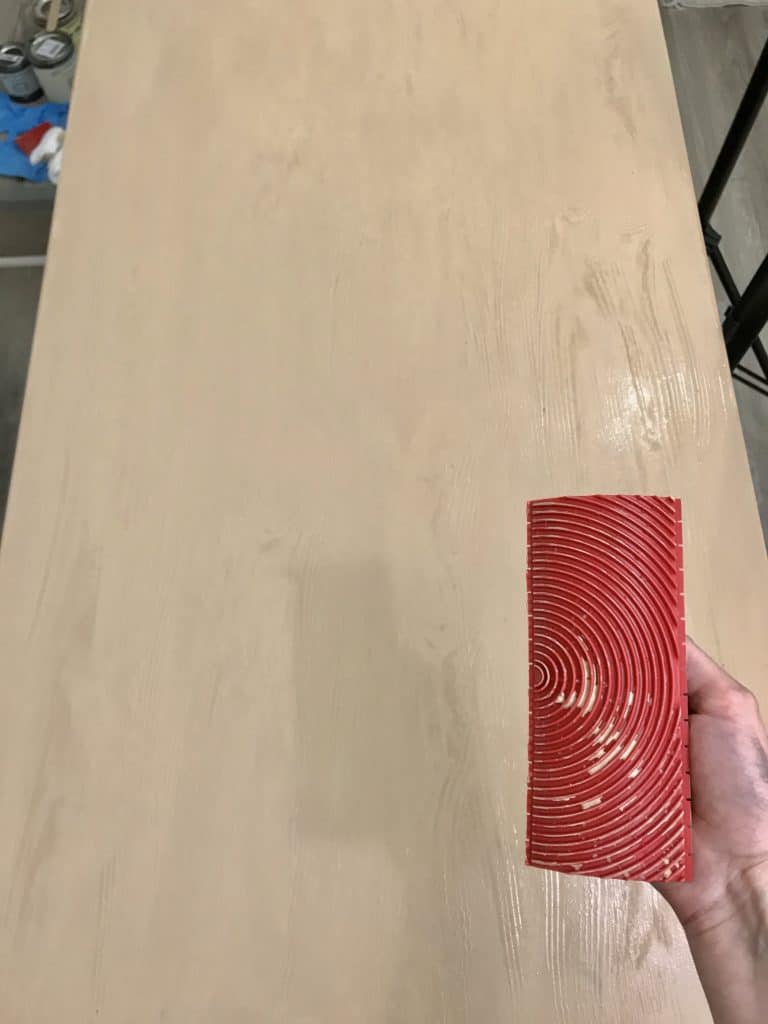
Grab the graining tool and pull it in long even strokes rolling it while you pull. This creates the “wood grain look.”
Note; don’t press too hard or you will pull up the Liquid Wood. If you do mess up, just roll the graining tool over the same area again. If you still don’t like it, apply another layer of Liquid Wood and then use the graining tool again.

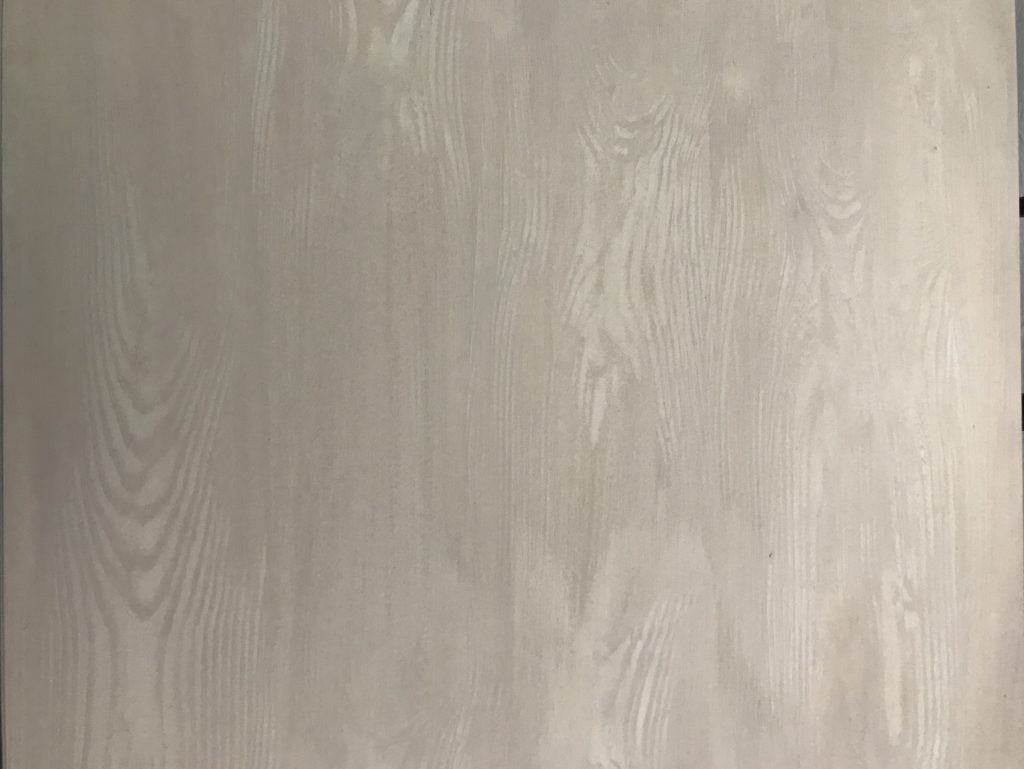
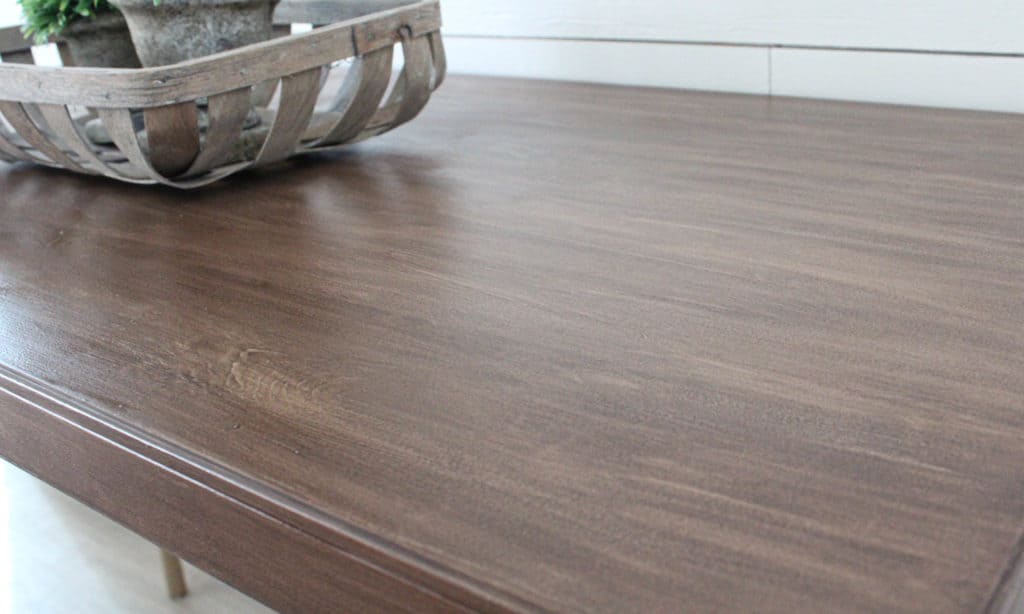
Once it’s dry this is what it looked like. You can see the wood grain variations a lot better once it’s dry.
3. Put the gloves on, grab a foam brush or regular brush and start to apply the stain in the direction of the wood grain.
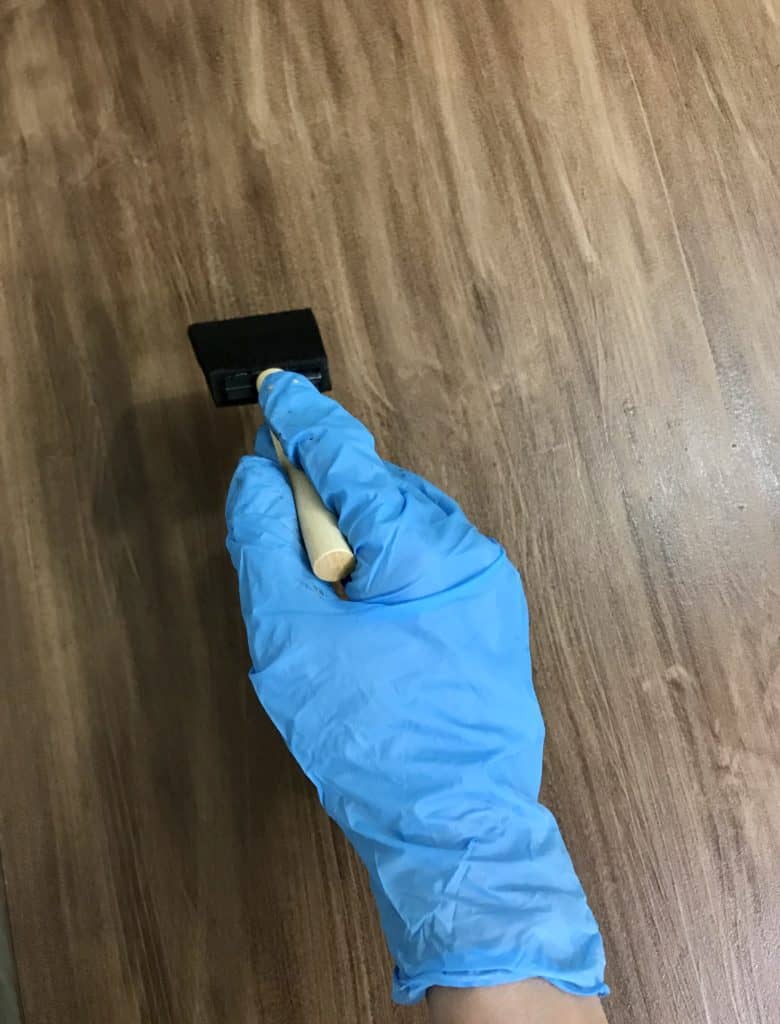
You can use a variety of stain products like Varathane stains as long as they aren’t penetrating stains. Minwax is a penetrating stain- don’t use a product like this. I would image it’s because there isn’t much to penetrate!
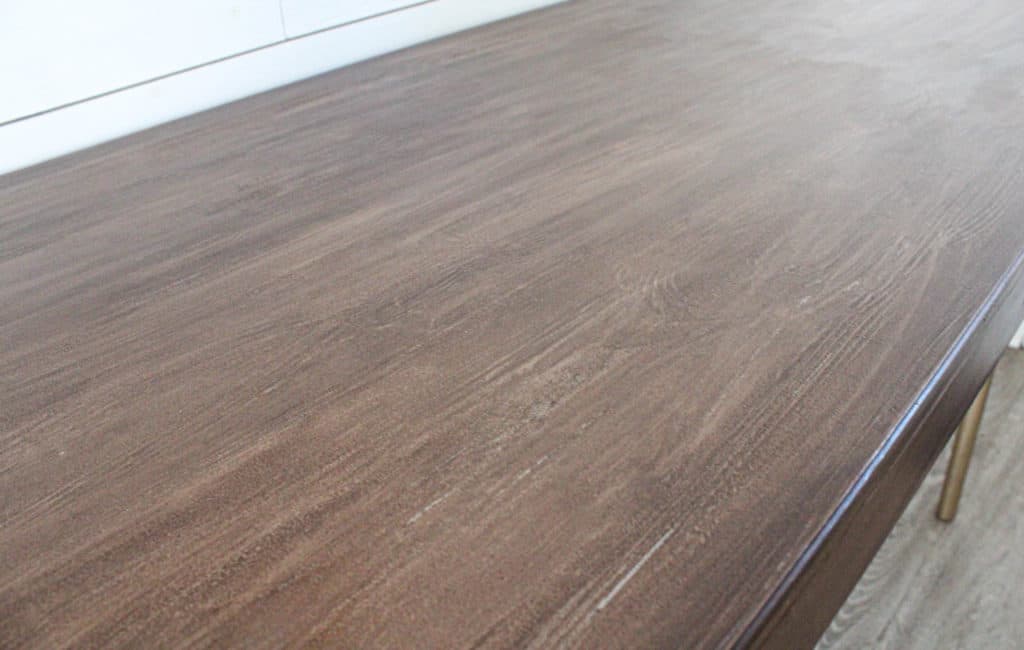
4. Next take a lint free cloth and wipe away the excess stain.
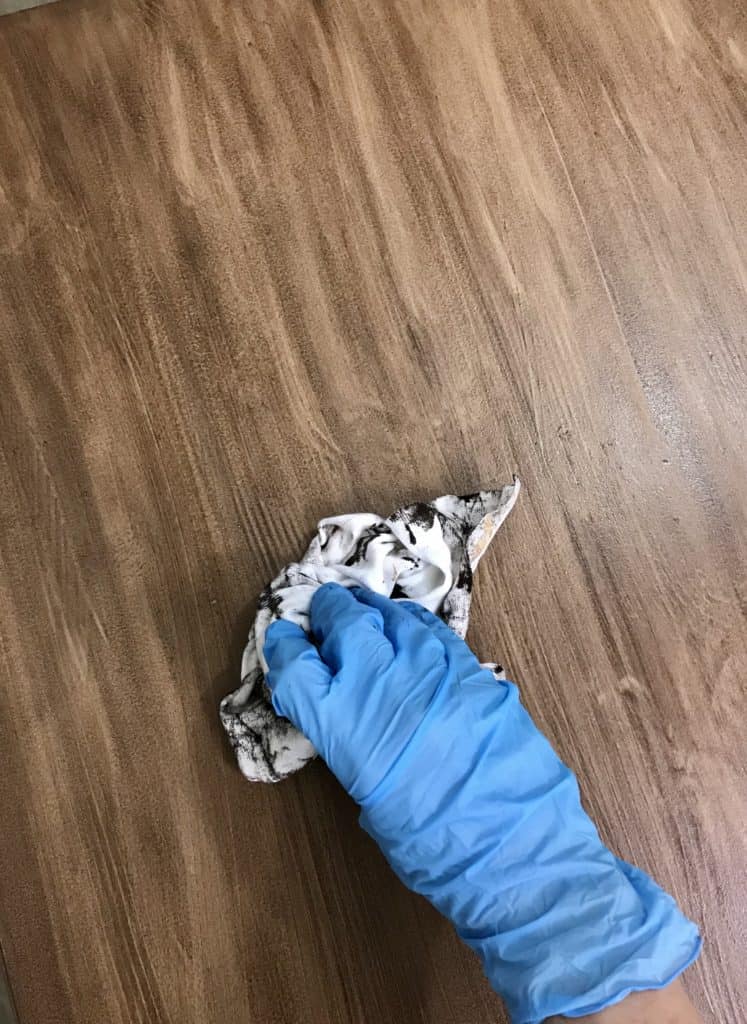
Repeat this process until you get the desired finish.
5. Add a layer (or two) of your favorite sealer. I’m using the Retique It Polyurethane.
I LOVE the Retique It products because they have virtually no VOC’s, which means almost NO PAINT ODOR! This is huge because I’m guilty of painting inside our house more than I want to admit.
Folding table makeover with Retique It Liquid Wood
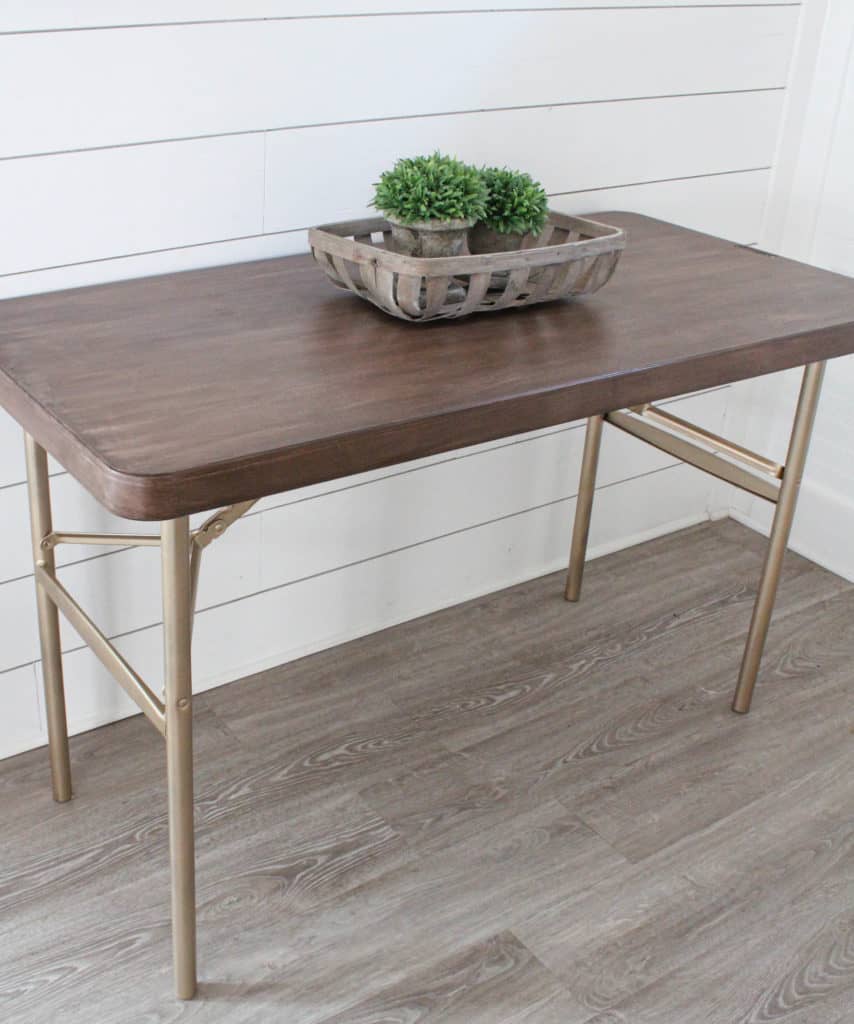
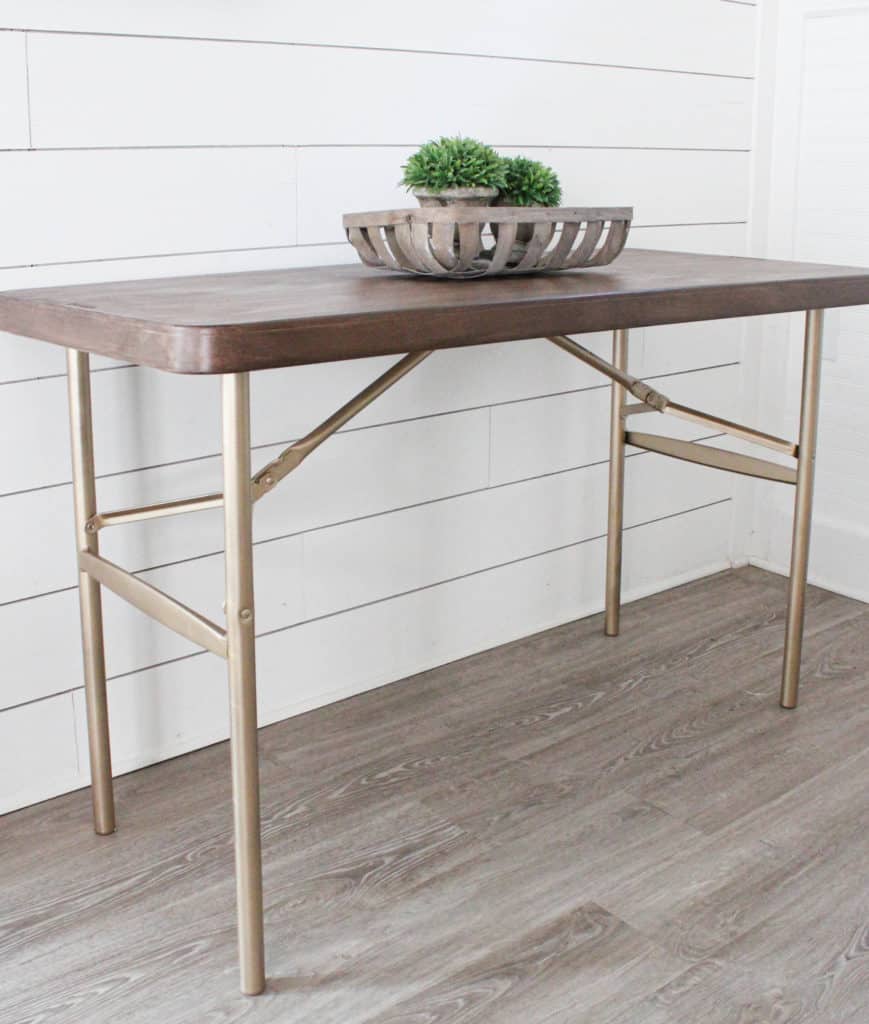
What could YOU make over with this fabulous product?
I’m off to find something else to transform.
Lindsey**


