The use of fiberglass and wood in home décor has been around for centuries. Fiberglass is often used for its durability and strength, while wood is used for its natural beauty and warmth. But what if you could combine the two materials to create something unique? Let me show you how to create a faux wood fiberglass door with gel stain!
I’ll be honest, the real reason I wanted to create the faux wood look on my fiberglass door is maintenance. The painted white fiberglass door always showed every little bit of dirt, fingerprints and even mold! I knew staining it a darker color would help with that and make it look pretty!
Side note; this project did not come without hiccups. As a matter of fact, I almost didn’t share this DIY. After I thought about it, I realized my learning experience might be a good instructional tool as to what NOT to do when creating a faux wood door with stain.
Even though this project turned out ok, I still learned a handful of things along the way. Those things I learned are things I hope can help YOU create a more effortless and lovely DIY.
My motto has always been; let me make the mistakes and teach you so you don’t!
By the way, this tutorial would also work great for a faux wood finish on garage doors too!
Let me show you our lovely white fiberglass door.
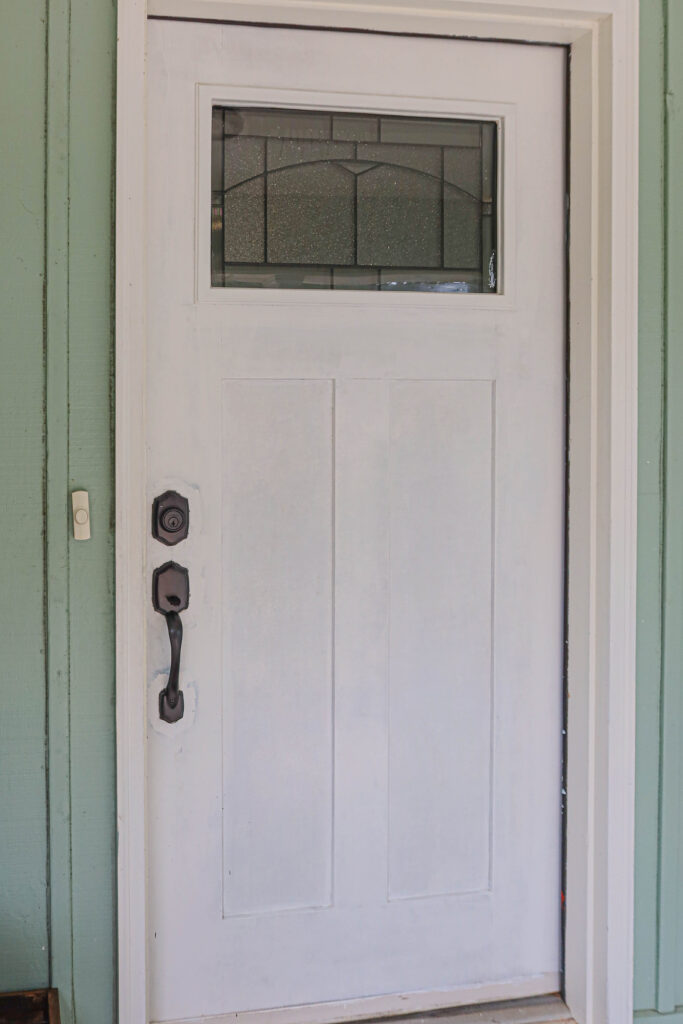
From a distance it didn’t look too bad, but it was hard to keep clean!

I decided I would give this door a makeover with an old technique that has worked well for me in the past; with a wood grain tool. You can see a few of those past projects below.
Staining Fiberglass with Wood Stain for a Faux Wood Finish
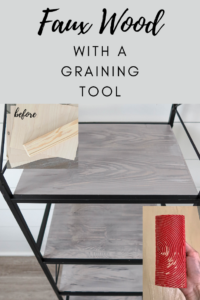
This isn’t the first time I’ve created a faux wood finish on a hard surface. I talked about how to use a graining tool to create a faux wood finish in a recent blog post where I shared a shelf makeover.
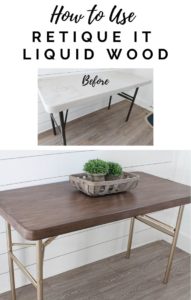
I also used this same graining tool for a simple folding table makeover with a cool paint product. See more about how to use Retique It Liquid Wood (yep it really has tiny wood particles in the paint) with a graining tool!
I’ll be using these graining tools to transform my fiberglass door to look like a real wood door.
Disclosure; this post contains affiliate links. As an Amazon Associate I earn from qualifying purchases. This disclosure statement refers to the rest of the Amazon links in this post. See more on my disclosure page.

Tips for creating a beautiful faux wood finish on a fiberglass door
Staining fiberglass can be tricky if you’ve never done it before but here are some tips that can help make the process easier (and a few things I learned the hard way):
- Use high-quality materials: Make sure you use high-quality materials when staining so that your project looks great when finished.
- Take your time: Don’t rush through any part of this process as it takes time for each layer of stain or sealant to dry completely before moving on to the next step. It’s recommended for each layer of stain to dry at least 12 hours before the next. If you rush this, you run the risk of smudging the coats together which will make a huge mess!
- Practice makes perfect: If this is your first time staining with a wood grain tool, practice on a scrap piece first so that you can get an idea of how much pressure or how many coats are needed for each step before tackling your actual project.
- Since I’m staining a vertical surface, using a gel stain product is necessary because it’s thicker and won’t run like a normal stain product will.
- Keep the wood grain layer simple and don’t go overboard with lots of wood grain (like I did).
- Don’t apply the gel stain too thick. Apply light gel stain coats, not thick coats. Even if it requires more coats it will look better in the end. Trust me on this one…
- Try to mimic the look of real wood by alternating the direction of the wood grain with the graining tool. Most wood grain on real wood doors run in a few different directions. The interior panels on the top and bottom normally run horizontally while the long panels on the outside run vertically.
How do you make a fiberglass door look like a stained wood door?
Wood stains come in a variety of colors and finishes, so be sure to choose one that will best complement your project.
Materials Needed
- Fiberglass door
- Cleaner or degreaser
- lint free cloths
- Gel stain of your choice – I used Minwax Gel Stain in the colors Hickory and Coffee
- Painters tape
- Wood graining tool
Preparing the Fiberglass Surface
The first step in staining fiberglass to look like wood is cleaning it with a degreaser or regular old soapy water. I chose to use soapy water but a good degreaser works too. Once the surface is clean and dry, you can begin applying the wood stain.
Let me preface this tutorial by saying that quite a few fiberglass front doors come with a wood grain texture already ingrained in the material. If this is your door, then you can save a step! Just skip the the first step and move straight to applying the gel stain without the wood grain tool.
The last step before staining is applying painters tape where needed.
Applying Gel Wood Stain to the fiberglass door
Applying wood grain with the graining tool and gel stain
The first step in making your door look like faux wood is applying the wood grain texture. This is accomplished with the use of a wood grain tool and gel stain. I won’t go into tons of details about how to use a wood grain tool because I’ve already detailed a previous post about that.
Apply a light layer of gel stain with a rag or brush and then drag the wood grain tool over the stain while rocking the tool back and forth. Don’t forget to keep this step simple and don’t go crazy with the wood grain. If I could go back and do anything again I would redo this step!
Work in sections while using the wood grain tool and pay attention to the direction that the wood grain would normally go. Like I said earlier in the post, most wood grain on real wood doors run in a few different directions. The interior panels on the top and bottom normally run horizontally while the long panels on the outside run vertically.
Once you’re happy with the way the wood grain layer looks, let it dry for at least 12 hours. Don’t rush this step!
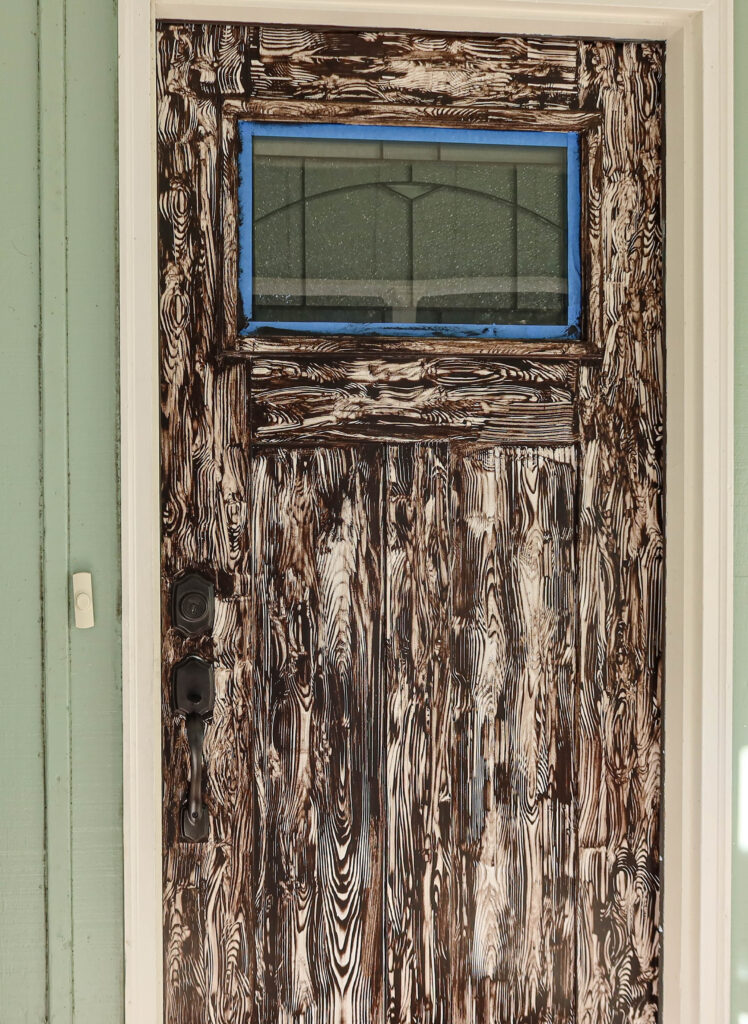
You can see I went a little crazy with the wood grain tool.
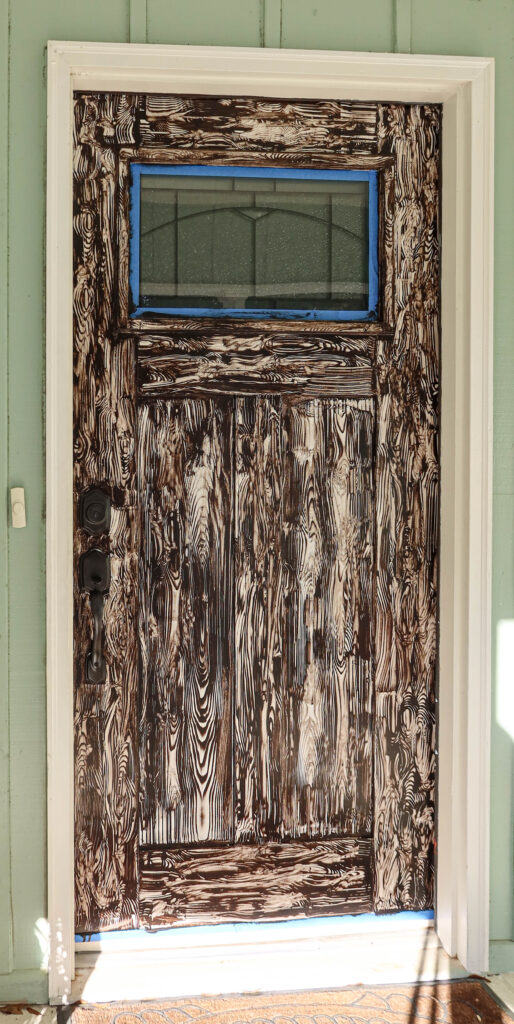
You live and learn I guess. Learn from me though, and keep your wood grain layer more simple than this!
I think If I could do it over, I would have started out with a lighter color too. Remember, every layer of stain applied gets darker and darker. You can always go darker but it’s harder to lighten it up.
Applying the gel stain layer over the wood grain layer
After the wood grain layer is completely dry, begin to apply the second gel stain coat.
In my experience, the best way to apply the consecutive layers is with a lint free rag rather than a brush.
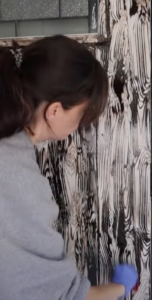
With a dime size amount of gel stain on a lint free rag, apply the stain in a circular motion. Work in sections. After you’ve covered a section, go back with a clean lint free rag and lightly wipe the excess stain away.
Work in sections until you’ve covered the entire door and are happy with the way it looks.
This step takes multiple coats. Don’t apply the stain too thick. It will look much better if you apply more coats in thin layers, trust me.
Once one gel stain layer is done, wait at least 12 hours until it dries.
Repeat this step multiple times until you are happy with the way it looks. The more gel stain coats, the darker it will look.
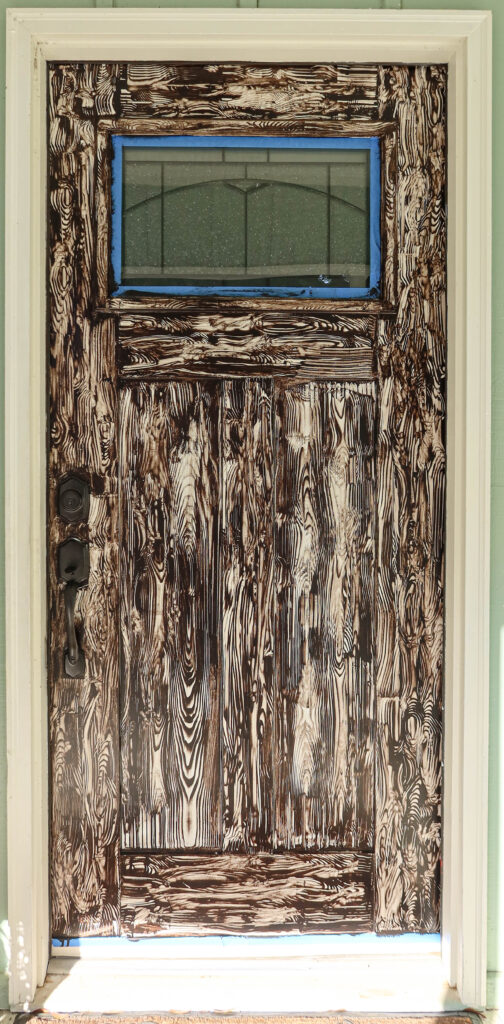
It took me three coats to get the desired look I was going for (4 total coats including the wood grain coat). Below is a picture after the second gel stain coat.
Full disclosure; Because I wasn’t fully happy with the way the door looked on the second gel stain coat, I used a brush to apply the third coat. I did this because the wood grain wasn’t showing through well at all (I applied the gel stain too thick) so I thought if I used a simple chip brush it might help mimic the look of wood. Did it work? Meh, it was ok. Hindsight I should have applied thinner gel stain coats. Lesson learned.
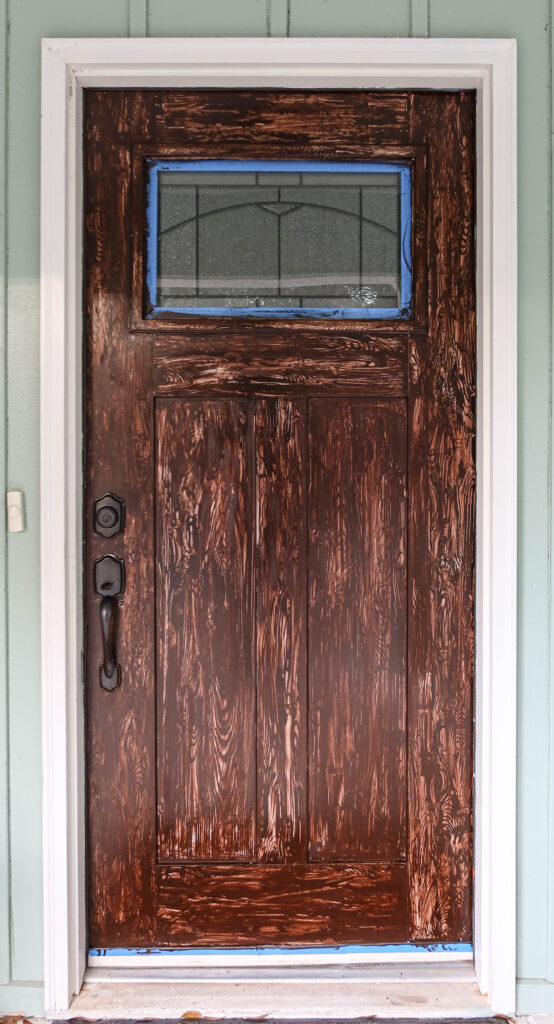
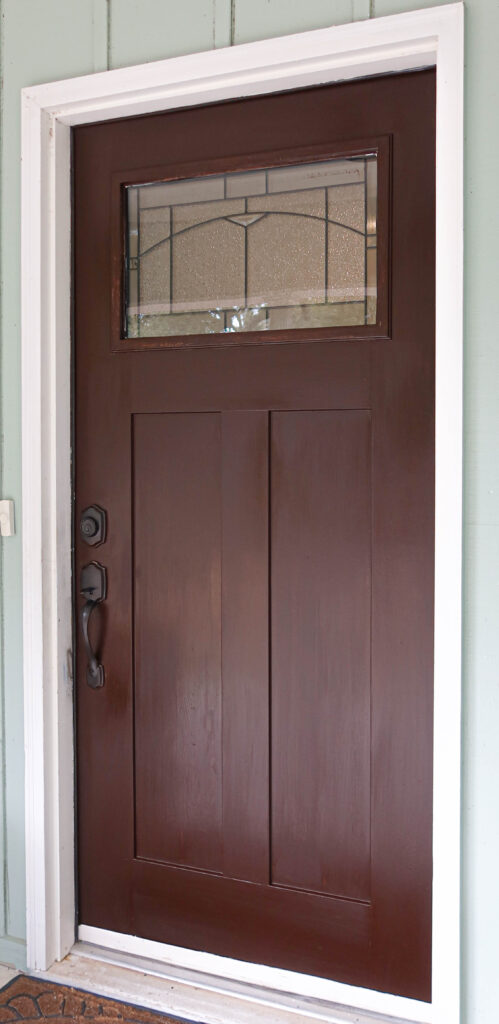
Here is what it looked like after the final gel stain coat with the chip brush.
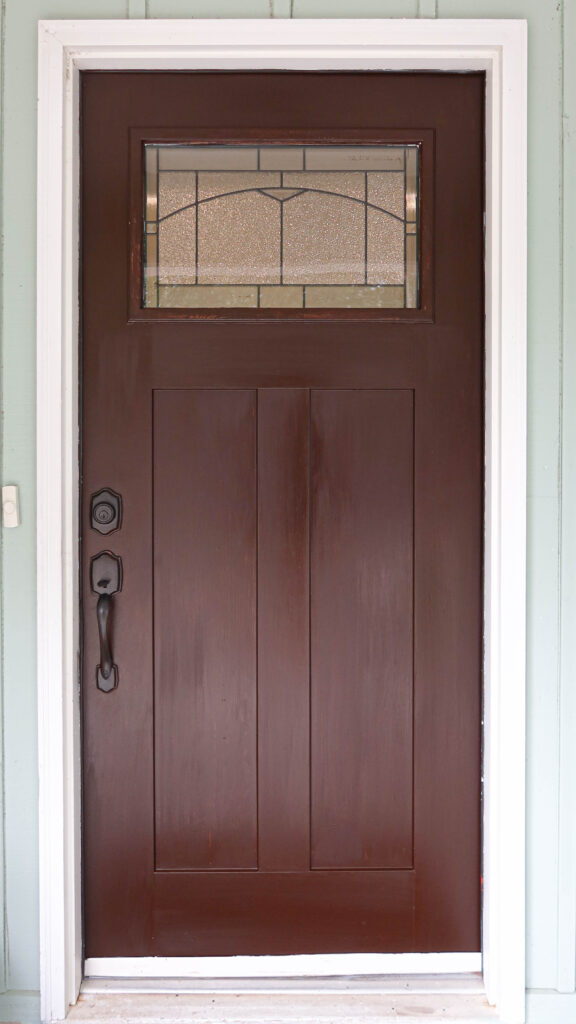
It’s not perfect but better than when I started this project!

If you look closely you can see a little bit of the wood grain layer shining through. Maybe? LOL.
Do you need to seal a stained fiberglass door?
Once your wood stain has dried completely, It’s best to seal the surface with a clear sealant. This will help protect your newly stained door from scratches and wear and tear over time. Use the recommended sealer from the manufacturer of the wood stain you used.
Making a fiberglass door look like stained wood is an easy and inexpensive way to add some rustic charm to your home. With just a few simple steps and some basic materials, you can transform any piece of fiberglass into something that looks just like real stained wood!
I hope my tutorial and video will help you create a lovely faux wood look for your fiberglass door. Like I said earlier, this project didn’t come without mistakes or things I would do differently. That being said, I do feel like it looks better than how it started. In my book, that’s a win.
Lindsey**


