I know what you’re thinking, “another rain gutter bookshelf idea?” I know this idea is so “yesterday” on Pinterest, but hear me out. I’ve scoured Pinterest and the web for rain gutter bookshelves that DON’T look like rain gutters. There aren’t any!
Well, friends, I decided I would make my own and make sure these DIY bookshelves actually looked great too! I’m going to share with you my own twist on the DIY rain gutter bookshelves for under $10!
Using vinyl gutters, you can create sleek, space-saving shelves that are both safe and stylish. These shelves are especially great for a child’s room, where easy access to picture books encourages reading and independence.
Let’s start with how to make the rain gutter bookshelves.
I’m gearing up to start my daughters bedroom makeover, and on the top of the to do list is organizing a place for her books. Her room is small, and I need to create more floor space. This means the books need to be up on the wall and off of the floor! I thought about buying a shelf, but then why would I do that when I can make my own for a fraction of the cost!
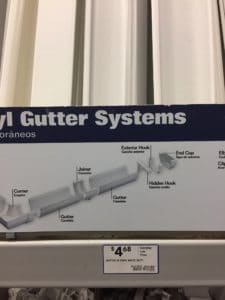
To start, you’ll need a few simple materials that I’ve shared below: bottom shelf plastic rain gutters, gutter brackets, wall anchors, and end caps. Vinyl gutters are lightweight and easy to cut, making them ideal for this project. Begin by measuring your wall space and cutting the gutters to your desired length. Don’t forget the gutter brackets or wall anchors!
Disclosure; this post contains affiliate links. As an Amazon Associate I earn from qualifying purchases. This disclosure statement refers to the rest of the Amazon links in this post. See more on my disclosure page.
Materials for the DIY book ledge:
- Rain gutter– I bought one PLASTIC 10′ piece from Home Depot with the idea to cut five 2′ bookshelves.
- End Caps (optional)
- Measuring tape
- pencil or pen
- Jig Saw
- Medium to fine grit sand paper
- Paint
- Paint brush
- Drill
- Drywall screws
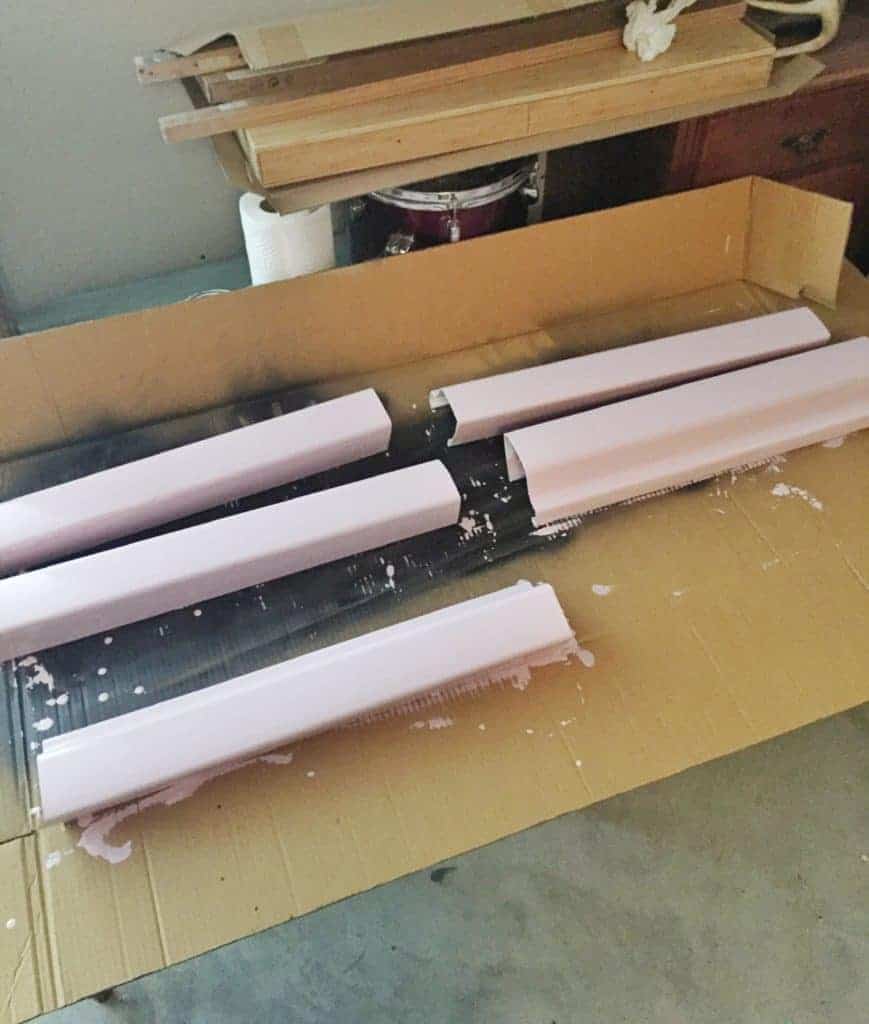
While at the hardware store I had one of the associates cut the 10′ gutter so I had one 4′ piece and then another 6′ piece. This allowed me to get it in my car (and one less cut I had to make).
How to make DIY rain gutter bookshelves
- The first thing I did when I got home was to make the cuts with my Jig Saw.
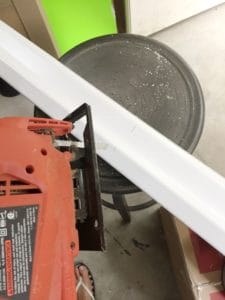
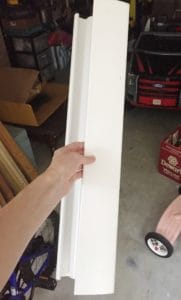
- Once I had five 2′ gutters cut, I sanded the edges.
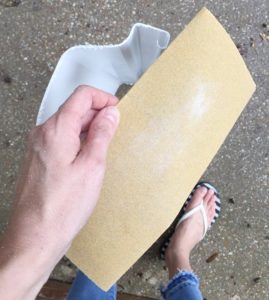
- After the edges were good and smooth (don’t want the little ones getting cut or snagged), wipe the gutters down to make sure all the dust is gone.
- Time to paint the rain gutter bookshelves!
How do you paint a plastic rain gutter?
Well friends, I’ve painted a lot of “non paintable” surfaces and I’ve learned one valuable lesson:
Duh…. I know this seams like a no brainer but I know so many people who skip this step.
DON’T!
Did I ever tell you I’m a lazy DIYer? You might already be able to see this, but if you haven’t, well, there it is!
Because I’m a lazy DIYer, I decided to try a new type of paint that includes primer AND paint in one. I got this at Lowe’s.
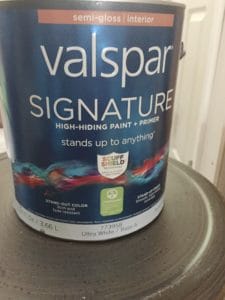
I’ve always been a little leery about trying an ALL IN ONE paint, but I’m all about trying new things, especially if it makes my life easier.
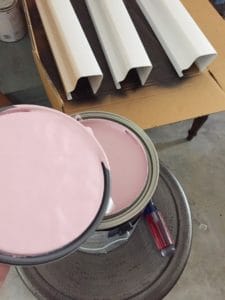
Pretty pink!
Painting here we go…….
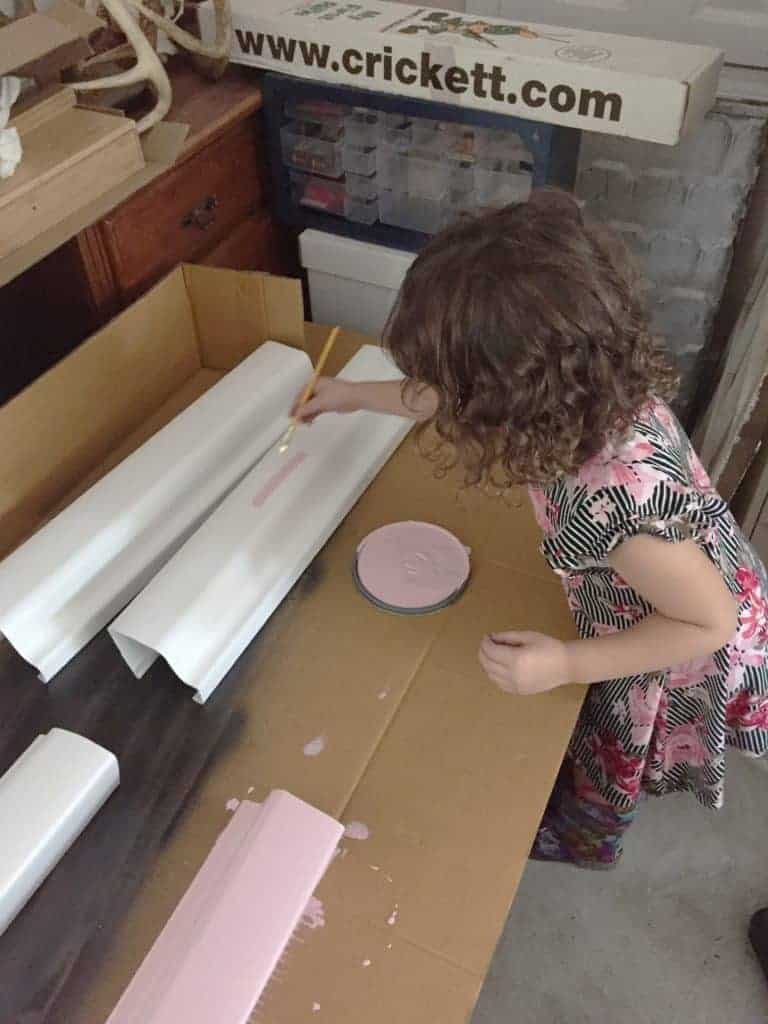
My sweet little helper.
Believe it or not this paint went on really smooth and stuck really well on the first coat!
Wahoo!
I always suggest two coats, even when it looks good after the first.
Two coats down and they are looking really good! Now it’s time to install.
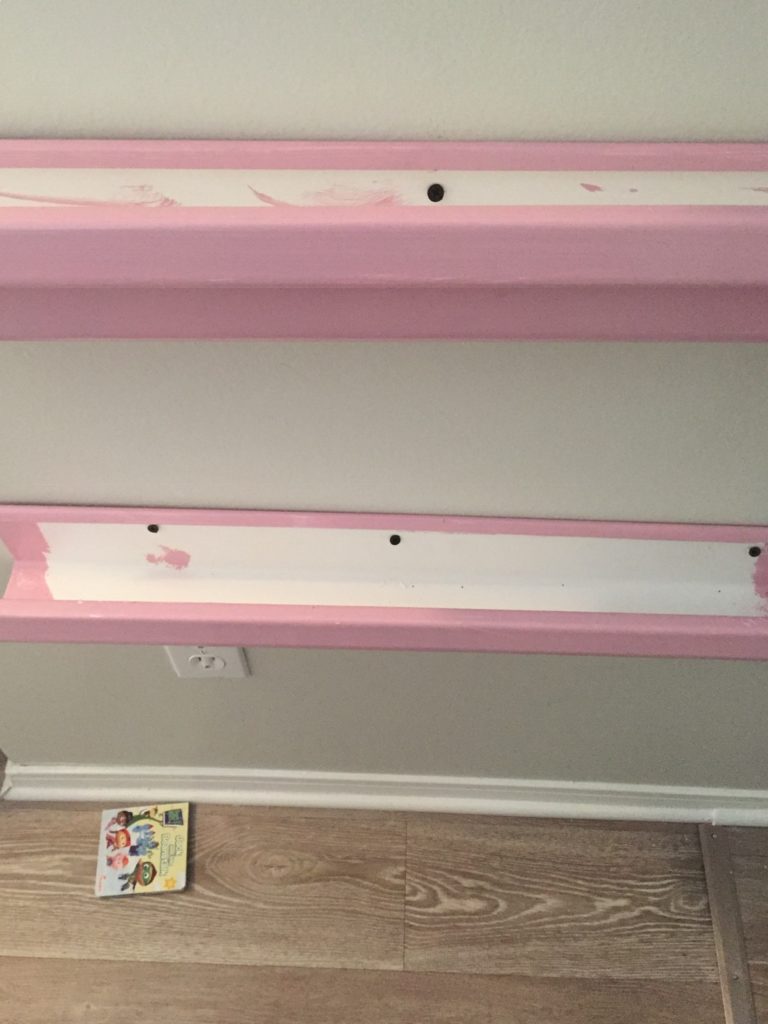
- Before I drilled anything into the wall, I found a stud. I used a drill bit to drill through the rain gutter and into the wall where the stud was.
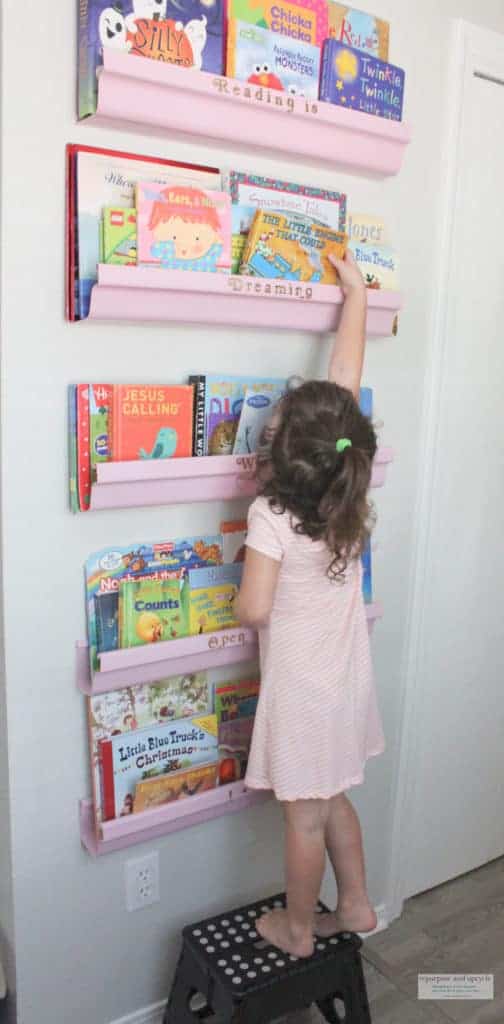
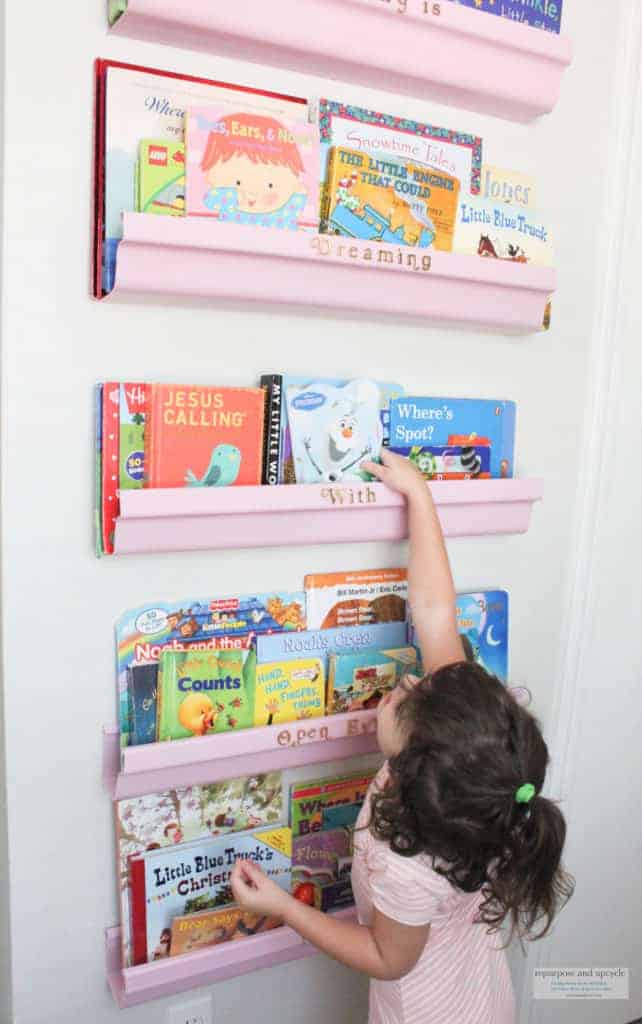
- I started by installing the bottom bookshelf. I then added a tall book in the shelf and measured to see where the next shelf should go. I kept the measurements the same for the rest of the shelves.
- After hanging each rain gutter shelf with one screw, I went back and added two more screws to each shelf.
When I was done, each shelf had three drywall screws.
I’m guessing you noticed that I didn’t paint the inside of the book shelves before install.
I decided to paint the inside after they were installed on the wall so I could touch up paint if I needed too.
If I had to do it over again, I would have painted the inside before I installed. This might seem like a no brainer to some of you, but at the time I thought it was a good idea. 🙂
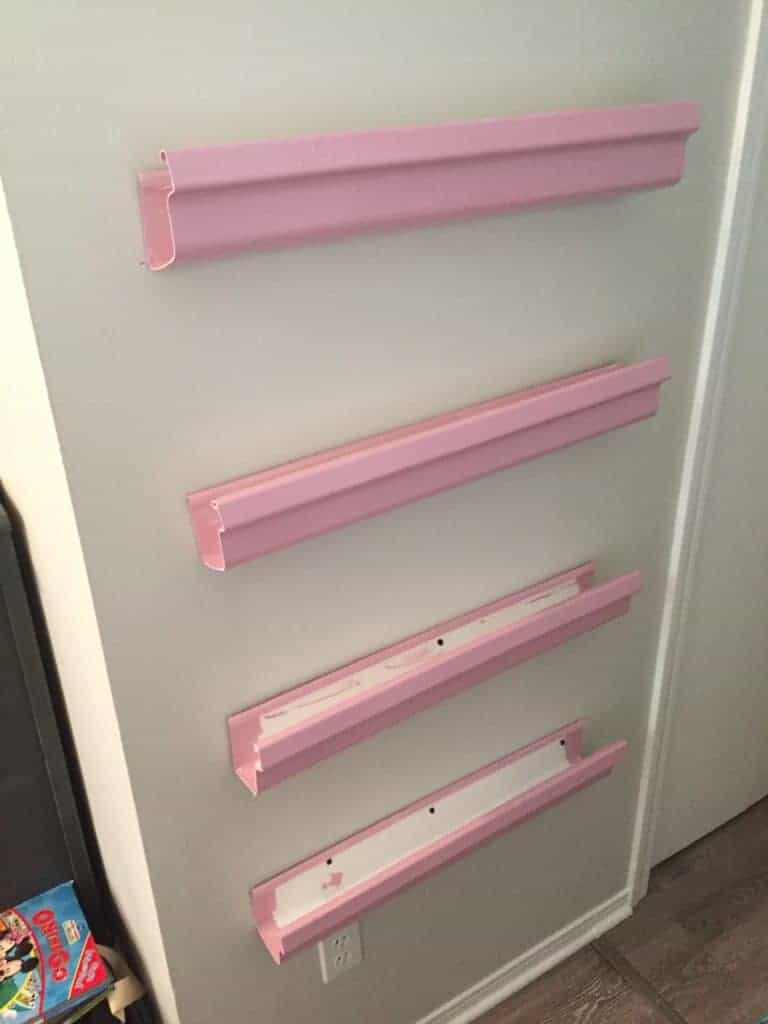
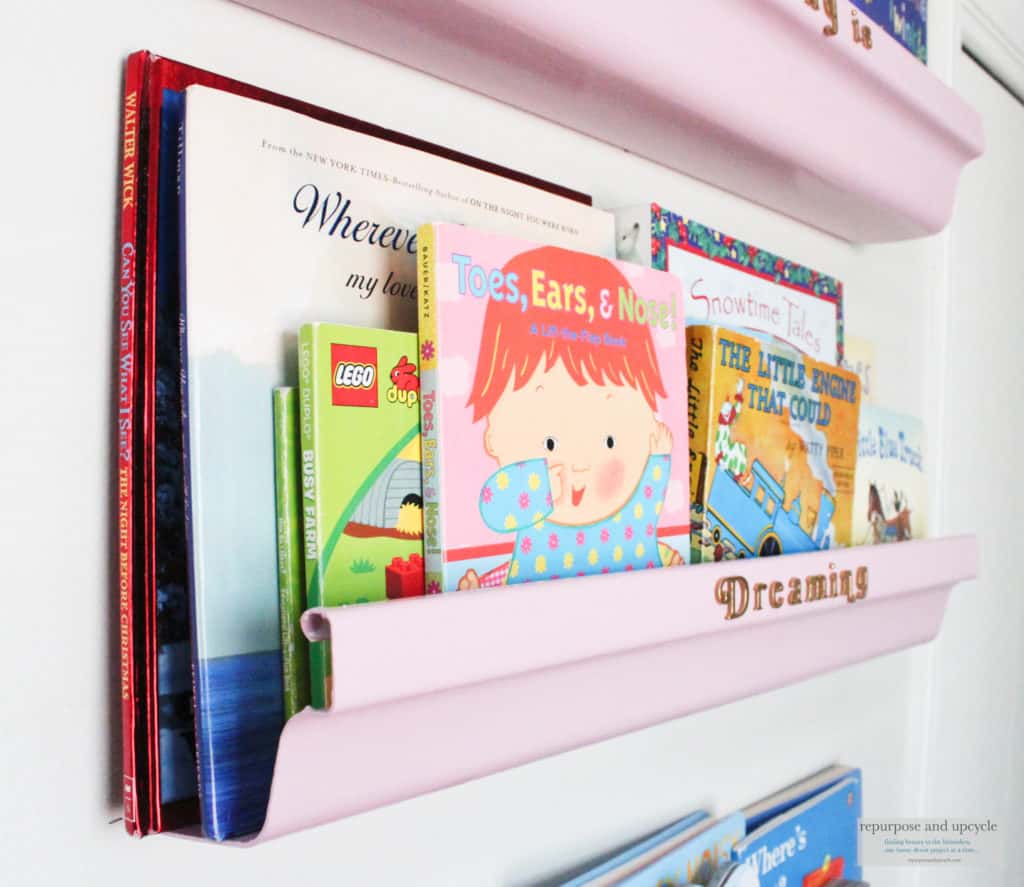
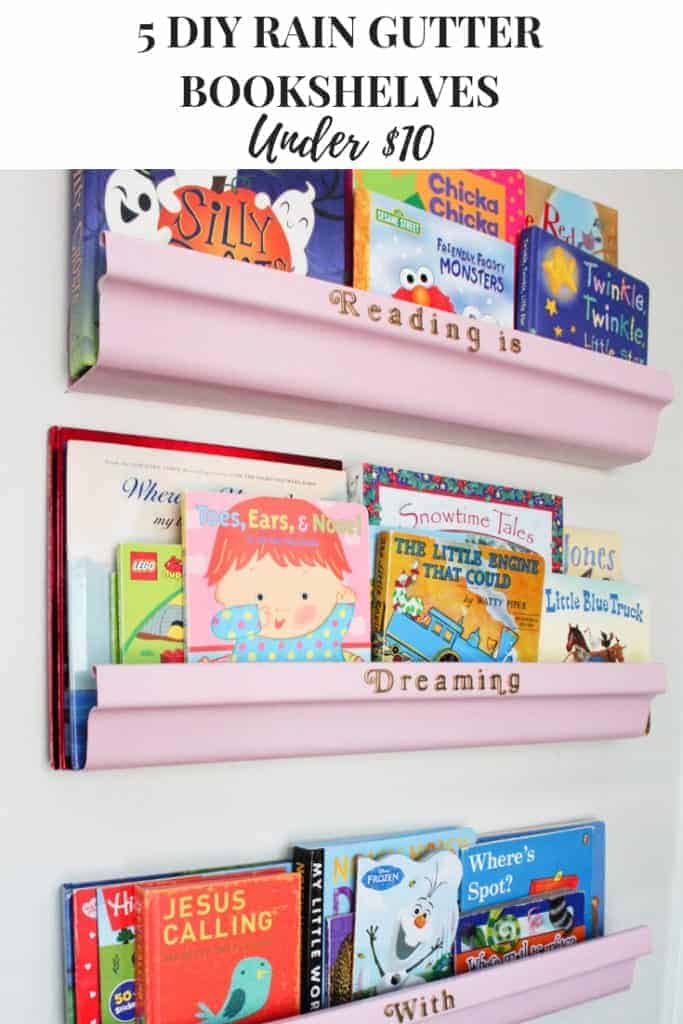
Just a side note: I had every intention to purchase the end caps for the rain gutters, but they just happened to be out at the hardware store on the day I was there (always seems like my luck 🙁 ) I decided to proceed with my little DIY and add the end caps later….or so I thought. After I added the final coat of paint to the gutters and placed the books in their shelves, I kind of liked the shelves without the end caps! Since they are plastic, I don’t have to worry too much about injuries.
- A few more coats of paint to the inside and I was almost done.
Now for the fun part…
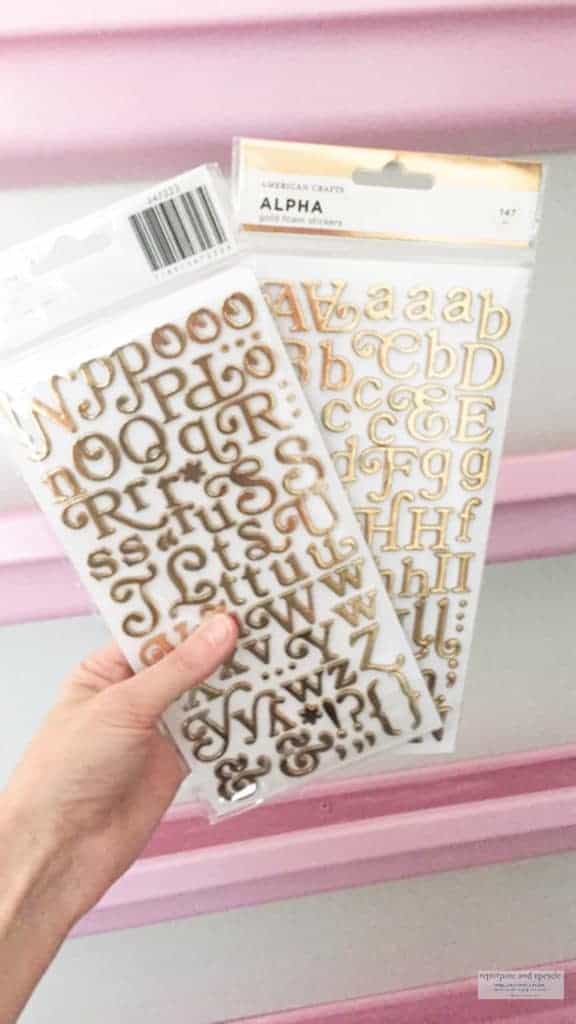
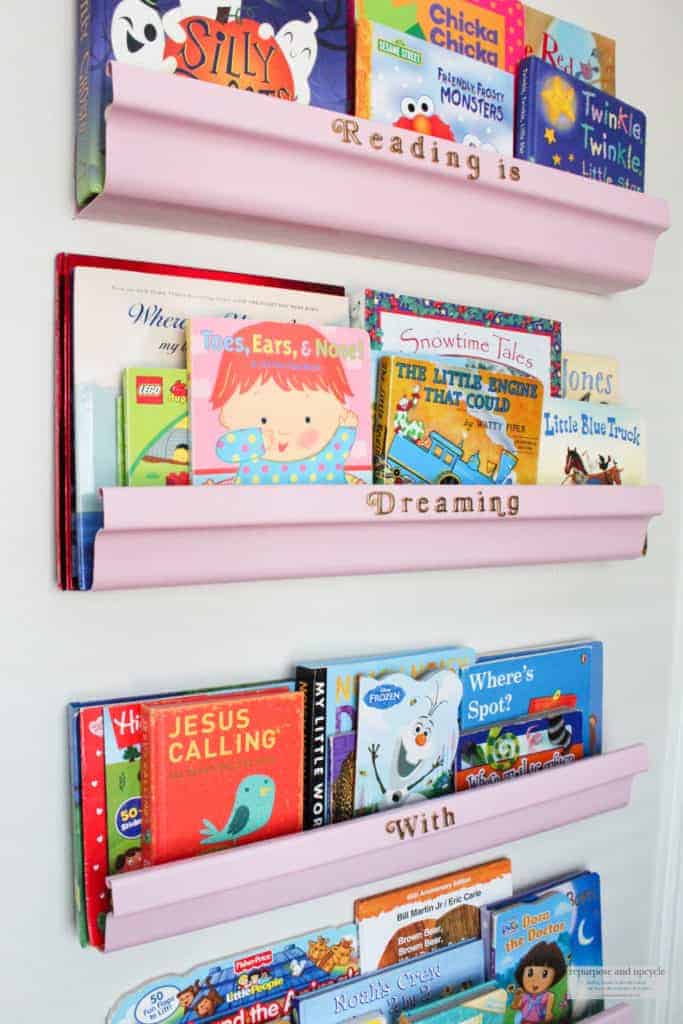
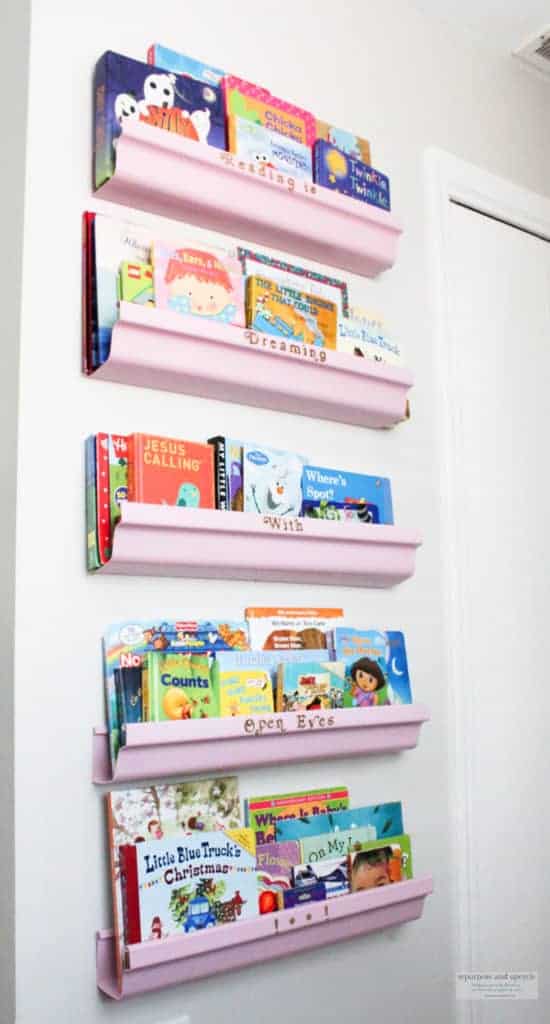
“Reading is dreaming with open eyes.”
I knew this cute quote would be the finishing piece to my DIY rain gutter shelves. I found these stickers at Target.
DIY rain gutter bookshelves
These vinyl gutters can hold picture books, board books, and even small toys, keeping everything neat and within reach. Plus, the smooth plastic surface makes cleanup a breeze, which is always a win in a busy household. These shelves are great for a kids’ playroom, reading nook, or any old kid’s room.
I’m no stranger to creating my own DIY open shelving. I’ve been DIY’ing shelves for years. I even shared how to style them in my post.
Happy DIYing! Thanks for stopping by.
Lindsey**


