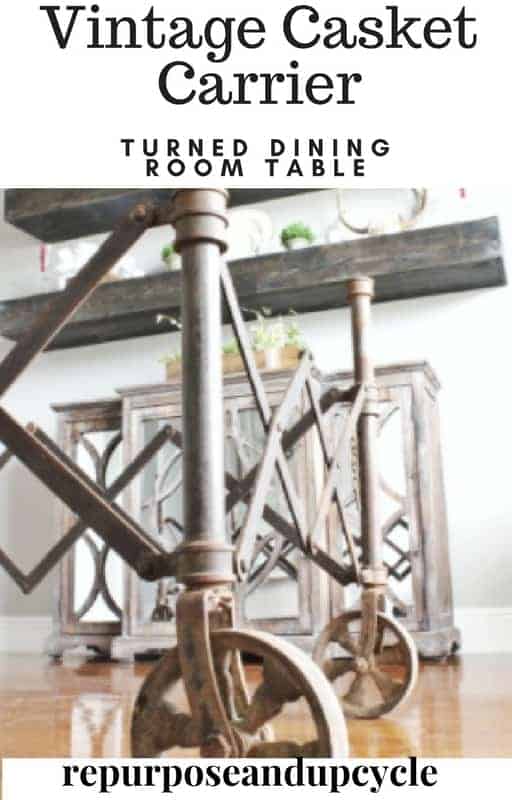
See how I repurposed a vintage casket carrier into a dining room table base and created a new dining room table!
My husband thinks I’m crazy with my repurposing ideas….and this little project is proof that I might just be (kidding, sort of). It all started a few years after my mom purchased a dining room table that she decided wasn’t her style anymore. She bought this lovely dining table at a very expensive furniture store in town and later realized what the base of it used to be. Since you’ve read the title of this post you know what I’m referring to; a vintage casket carrier that I’ve repurposed as a dining room table base.
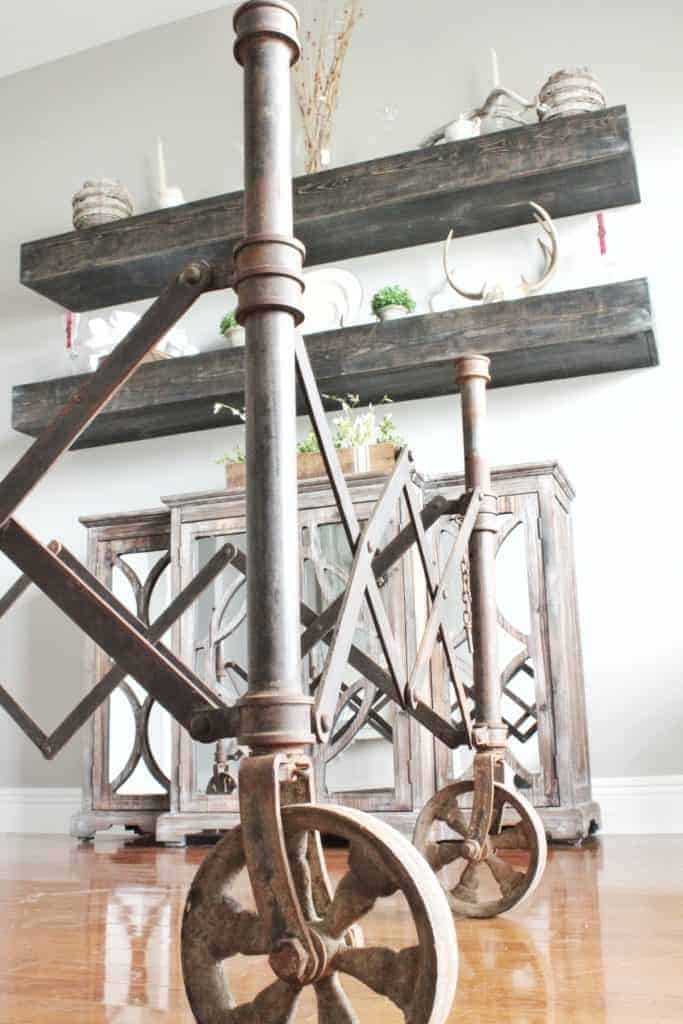
When my mom purchased this vintage Iron casket carrier, it came with a large piece of glass on top. It looked ok, but I knew when I got my hands on it I knew I would add a piece of wood to the top, not glass.
This antique casket carrier is rusty, industrial, vintage and HEAVY! It’s 100% iron and I love it.
Here’s what it looked like;
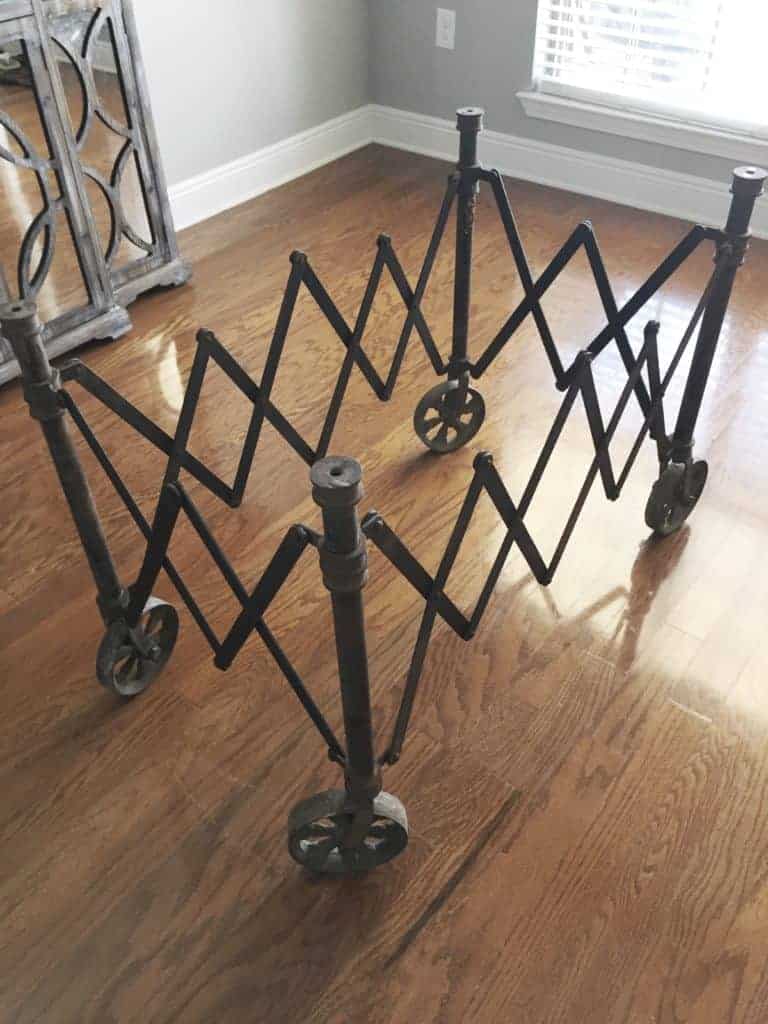
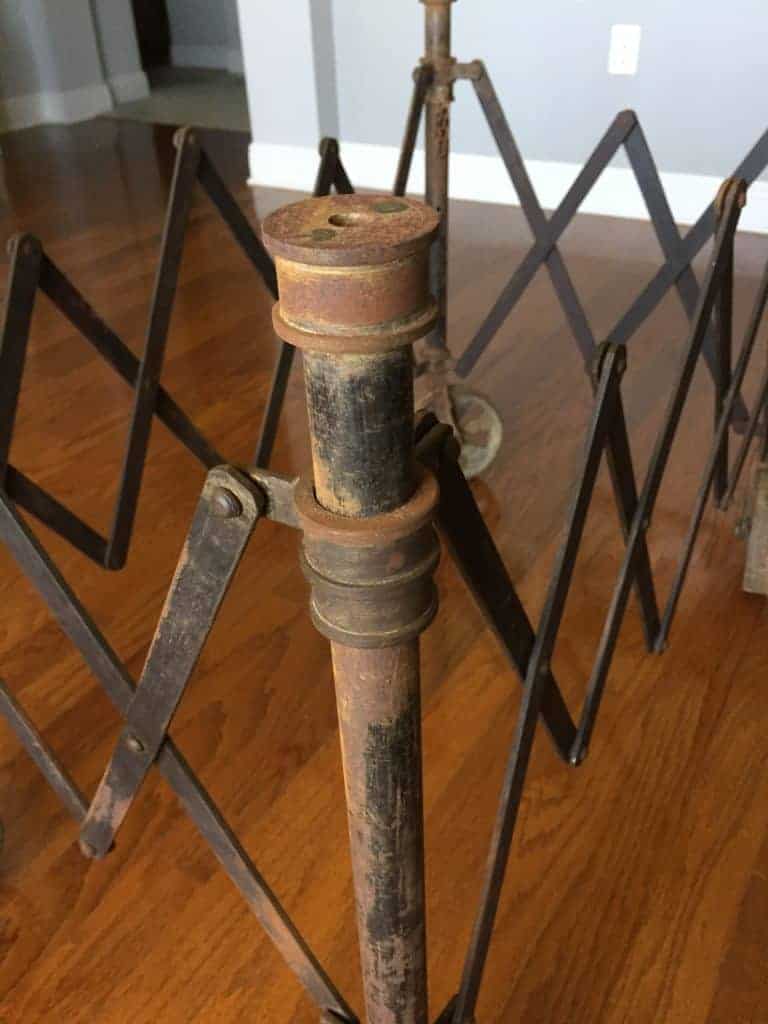
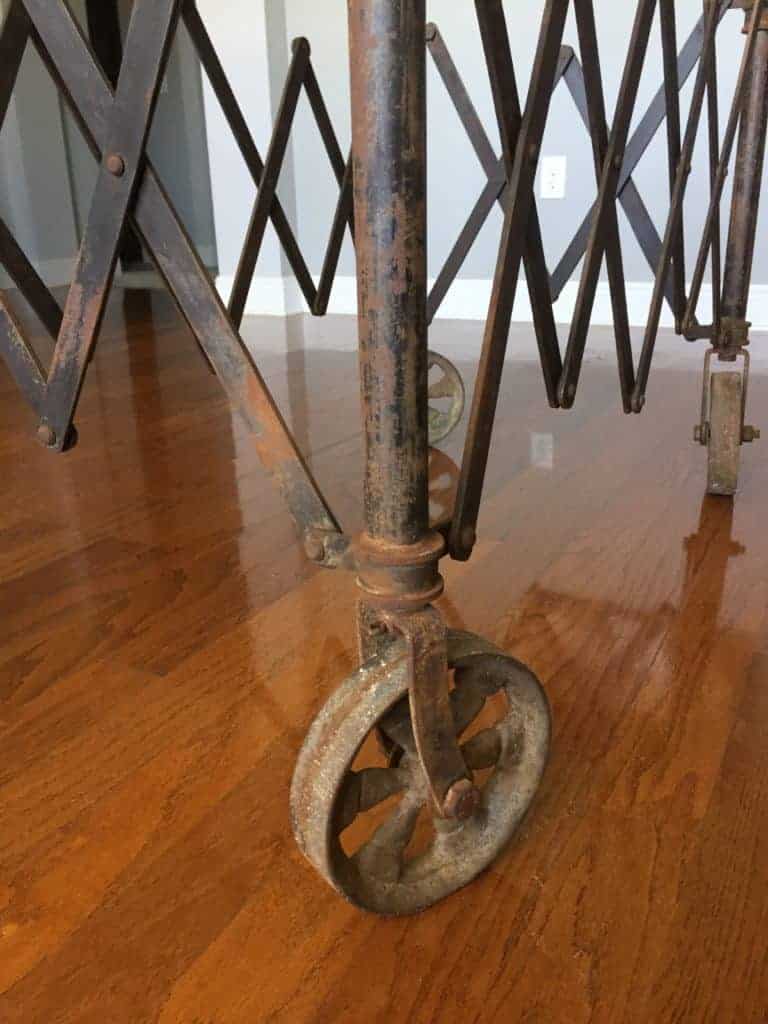
How fitting is it that I’ve added this table base to my dining room right in time for Halloween! Haha. My husband still can’t get used to the idea that this used to be a casket carrier, but I don’t see it that way. I guess that’s the antique and vintage lover in me. I see a solid piece of furniture with history and a story (maybe some stories I don’t want to know). But honestly, doesn’t that make life a little more interesting?
Back to the story of how I repurposed this vintage casket carrier into a dining room table.
How I created a dining table with a vintage casket carrier base
I had a local wood shop make a wood top and leave it unfinished so I could finish it how I wanted. I started by using a darker stain and finishing it with a “white wash” finish.
It was pretty, but I felt like it blended too well with the rest of the room. So I decided to turn the piece of wood over and create a new finish. This way I could have a “reversible table top.”

I decided that since this side was darker with lighter white wash, that I wanted the other side of the table top to be more of a barn wood look.
I used a “weathered” stain on the wood and left the knots in the wood exposed (or I didn’t do anything to cover them up).
After I finished the wood table top, I needed to decide how to attach the wood top to the casket carrier base. Honestly, I still haven’t finished this part. I’ve pretty much come to the conclusion that I will drill a large screw or maybe a bolt from the wood top down through the holes on the base. Here is another picture of the holes in the casket carrier base.
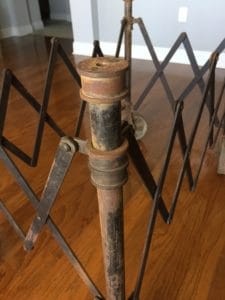
I’m all ears if anyone has another idea. I guess I’m a little nervous to drill through the top of the table, because once it’s done, there is no turning back.
So for now, I’ve styled my repurposed dining room table and taken pictures, but we have yet to use it until I figure out how to attach the top to the base.
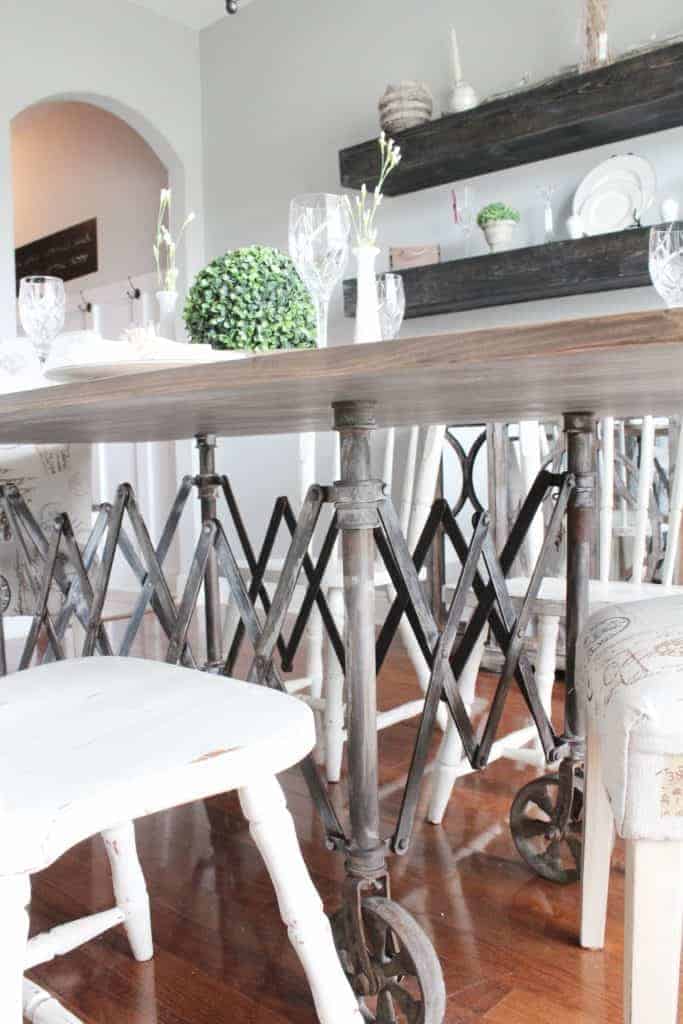
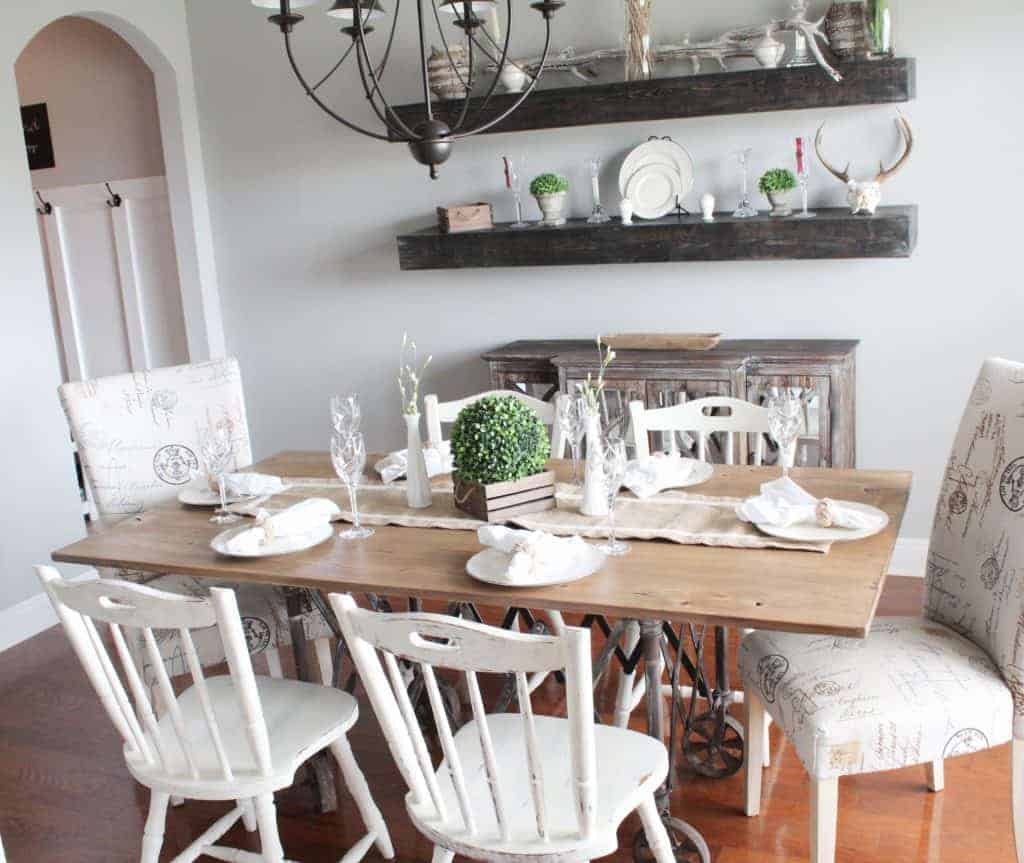
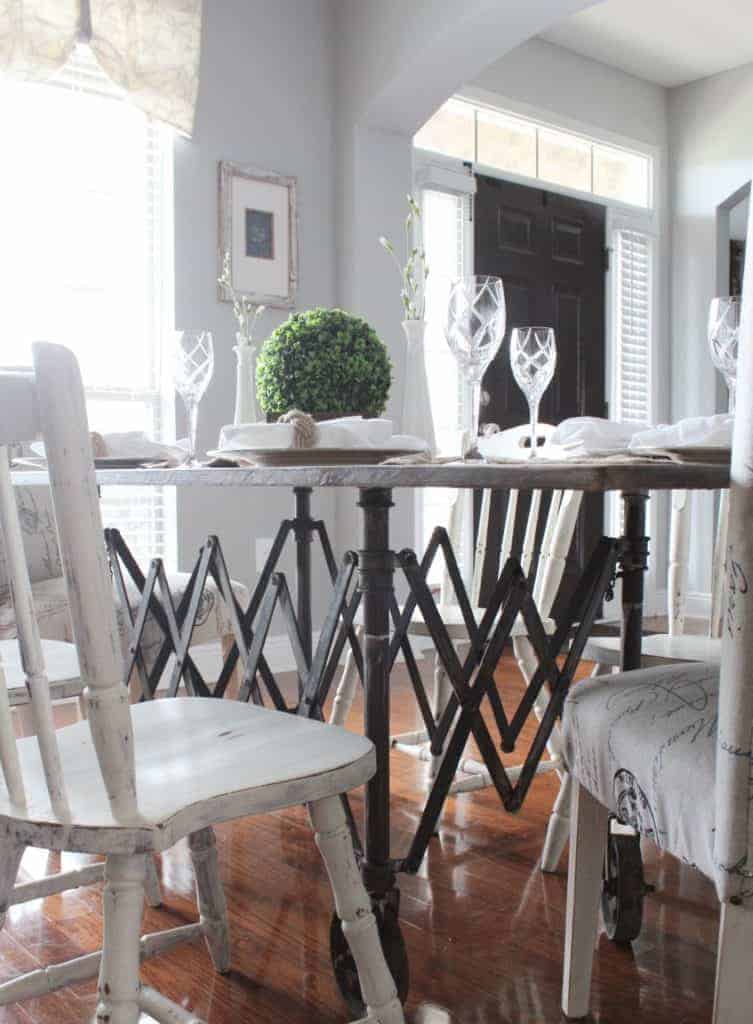
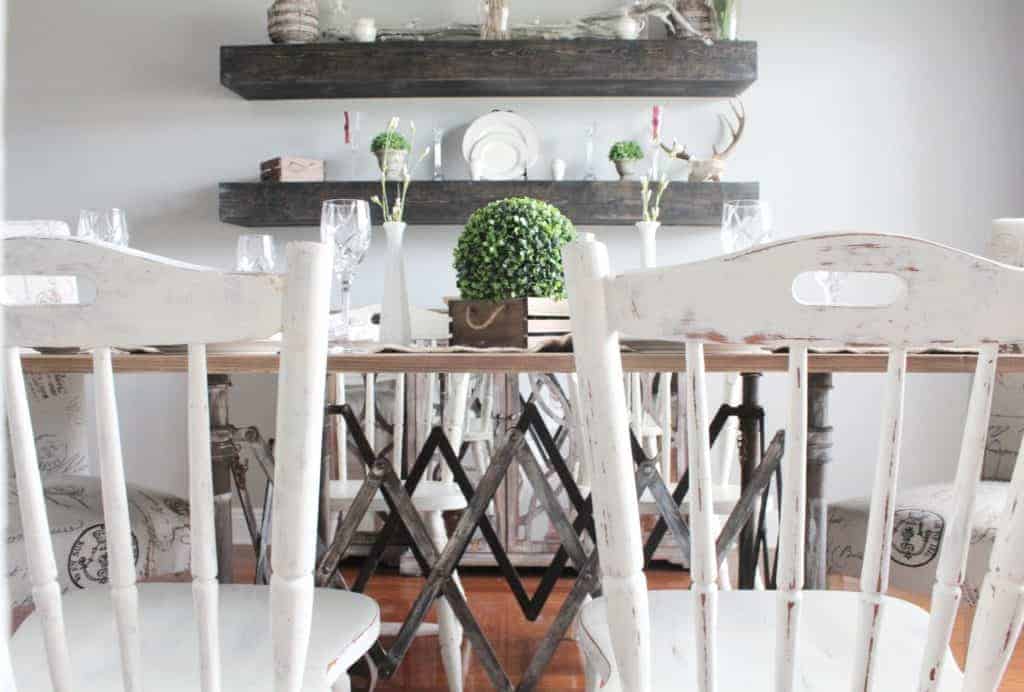
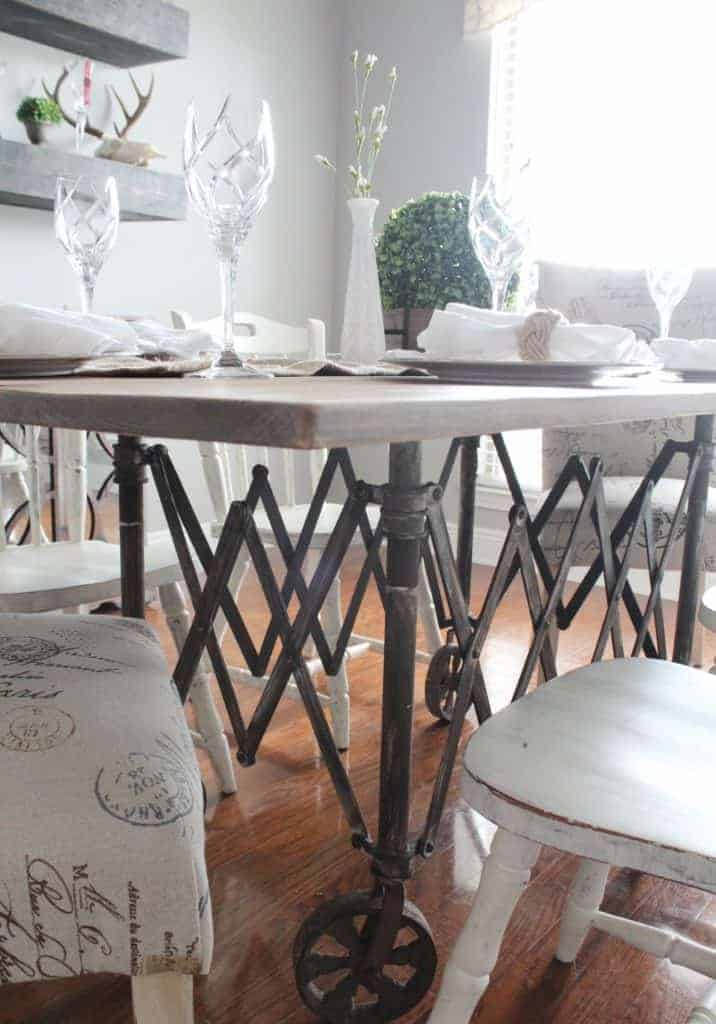
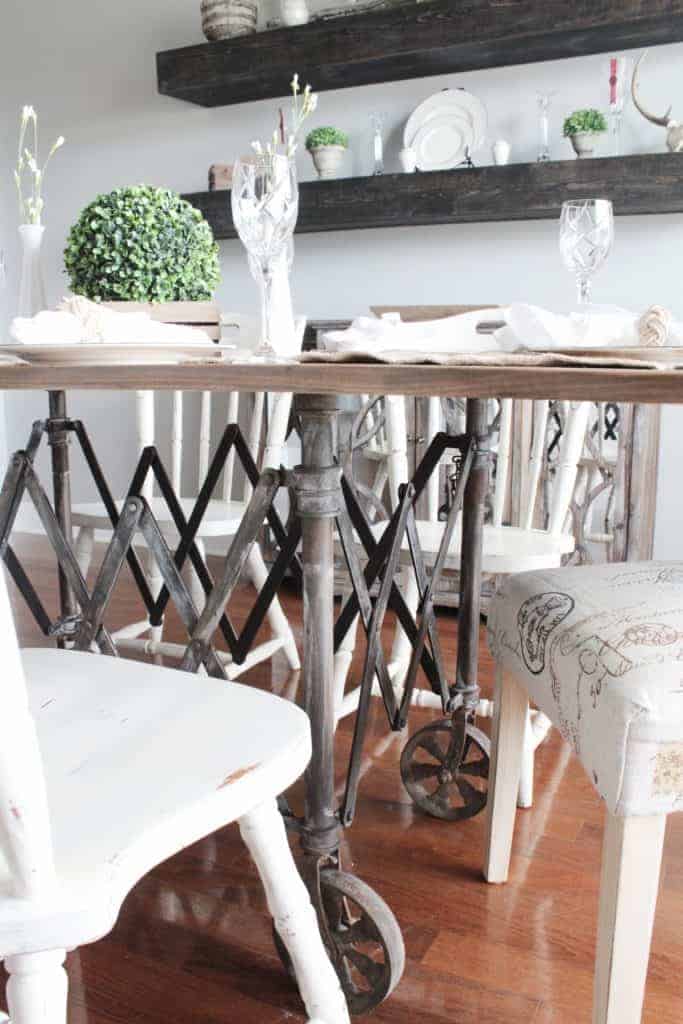

What do y’all think? The more I look at it, the more I think it might be better suited as an outdoor table with metal chairs. My husband agrees with the outdoor table, but I’m not sure if it’s because he is still spooked by the idea of the casket carrier base (LOL). You know me, I’m always changing things around.
Would you be spooked by the idea of eating on a vintage casket carrier table base? Or does it make the table a little more interesting?
Want to see more creative DIY table leg ideas? I’ve got you covered.
RELATED POSTS:
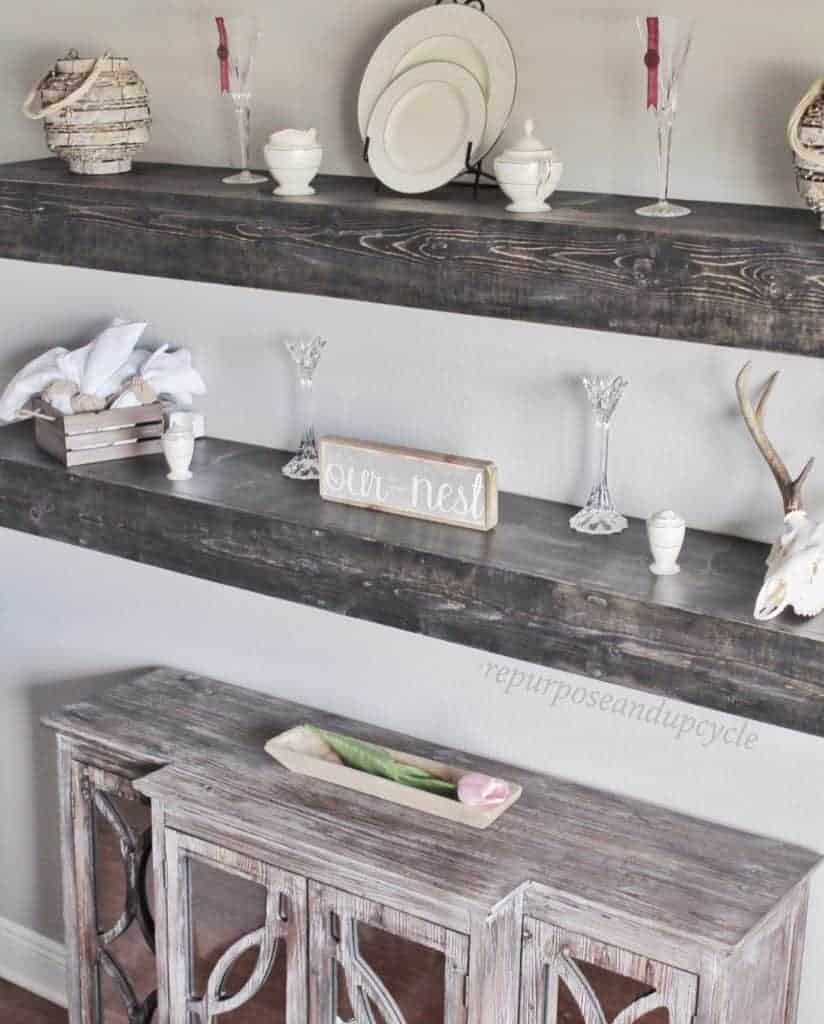
DIY Floating Dining Room Shelves
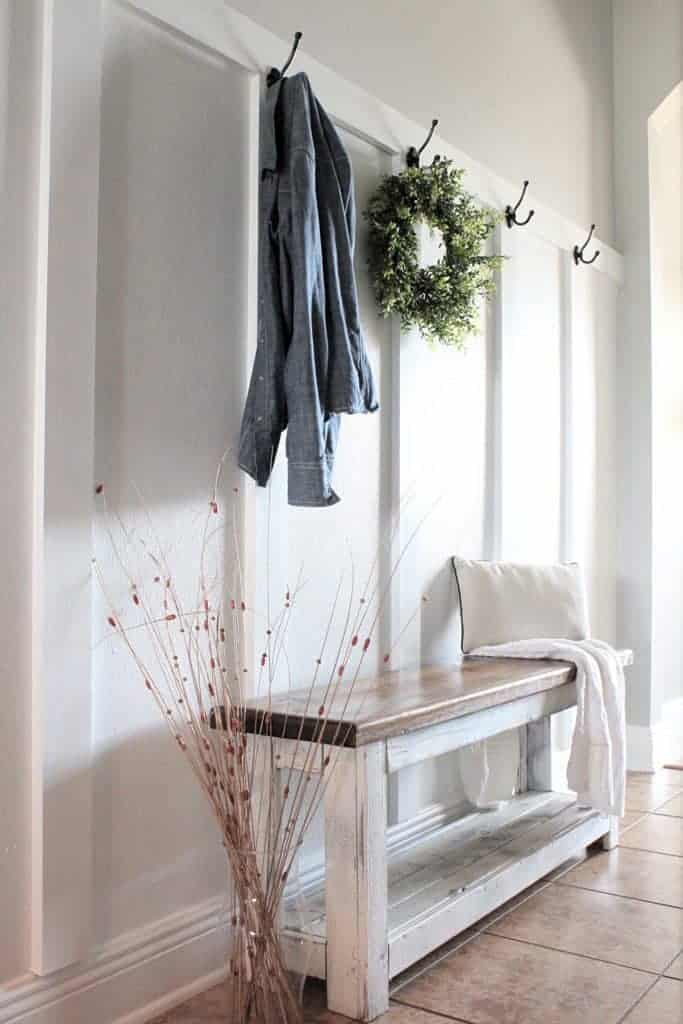
The Easiest Board and Batten for my Modern Farmhouse Mudroom
Lindsey**


