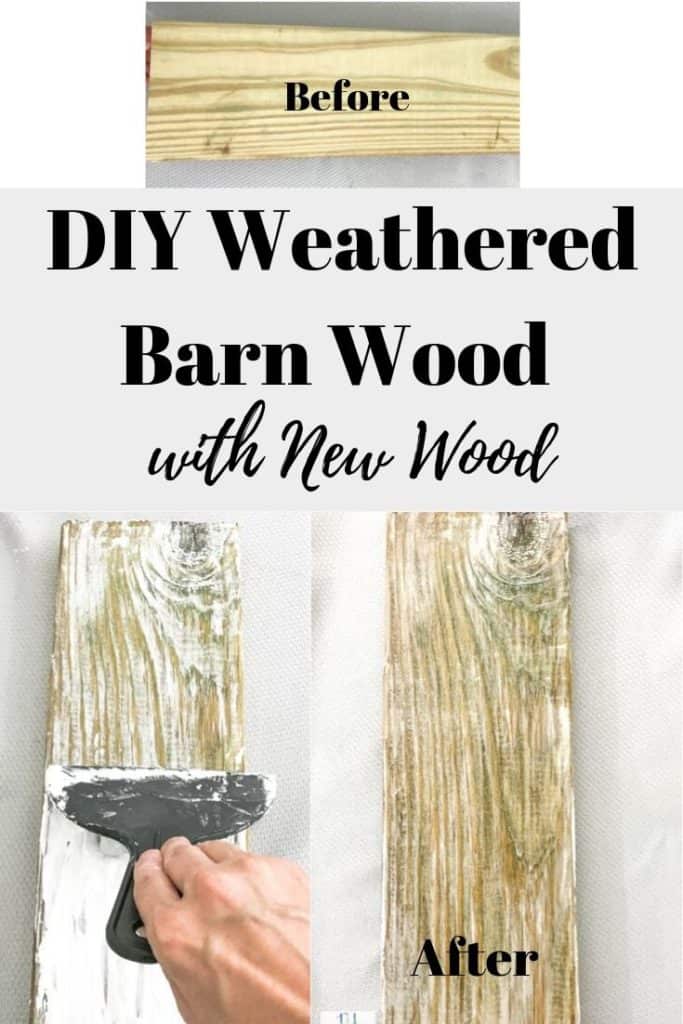
Many people enjoy the rustic charm of weathered wood but prefer the convenience and consistency of new materials. By using a simple technique with joint compound, new wood can be transformed to mimic the aged, textured look of old barn boards.
This method works best on wood with pronounced grain, highlighting the weathered effect regardless of the wood type. It provides an accessible way to bring character and warmth to new or even faux wood surfaces.
Supplies Required for Crafting Weathered Barn Wood
- Wood surface ready for aging
- Wood stain for color and depth
- Rag or brush used to apply stain
- Putty knives for texture work
- Joint compound to add dimension
- Paper towels for cleanup and blending
How to Give New Wood an Aged, Whitewashed Look Using Joint Compound
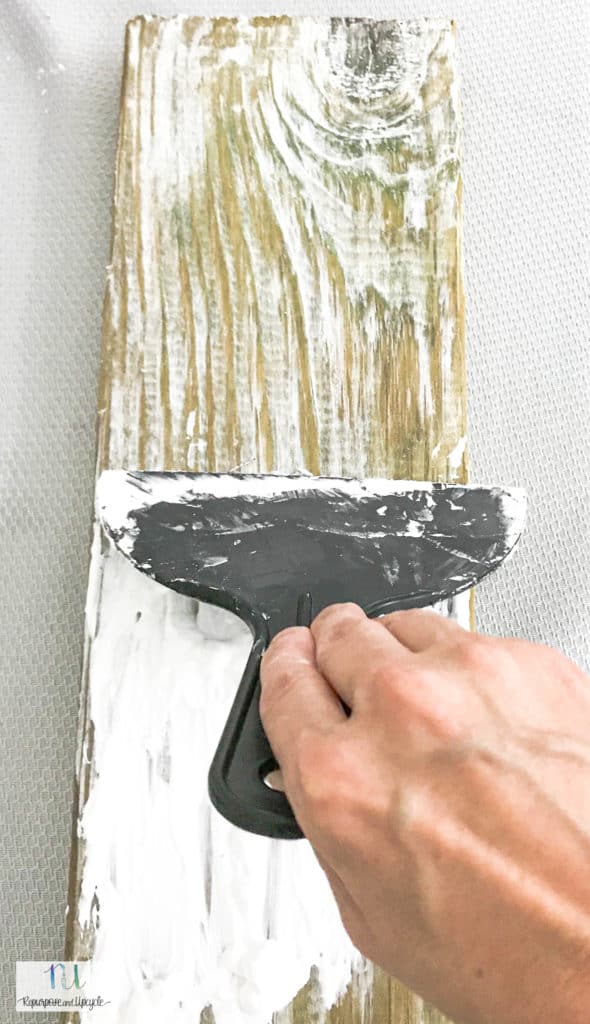
- First, stain the wood in the desired color and allow it to dry fully. Using a putty knife, spread a generous layer of joint compound along the grain of the wood.
- Next, scrape most of the joint compound off with the putty knife, moving in the same direction as the wood grain. This technique creates a textured, weathered appearance.
- After scraping, wipe the surface with a lint-free cloth or paper towel to remove remaining residue. A damp cloth can be used to adjust how much joint compound stays on the wood until the look is just right.
- Let the wood dry for at least an hour before handling. If the aged effect isn’t strong enough, repeat the process by applying and scraping additional joint compound layers.
Tips for best results:
- Move the putty knife carefully to avoid removing too much compound at once.
- Experiment with the amount of compound left on the surface for different effects.
- Use a stain color that complements the weathered look you want to achieve.
| Step | Action | Notes |
|---|---|---|
| 1 | Stain wood and dry fully | Choose a suitable wood stain |
| 2 | Apply joint compound with putty knife | Follow wood grain direction |
| 3 | Scrape off most compound | Use putty knife, same grain |
| 4 | Wipe with cloth | Wet cloth for fine control |
| 5 | Wait 1+ hour to dry | Prevent smudging |
| 6 (optional) | Repeat process for stronger aged look | Layer build-up enhances texture |
This method offers an easy way to make new wood appear naturally worn and whitewashed with textured depth.
Can This Weathered Wood Method Be Used on Treated or Outdoor Wood Furniture?
This technique can be applied to treated wood, including wood designed for outdoor use. The key point is ensuring the wood is fully dry before starting any paint, stain, or finishing process. Applying finishes on damp treated wood can lead to poor adhesion and durability.
To check dryness, a simple water test works well: sprinkle water on the surface. If the water soaks in within about 10 minutes, the wood is ready. If water beads up or pools, the wood needs more drying time.
For outdoor furniture, adding a protective sealer after weathering helps maintain the finish and prevents damage from moisture. This step extends the life of the treated wood when exposed to outdoor conditions.
Tips for Success:
- Use pressure-treated wood that has dried completely.
- Perform the water absorption test before starting.
- Seal the wood after finishing for long-lasting results outdoors.
- Work in a well-ventilated, dry area to speed up drying.
Following these steps allows you to achieve a weathered look while keeping your outdoor pieces protected.
Disclosure; this post contains affiliate links. As an Amazon Associate I earn from qualifying purchases. This disclosure statement refers to the rest of the Amazon links in this post. See more on my disclosure page.
I’m using joint compound for this project, but you can also use plaster of paris.
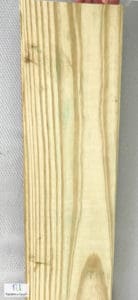
The picture below is the new wood (scrap piece of deck wood) before this awesome aged treatment has been applied. This was a scrap piece of wood we had in the garage. Sometimes scraps make the best project pieces!
Since this post was written I’ve received a lot of questions about applying this weathered wood technique to a treated piece of lumber. Does it work? Can this technique hold up outside? I’ll answer this questions at the end of the post.
To stain this piece of scrap wood I used a Minwax weathered Oak stain.
I won’t go into details about how to stain or dye wood. You can refer to my post I created about using wood stain vs. wood dye.
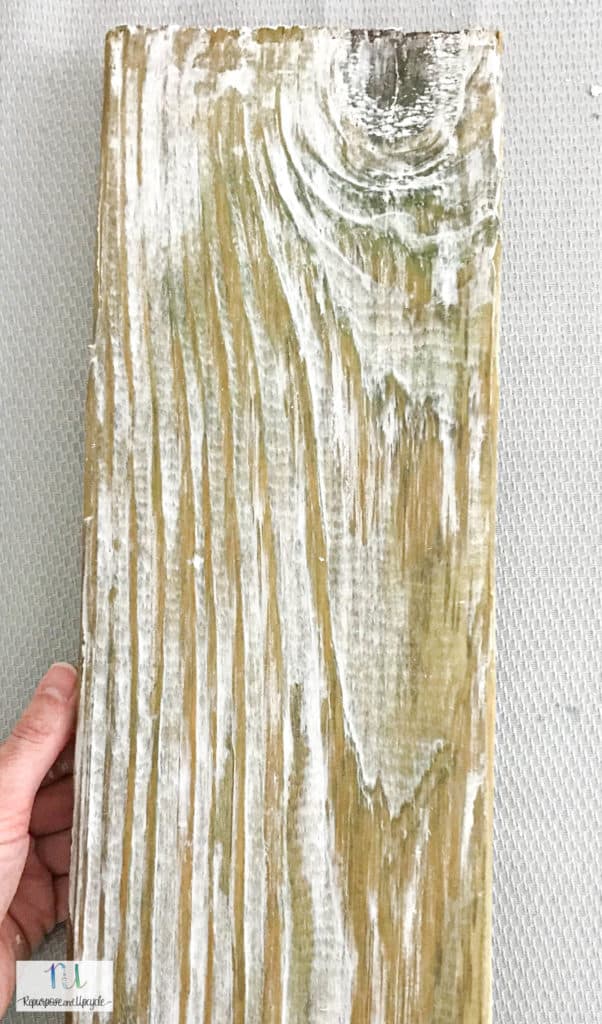
Below is what the wood looked like while scraping a few layers of joint compound off of it.
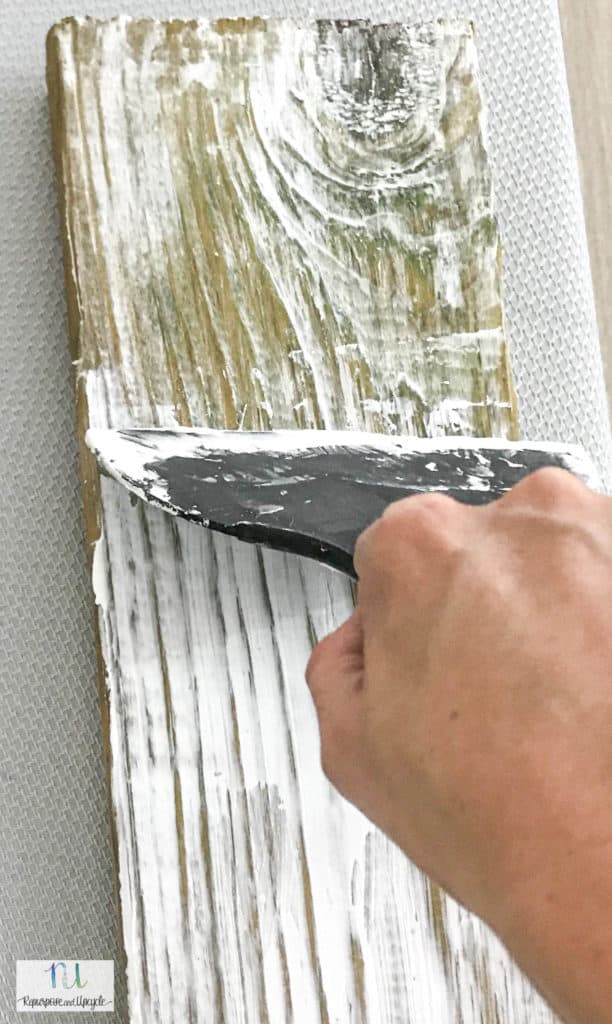
You can see how the joint compound is starting to make the wood look weathered. I’m loving it so far!
Pictured above is what the wood looked like after about ten minutes of removing the excess joint compound.
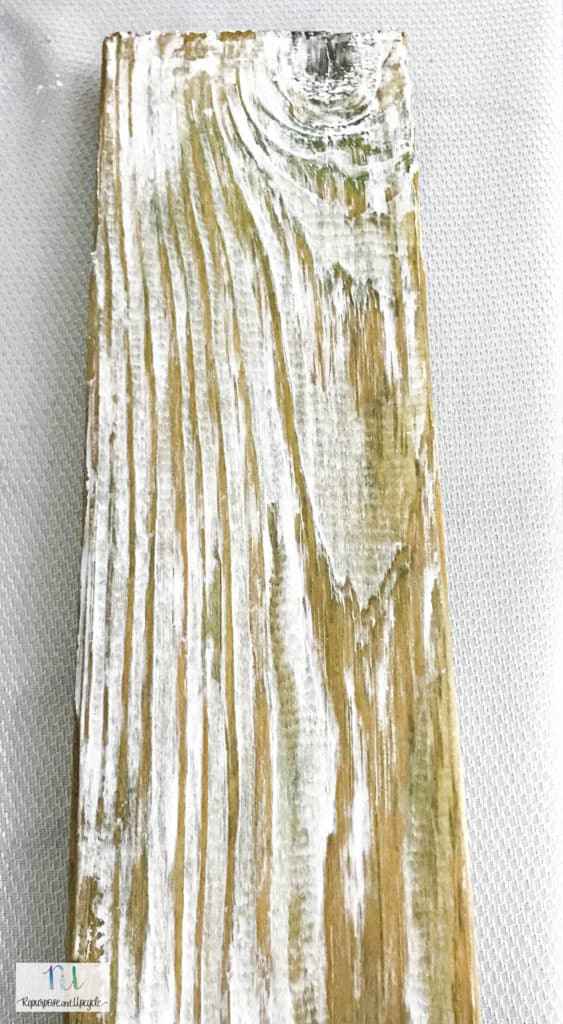
Below is the wood after about an hour that I removed the joint compound.
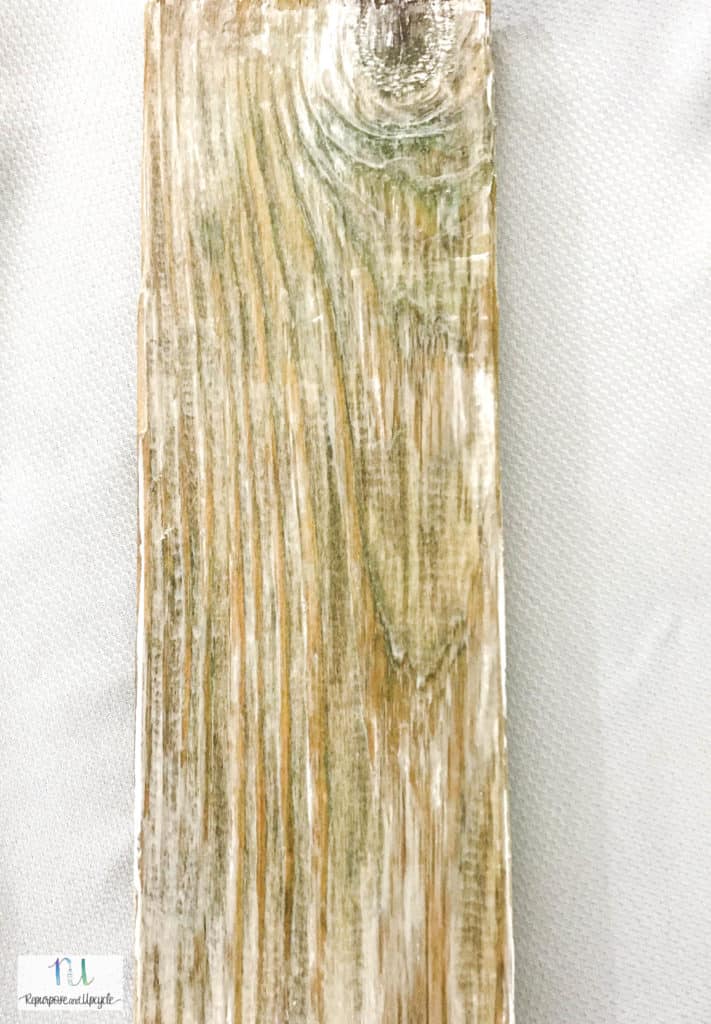
I love my “new weathered wood” now.
This wood project was so much fun because it didn’t cost me a dime or take much time at all!
Now I’ve got to find a piece of furniture or accent wall that I can apply this aged wood technique to. Wish me luck!
I hope I’ve created a simple and easy to follow tutorial. As always, let me know if you have any questions.
Thanks for stopping by!
Lindsey**


