Check out how I installed Shiplap paneling SHEETS in our master bedroom and I’ve discussed Shiplap PANELING SHEETS vs. Shiplap BOARDS.
Shiplap oh Shiplap. They say It’s slowly going out of style. Not even sure who they are, but that’s the word around the interior design street. That being said, I do think there is a certain home type that Shiplap will always be timeless in.
I do feel like our rustic beach cottage fits that Shiplap vibe well so today I’ll be showing you how I’m adding more Shiplap! This time I’ll be installing Shiplap paneling sheets as a master bedroom accent wall.
Before I dive into this project, let me first show you the different phases I’ve been through with this wall.
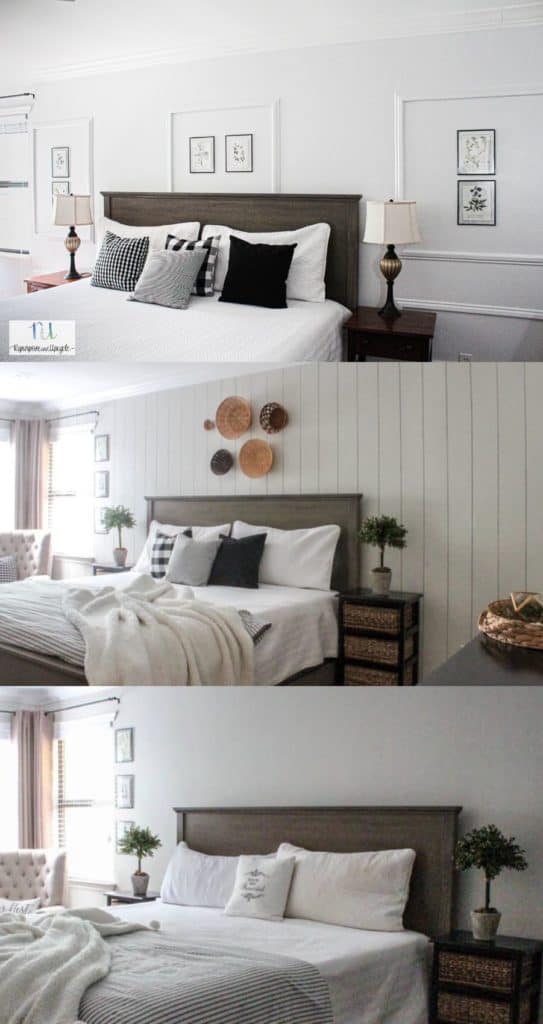

It started with a blank wall and then I decided to create a few vertical stripes with my Sharpie Shiplap. I loved the way it looked, but on a whim one day I decided I wanted something a little more classic. That’s when I opted to add picture moulding with peel and stick panels.
You are probably wondering why I’m going back to vertical shiplap.
As much as I loved the picture moulding classic look, the foam peel and stick panels were never 100% straight and to be honest, I just couldn’t get past that. That’s when I decided to take the plunge and remove them to add the Shiplap panels.


As you can see it did damage the wall. I used caulk around the panels trying to make it look more “real.” I think if I hadn’t used the caulk then it wouldn’t have created such a mess.

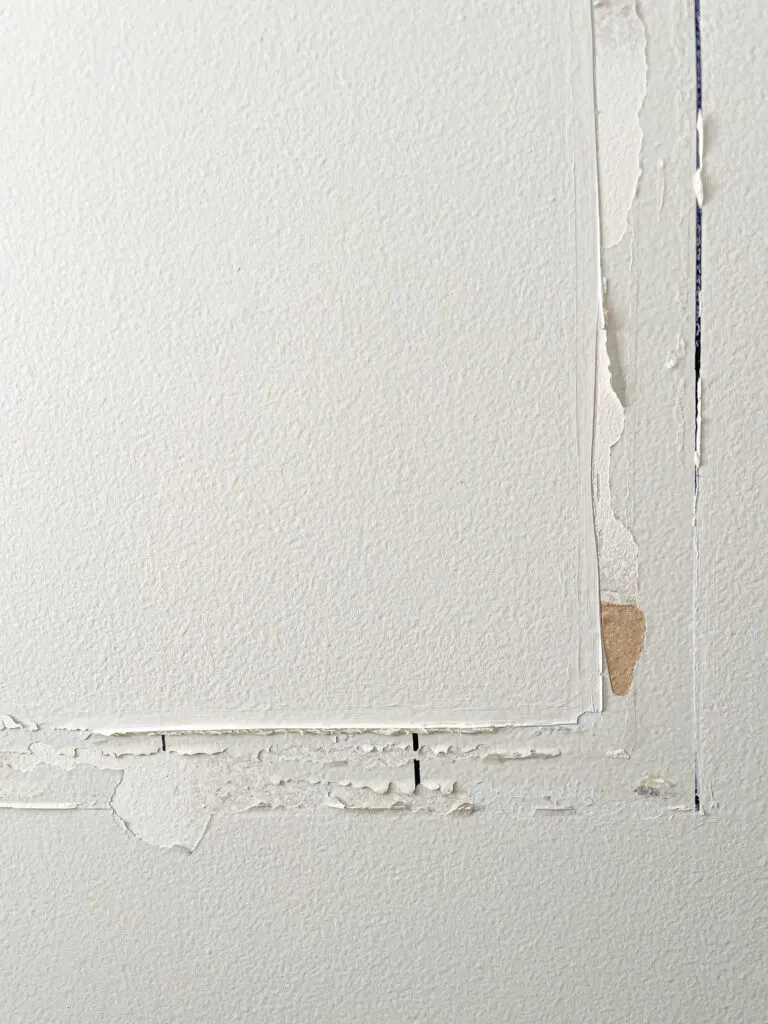
Ultimately I’m glad I did use the caulk because it worked for the time being. It made the peel and stick planks look more finished and real. That being said, if you are renting or only using it temporarily, DON’T CAULK AROUND YOUR PEEL AND STICK MOULDING.
Since I knew I would be adding Shiplap paneling sheets I wasn’t too worried about wrecking the wall.
I did, however, pull all the excess caulk and peeling pieces of drywall out to make sure the wall was as flat as I could get it.
Let’s talk about Shiplap boards vs Shiplap paneling now shall we?
Table of Contents
Shiplap single boards vs. Shiplap paneling sheets
Price:
For this project (one wall in our bedroom- approximately 144 square feet), Shiplap boards would have cost about double the price of the Shiplap paneling sheets.
5 Shiplap paneling sheets at $36.98 each. Total: 184.75. With tax it’s around $200.
48 Shiplap boards at $8 each. Total: $384. With tax it’s around $400.


Appearance:
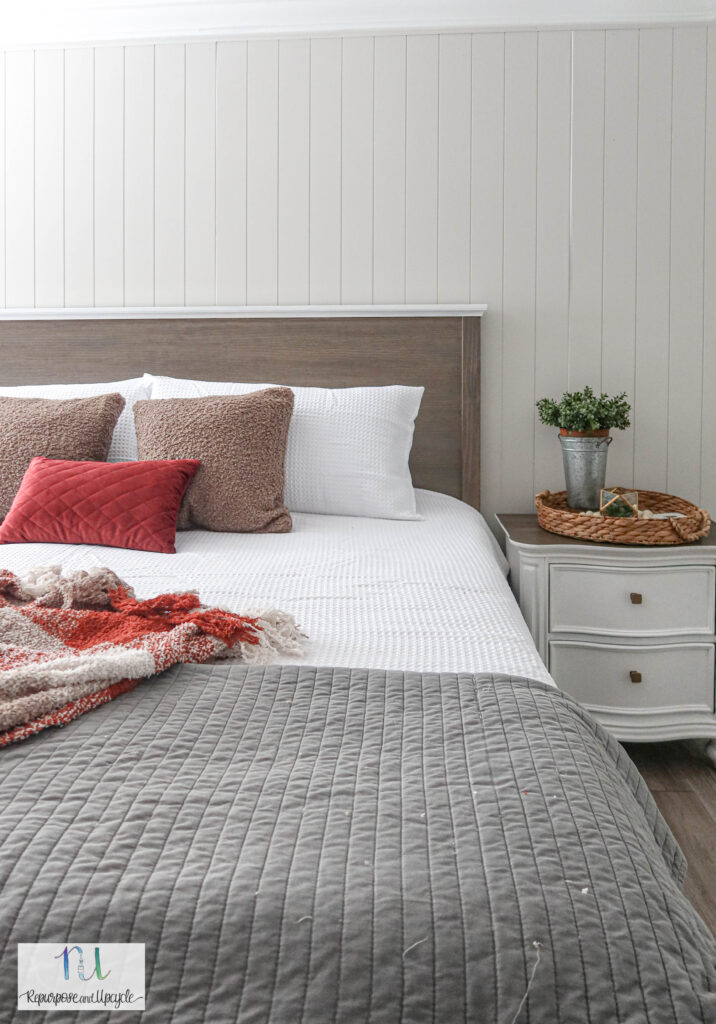
This is mainly a personal preference so I’m going to try to keep it factual rather than opinionated. The paneling sheets are not as thick as regular Shiplap boards so the gap between the sheets will have the tendency to look white and lighter (more like regular paneling does) rather than dark like real shiplap tends to.
As far as the width of the Shiplap boards on the paneling sheets; you only have one option because it comes as one single sheet. Each “Shiplap section” on the paneling sheet is approximately 4 1/4″.
Unlike the width on the paneling sheets, you have a few different options when it comes to purchasing regular Shiplap boards. Even though 1 by 6 boards are the most commonly used, there are a handful of other sizes you can choose from too.
Installation:
This again is more of a personal preference but I think that installing the paneling sheets is a bit quicker and easier than installing the single Shiplap boards AS LONG AS you have two people. That being said, every project is different so this is more of a “case by case” situation.
One thing to note; the Shiplap paneling sheets are very heavy. It takes two people (unless you’re superman or superwoman) to cut, hang and install them.
If you are like me and you like to tackle home projects mainly by yourself, this could cause an issue. Just keep this in mind if you are a solo DIYer.
The other main difference between Shiplap boards vs paneling sheets is that Shiplap boards can be installed in all different positions like vertical, horizontal, herringbone…the sky’s the limit as far as creativity goes.
With the paneling sheets, though, you don’t have as many options. You can install it vertically or horizontally.
I guess someone could argue that you could technically cut it up and create some crazy angles, but then you might as well use the regular boards right?
Let’s get back to the project.
Disclosure; this post contains affiliate links. As an Amazon Associate I earn from qualifying purchases. This does not affect the price you pay. This disclosure statement refers to the rest of the Amazon links in this post. See more on my disclosure page.
Tools Used:
Materials Used:
- Shiplap paneling sheets
- Shoe moulding
- Paintable caulk
- Spackling
- 150 grit sandpaper
- Tack cloth
- Lint free wash cloth
- 1/4 Nap paint roller
- Brushes
- High quality latex paint
Installing Shiplap Paneling Sheets
We started measuring for the install on the right side of the wall at the corner.
Want to know my biggest frustration about hanging anything with a right angle and straight edge on a wall? There is a 98% chance that wall is not straight, the angle is not 90 degrees and therefore making straight cuts with the paneling sheets a huge pain. Unfortunately, all walls aren’t straight.
So what do you do?
Prepare to use moulding to make up the difference.
Before we prepared to cut the wood we made sure to find the studs on the wall and made small marks on the moulding at the top.

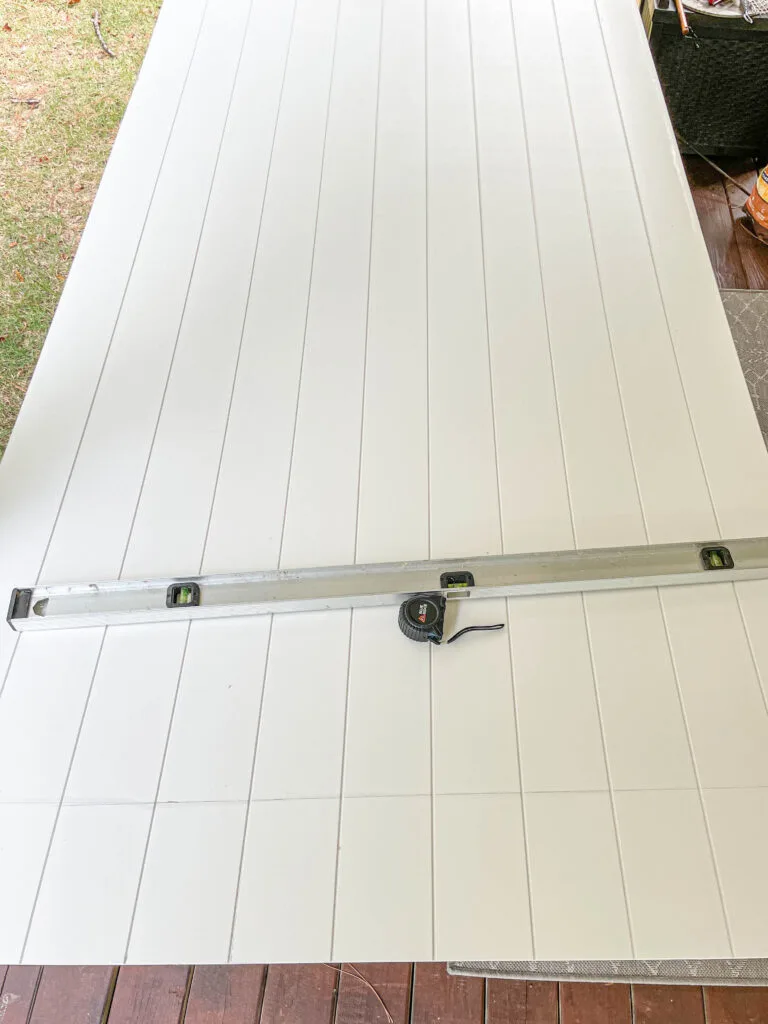
The first cuts we made were the horizontal cuts with a circular saw at the base. Like I said, it was near impossible to cut the board perfectly to line up exactly with the wall. We did the best we (my dad and I) could.


You can see on the top right side where it lines up with the ceiling on the far right end and then the top left side doesn’t. Dang walls. If only we were master woodworkers… LOL.
Once the first panel was up, the next few panels lined up well.
Note; while installing your first panel, make sure to use a level so the vertical lines are straight! This might not look terrible on the first panel (and you might not think it’s necessary), but as you continue to install consecutive panels, the lines will start to lean more and more and then you will have cockeyed Shiplap panels.
The hardest part about installing the next few panels was cutting around the electrical outlets. There isn’t a trick to this other than really good measuring.
Oh and the old adage; “measure twice cut once.”


You can see where we used the spade drill bit to cut into the corner of the paneling and then we used the jig saw with a fine tooth blade to cut a square into the sheets.
It was a bit of a bear to cut around our corner window, but in the end it looked good!


I’m not going to go into all the details on how to paint and finish shiplap pre primed paneling sheets because I dedicated an entire post to that!


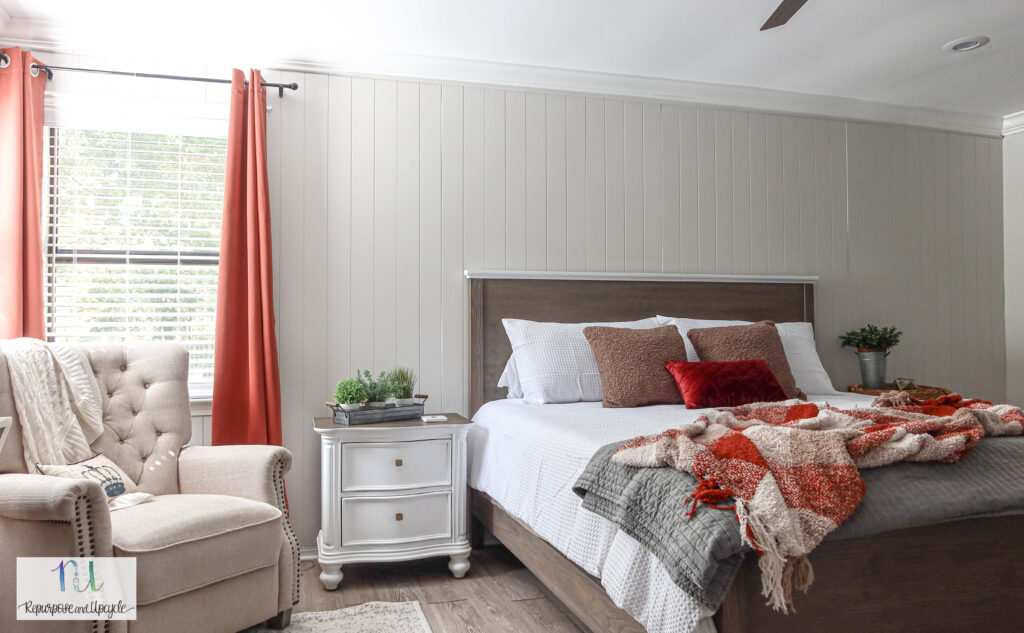
I love how it looks now! The shiplap sheets blend well with the rest of style in my home.

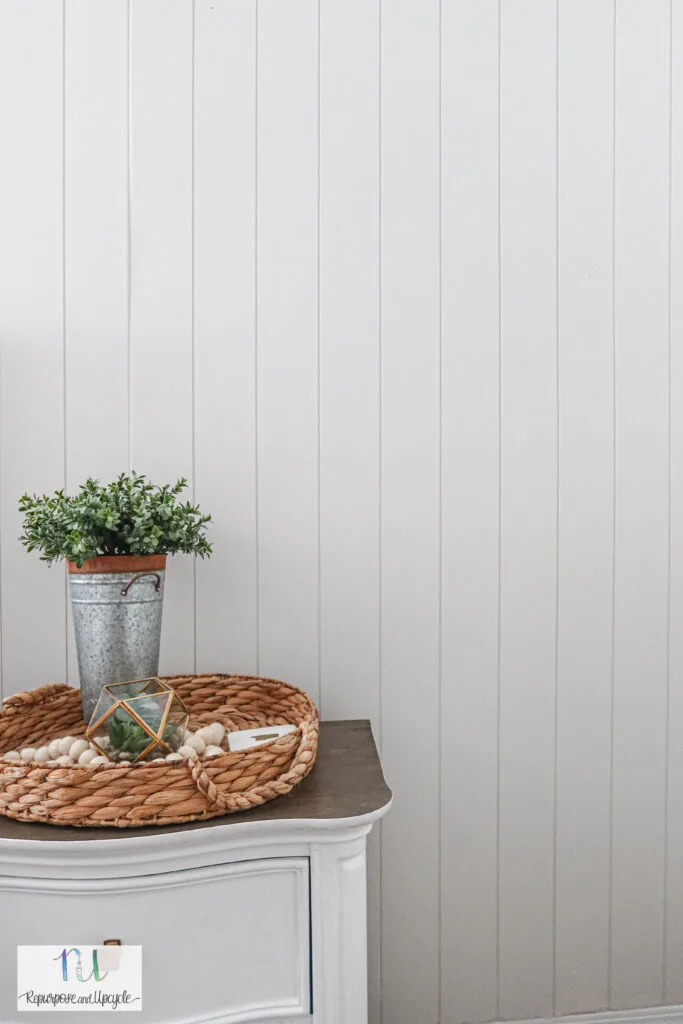


What do you think? Would you install Shiplap paneling sheets in your home?
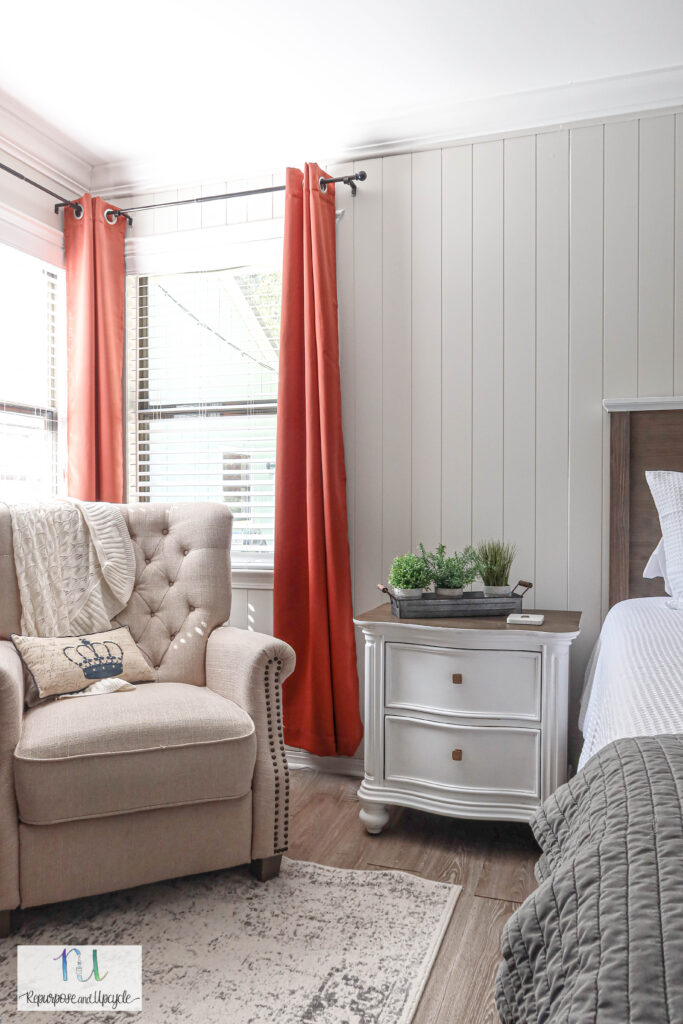

You can check out a few different looks to decorate around corner windows here or you can see the original post where I shared a cool corner window curtain rod hack here.


Final thoughts on Shiplap boards vs Shiplap Paneling Sheets
The Shiplap paneling sheets are a cheaper alternative to the Shiplap boards if you are looking to save money but still have the true “Shiplap look.” Remember, it will take two people to hang them so make sure you have help.
I think for smaller jobs (especially those where you want to be more creative), the Shiplap boards would be a better choice.
If you have a large surface area without too many cuts, the Shiplap paneling boards are a great choice.
Overall, I’m super pleased with how the Shiplap panels look in our bedroom. I would definitely install them again!
By the way, if you want to see more molding ideas, check out my list of 10 great molding ideas that will elevate your space!

I hope I’ve shed some light on the difference between the two and which you should choose for your upcoming project. Don’t forget to check out my tutorial on how to paint paneling before you leave!
Lindsey**
We just installed shiplap panels in our laundry room on our 1 long wall. It’s the wall you first see when you walk into the room and has the washer, dryer and utility sink against it. Hung the panels vertically and they dressed up the room for a reasonable price
Hi, I have 9’ ceilings, how do you make up the difference without a noticeable cut line?
I guess they don’t make 10′ panels yet. Good question. What you could do is install a chunky 6″ baseboard with a large 6″ moulding at the top to fill the 1′ difference. That would be a lot of extra trouble and expense though, but would look amazing. Or just install from the top down and make your cut lines at the bottom so they aren’t as noticeable. You can see more of my new 6″ baseboards here; https://repurposeandupcycle.com/floating-wood-floor-over-lvp-with-malibu-wide-plank-engineered-hardwood/
Love this. I have been wanting to do this. Did you remove molding and baseboards before you installed the panels? Or did you cut to fit it right up to them? And if you didn’t remove them, did you caulk in the crack at the top and bottom? Thank you!
Hello! I did not pull the baseboards off because I knew I was going to install new flooring which meant new quarter round (I actually installed all new baseboards- see it here! https://repurposeandupcycle.com/floating-wood-floor-over-lvp-with-malibu-wide-plank-engineered-hardwood/). Also, I did add a small piece of moulding at the ceiling because I wasn’t 100% happy with how the cut looked against the crown moulding.
Where did you get that head board on the bed? Love it!
It’s actually a full king size bed you just can’t see the footboard.
Looks great! Thanks for the informative post. I think the panels are the way to go for me!
I love the idea of the paneling, there are 2 things I would miss. 1. the staggered boards of the strips 2. I would prefer a wider plank. However, I think I would go with the paneling. It looks easier, faster and a better price. Great post, thank you.
I do love the staggering of most Shiplap too but this is a great simple alternative. Thanks for stopping by.