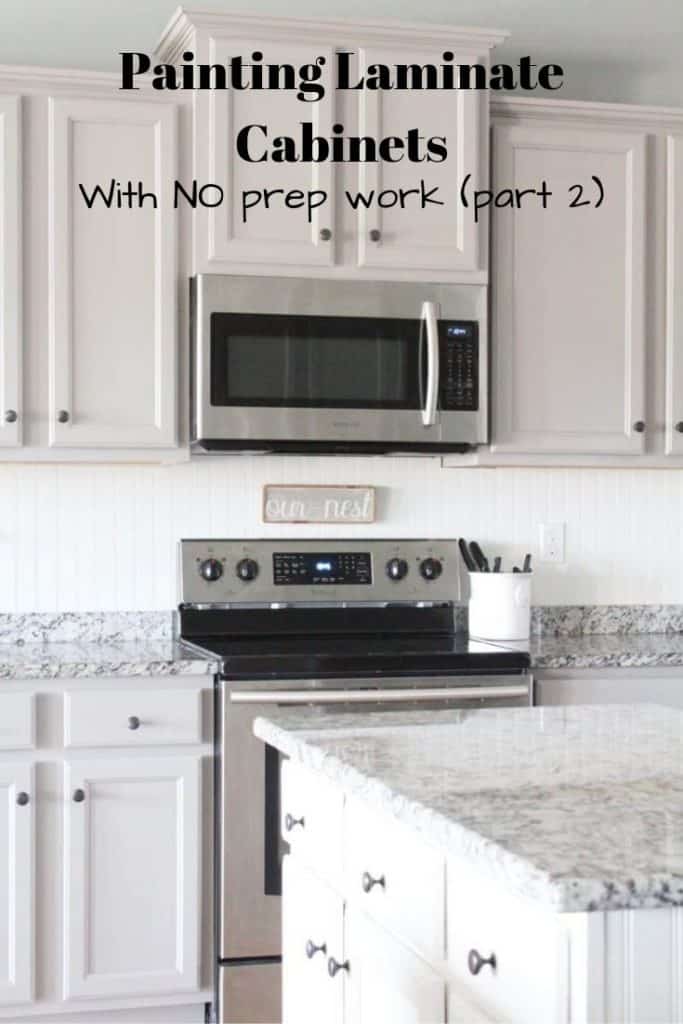
I know you’re probably wondering why I’m writing ANOTHER post on the same topic that I wrote about previously. Do I need to write about Painting Laminate cabinets with NO prep work and NO sanding again? Yes, because this time I’ve used a different method for a few good reasons. I can’t wait to share with you my second try at painting kitchen cabinets with a gray paint, this time with NO PRIMER.
NOTE: After reading this post, you will want to refer to the post where I did a year in review of how the painted laminate cabinets held up with and without primer. This post shares all the details about the pros and cons of painting kitchen cabinets with both methods.
Painting laminate cabinets without primer, does it work?
Let’s go back to where this all began.
When we updated our builder grade to modern farmhouse kitchen, I knew I wouldn’t be happy with the new granite unless I changed the look of the cabinets. Buying new cabinets wasn’t an option so I decided to paint the kitchen island white to tie in with the white of our newly installed bead board.
I LOVED the way the painted kitchen cabinets turned out and I knew I wanted to paint the rest of our laminate cabinets as well.
When I painted our laminate cabinets WITH primer, I used a couple coats of primer, milk paint, and a sealer. This method worked perfectly!
I wanted to use the same method, but realized the milk paint did not come in the shade of gray I was looking for. Bummer. Now what?
I shopped around and found the perfect color in a Benjamin Moore paint called Winter Gates. The first thing that came to mind when I think of Benjamin Moore is dollar signs. I know it’s a great paint, but you certainly pay for it.
Disclosure; this post contains affiliate links. As an Amazon Associate I earn from qualifying purchases. This disclosure statement refers to the rest of the Amazon links in this post. See more on my disclosure page.
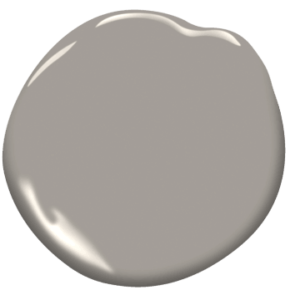
After a little research I decided to have that color mixed in Ace Hardware’s Cabinet Door and Trim paint. So I had a different paint, but did I use the same method? No.
When I painted the Kitchen Island Cabinet white I used a primer to hide the dark wood laminate cabinets.
Since I was painting the existing cabinets a slightly darker shade, I thought “do I really need primer?” Most people might have said yes, but I was willing to try it without a primer.
Supplies for painted laminate cabinets:
- decent quality paint brushes
- decent quality foam brushes
- painters tape
- Paint Sprayer – this is the paint sprayer I own. I love this product. It’s affordable and works very well.
- Cabinet Paint – this is the type of paint I used. It was only $35 per gallon and I only used half of it (and I have a TON of cabinets). Like I said earlier, I mixed a Benjamin Moore color (winter’s gate) into this paint.
- Polycrylic top coat– I love this top coat because it does not yellow as it dries. Be careful because some polyurethane’s tend to do this.
Note: I used water based products. Some people swear by oil based products when painting kitchen cabinets, but I can’t handle the smell. It’s also more difficult to clean your brushes and paint sprayer. I had a ton of success with the first cabinets I painted with the water based paint, so I decided to continue using a water based product. See more posts about the best primer for cabinets and the best paint for cabinets.
How to paint kitchen cabinets gray without primer;
- remove drawers and door fronts
- wipe cabinets and all cabinet surfaces down with a degreaser and then dry with a lint free cloth
- spray the cabinet drawers and door fronts with first coat of paint
- use a brush to paint the rest of the cabinet surfaces that you could not remove
- wait a few hours or allotted dry time.
- repeat the painting process until you have applied 2-3 coats. If your cabinets are light, 2 coats will probably work. Because my cabinets were a medium to dark wood, and I DID NOT use a primer, I needed 3 coats. Use a foam brush for the last coat of paint to minimize brush strokes.
- After the paint is thoroughly dry, apply the sealer. In my opinion this is the most important step. Painting laminate cabinets would be a disaster if it wasn’t for a good sealer. This being said, I use 3 coats of sealer.
- The last step is to attach your drawers and door fronts and put your kitchen back together again!
NOTE: For the last coat of paint and primer I used a foam brush on the base of the cabinets (that I could not remove). I noticed that a foam brush minimized brush strokes, and you definitely don’t want any of those.
Here are some progress pictures of the first coat of gray paint:
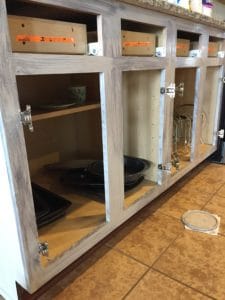
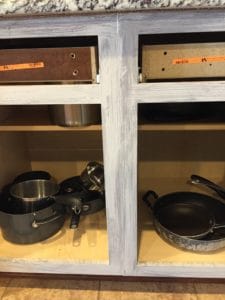
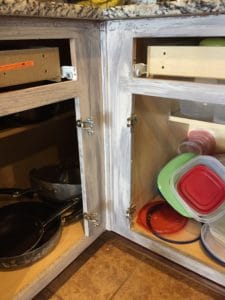
If you notice on this last picture at the top, the paint did not want to “stick.” This is normal. You have to keep applying the paint, and eventually it will stick.
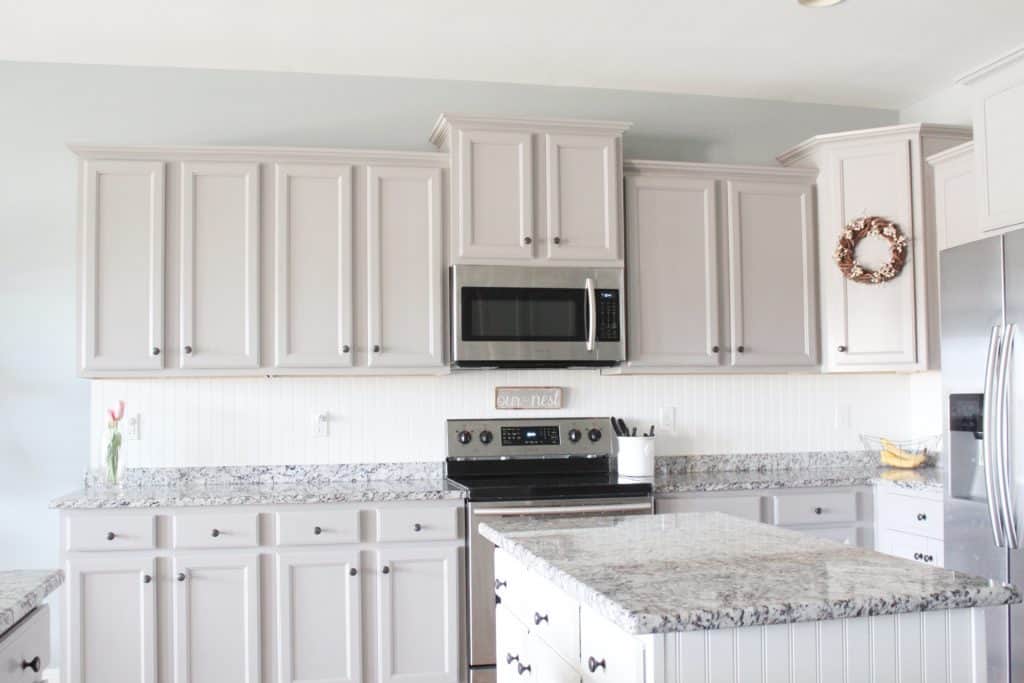

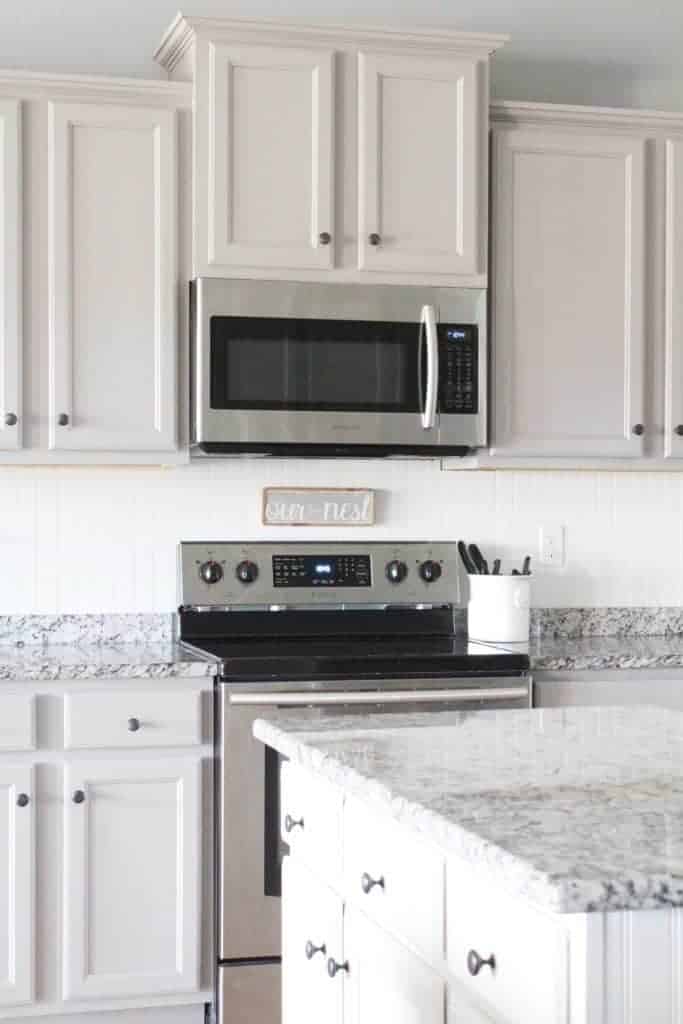

What a difference a little paint makes! For about $60, I feel like I have a brand new kitchen. I hope this post on painting kitchen cabinets has inspired you to paint your cheap cabinets too.
Lindsey**


