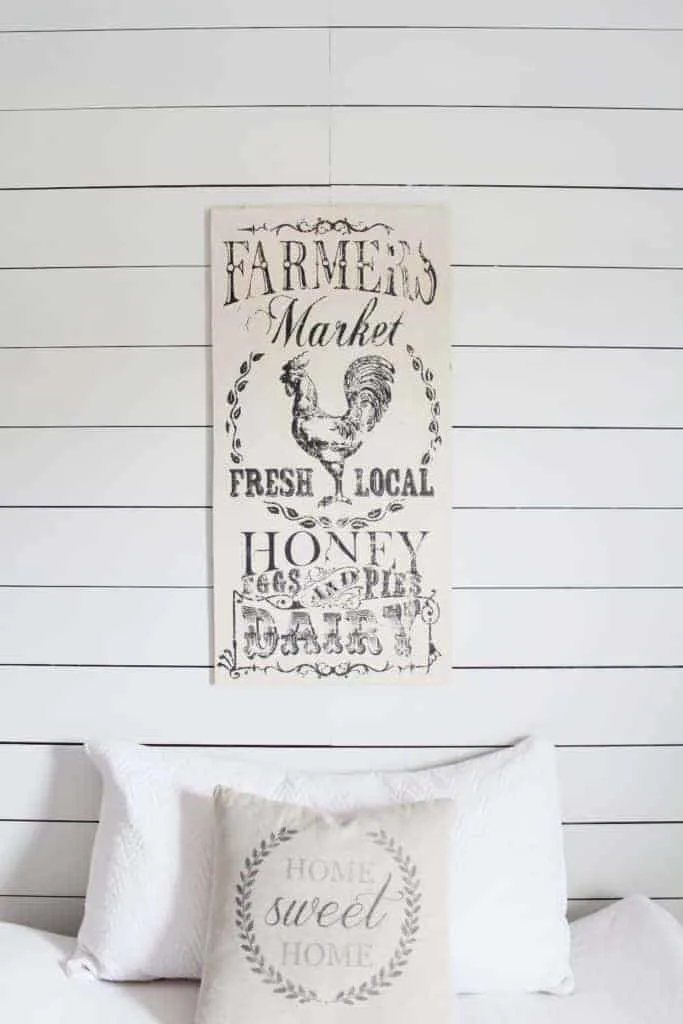
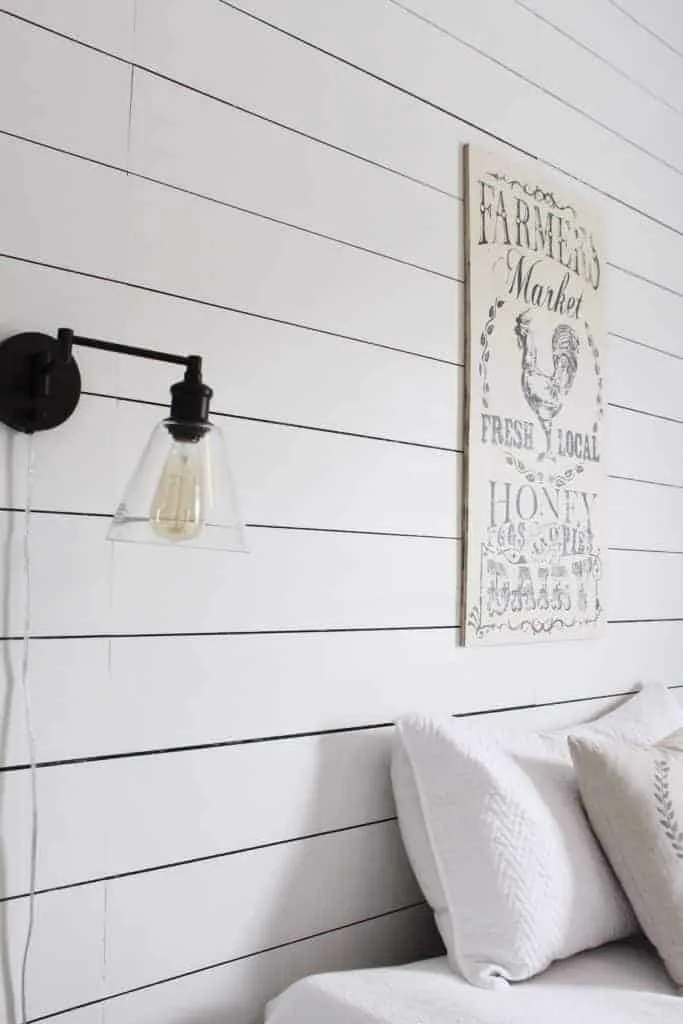
Vintage looking farmhouse signs are “the thing” these days. You can find them anywhere, even Walmart. They are so popular many companies are creating easy image transfers so anyone can make their own sign. I decided to create my own and show y’all how easy it is to create your own too! Here goes my Iron Orchid Designs easy image transfer to Wood Tutorial.

Disclosure; this post contains affiliate links. As an Amazon Associate I earn from qualifying purchases. This does not affect the price you pay. This disclosure statement refers to the rest of the Amazon links in this post. See more on my disclosure page.
I know most people think, if I can buy a similar vintage farmhouse sign somewhere like Walmart, why would I create one?
Maybe you have a certain size sign you want and you can’t find one to purchase anywhere. Or maybe you’re reading this post because you realize how simple it can be to create your own. So here we go.
Tutorial for an Iron Orchid Designs Image Transfer to wood:
- Purchase your image transfer. I believe they quit making this particular image transfer. You can see more of their other transfers HERE.
- Purchase wood. In my case, I cut an old piece of plywood I already had on hand.
- Remove the back part of the image transfer
- Place the image exactly where you want it on the wood
- Tape the image where you want it. This is important because after you have started transferring the image you don’t want it to budge at all.
- Use a wedge that is provided or a spatula and press down the image to the wood.
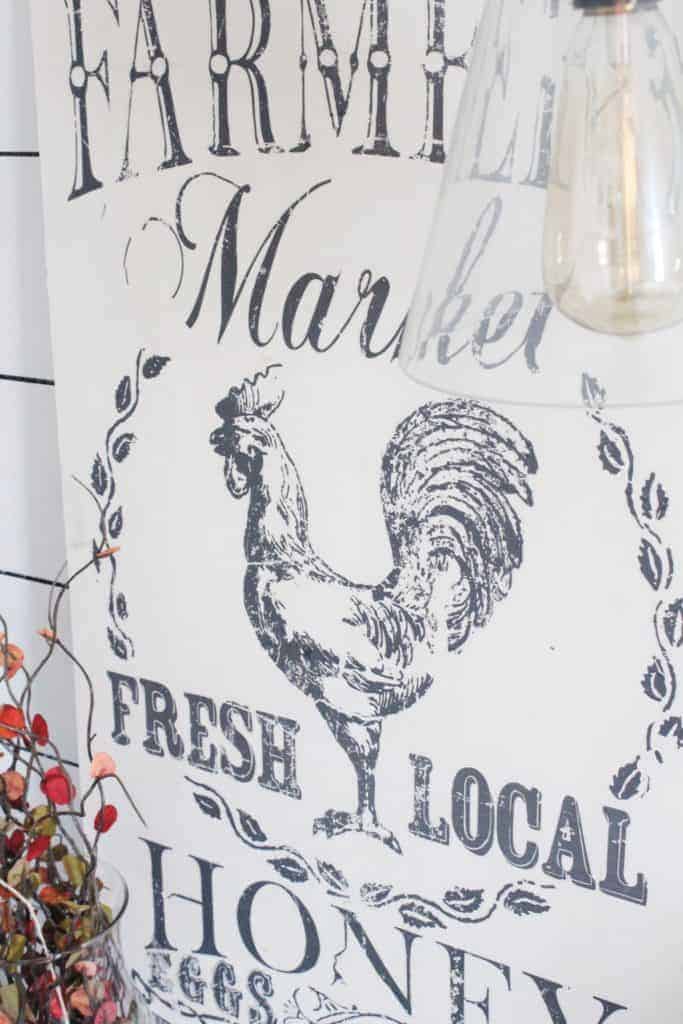
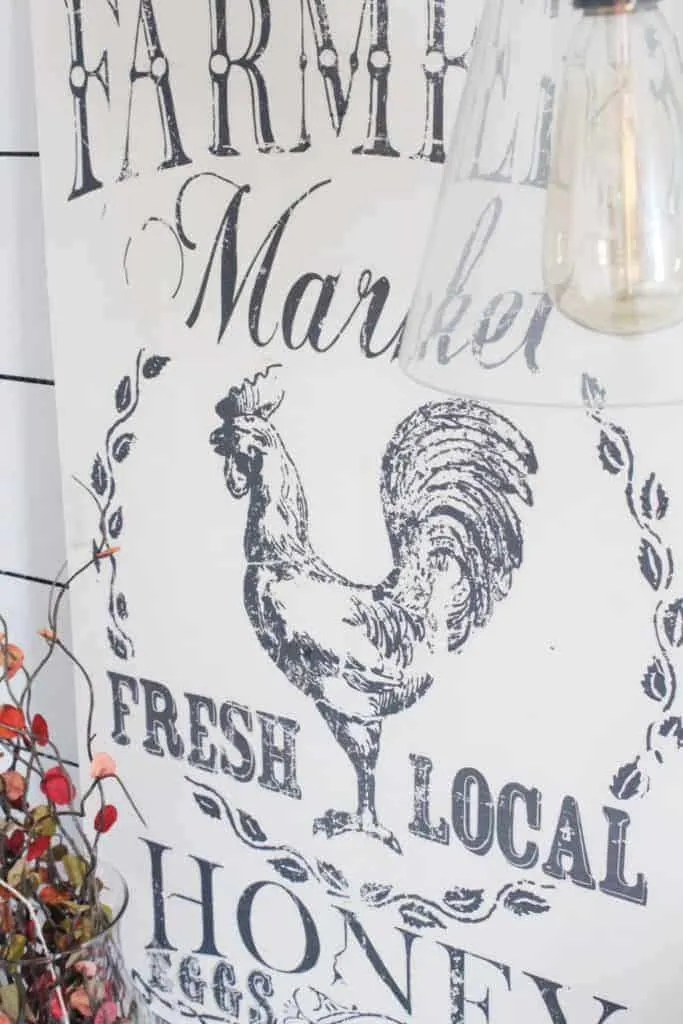
- Start at the top and slowly peel the clear paper down as the image transfer sticks to the wood. At times you will have to repeat this step to the same area to get the image to stick.
- After you have transferred the entire image, cover with a clear coat. You can use any clear coat, wax, or modpodge to seal it.
Here is a quick video of the process to transfer this vintage farmhouse image to wood:
Note: The easiest way I found to get the image to “stick” while removing the clear cover was to lay both hands down on the image and push down while removing it.
That’s it for my quick and easy tutorial on how to transfer images to wood.
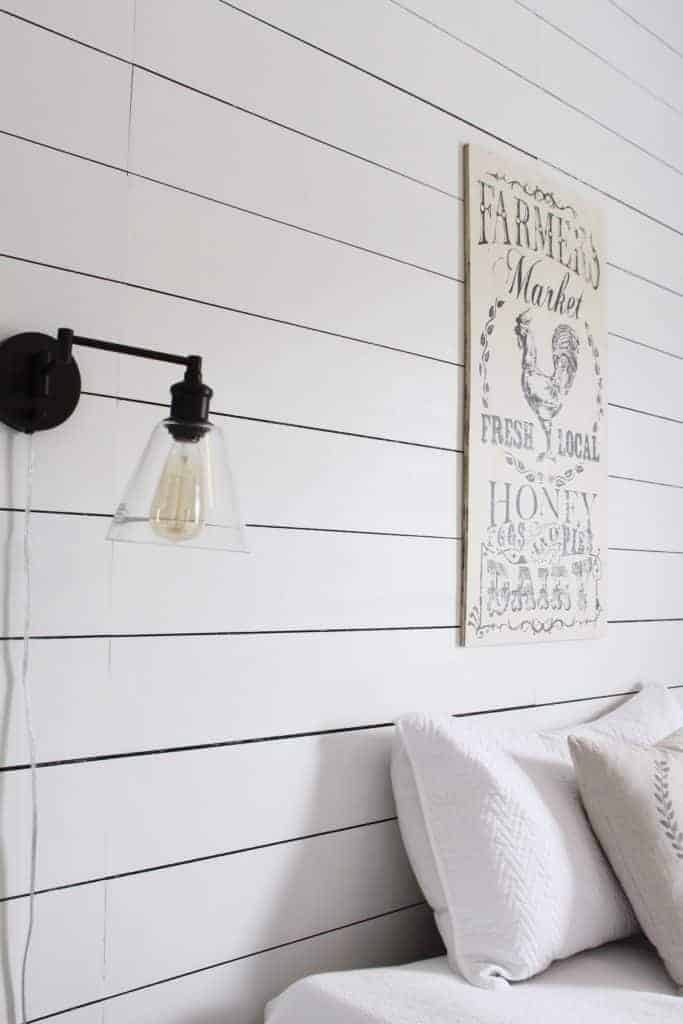
To see more of my post on creating this Shiplap with NO power tools here.
Hope this post has inspired you to create your own vintage signs! Thanks for stopping by.
Lindsey**
[…] my friends at Iron Orchid Designs that I never used. You can see how I transformed an old piece of scrap wood into a beautiful farmhouse style sign with an image transfer or how I gave this old TV stand an update with paint and another image […]
I love the Iron Orchid rub on transfers…can they be used more than once?
No, unfortunately they can only be used once. That would be awesome if they were re usable though!
I love this! Thanks for sharing! You are one of the features at the Make it Pretty Monday party at The Dedicated House. Here’s the link to this week’s bash. http://www.thededicatedhouse.com/2017/06/make-pretty-monday-week-216.html Hope you have a lovely week. Toodles, Kathryn @TheDedicatedHouse
Thanks Kathryn! I will check it out. Take care and have a great week.
Lindsey
Your sign looks fabulous Lindsey and I’m so glad you shared it at Create, Bake, Grow & Gather this week. I’m delighted to be sharing it at tonight’s party and pining too!
Thank you so much, this made my day. Have a wonderful weekend!
Lindsey
Hi Lindsey, I’m Featuring your sweet Transfer DIY tonight over at the What to do Weekends party over @ Shoestring Elegance. Thanks so much for sharing. Congratulations!
Oh thank you so much! This made my day. Have a great weekend.
Lindsey
I love this! I can’t wait to try this for our home. Thanks for sharing. I’m featuring your post at this week’s link party. http://www.thelifeofjenniferdawn.com/2017/06/makeover-ideas-for-every-room-of-your.html
Oh thank you so much for the feature! This makes my day. Have a great weekend.
Lindsey
Thanks for bringing your post to last week’s Blogger’s Pit Stop.
Janice, Pit Stop Crew
Love your project! Thanks for sharing at the #InspirationSpotlight party @DearCreatives Pinned & shared.
This turned out wonderful and I love the look! Thank you for sharing this with us at Funtastic Friday! Pinned & sharing 😉
Great project Lindsey, I keep seeing IOD popping up on blog land and their stencils are gorgeous, I’m going to have to give that site a visit and try them myself! Thanks for sharing your tutorial at #FridaysFurnitureFix!
Just what I am looking for in my new kitchen.I shall definitely have a go at this. TFS.
Wonderful, glad you liked it!
That is really beautiful art! It looks professional and commands the whole wall.
I’m still working on my image transfer skills (oh, the bubbles!), but this is definitely a cute technique. I never thought of putting a clear coat over my project, but it makes so much sense. Thanks for sharing at the #happynowlinkup!
Thanks for sharing at the Pleasures of the NW’s DIY party!
All of a sudden I’ve started hearing about IOD. I’m going to check them out! I love your sign.
I love their products! I used paper clay and put them onto a trash can i got at the Goodwill! It was an awfull yellow, painted it chalk white. If i was doing this again i would spray the paper with sealer, FIRST! The chalk paint has a lot of water in it and it softened them up too much. I’m practicing using hot glue in the molds.
oh wow, that’s a good trick to know so thank you!
I used their molds for my project. Just fyi! The stencils are lovely, too.
Yes I need to try those!
Yes, I’ve just recently been introduced to their products and I’m already in love!