I’m not kidding when I say I have a black thumb. The truth is that I’m pretty lazy when it comes to taking care of anything other than my kids, husband or myself. I can’t believe I just admitted that :). When my husband told me he wanted to create a small beginners garden for my kids, I was a little weary. He has planted gardens before and his father used to own a nursery, so I had full faith that it would be a success. I figured if I was learning this whole gardening thing I would share the journey and write all about it. Join me as I give you my simple, easy and fool proof guide to creating a beginners garden.
Like I said, I’m a newbie to the whole gardening scene.
Table of Contents
How to create a garden for beginners
- The very first thing is to decided WHERE you will put your garden. Make sure you pick a sunny area in a stable environment that isn’t prone to flooding or strong winds.
- Next decide on how you will contain the garden and how large you need it to be. A good-size beginner vegetable garden is about 16×10 feet. We decided to outline the garden with something we already had. You know me, I’ll always prefer to repurpose than buy new. We had a few extra pavers, so why not use those to create the outline of the garden?
Side note; this isn’t my first time repurposing pavers. Come see how we gave an old fire pit a facelift with previously used pavers. Since this post I’ve also created another simple fire pit that only took about an hour to create.
- My husband decided that rather than filling inside the pavers with garden soil, which can be very pricey, he would haul in a load of dirt and then add the garden soil on top.

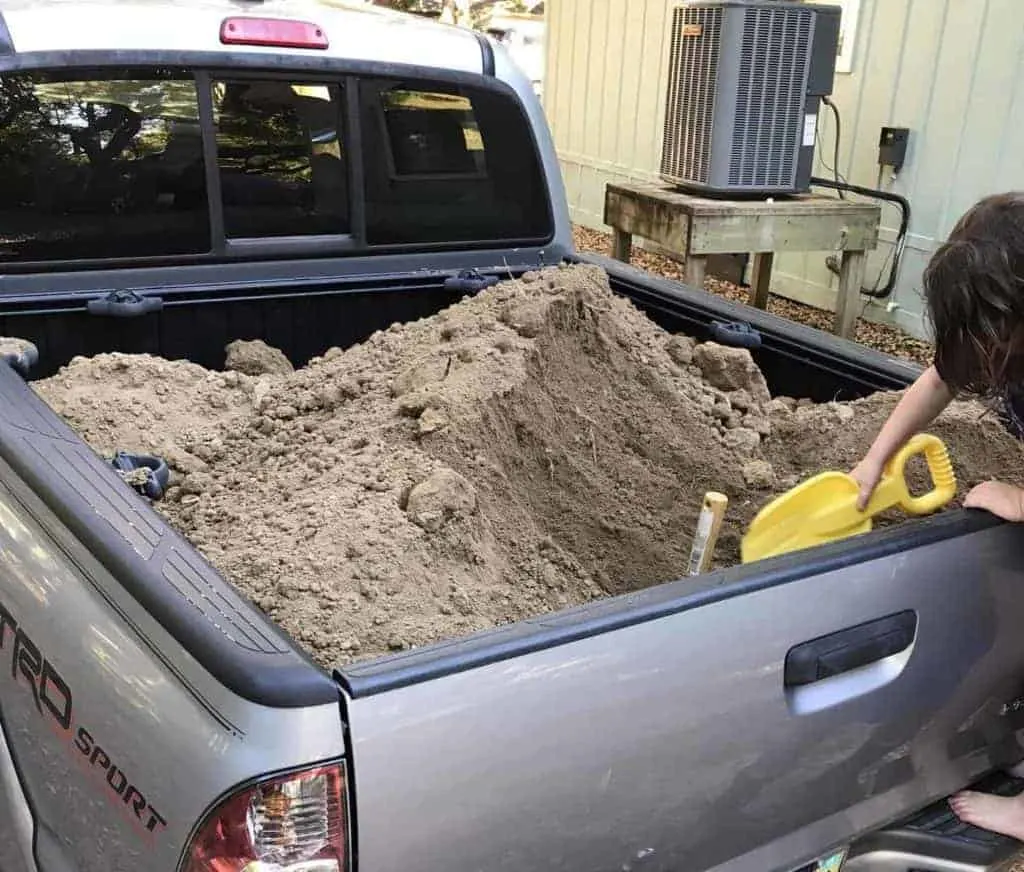
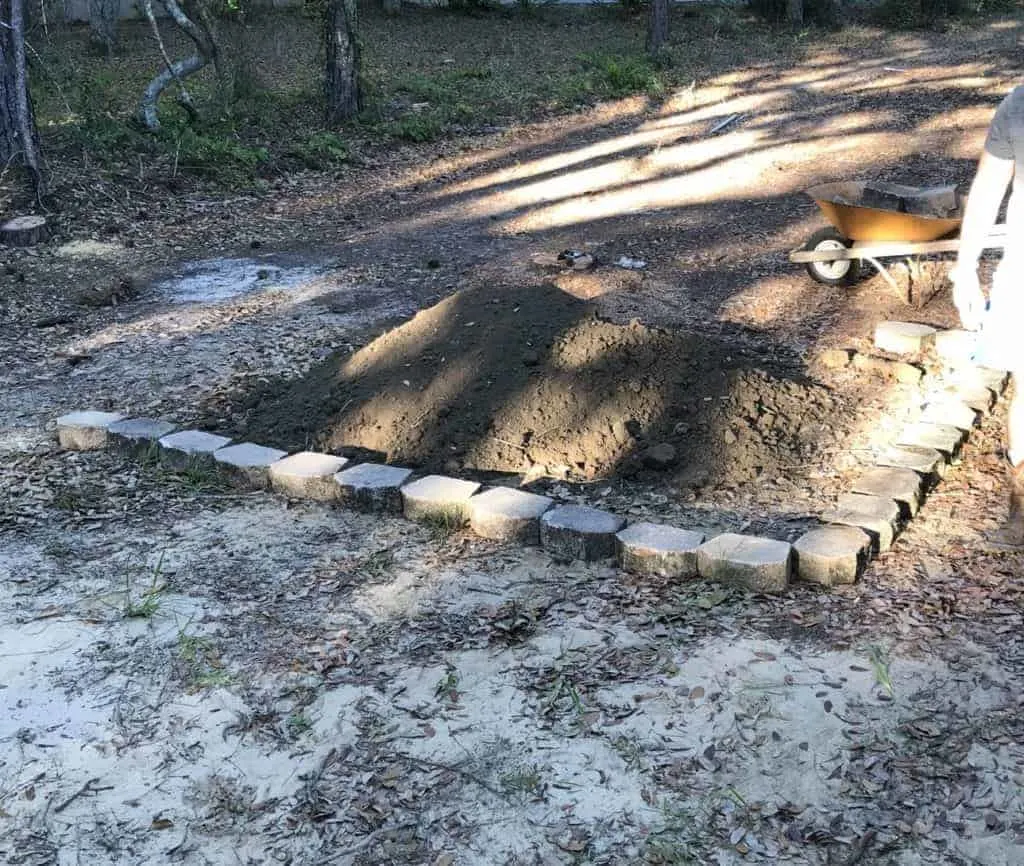
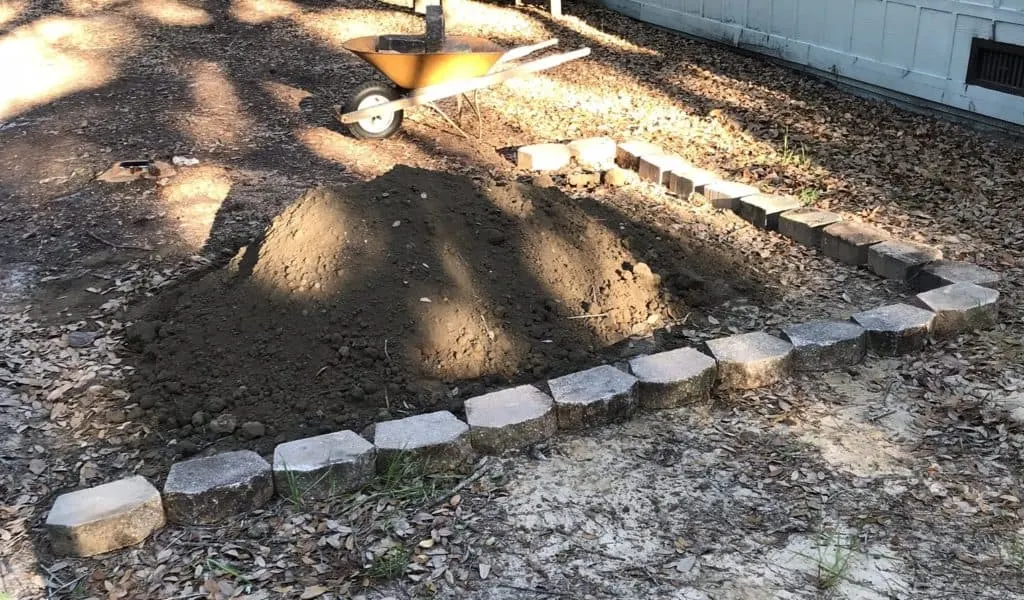
We didn’t do anything fancy to create a straight line other than eye ball it!
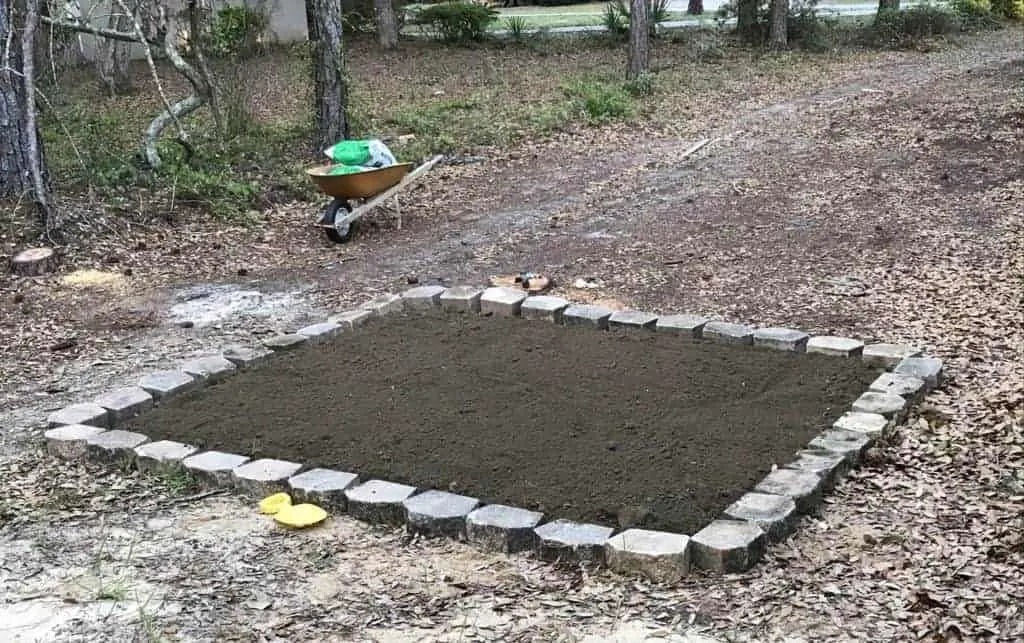
- After we spread the dirt out evenly, it was time to add the garden soil.
For those who don’t know (used to be me:)), garden soil is VITAL for anything to grow. You need to know what type of soil you have and prepare it accordingly. I found a great article about rules for preparing your soil.
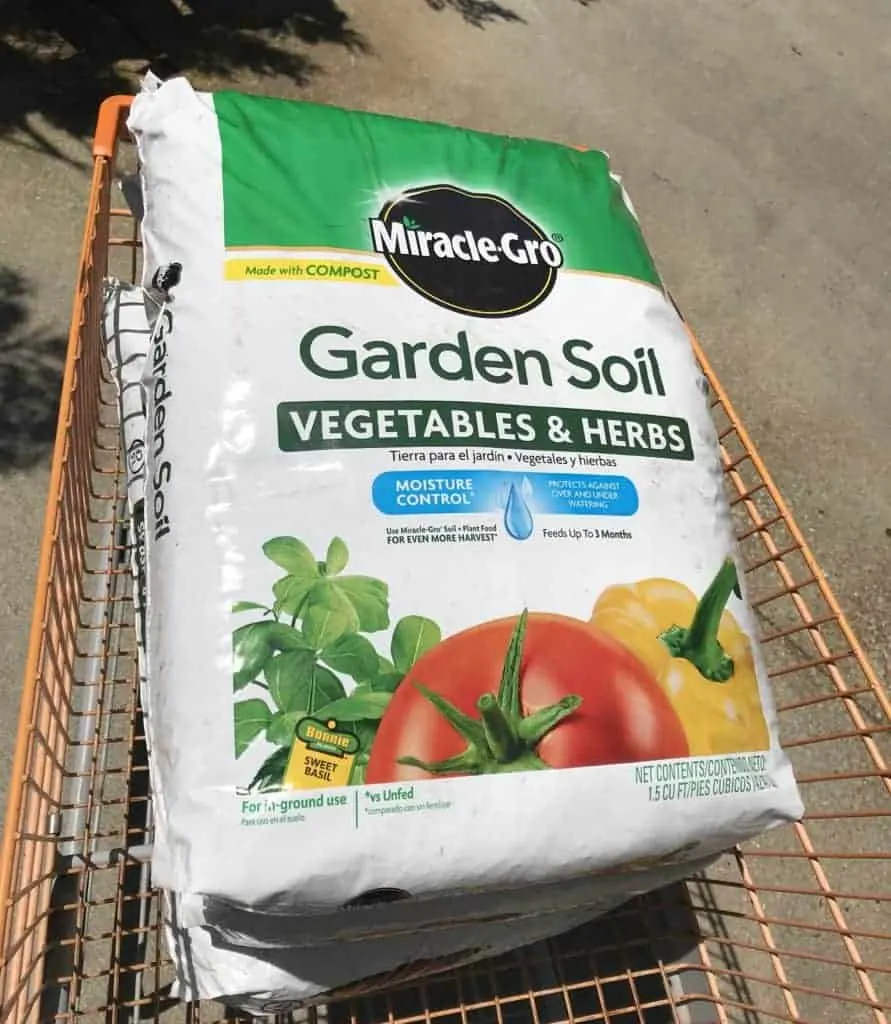
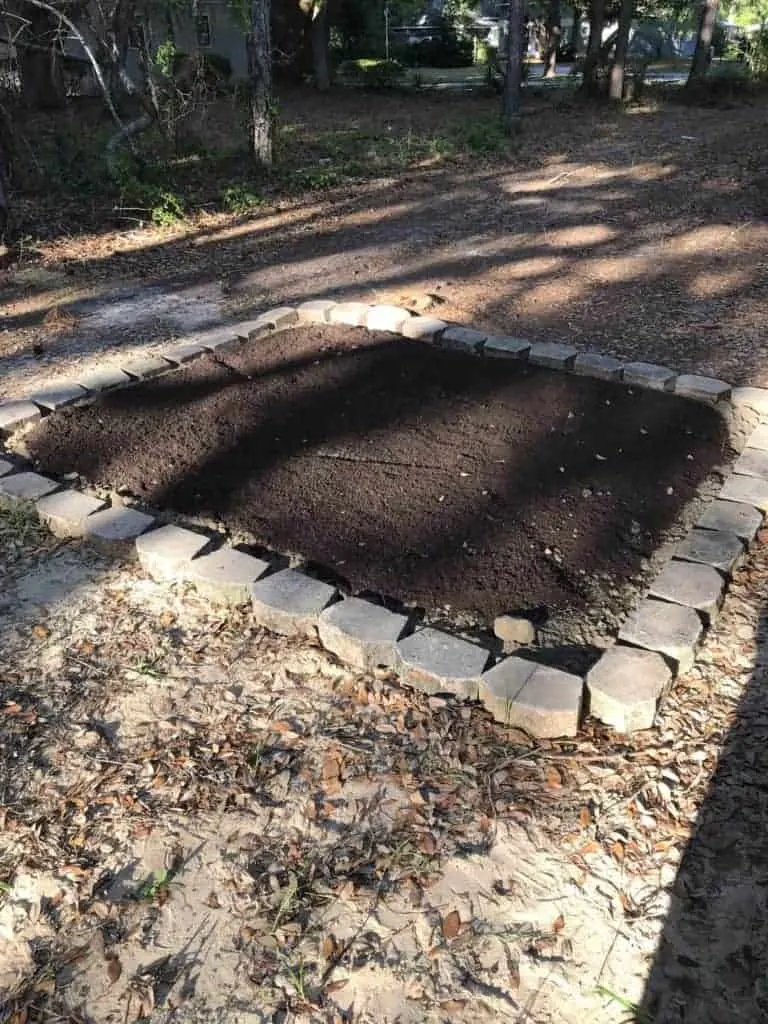
- We added two “layers” of garden soil to ensure that the plants and seeds would thrive.
Now that the garden bed was ready, it was time to plant!
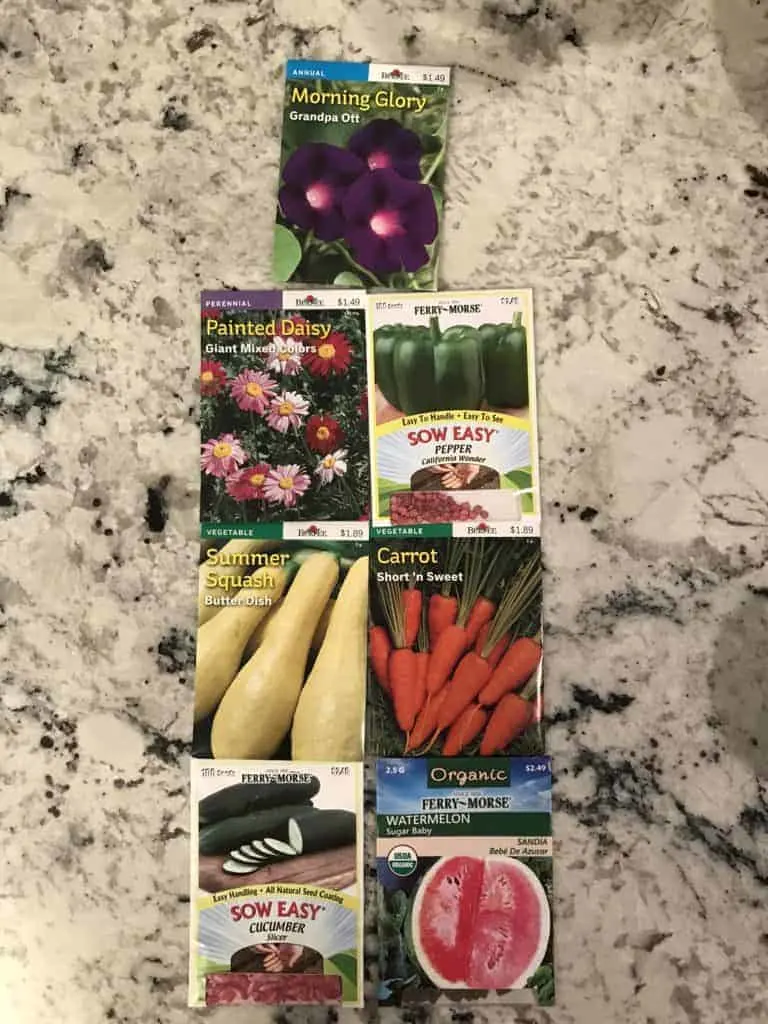
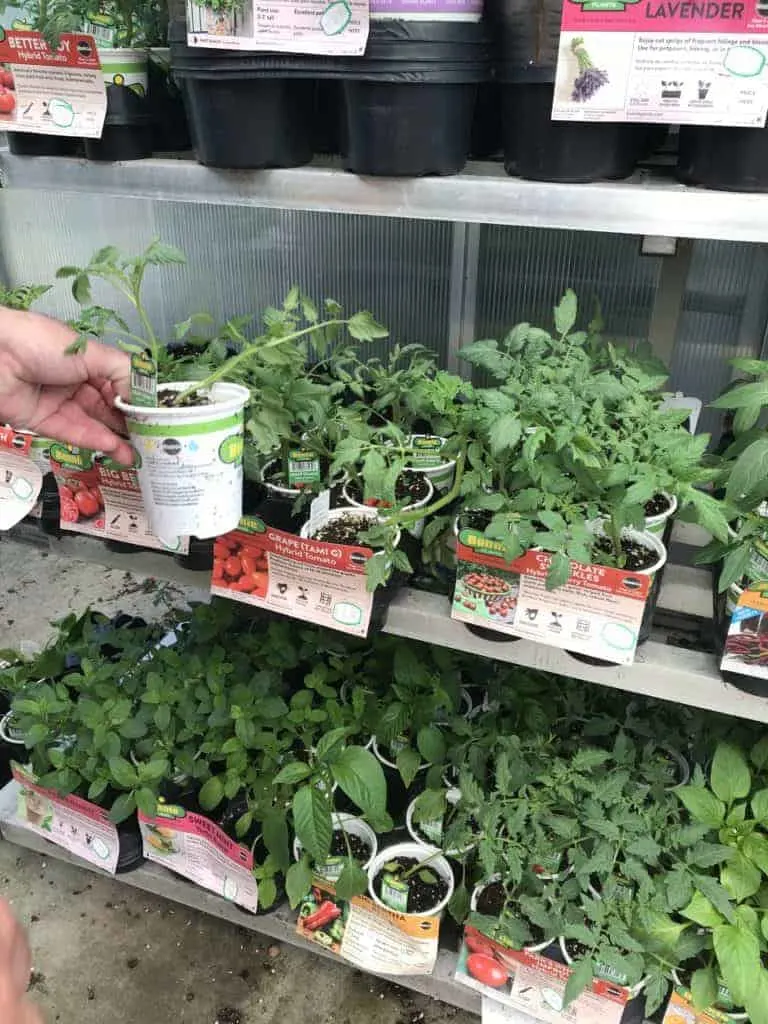
Before you head to the store, have an idea of what you want to plant.
My little bit of research showed me that there are a few things that grow well together, and a few things that don’t. Make sure whatever you buy will grow well together.
I found a very useful piece of information from a fellow blogger Moms Need to Know.
Things to consider when companion planting:
- Beans: Don’t plant near chives, garlic, leeks, onions, peppers, marigolds
- Peas: Don’t plant near chives, garlic, leeks, onions, peppers
- Broccoli and Cauliflower: Don’t plant near peppers, squash, strawberries, tomatoes
- Tomatoes: Don’t plant near broccoli, cauliflower, cilantro, cucumbers
- Dill: Don’t plant near carrots
- Sunflowers need to be planted at least 12 inches away from any other plant.
Also, each plant has an ideal time of year to be planted. You can always find more information about this on the back of the seed packet or the writing on the plant container.
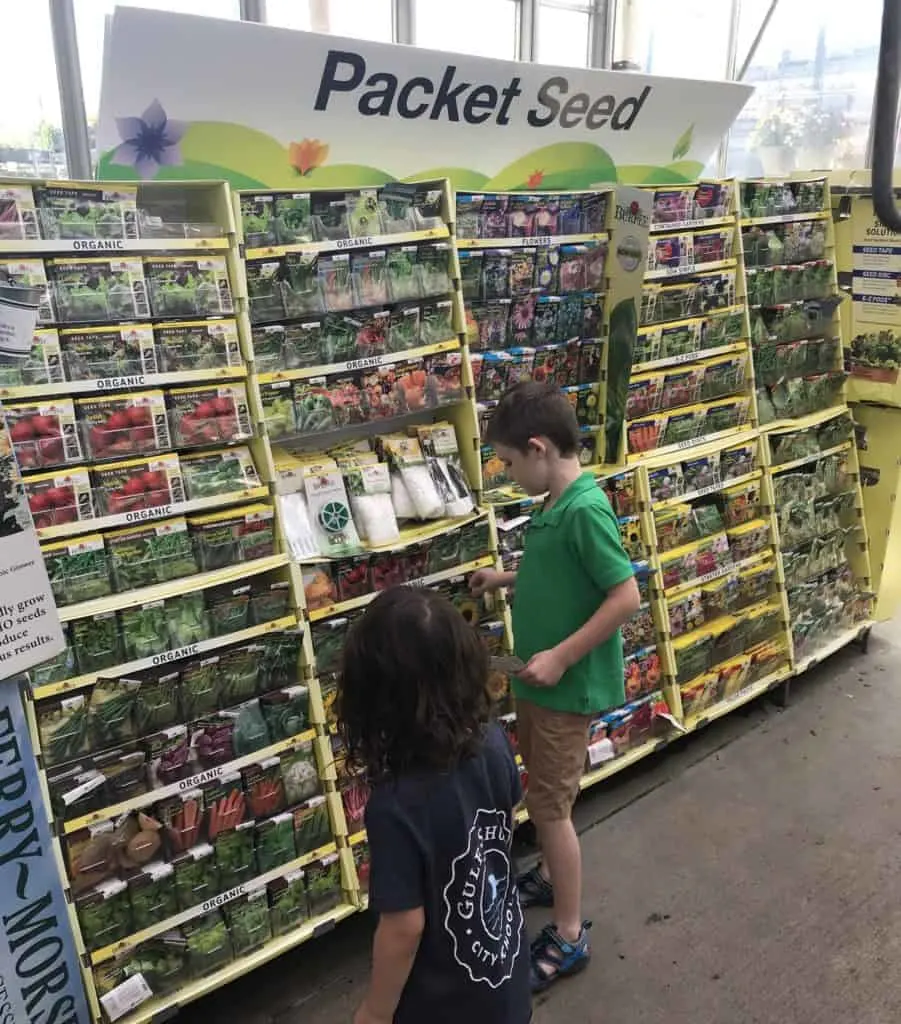
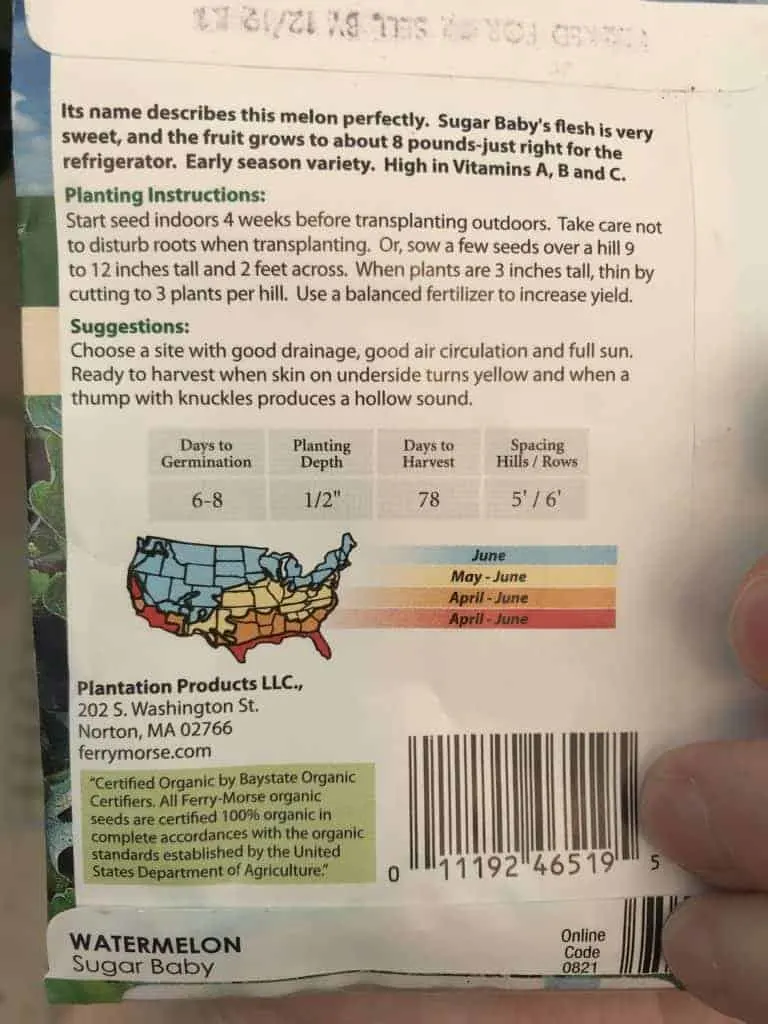
How do you plant a garden?
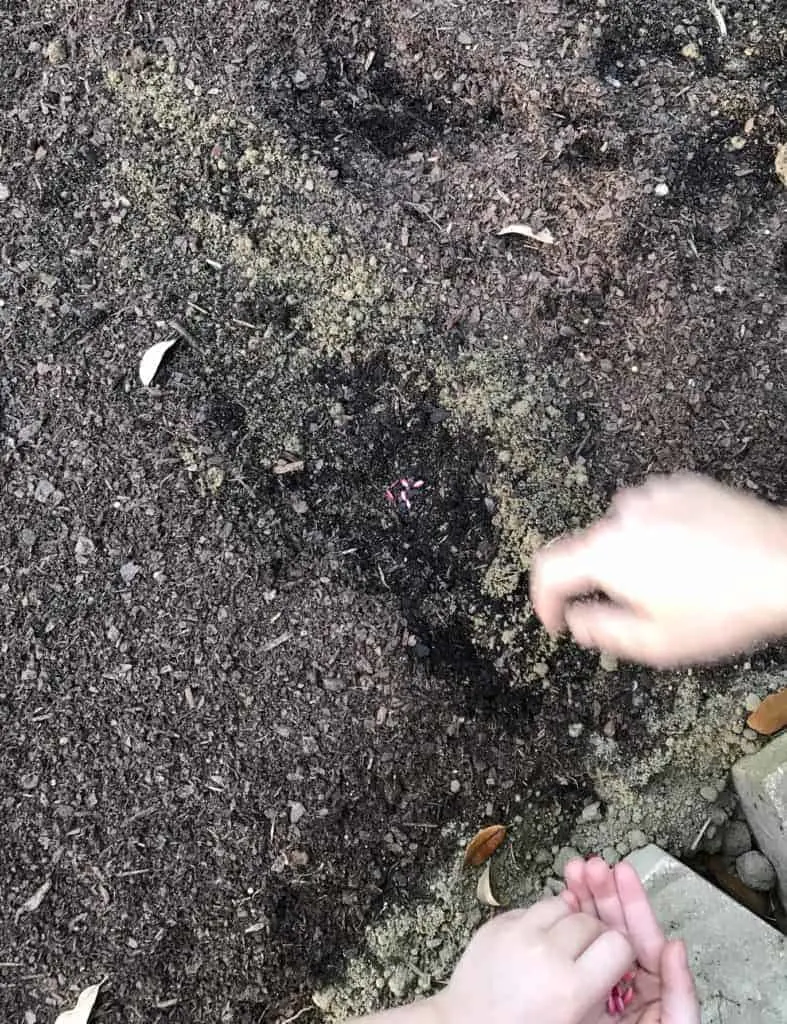
It’s customary to plant seeds in rows. The rows should run north and south to take full advantage of the sun.
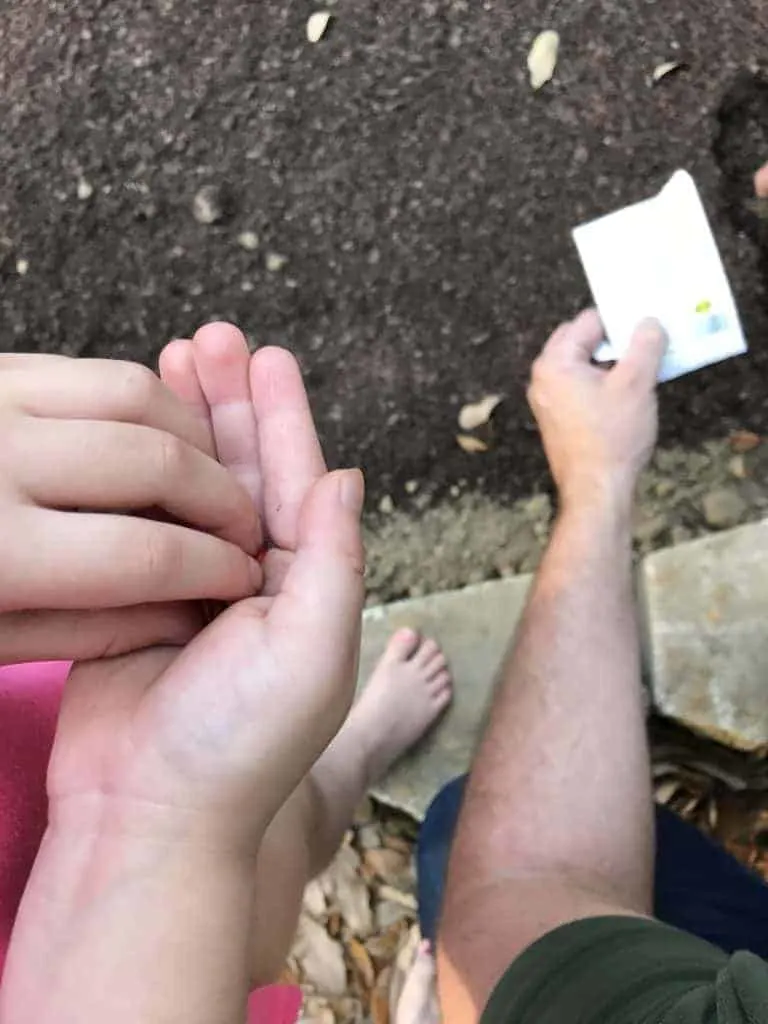
Dig a small amount of the garden soil to the side and add a few (up to five or so) seeds per area.
Don’t add too many seeds to one area! This is where I would have made a mistake if it wasn’t for my husband telling me otherwise.
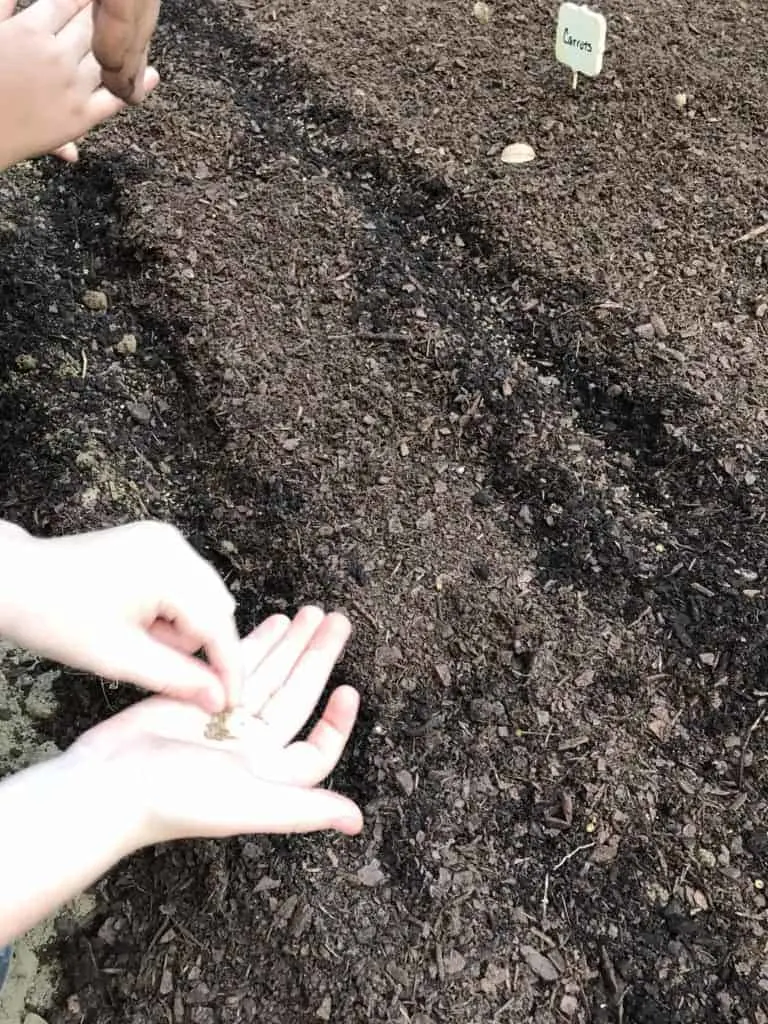
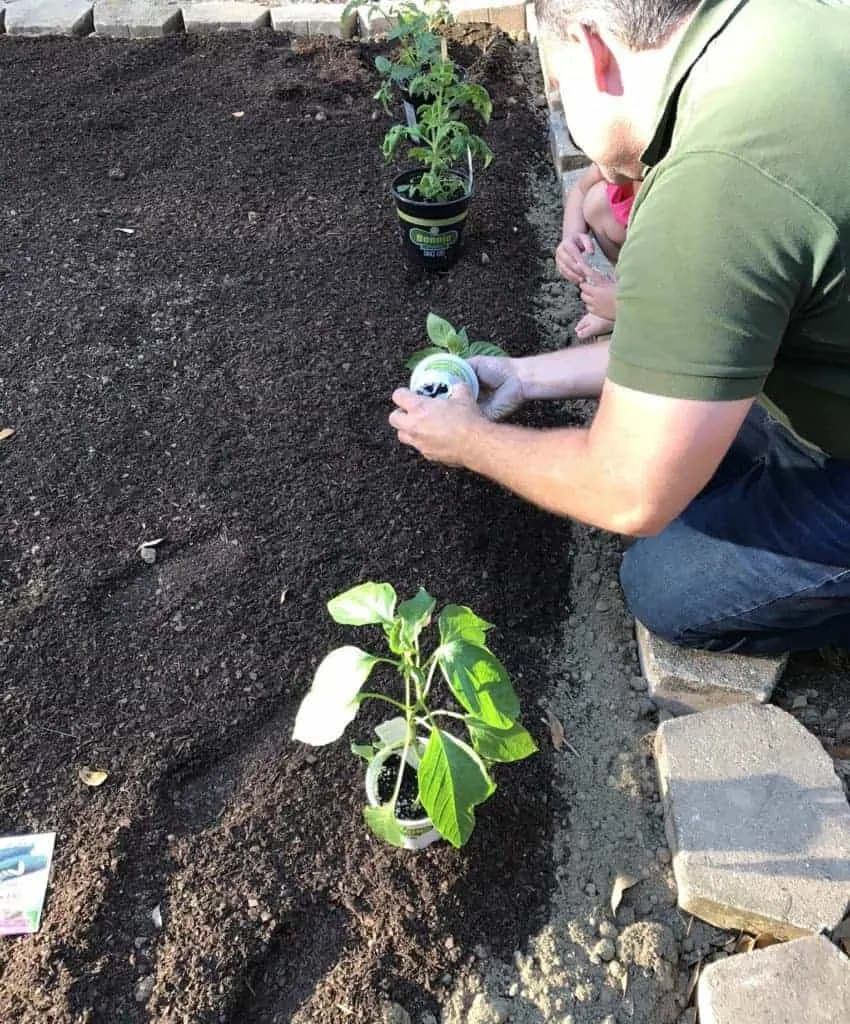
If you are using potted plants, gently tap the base as you turn the plant to the side to remove the plant from the container. ALWAYS use all the gardening soil that the plant comes with.
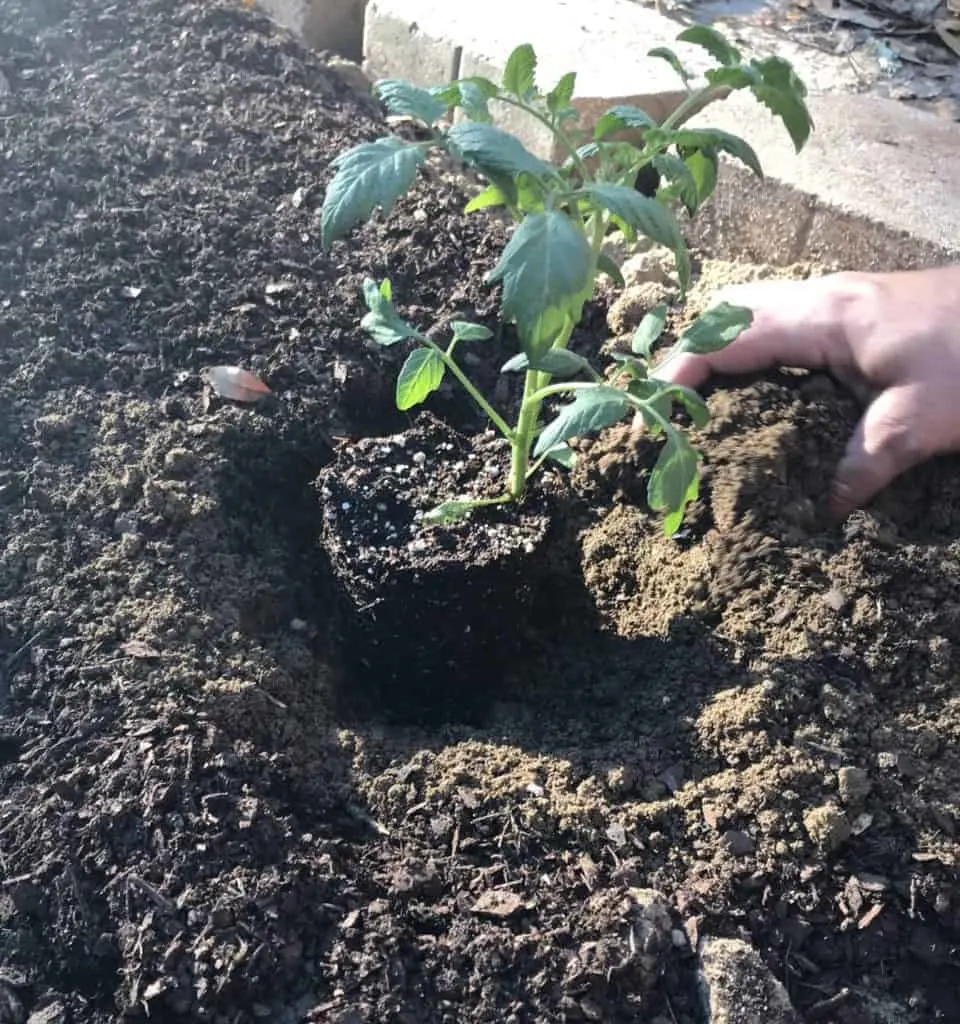
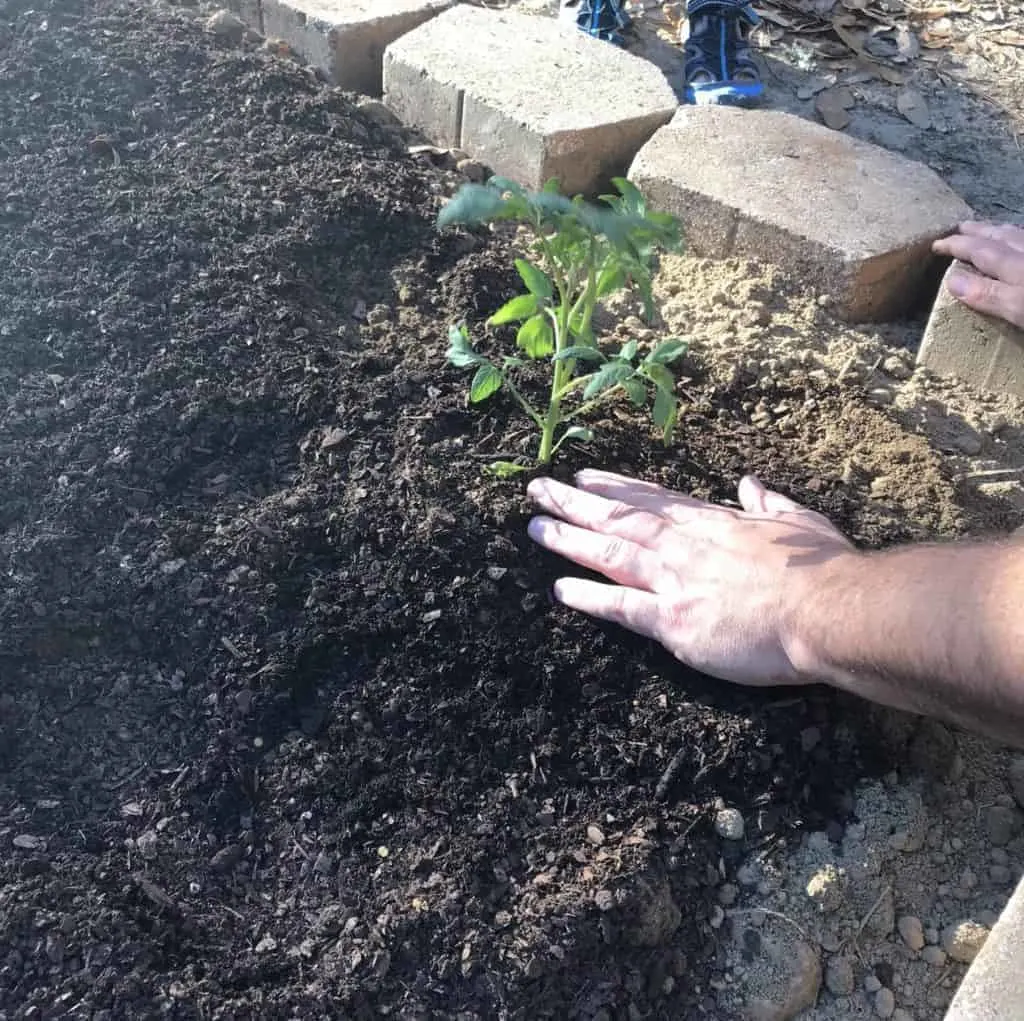
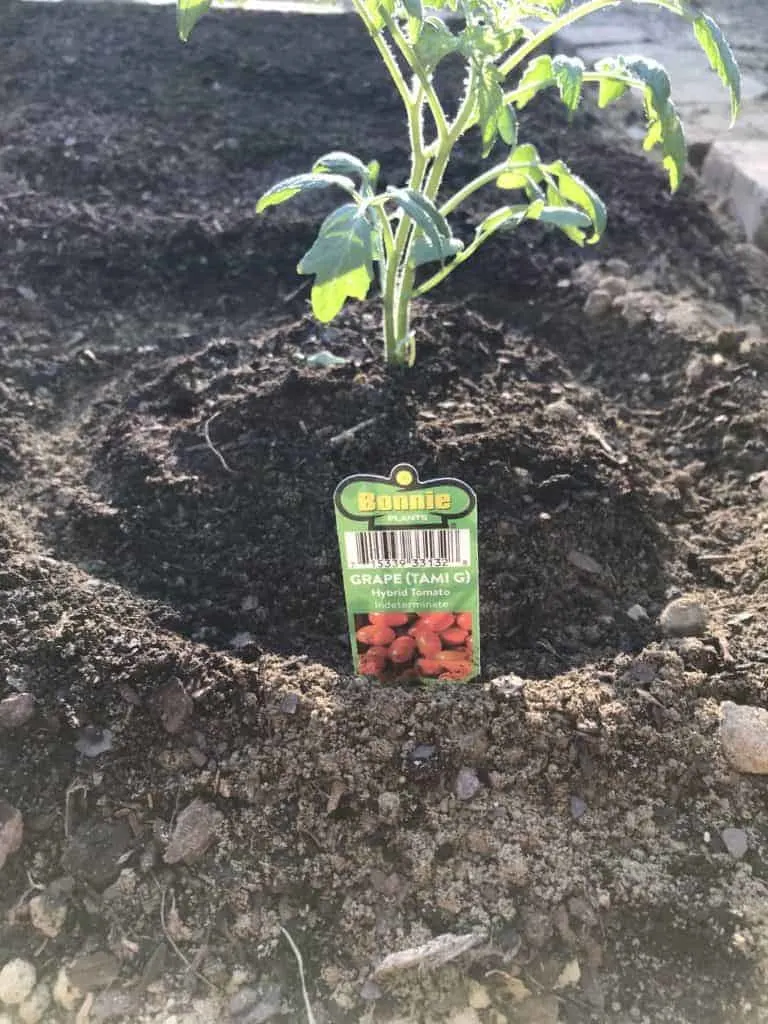
My husband likes to dig a small “moat” around each plant so the water will sit around it.
Disclosure; this post contains affiliate links. As an Amazon Associate I earn from qualifying purchases. This does not affect the price you pay. This disclosure statement refers to the rest of the amazon links and other affiliate links in this post.
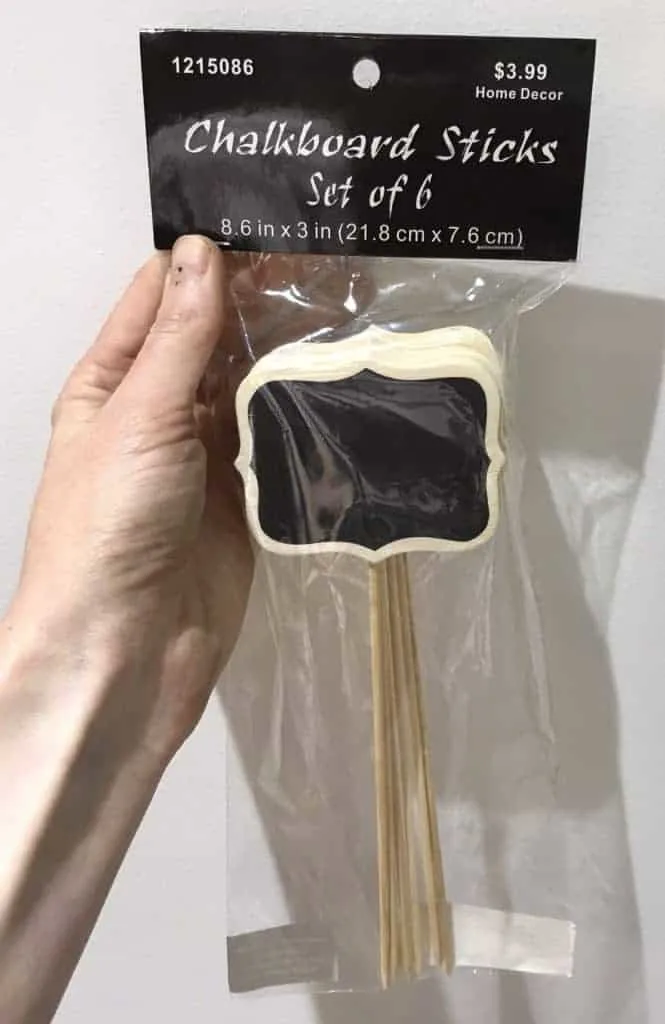
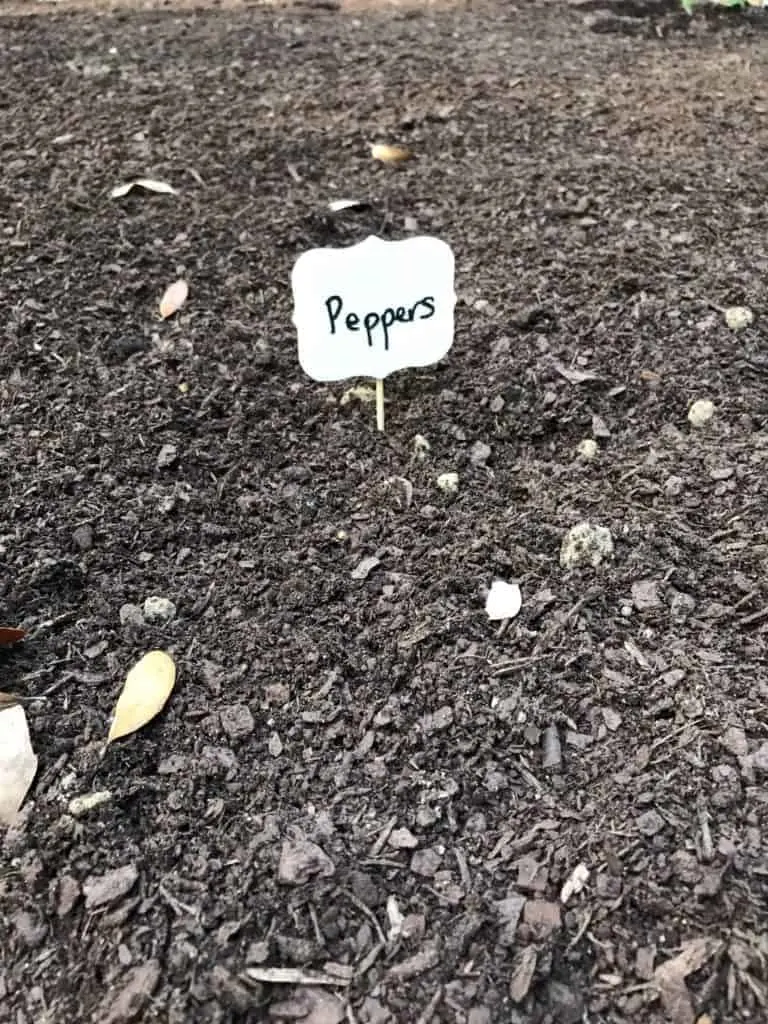
Always add an identifier next to the seeds or plants to ensure you know what is growing. Also, it’s a good source for care instructions.
I purchased chalkboard sticks similar to THESE to mark what seeds were planted where.
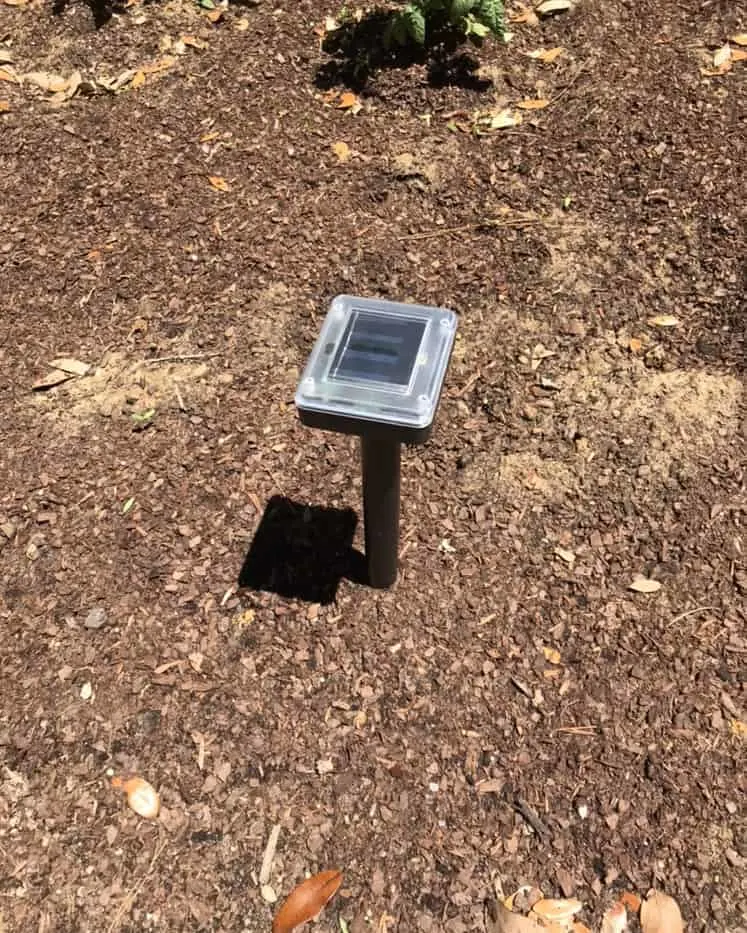
The last thing to consider; if your garden sits low to the ground, you need to add something to keep animals and rodents out.
Rather than adding a physical barrier, we chose to add a Solar Ultrasonic Rodent Repeller. It emits a sound every minute or so that deters unwanted pests.
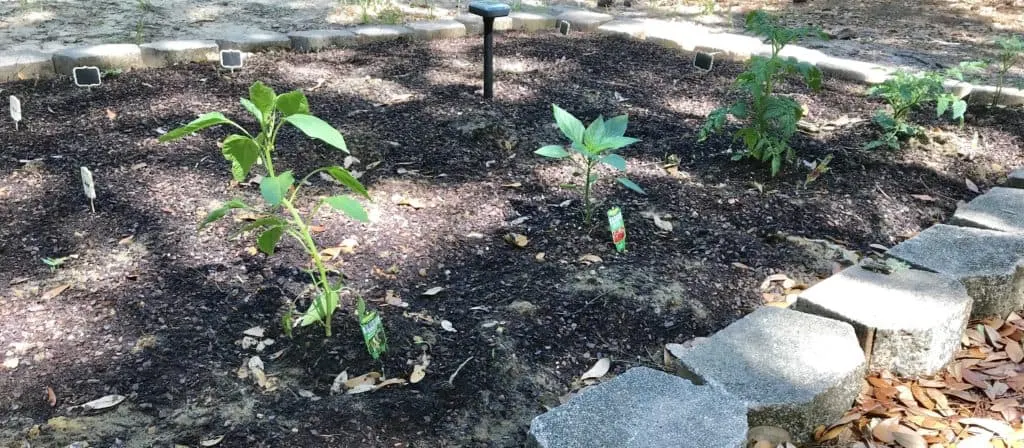
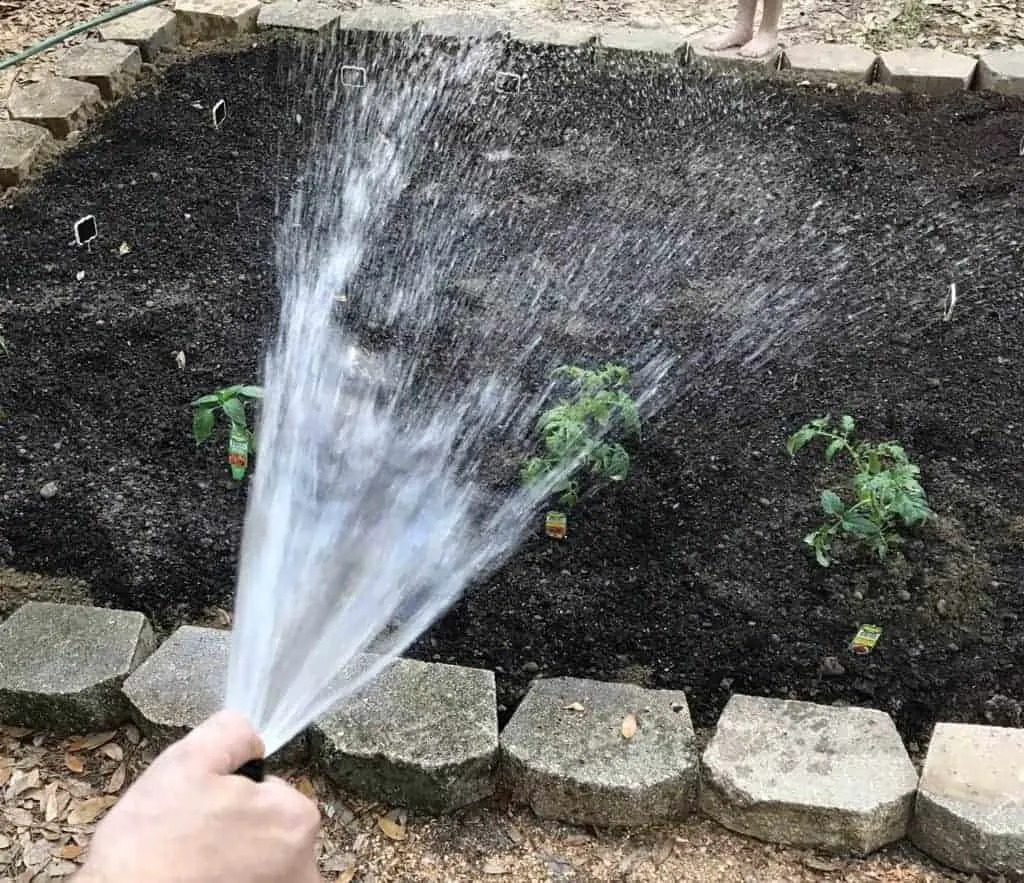
Once you are done planting, make sure to water your garden.
Sit back and watch everything grow (and continue to water daily!)
I will continue to update this post as my plants and veggies grow! I can’t wait to eat something from my own garden.
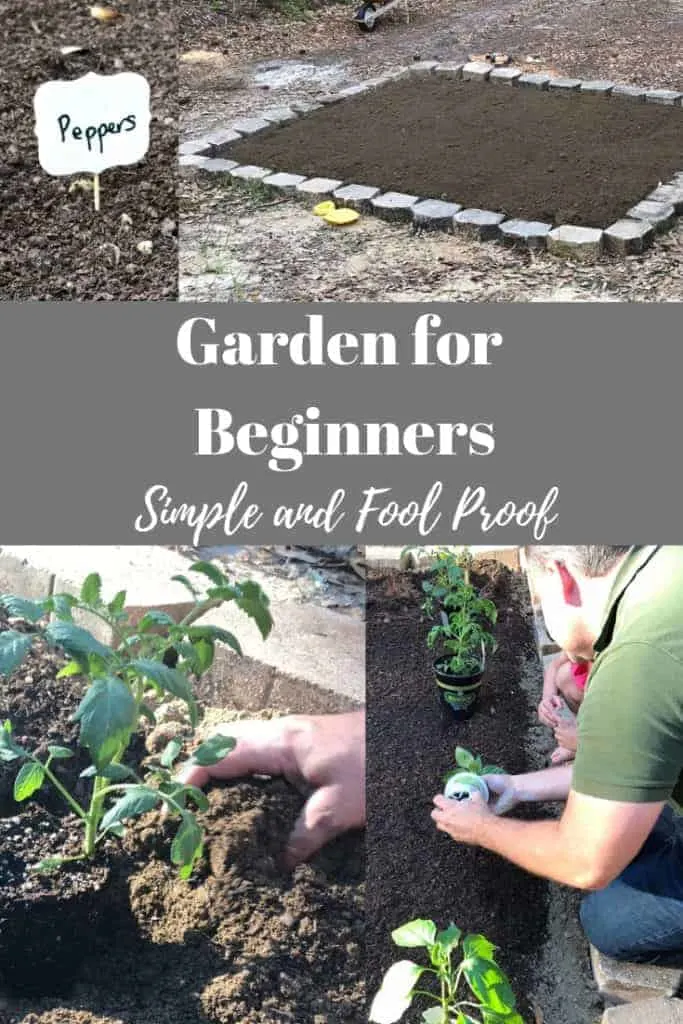
Stay tuned for more updates!
If you enjoyed this post you might enjoy a few of these below:
Lindsey**
Lindsey, I’m glad you learn so much about the gardening things. To make everyone’s life easier, compost the weeds out! Layers of newspapers with branches chipped up works well or grass clipping. Compost also keeps the water bills down and the plant roots healthy.