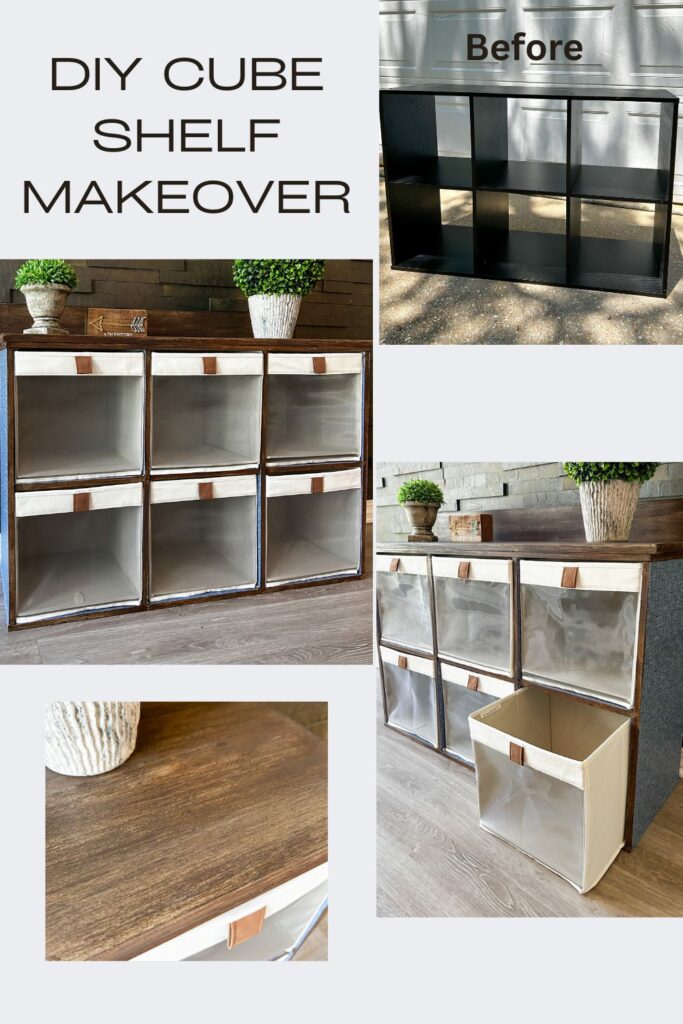
Transforming a Cube Storage Unit
Choosing a Style and Gathering Materials
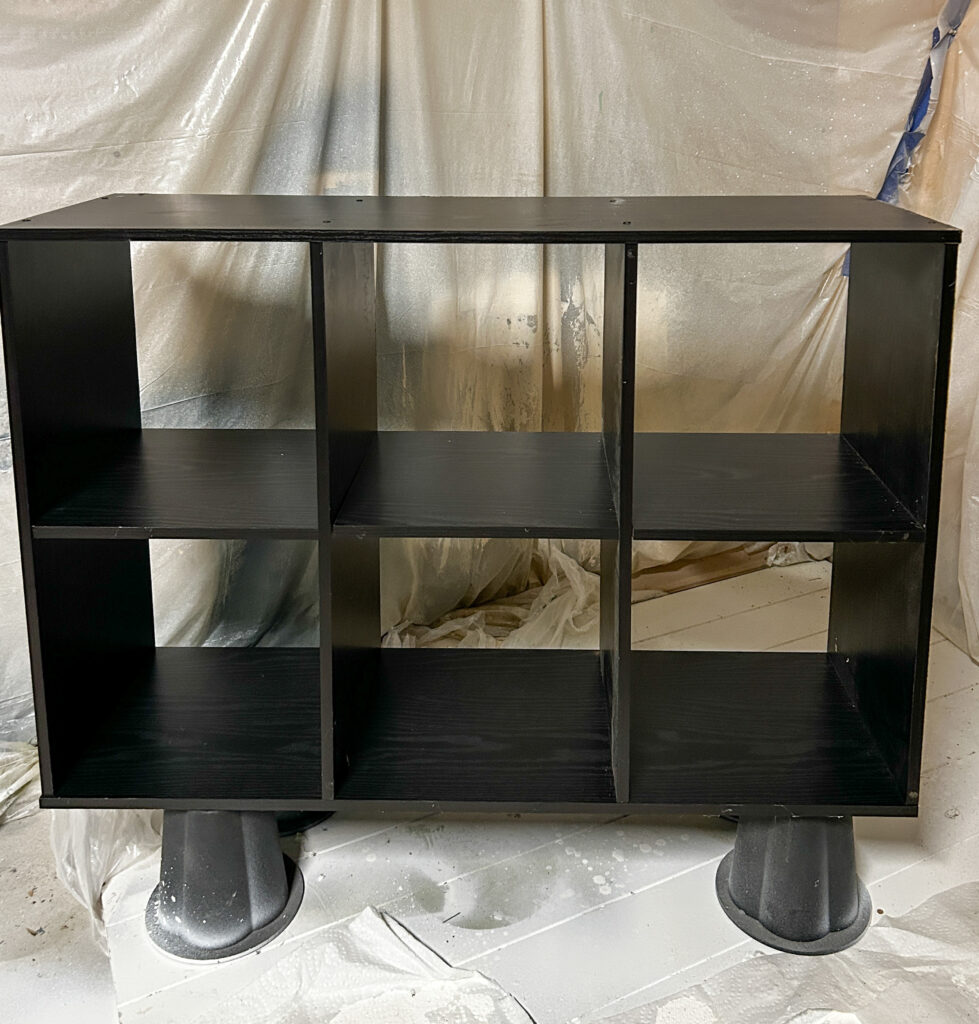
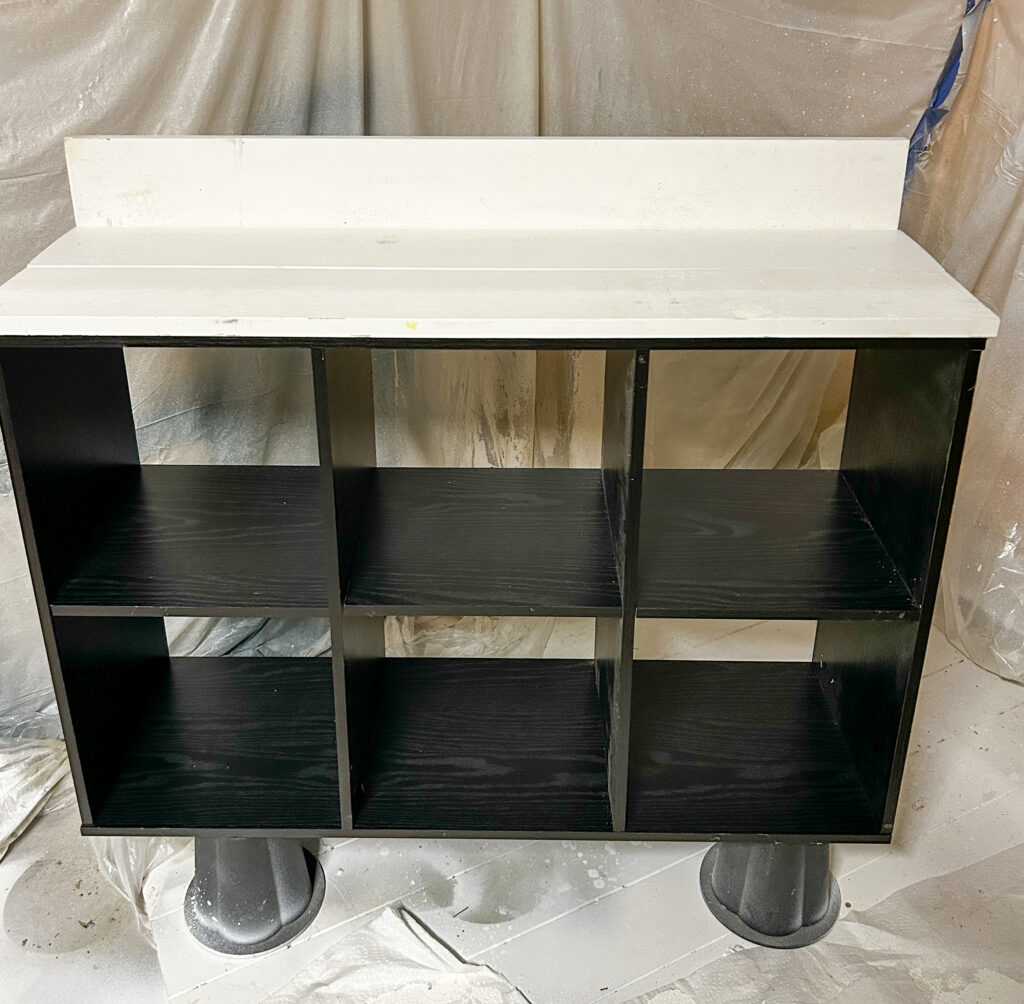
It all started because my daughter needed a sturdy shoe shelf. I looked around my favorite thrift store and perused the internet, but couldn’t find anything. That’s when I decided to shop the house! I found an unused cube storage shelf in our closet. Score!
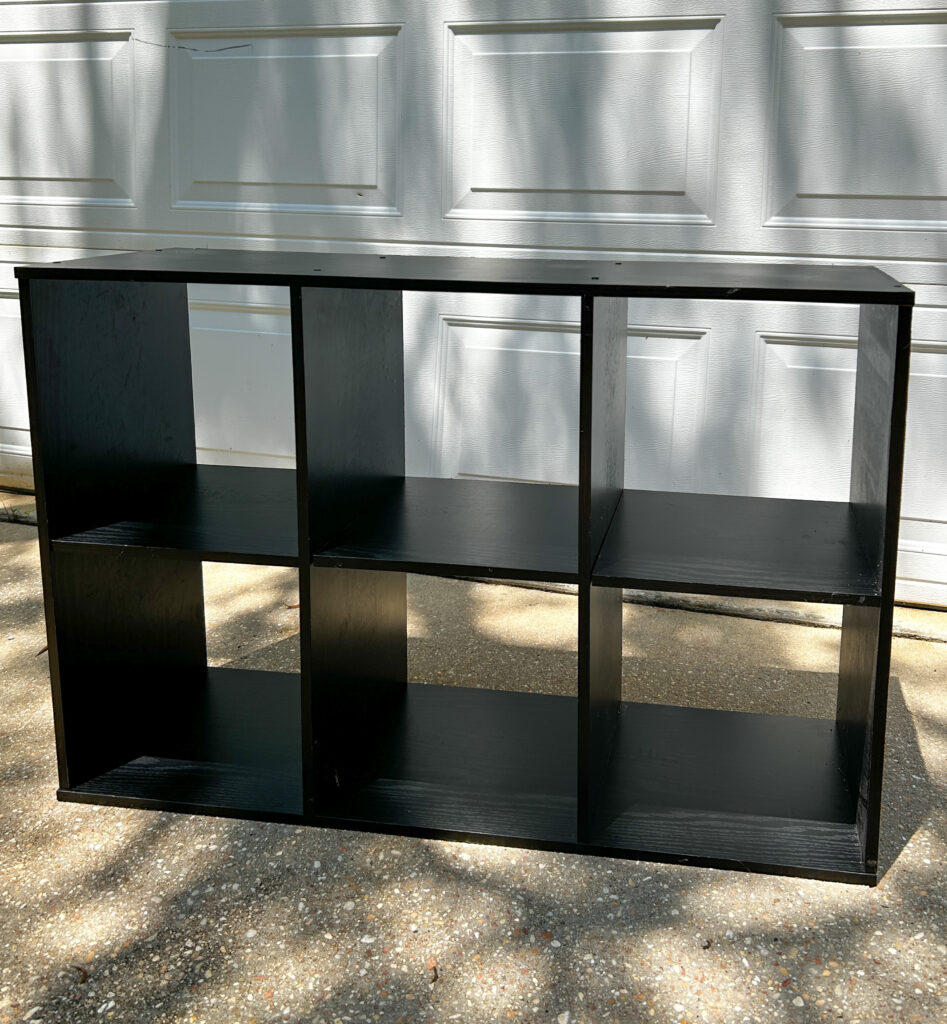
I wanted to turn this cube shelf unit into a functional shoe bench, not just for shoe organization. I grabbed leftover wood pieces, double beaded molding, and some primed baseboard from a previous flooring project and began this fun cube unit transformation.
Disclosure; this post contains affiliate links. As an Amazon Associate I earn from qualifying purchases.This disclosure statement refers to the rest of the amazon links and other affiliate links in this post.
Materials:
- Cube shelf
- wood for the back of the unit
- wood top for the top of the shelf (if making a bench, you could also make a bench seat cushion)
- Bondo
- nail gun
- sandpaper
- primer
- paint
- miter saw
- Peel and stick wallpaper
- Unicorn Spit gel stain
- Cube storage bins
Giving the Cube Shelf a New Look
Adding Depth and Decorative Trim
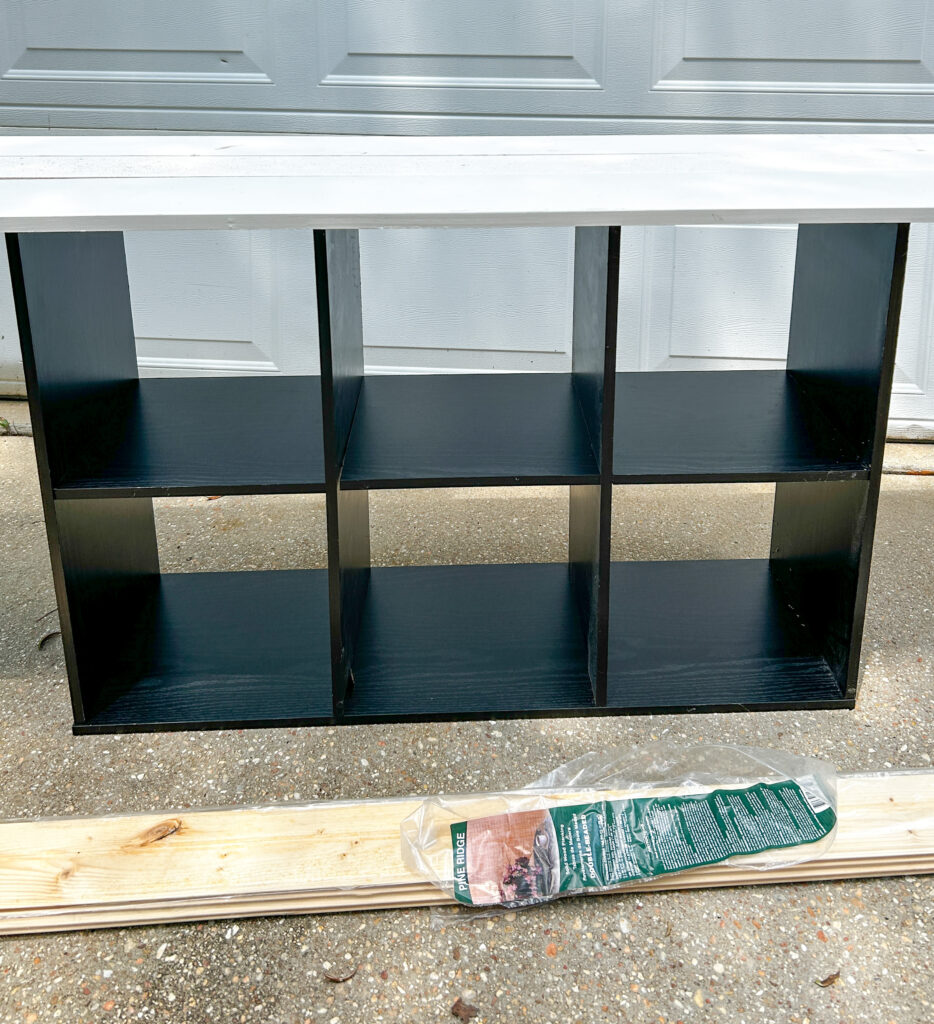
The first thing I did was measure the shelf and cut all the necessary wood pieces with my miter saw. I cut the beadboard to the length of the back of the storage unit. I cut the white primed pieces 1/4″ longer than the top of the unit, just to make sure there was a small bit of overhang.
Once the wood was cut, I attached the beadboard to the cube storage using a nail gun, which honestly made the whole thing look way less like basic particle board furniture. The molding attached easily with a nail gun, and it gave the unit a much more polished vibe.
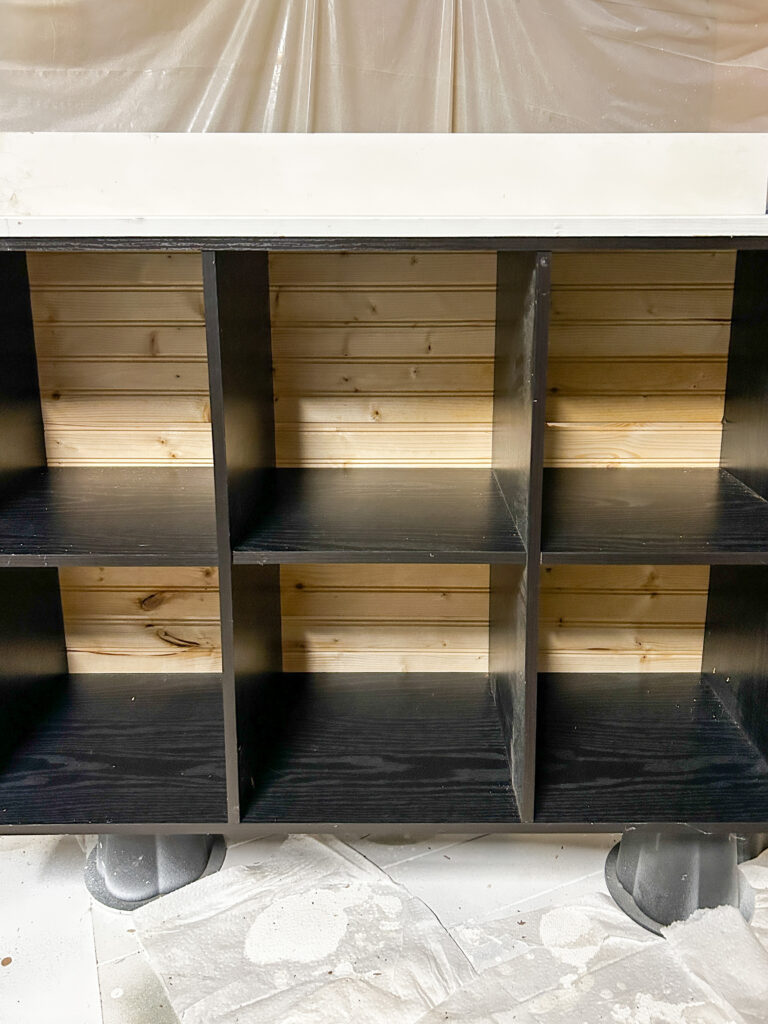
The install was straightforward: measure, cut, nail, and double-check the alignment. That’s it—easy steps, but a big difference.
I also dded a few leftover 1 by 6 white primed baseboards to the top for a more finished look. Instead of laying all the white wood flat, I decided to stand the back piece upright. That added a little more dimension, which makes sense since it’d be used for seating.
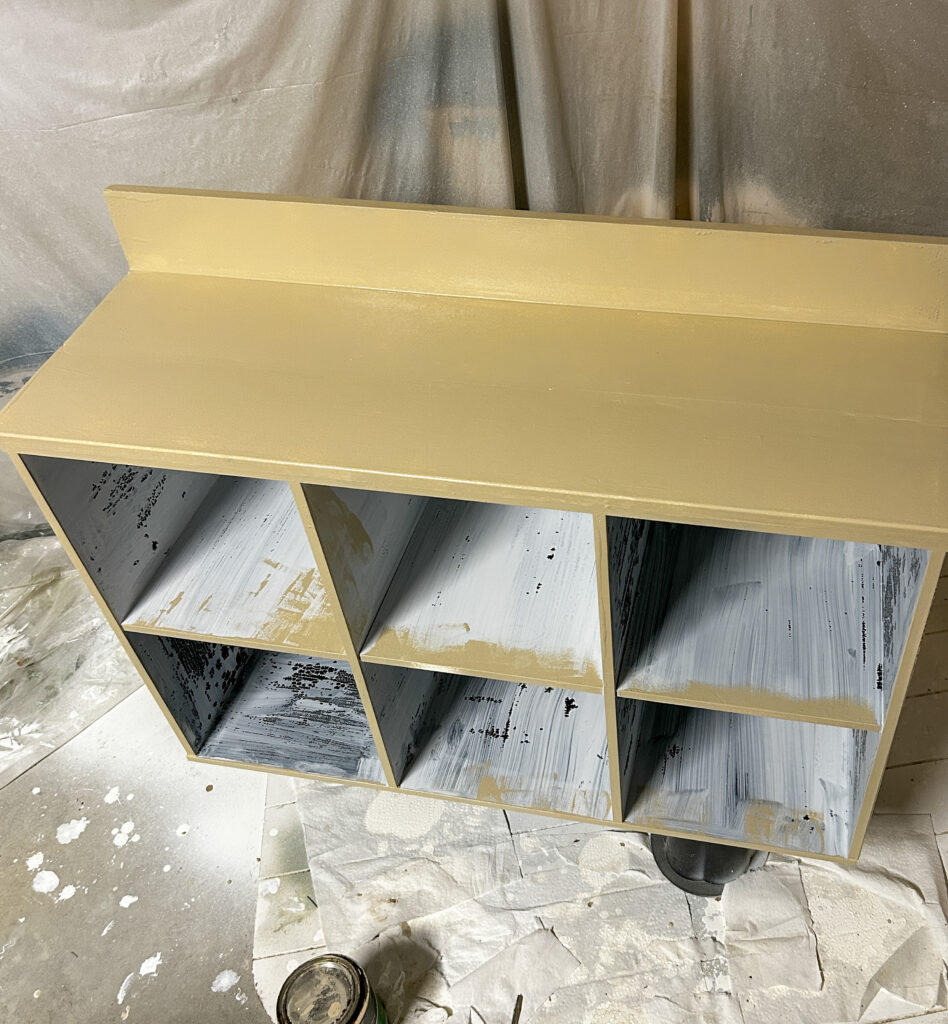
Once the wood was secured to the cube storage with nails, I added Bondo to fill the center gap between the two boards. Once it dried I used an electric sander to sand it smooth.
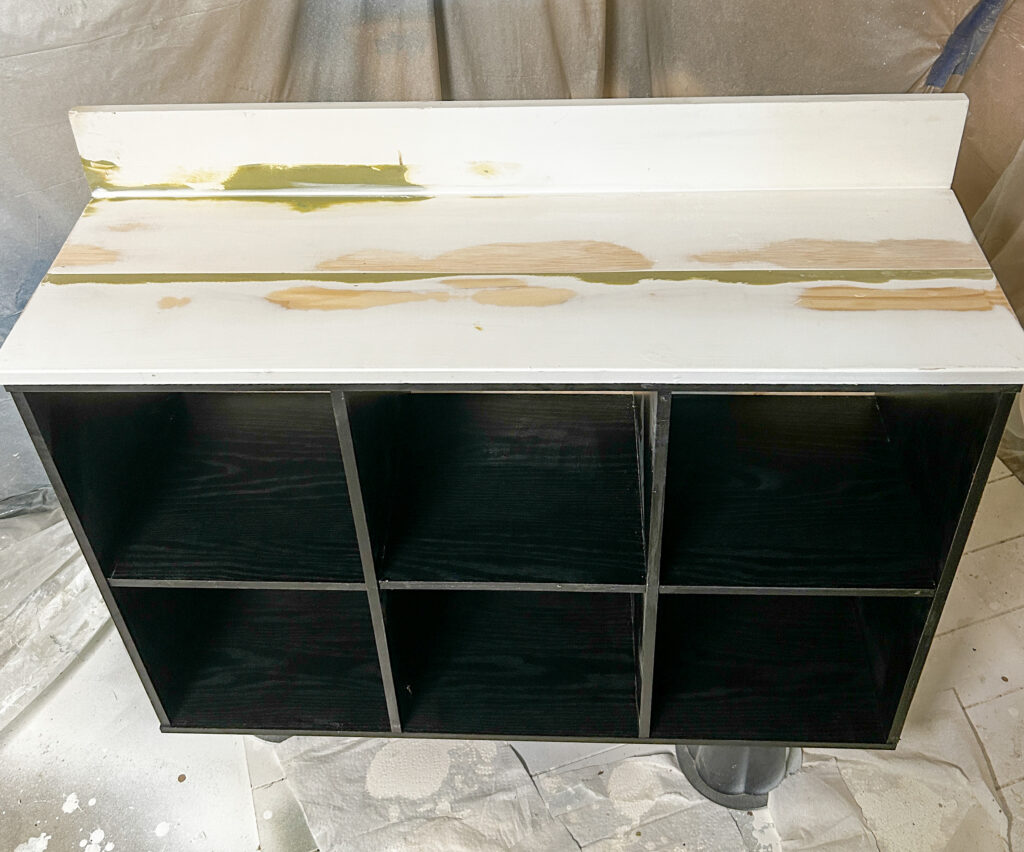
After a good wipe down and clean, I applied one coat of Zinsser bullseye primer.
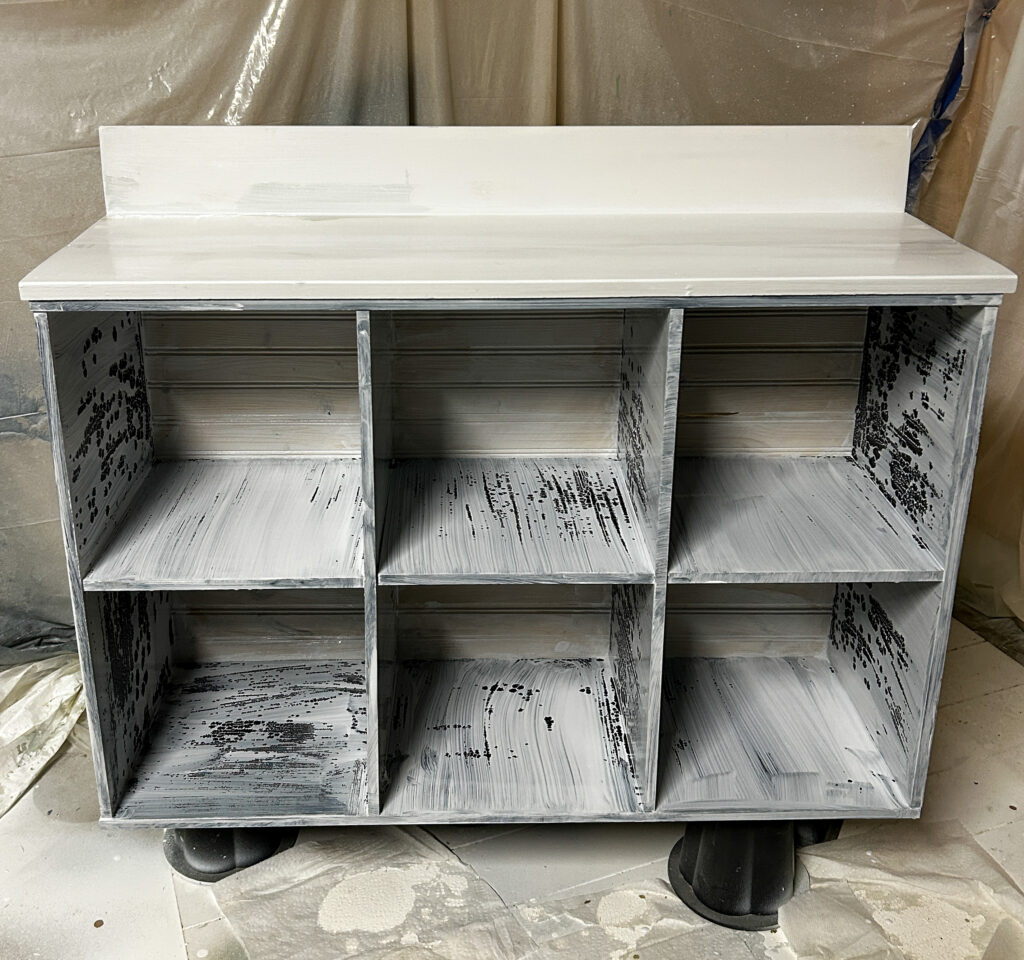
The primer coat did not stick to the cube storage at all. I wasn’t too worried at first, but when I went to add the second coat, I knew I had to pivot. That’s when the peel and stick wallpaper idea came in…
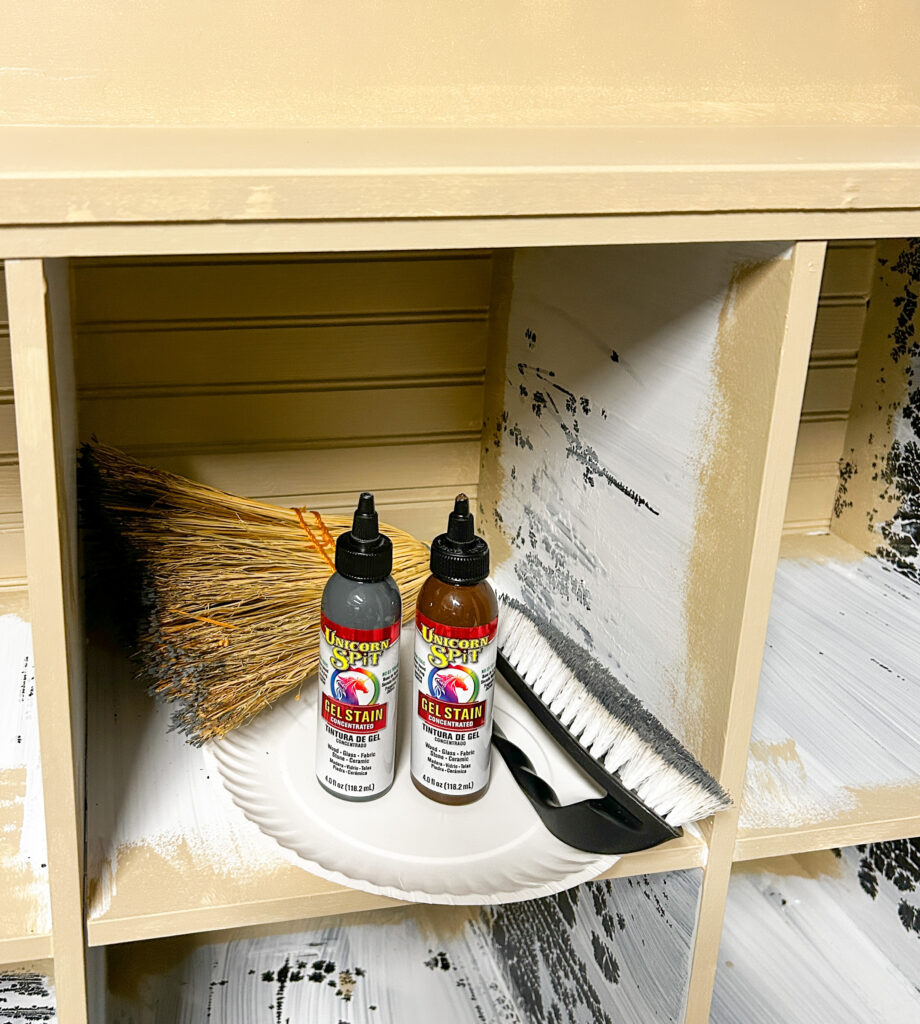
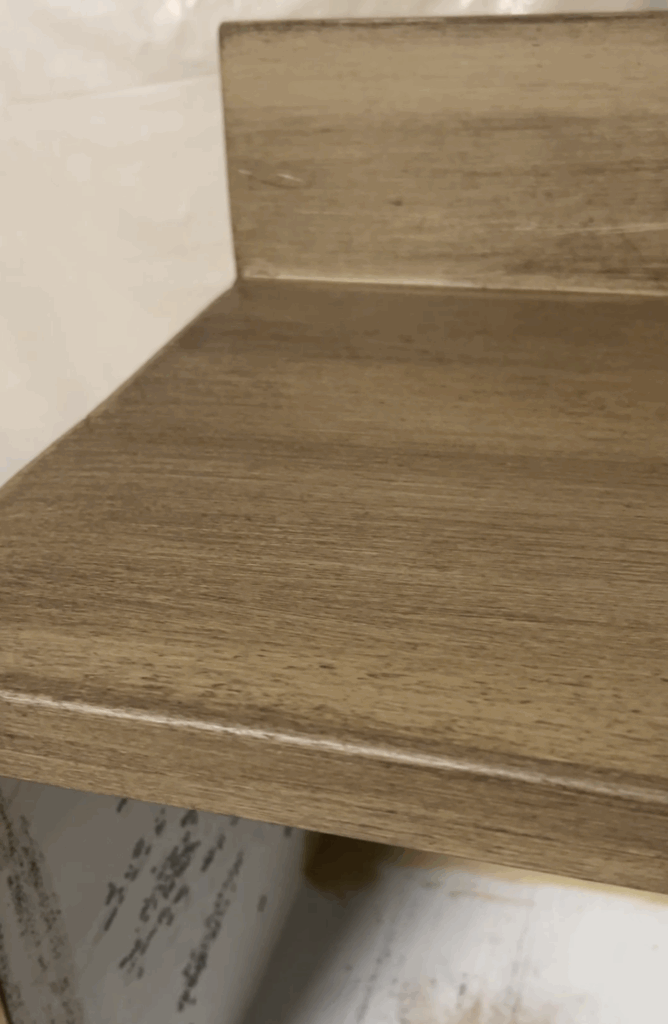
Before I applied the wallpaper, I knew I needed to finish the top first. I decided to do a faux Pottery Barn finish with regular old paint and Unicorn Spit gel stain.
I won’t go into too many details on the Pottery Barn finish because I’ve got a whole YouTube video and blog post for that! I love this look!
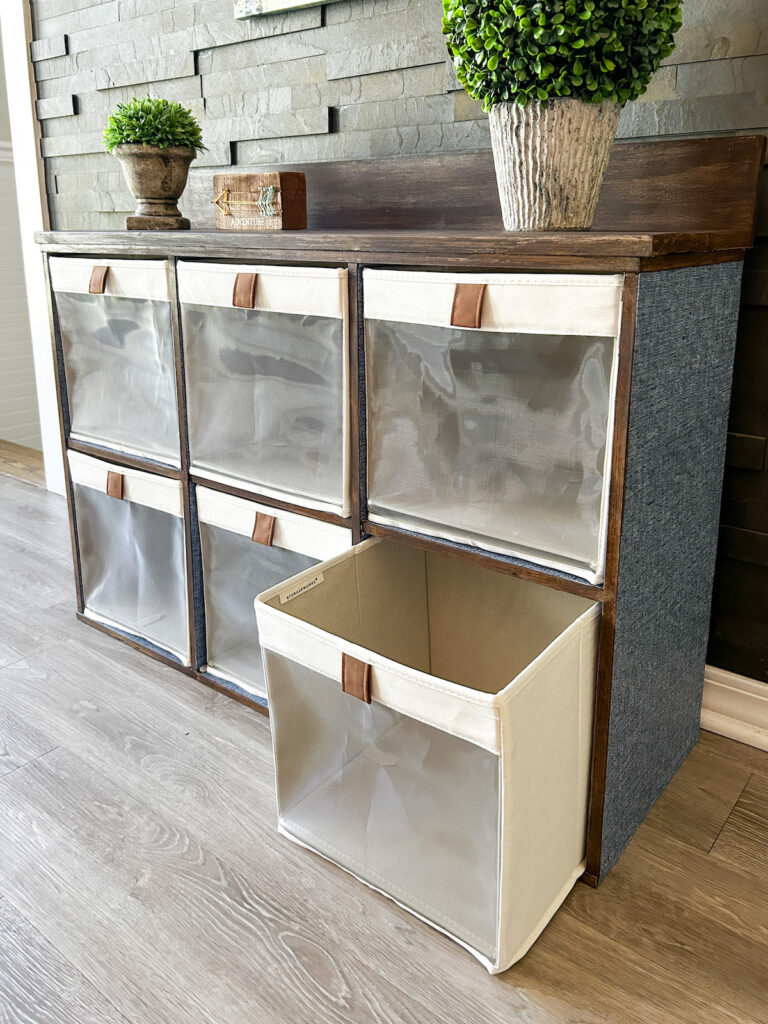
The last thing to do was to add the lovely faux grasscloth wallpaper to the sides of the unit and the boxes.
Ready to see the finished product?
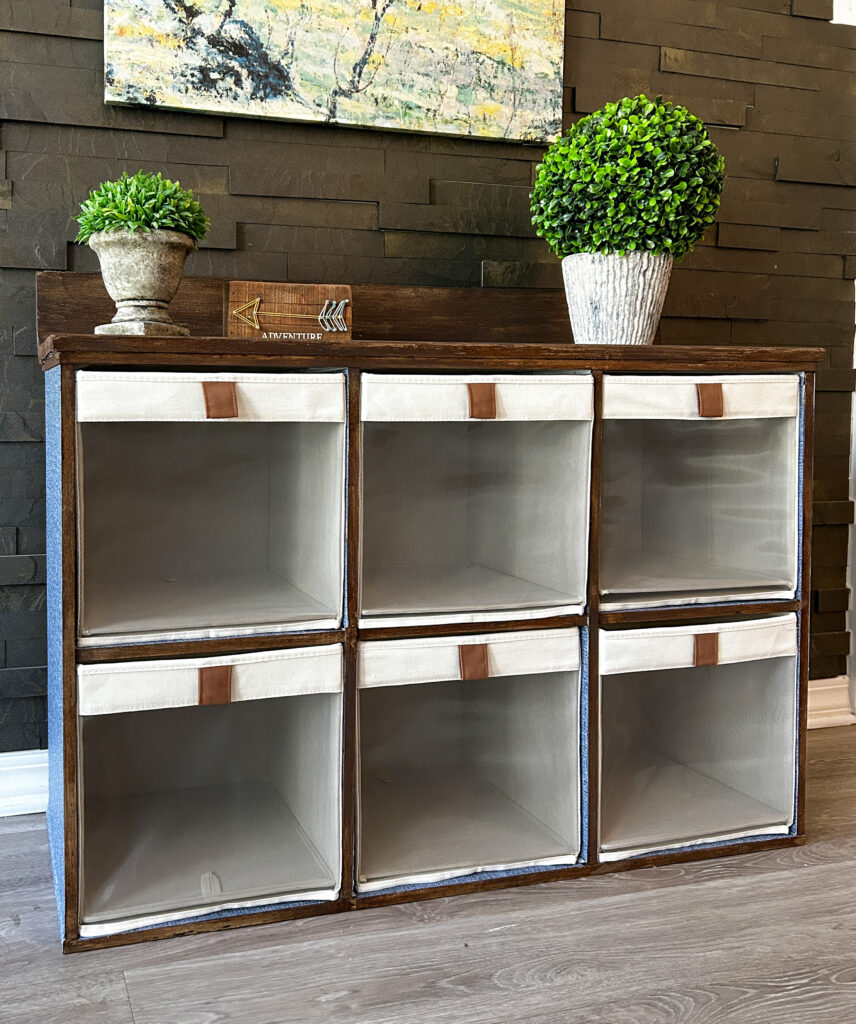
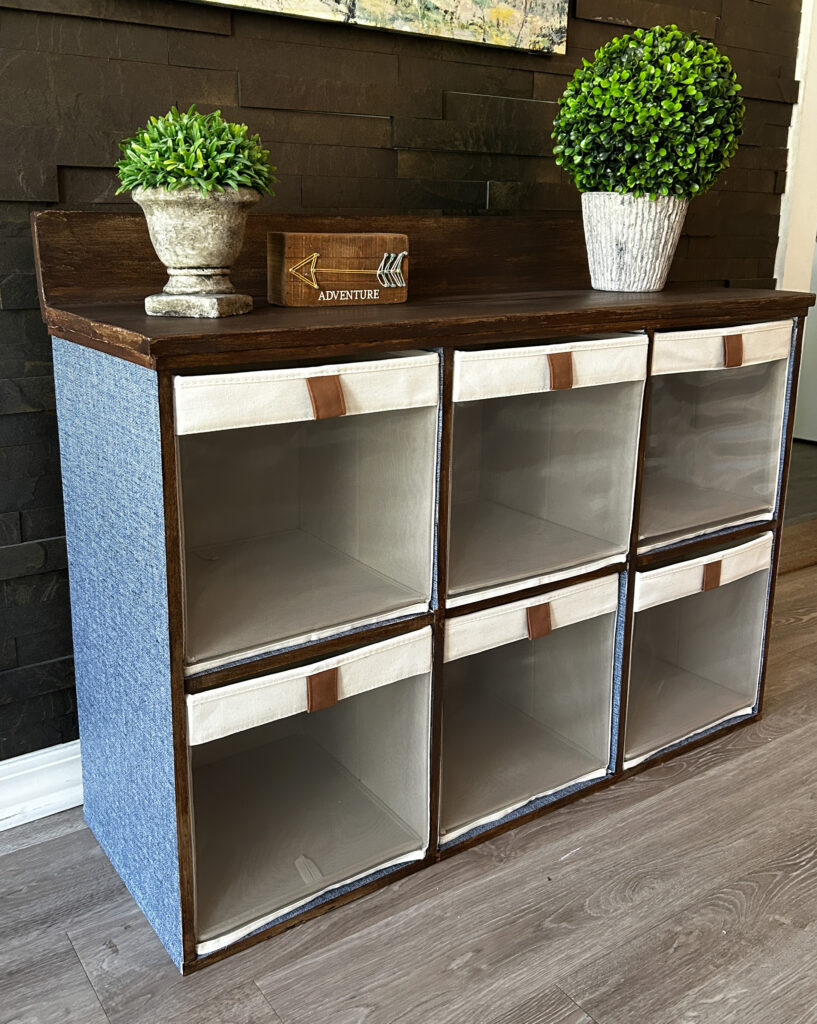
Aren’t these cube storage bins super cute?
What do you think? If anything, I hope I’ve given you some inspiration on how to update an old cube storage unit.


