You know I’m all about a fun DIY dupe. THIS dupe is my favorite, and oh so easy! I’ve attempted this pottery barn seadrift finish multiple times, and messed it up multiple times. I’m ready to share my best tips on how to transform a piece of furniture with this easy smooth finish. Best of all, I’ve got a simple video to share the process and final result.
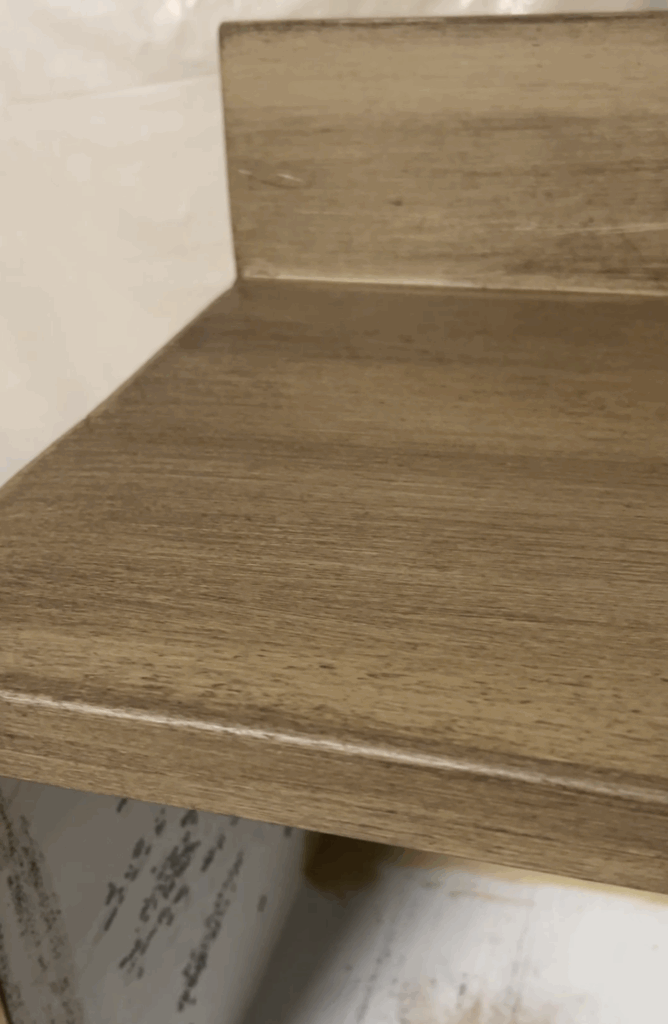
The key to achieving this finish is layering. Start by applying a base coat or first coat of paint in a neutral, earthy tone or lighter tone. A second layer of gel stain or glaze adds depth and richness, giving the piece that signature Pottery Barn warmth.
What makes this project so fun is how customizable it is. You can go for a lighter, coastal-inspired finish or a darker, farmhouse vibe with deeper stains. Either way, the process is simple, budget-friendly, and perfect for beginners. Before long, you’ll have furniture that looks high-end but comes with the satisfaction of saying, “I made this myself!”
Disclosure; this post contains affiliate links. As an Amazon Associate I earn from qualifying purchases.This disclosure statement refers to the rest of the amazon links and other affiliate links in this post.
Materials You’ll Need:
- Clean cloth or tack cloth
- Water‑based paint in a light neutral shade (white, cream, beige or even light gray work well)
- Gel stain or glaze (in a warm wood tone like walnut, chestnut, or espresso) I used Unicorn Spit
- wide broom with stiff bristles
- A small scrub brush
- Disposable gloves
- Drop cloths/protective covering
- Sealer or Top coat. I used an oil based finish
How to create that easy DIY pottery barn finish
Step 1: Apply the Base Coat
Brush or roll on one even coat of your light water‑based paint. This acts as the “undertone” that peeks through the faux wood grain. Let it dry completely before moving on.
Step 2: Add the Gel Stain or Glaze
Using a brush or rag, apply a generous coat of gel stain or glaze over the painted surface. Work quickly because you don’t want it to dry without “pulling the brushes.”
Step 3: Pull with the Broom
While the stain is still wet, drag the broom bristles across the surface in long, even strokes in the direction of the grain of the wood. This creates the look of wood grain and removes excess product at the same time. You’ll start to see that Pottery Barn–style texture emerge.
Step 4: Refine with the Scrub Brush
Go back in with a small scrub brush to soften or deepen areas of the grain. Use light, even strokes to mimic the natural variation of real wood.
Step 5: Let it Dry + Seal (Optional)
Allow the finish to dry completely. If the piece will see heavy use, apply a clear coat or top coat matte sealer to protect your new faux wood look.
✨ Pro Tip: Practice on a scrap piece of wood first to get comfortable with the broom and brush technique before working on your main piece.
Was this tutorial easy enough? I hope so. Thanks for stopping by!


