Learn how to update a cedar chest with milk paint for a distressed white milk painted treasure chest makeover.
Do you have a piece of inherited furniture or an old antique treasure chest that doesn’t match the style of your home? Is this a piece that you keep moving around because you can’t bear the thought of getting rid of it, but you don’t particularly love it? This lovely handmade Cedar wood chest is beautiful inside and out, but it just didn’t match my style. I decided to try a new type of paint called milk paint for a milk painted treasure chest makeover.
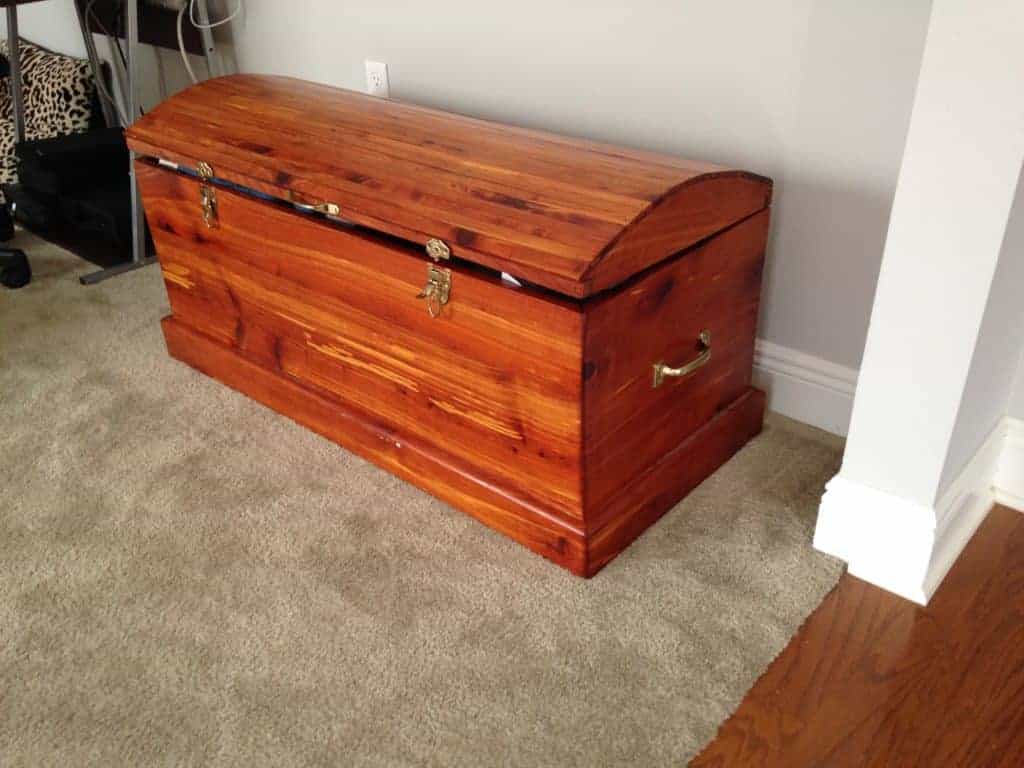
Did I mention that my uncle made this CEDAR TREASURE CHEST for our wedding present in 2006. So yeah, it’s special. I can’t get rid of it.
I love this chest, and the fact that my Uncle made it from wood from the family farm. I like the “country wood” finish, but it wasn’t my style and I kept finding myself moving it out of the way because it didn’t match the rest of my decor. My husband asked me one day how many times was I going to move the piece around because every time he sees it its in a different place!
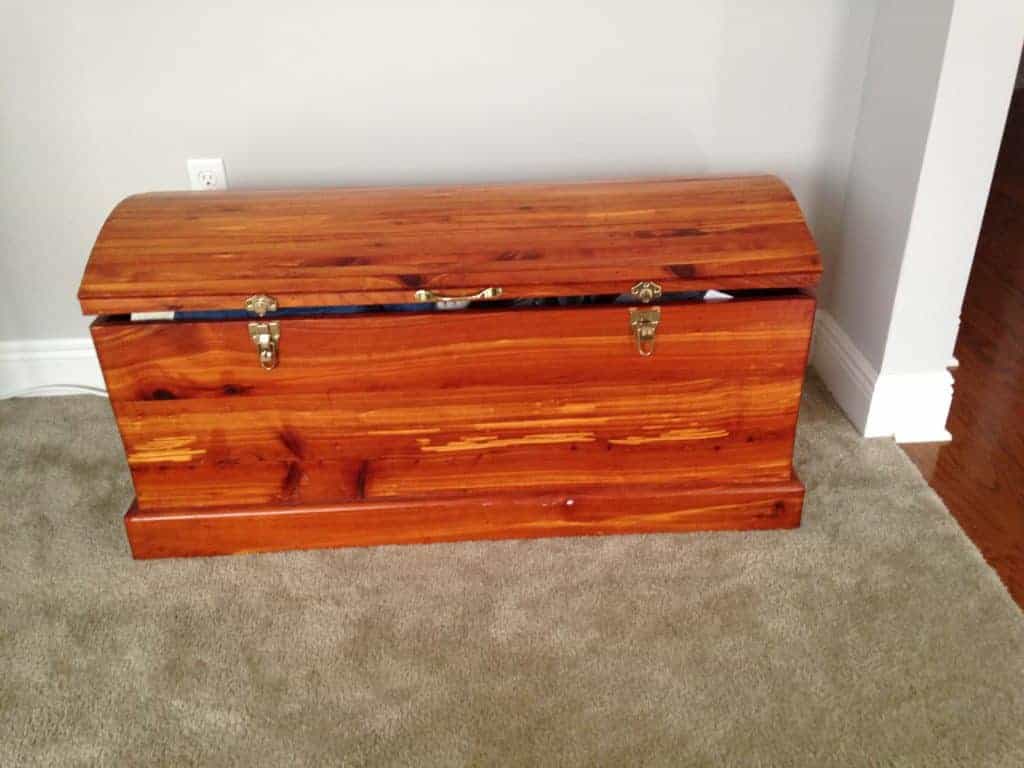
Here is what it looked like originally:
I decided to use MILK PAINT since it is the newest craze and I heard great reviews about it.
I used the General Finishes milk paint in the color Antique White.
Milk paint is very different than chalk paint in my opinion. Chalk paint is exactly like it says, very “chalky” meaning you can scratch it and it will come off. Chalk paint really requires the wax coat to “seal” it. Milk paint, on the other hand, doesn’t seem to require that top coat or wax to be durable. Of course, this depends on the type of milk paint you use.
Milk painted treasure chest
To begin this furniture painting project, I took the hardware off and added one coat of milk paint.

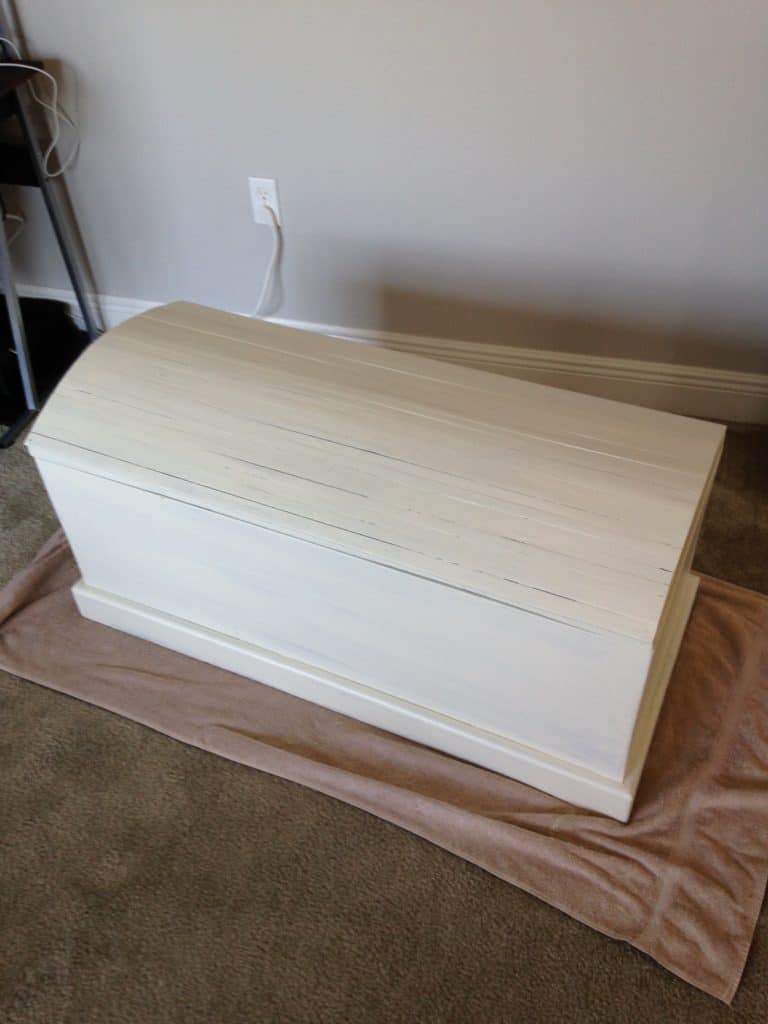
One thing I noticed about milk paint that differs from chalk paint is that milk paint tends to shows brush strokes much easier. Because of this, it is a good idea to use a foam brush to minimize brush strokes.
After I painted the chest I started to distress it a bit with a fine grit sand paper. By the way, why do we call “removing a little paint and creating that wear and tear look” distressing? Has anyone else wondered that? I have been known to over think things, so that might be a silly question to some of you.
I used a hand sander with a fine grit sand paper (about 800) and sanded in long strokes along the wood grain. I’ve learned that “distressing” furniture really looks more natural when you sand with the grain.
Finally I spray painted the hardware oil rubbed bronze. I’ve used quite a few different brands of the “oil rubbed bronze” to spray paint hardware, and haven’t really found a favorite; they all seem to do the same quality job.
Y’all ready to see my new cedar chest?
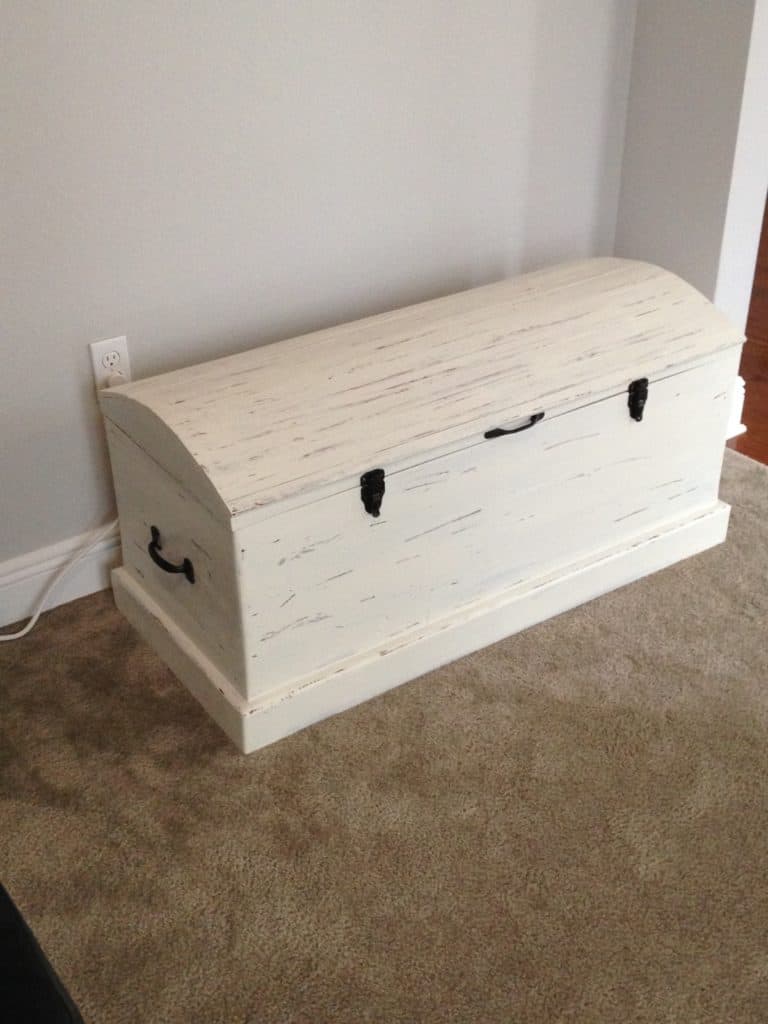
I love how it blends so well now with the rest of my decor.
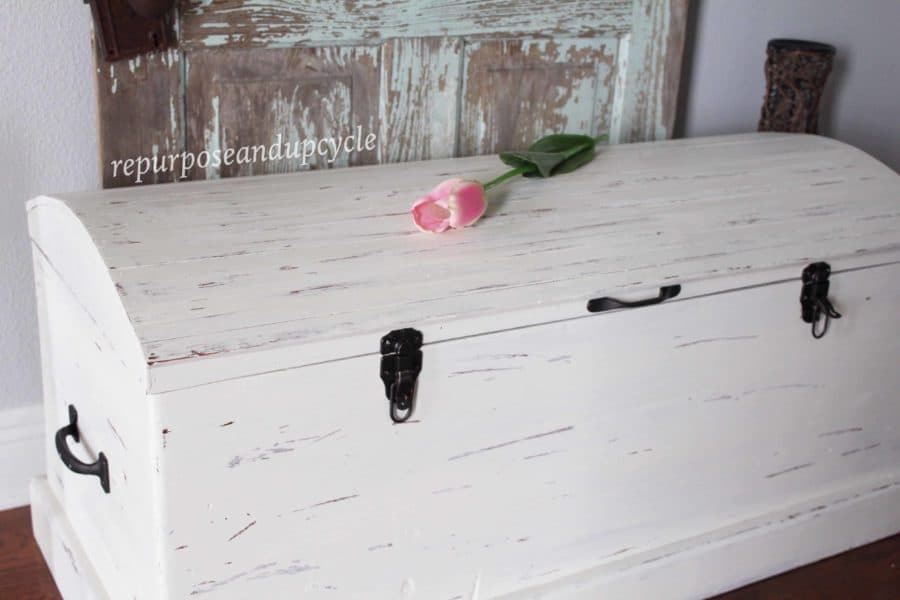
I think my chest has finally found it’s place in my entryway now that it fits the rest of my distressed furniture style!
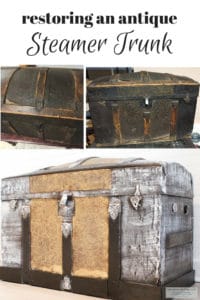
If you enjoyed this post you might also enjoy this Antique Steamer Trunk makeover.
Lindsey **


