Learn how to make a fun DIY Dollar Tree pumpkin wreath with lights with a Dollar Tree pumpkin wreath form. This easy to make wreath looks good during the day and dazzles at night with lots of different orange and purple lights. This is the perfect Halloween wreath!
It’s almost that time friends! You know what I’m talking about… or maybe you don’t. It’s almost the holiday season and Halloween is the first holiday that kicks the season off. I think my favorite thing about Halloween is that when it comes to decorating, dressing up, or food, anything goes! Halloween is the one time that you can get away with “tacky” and fun decor.
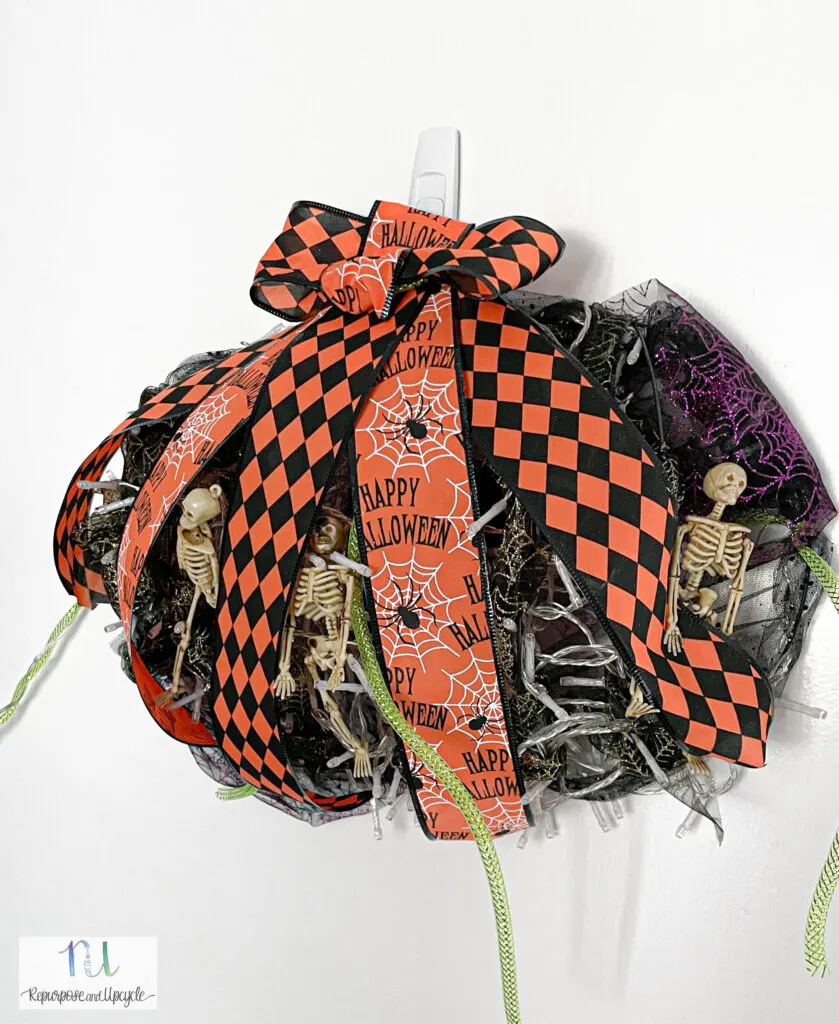
Speaking of tacky decor, this wreath is bright, colorful, and dare I say “tacky.” Now I say the word tacky with the best of intentions, because everything that revolves around Halloween is a bit tacky, right?
The cool thing about this wreath is that it’s easy to make, fun for all ages, and best of all doesn’t break the bank. All the supplies (except for the lights) can be found at the Dollar Tree.
I love shopping for holiday decor at the Dollar Tree. Want to know why? Not only is it super affordable, but there is a lot to choose from and you can even shop for all their items online (that is if you want to shop in bulk).
Today I’m sharing how to make a Dollar Tree DIY Pumpkin wreath with just a few supplies from the Dollar Tree:
I think my favorite thing about this Halloween wreath is all the different light up options. Not only is it fun to look at during the day, it’s even more fun to watch the lights at night.
Before you leave this post make sure to check out more Halloween Mesh Wreaths to buy and DIY here!

Let’s learn how to make this wreath, shall we?
Dollar Tree light up pumpkin wreath
DIY Dollar Tree pumpkin wreath with lights for Halloween

Learn how to make a fun DIY Dollar Tree pumpkin wreath with lights with a Dollar Tree pumpkin wreath form. This easy to make wreath looks good during the day and dazzles at night with lots of different orange and purple lights. This is the perfect Halloween wreath!
Materials
- Green Mesh Tube
- Sparkle Mesh
- Halloween Ribbon
- Pumpkin Wreath Form
- Purple and Orange Lights
Tools
- Scissors
- Stapler or hot glue gun
Instructions
- Start by wrapping the lights around the metal pumpkin form. I wrapped the lights twice.

- Next begin wrapping the mesh ribbon around the perimeter of form around the lights.
- Turn the metal form over and extend the ribbon to create a solid mesh layer on the backside of the pumpkin.
- Stuff the rest of the lights in between the mesh and front of the pumpkin form.

- Use a different colored ribbon to wrap around the front metal pieces of the pumpkin form while pulling parts of the lights as you go.
- Cut two pieces of regular ribbon the same size and fold in half and staple or hot glue. Sit them side by side horizontally.
- Cut another piece of regular ribbon, fold in half and staple. Sit this piece of ribbon vertically in the middle of the two pieces that are side by side. Attach them together with hot glue or staples.

- Cut five more pieces of long ribbon to extend down under the bow. Attach them with glue or staples.
- Lay the bow on top of the metal form.

- Attach the bow to the top of metal form with more ribbon (or wire or mesh).

- Hang on the wall and enjoy!
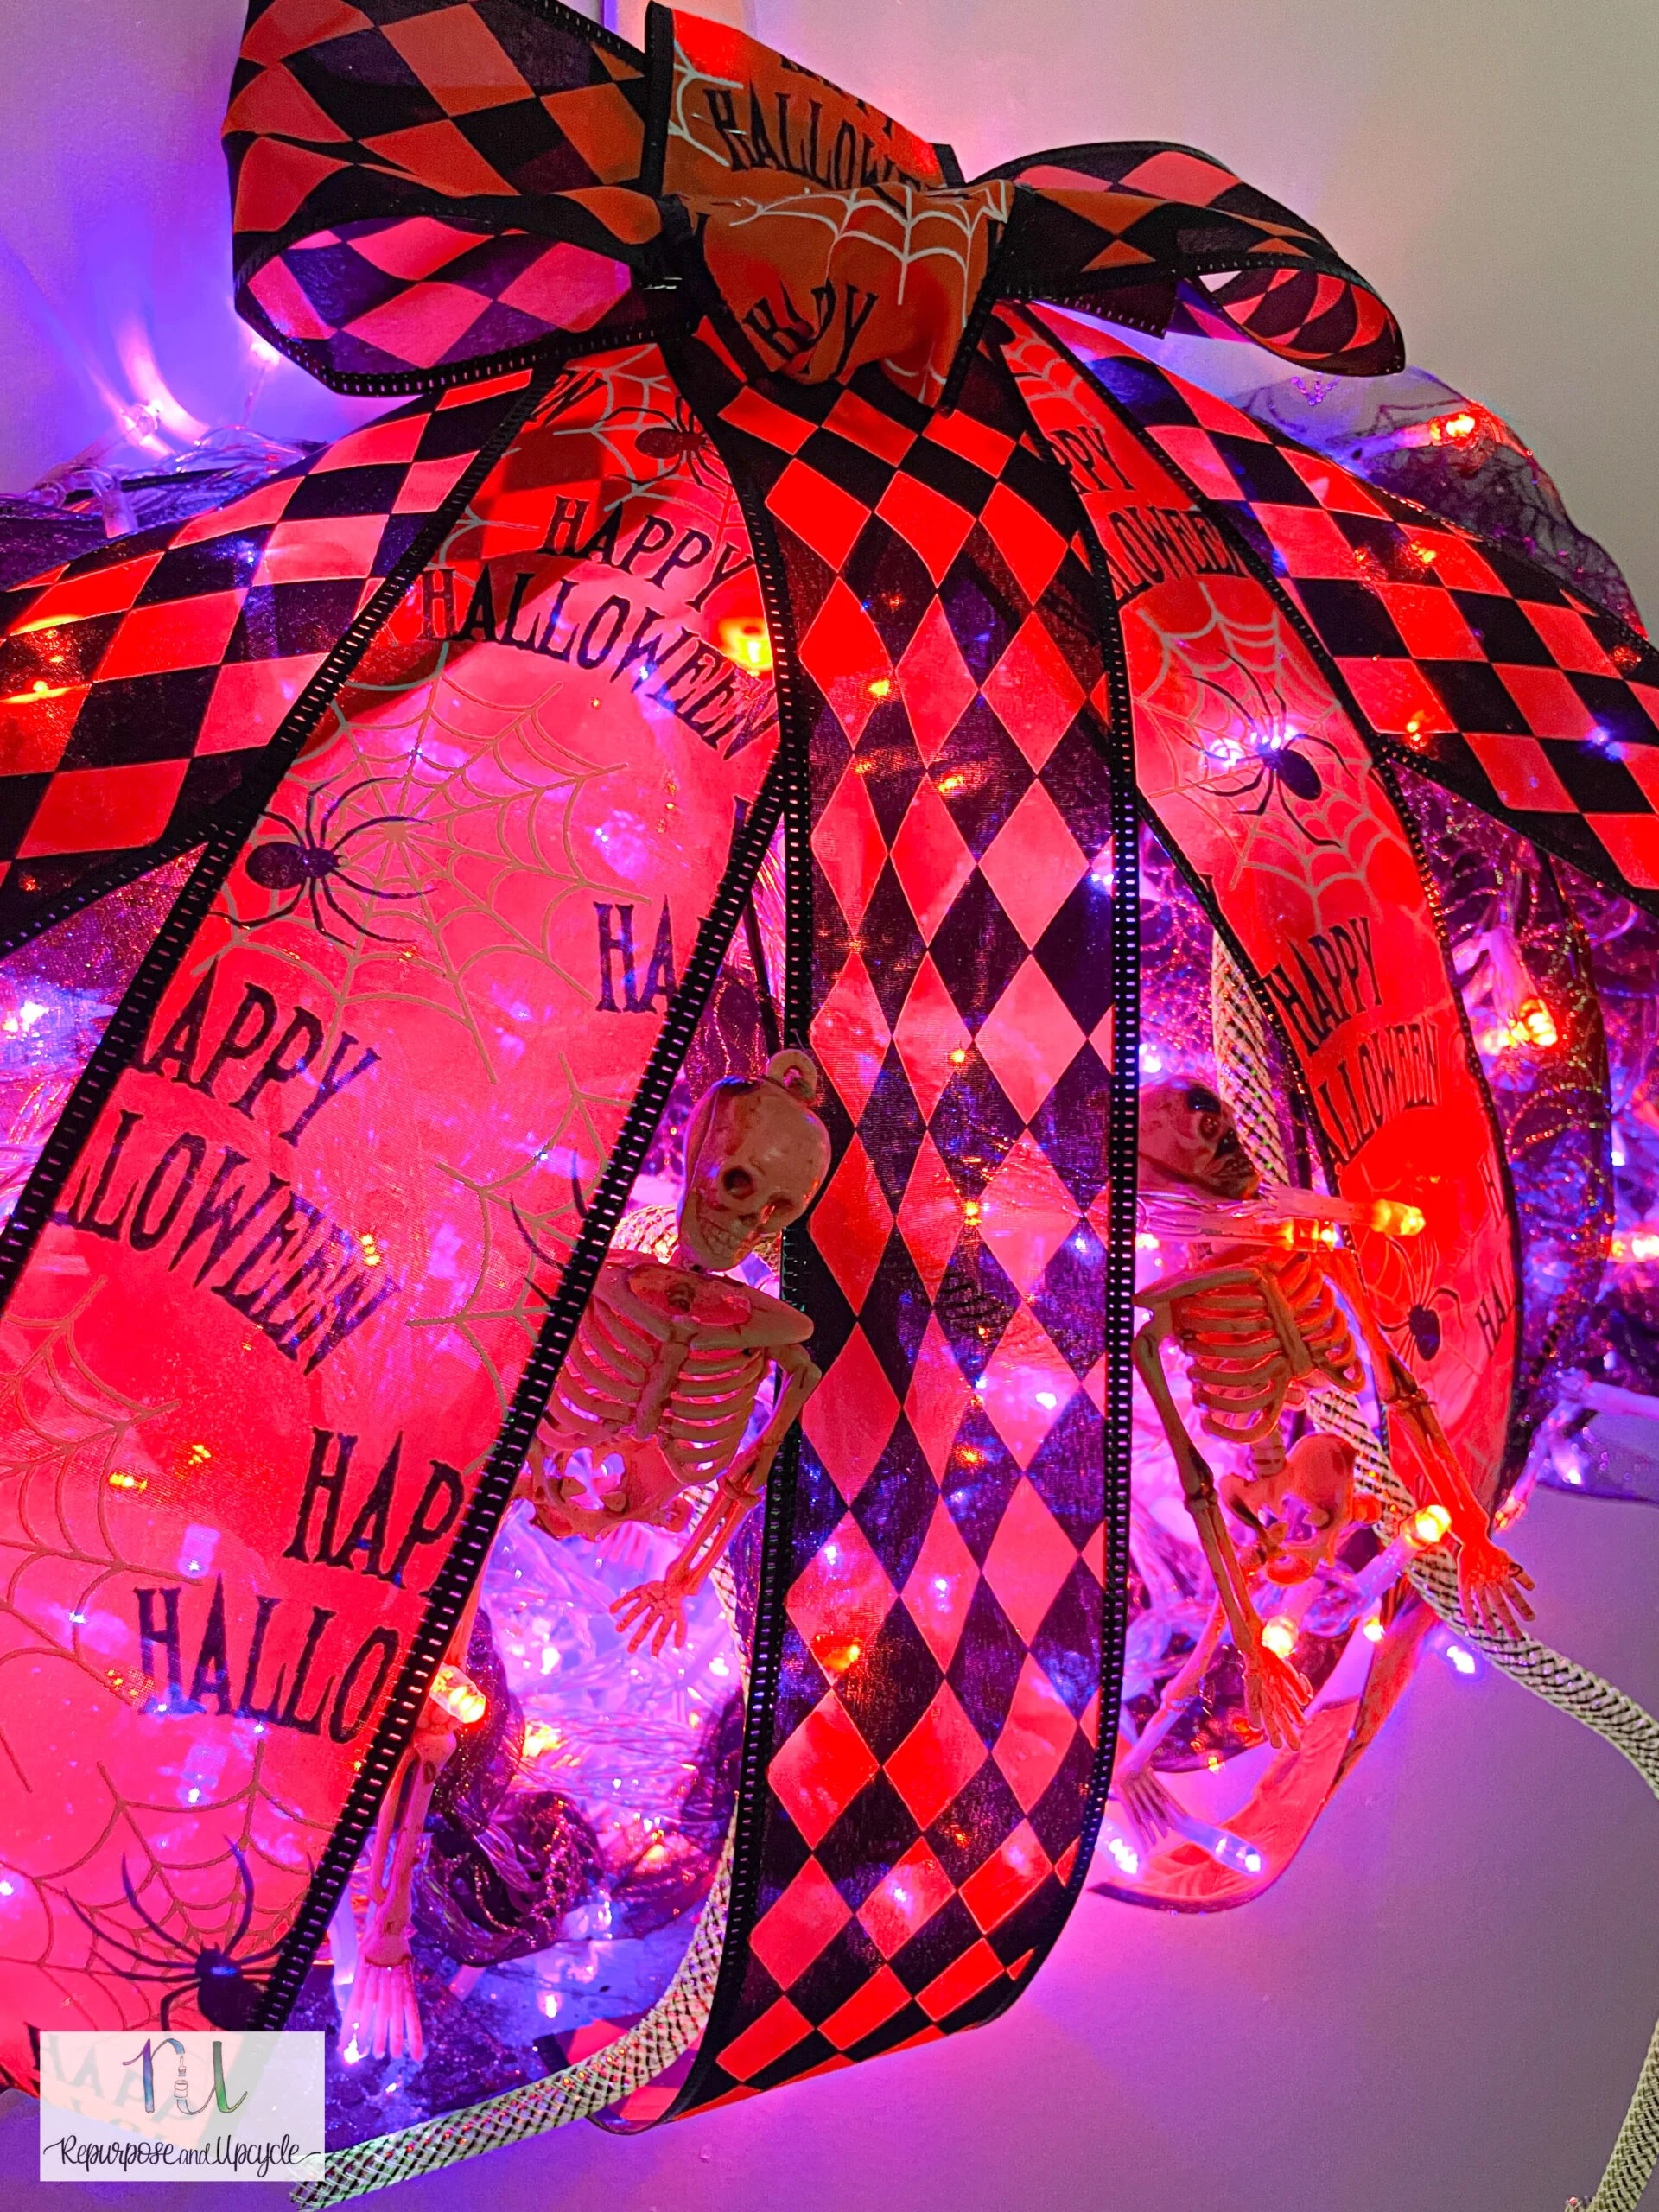
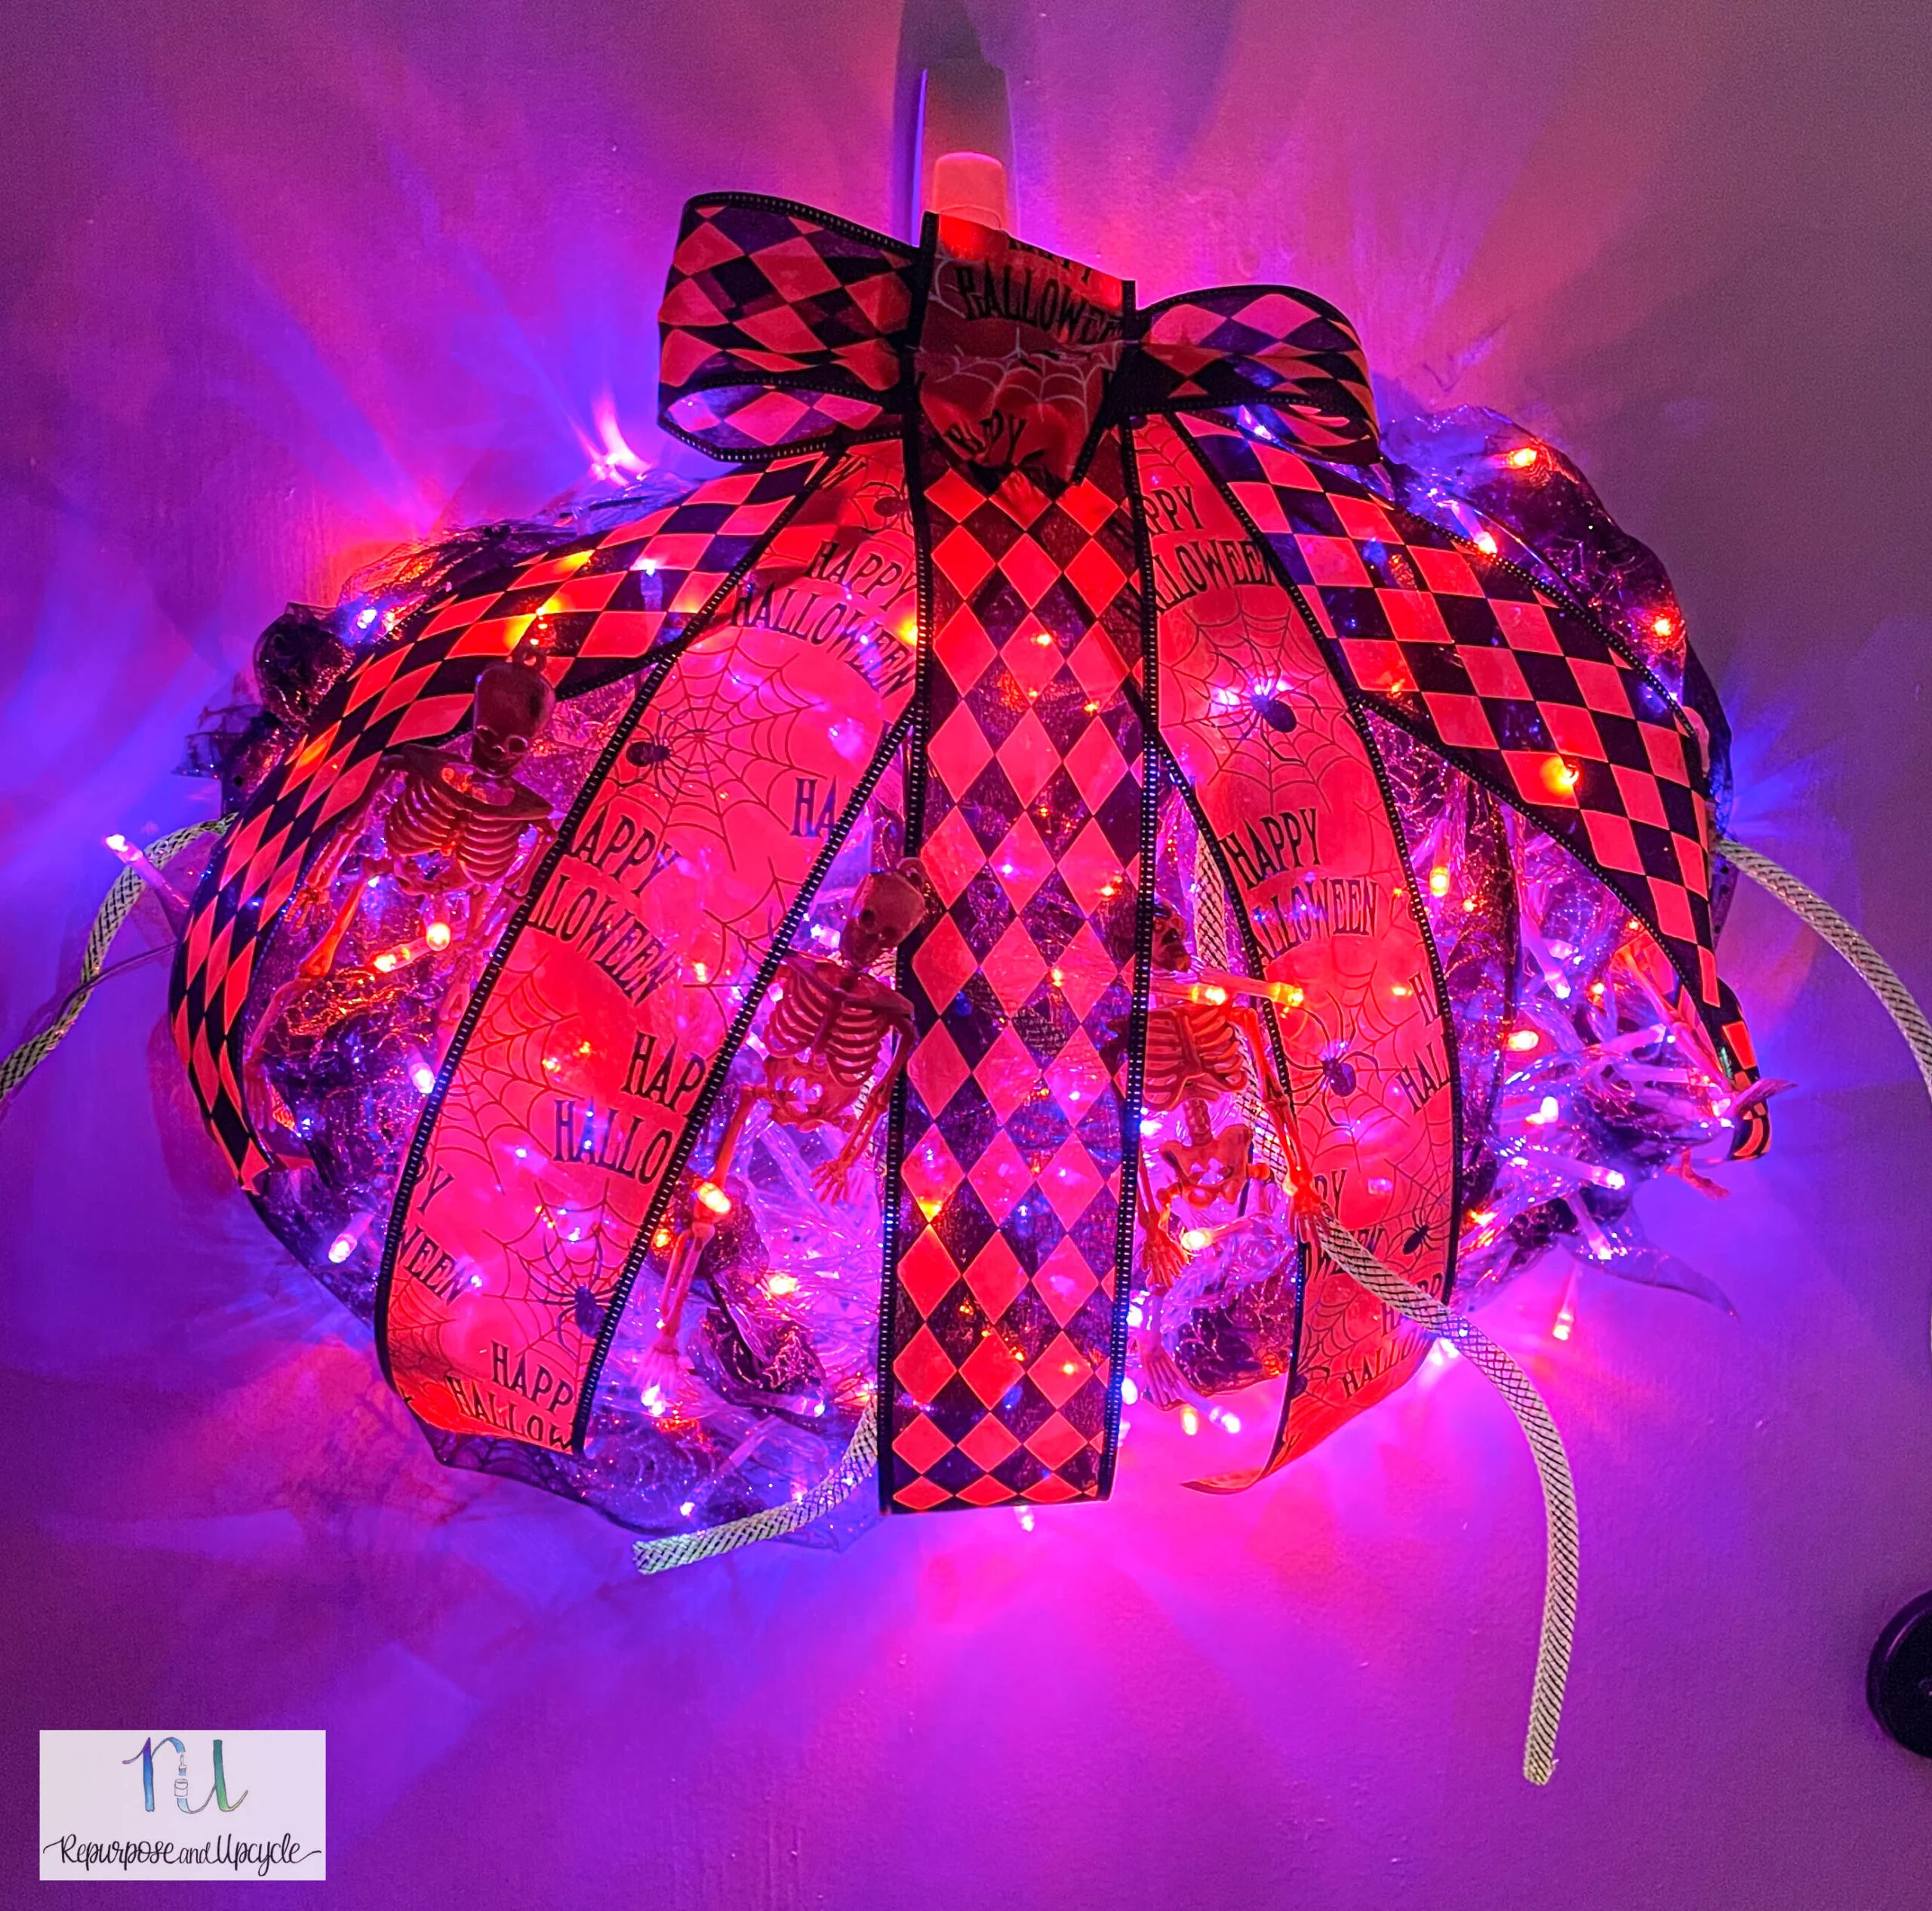
Make sure to watch the video on how I made this cute light up Halloween wreath.
What do you think? I think this would be a fun family project to do. Kids love the light up lights.
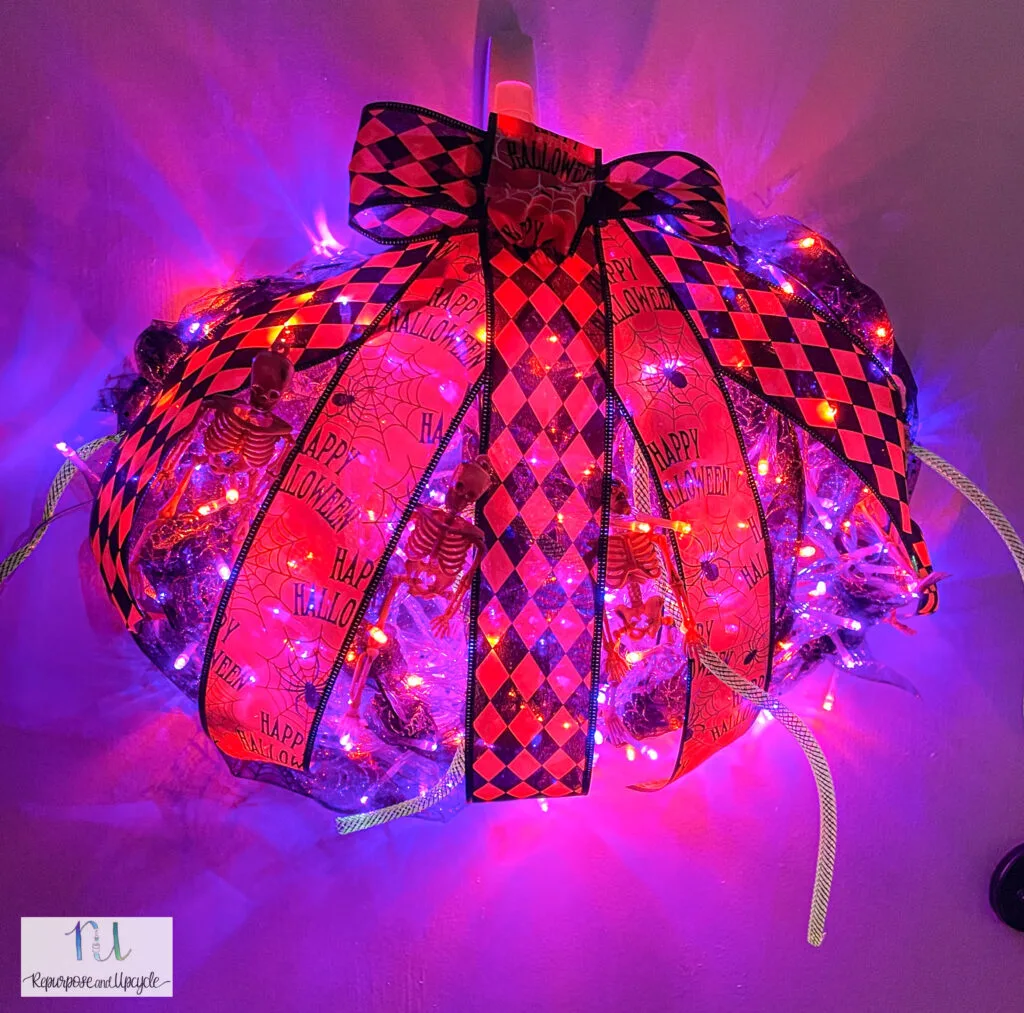
It’s hard to get a good picture of the lights, but I promise it’s cool to look at at night!
By the way, for those that are interested I did a review video on the lights on my Amazon channel.

I think I like the little skeletons the best!

Here’s a better view in the daytime.
Have you enjoyed this easy wreath tutorial? I’ve got a handful of other cool seasonal projects in my season decor category too!

Thanks for stopping by friends!
Lindsey**
Leave a comment