When you were a kid did you ever wish for a fort, a play house, or how about a tree house? I remember the days of creating my own make-believe tree house in the woods behind my childhood home. My sister and I would spend countless hours in those woods creating memories and enjoying the outdoors. Those were the good old days, right?

I won’t reminisce any more down memory lane, so let’s get right to it. All I have to say is, my kids are some kind of lucky (and I’ll make sure they know it!).
We decided soon after we moved into our rustic beach cottage that we wouldn’t be buying a cheap play set. My kids are 7 and 4, and up until now we still haven’t been able to fork over $500-$1200 on a play set that will only last a few years (cheap wood doesn’t last long in our humid climate).
We decided to spend our money hiring a friend to build an awesome tree house that would last for years.
Ironically, our tree house cost about the same as a decent sized playhouse (and those don’t even come assembled!).
Full disclosure: I did not build this. A carpenter friend build it. I told him exactly what I wanted and he built it!
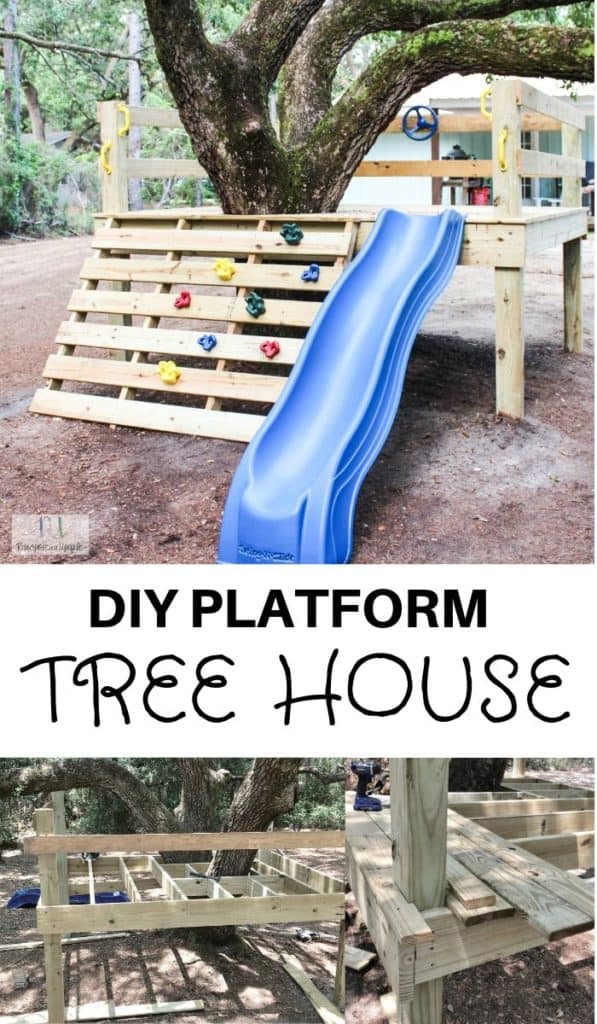
DIY Platform Tree house build plans
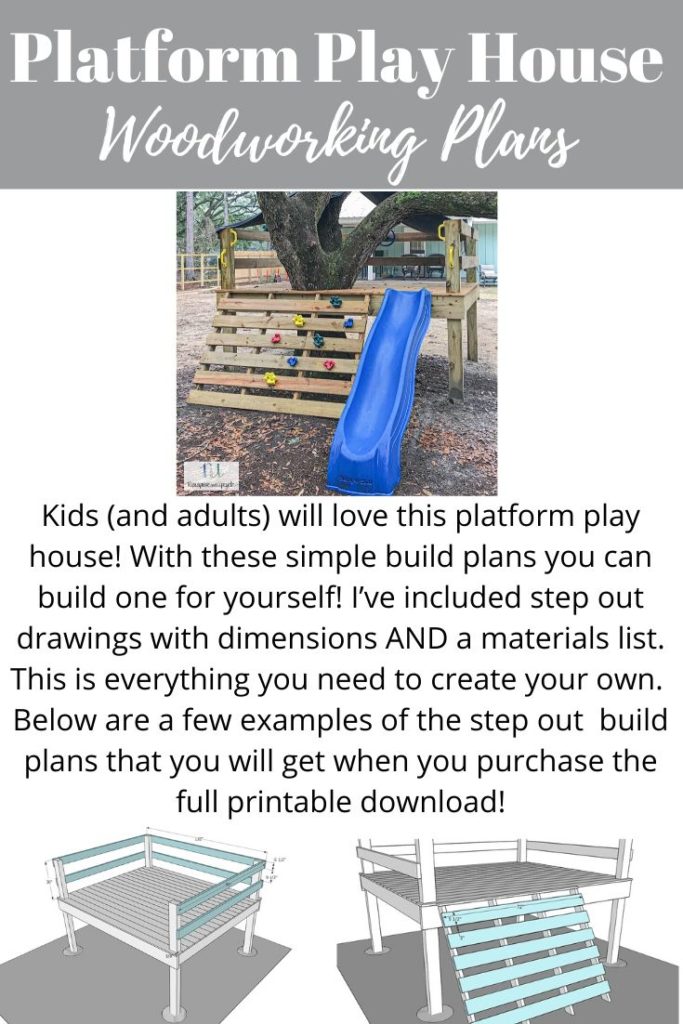
I did, however, create some awesome build plans WITH a materials list AND step out instructions if you want to recreate your own Platform play house.
Let me also share that this is more of a platform play house built around a tree, not necessarily a tree house. That being said, you can build this platform play structure anywhere (no tree necessary!).
Lance our carpenter has given me permission to share step by step instructions on how they built our platform tree house.
Ready to see the tree BEFORE the tree house?
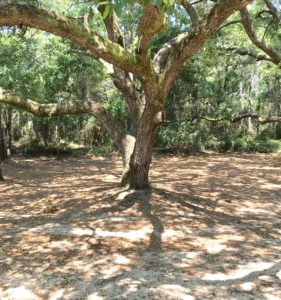
One thing we love about our backyard is the big old oak trees. I wanted to maximize play space around these trees. I have fond memories as a child of climbing trees and I wanted my kids to have the same experiences.
How to build a DIY Platform Tree House
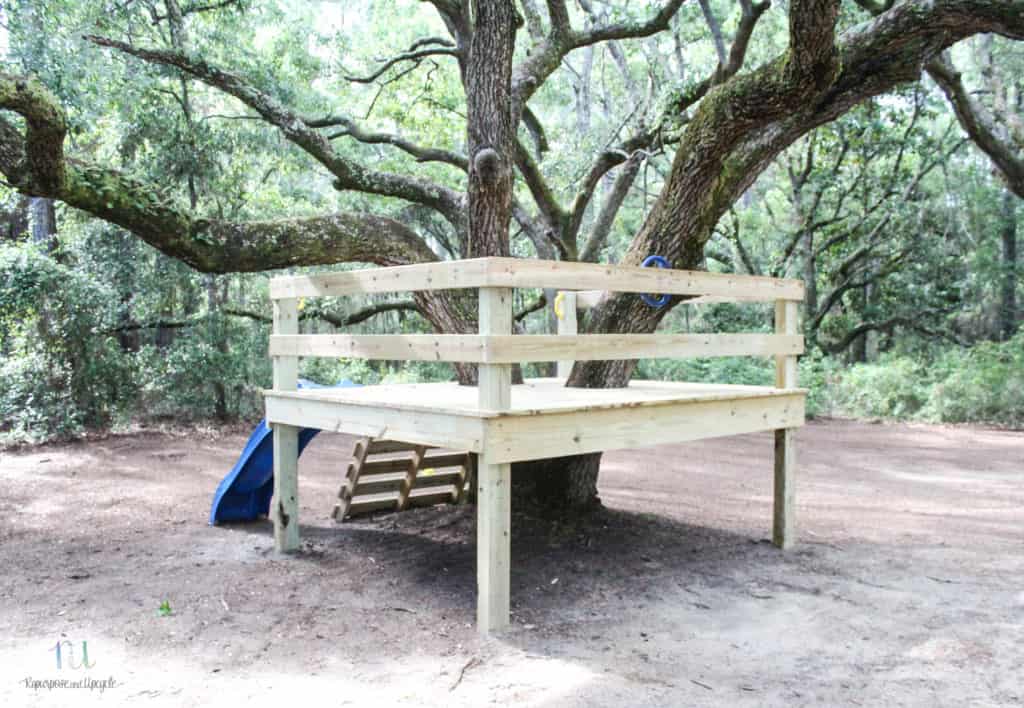
After you find a good tree, decide how big of a platform you want to build around it. We decided on the dimensions 8′ by 10′. Mark the corners and use a post hole digger to dig four holes about 2′ deep.
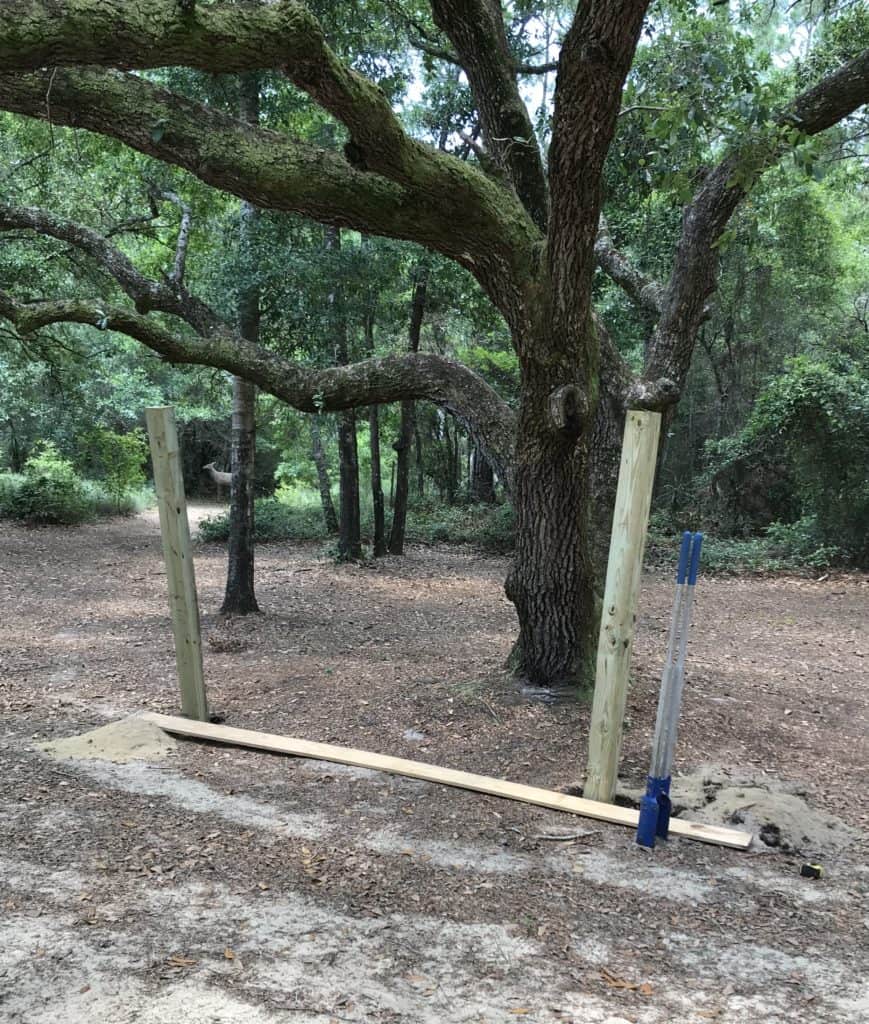
Lance did have some issues digging the exact dimensions due to the enormous tree trunk he dug into. He altered the dimensions just a tad and it still looks great.
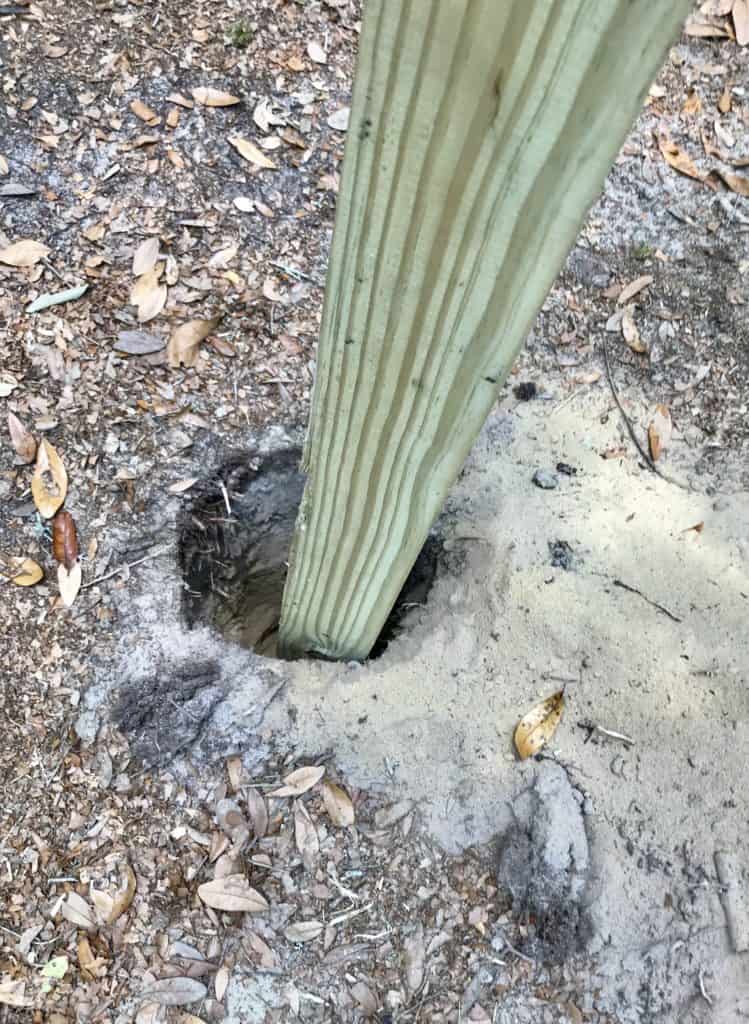
Use a decent sized post to sit in the holes to support the tree house. He used 4″ by 6″ posts.
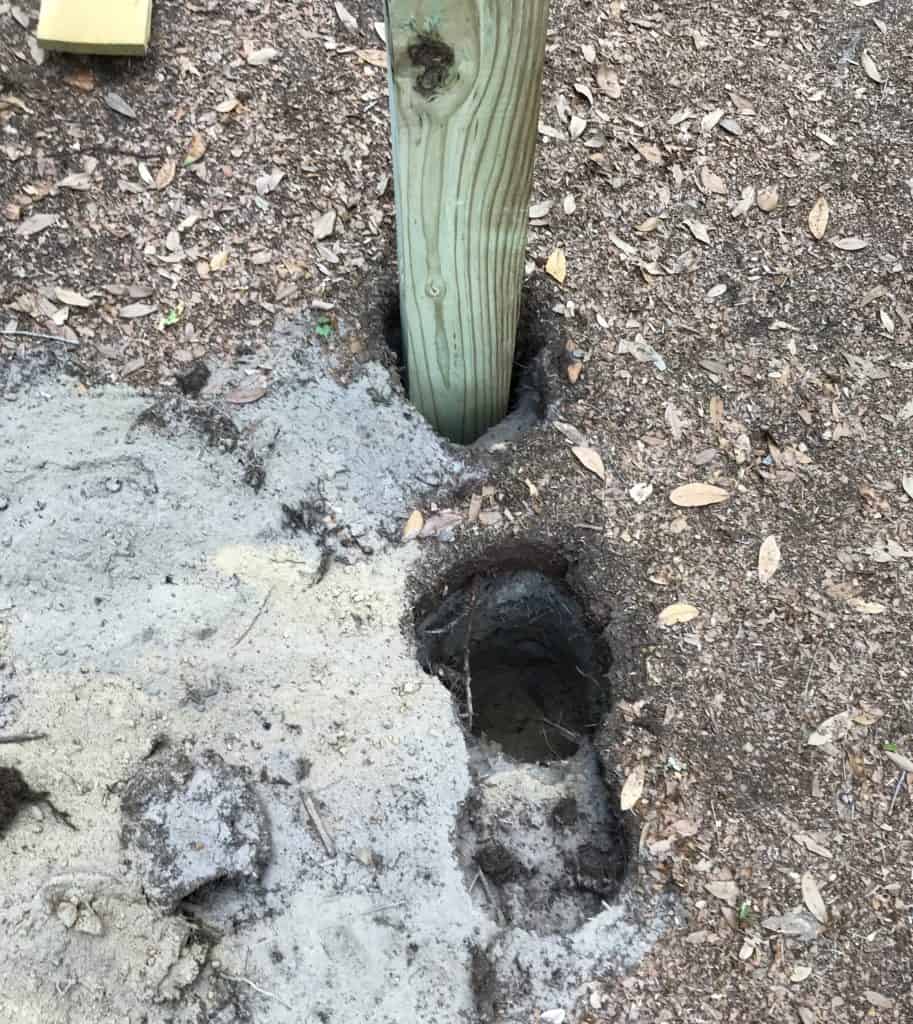
Find a way to stabilize and level the posts and then pour concrete in the hole around the post.
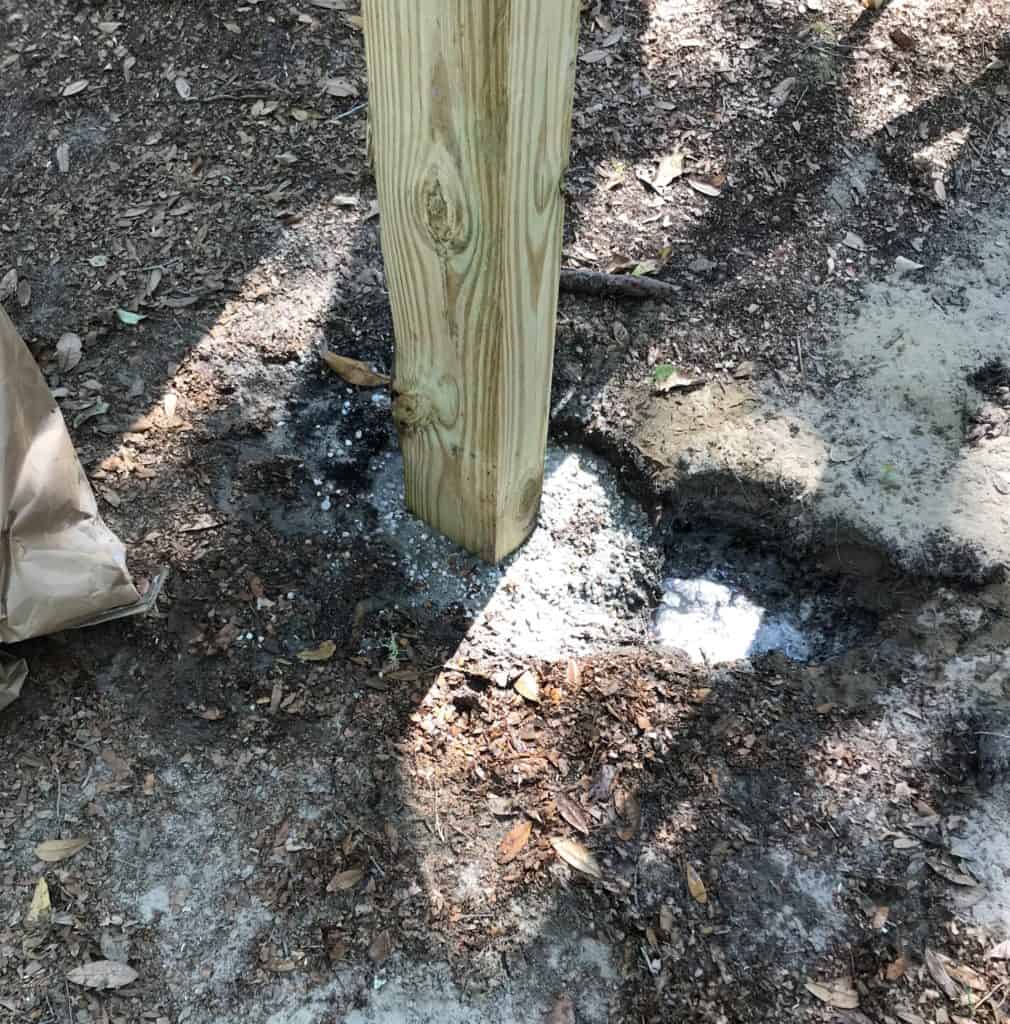
Let the concrete sit overnight to dry and cure.
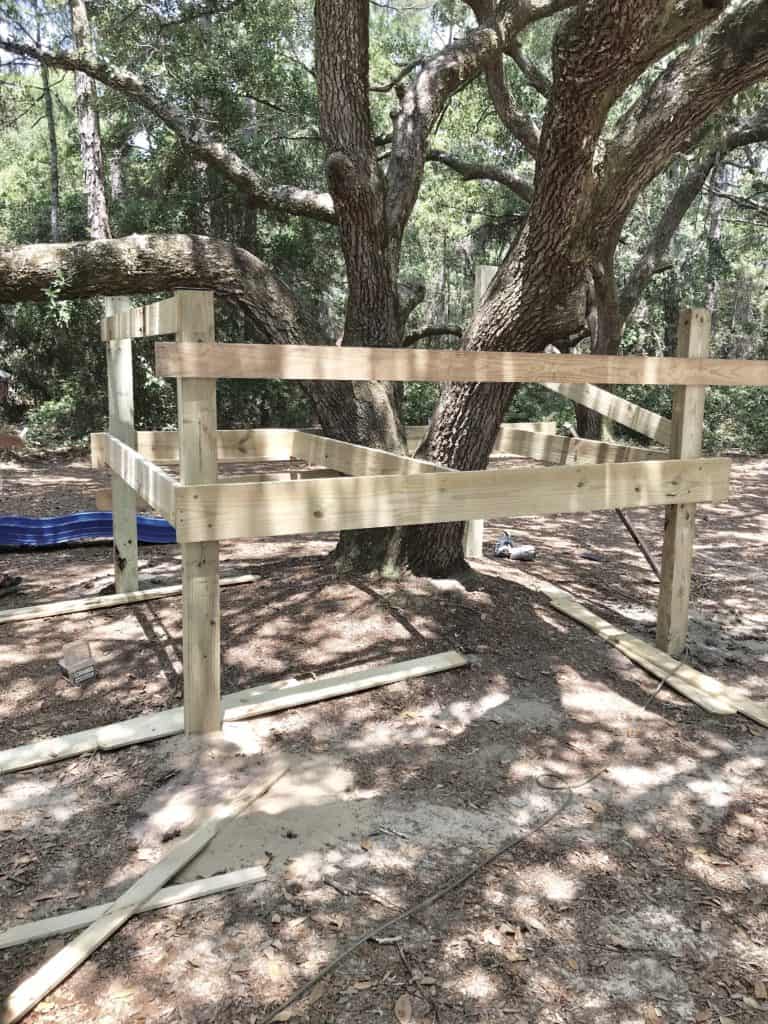
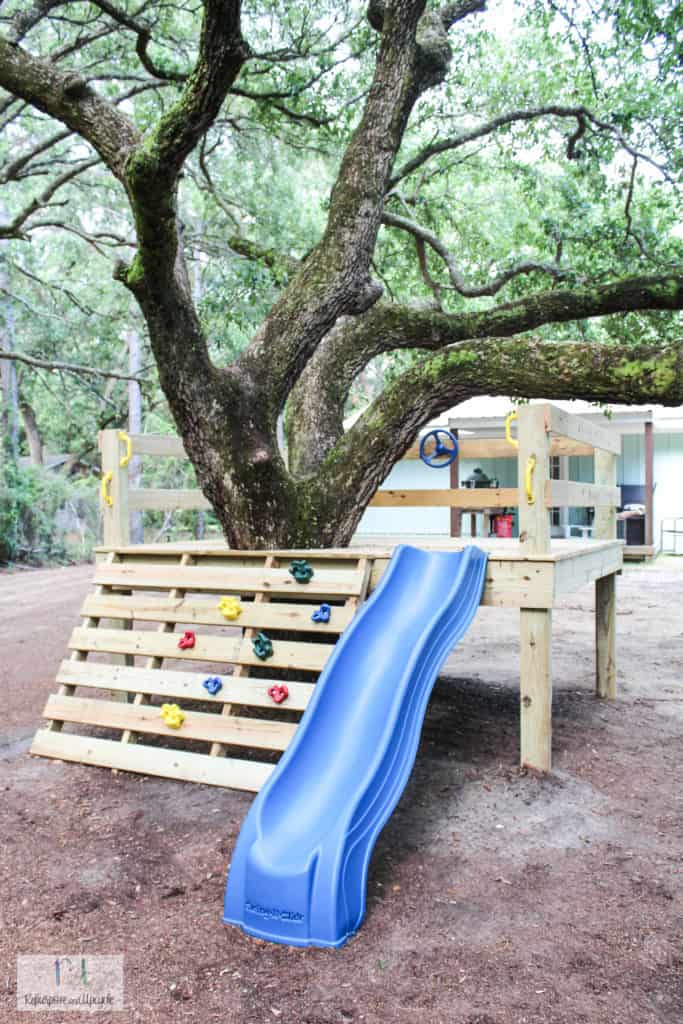
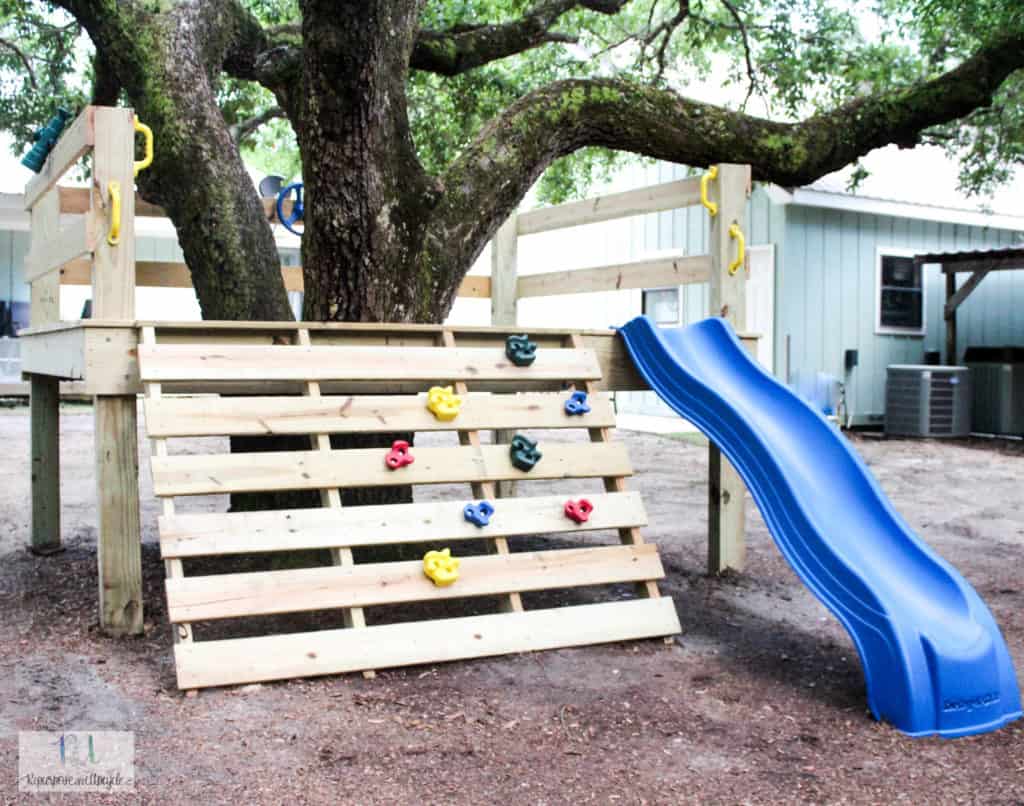
Decide how high you want the platform to sit. We decided on 4′ because most slides you purchase are for a 4′ tall platform.
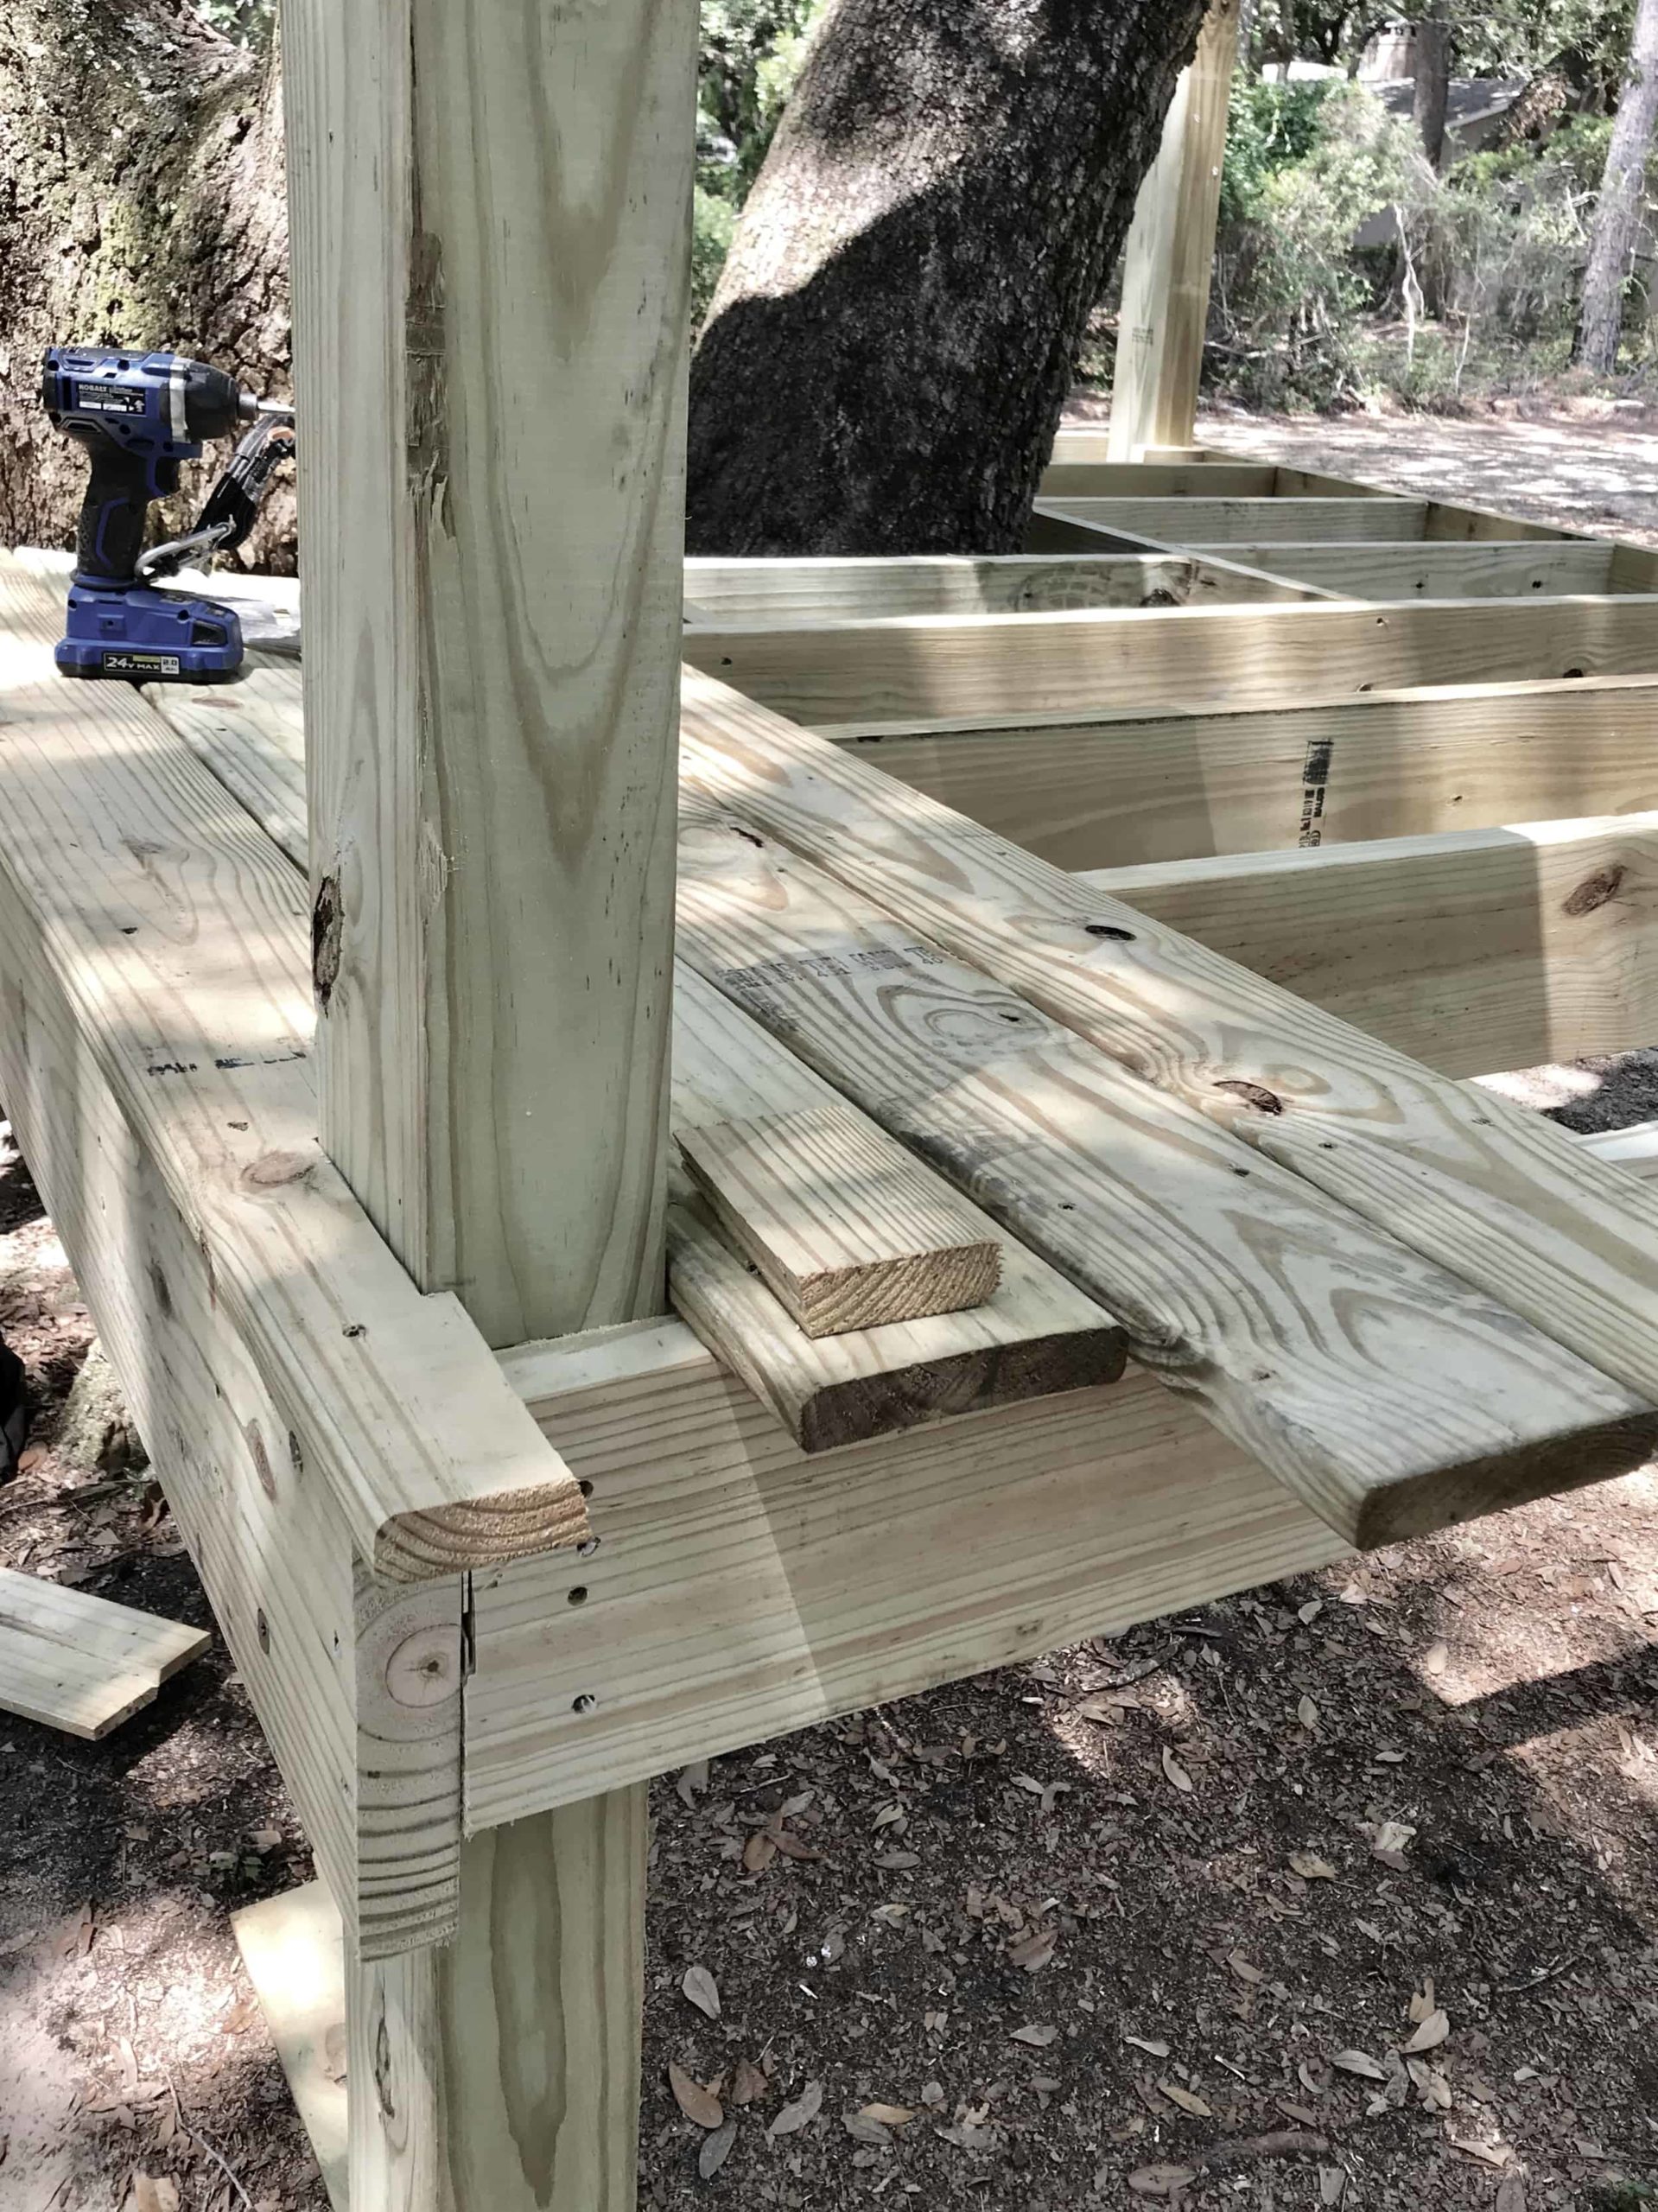
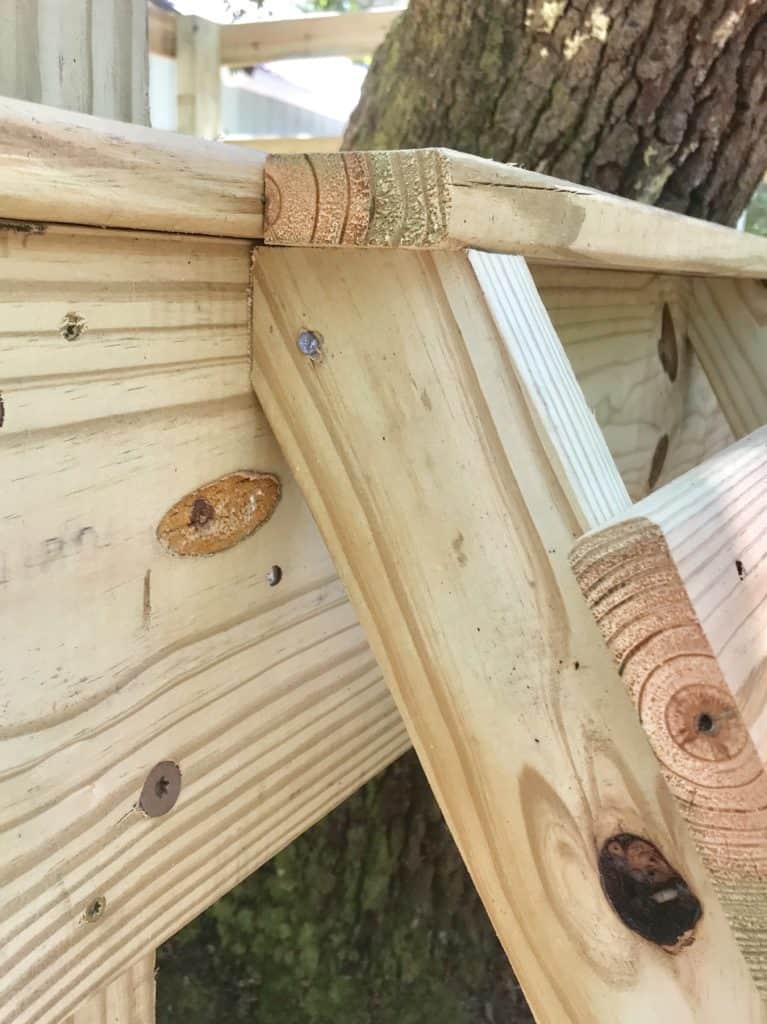
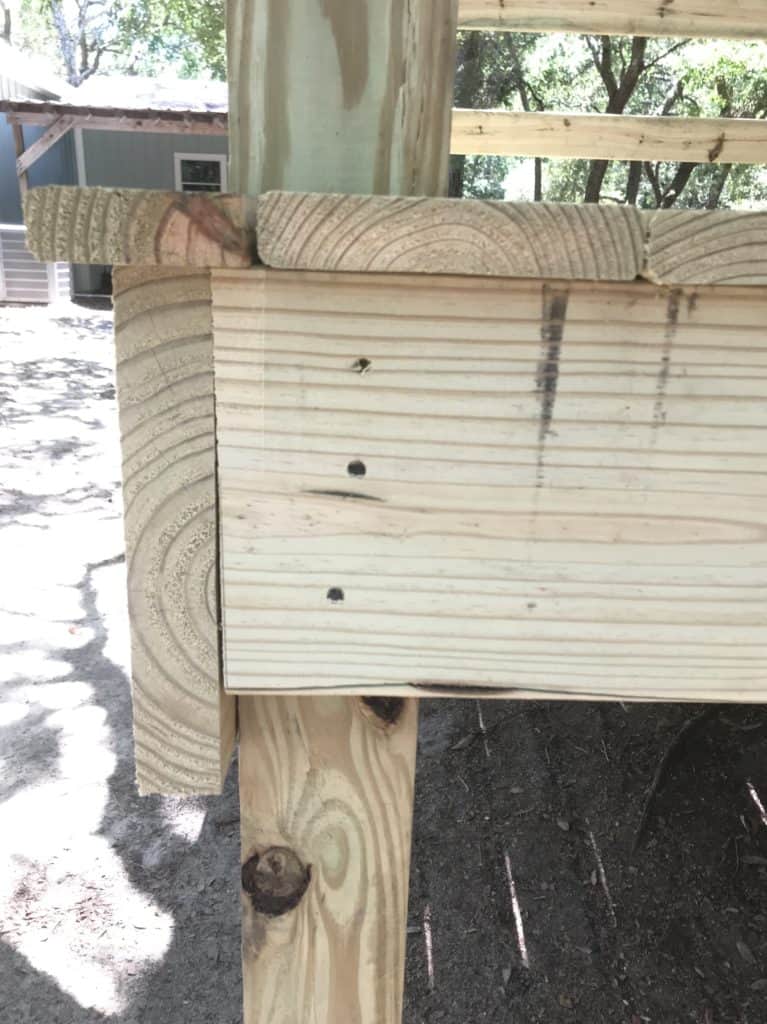
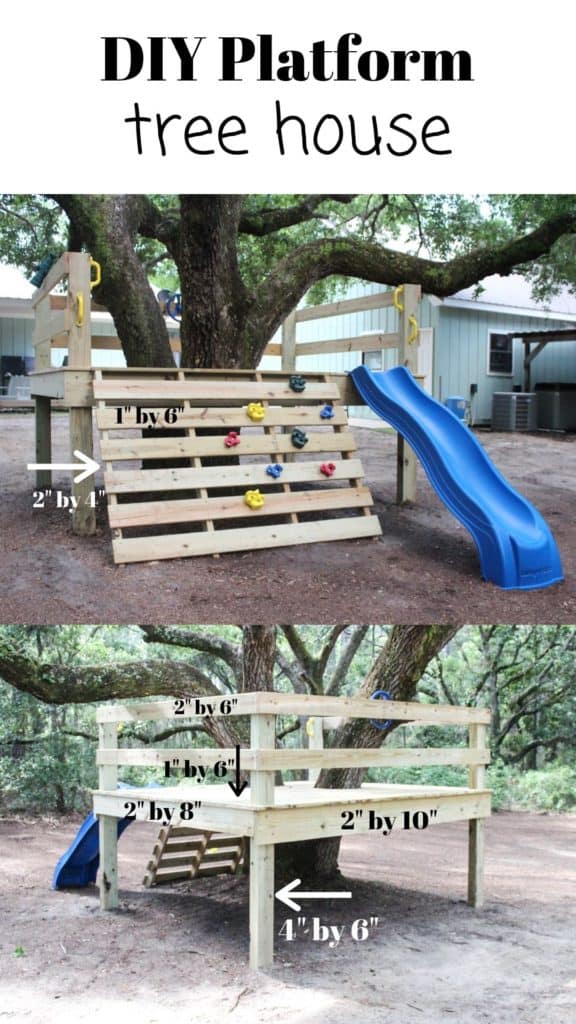
Add four boards around the posts for the outside frame. These will be the base of the platform. They used 2″ by 10″ boards for the front and back and 2″ by 8″ for the sides.
Lance used nails and structural lags to screw into the posts.
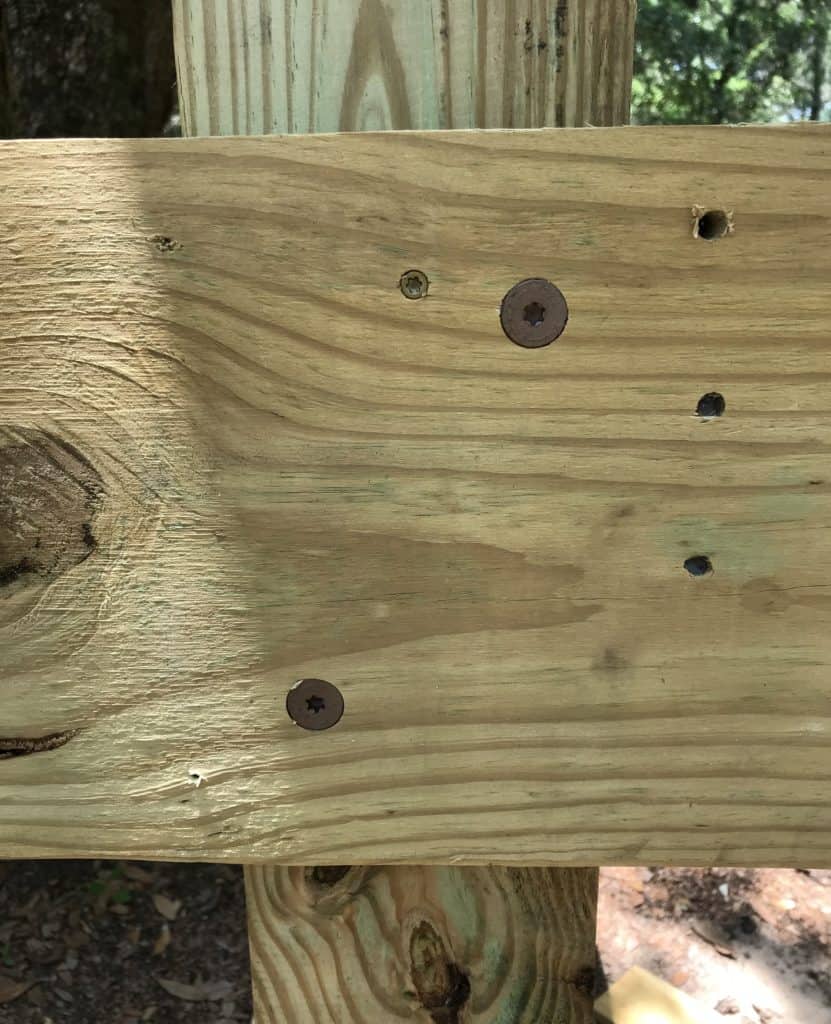
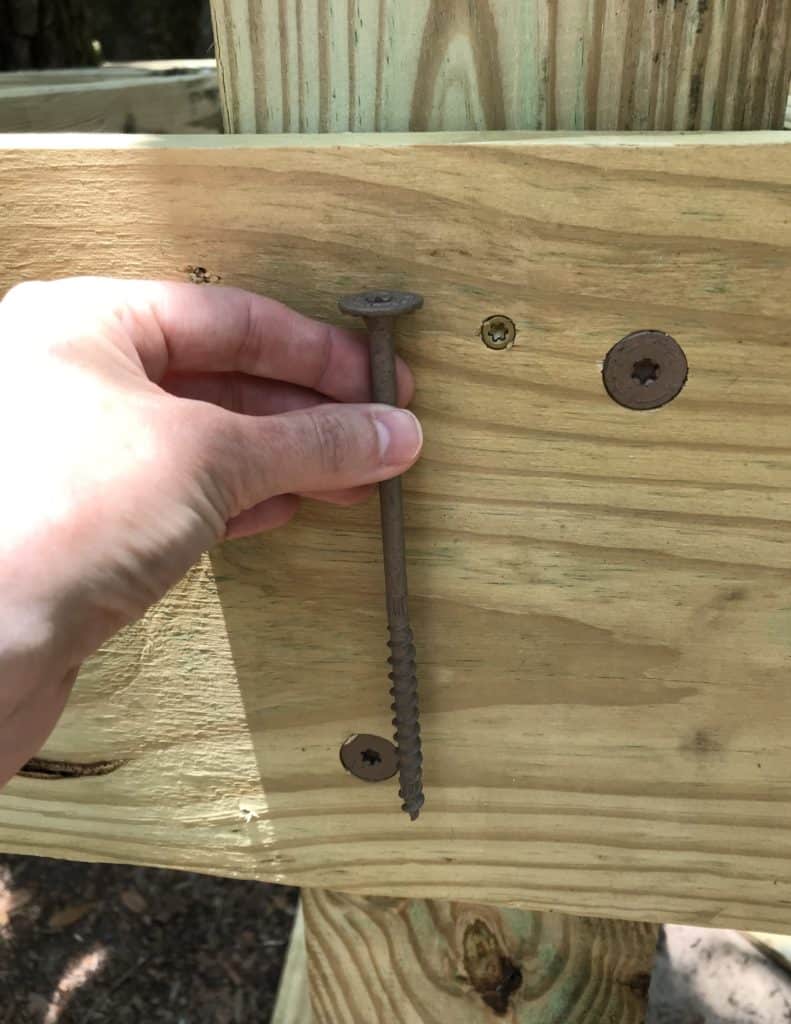
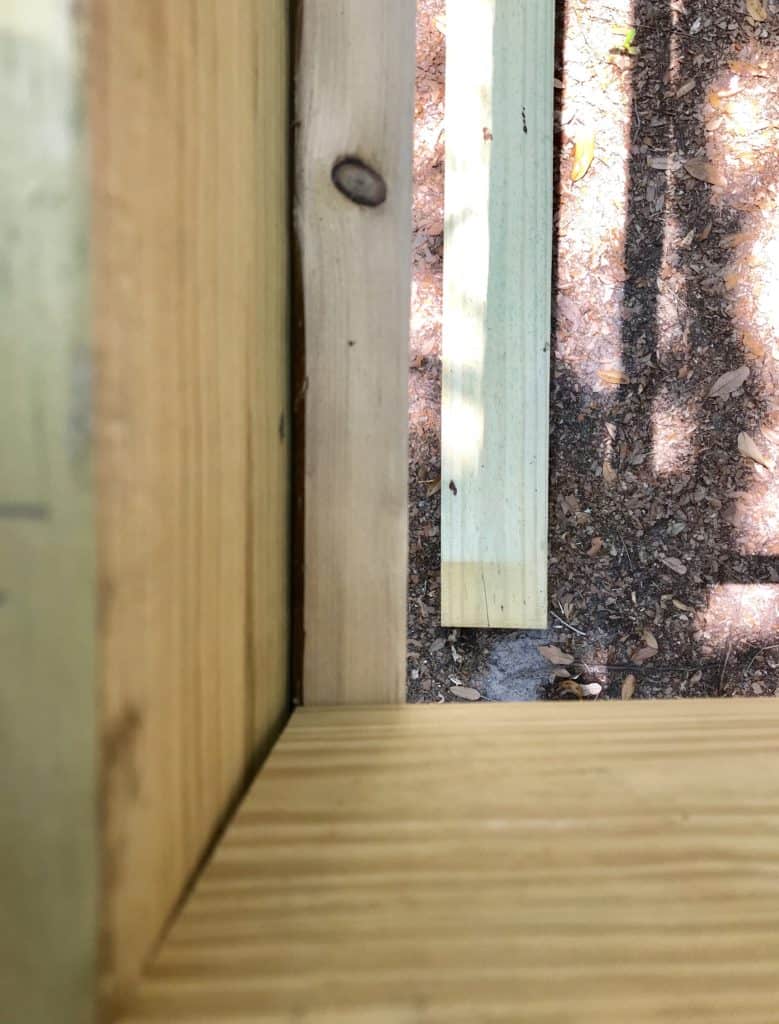
He ran a smaller board at the bottom of the outer four boards that the inside frame would sit on. The view below is looking down from the corner of two of the outside boards.
Once the outside frame was installed, he installed the inside frame with 2″ by 8″ boards running mainly perpendicular to the outside boards.

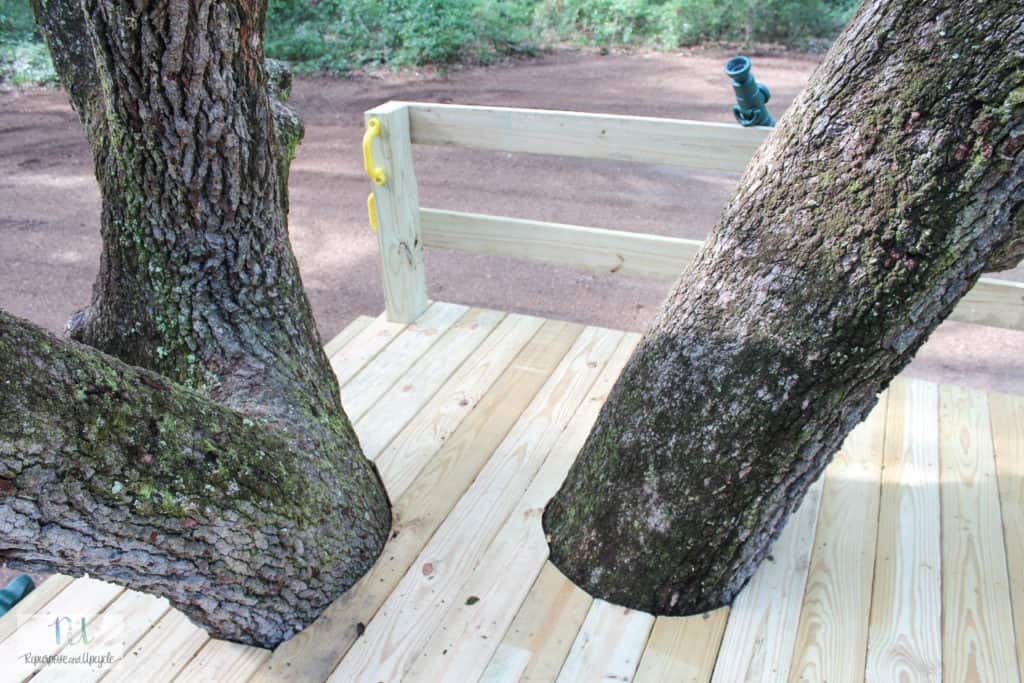
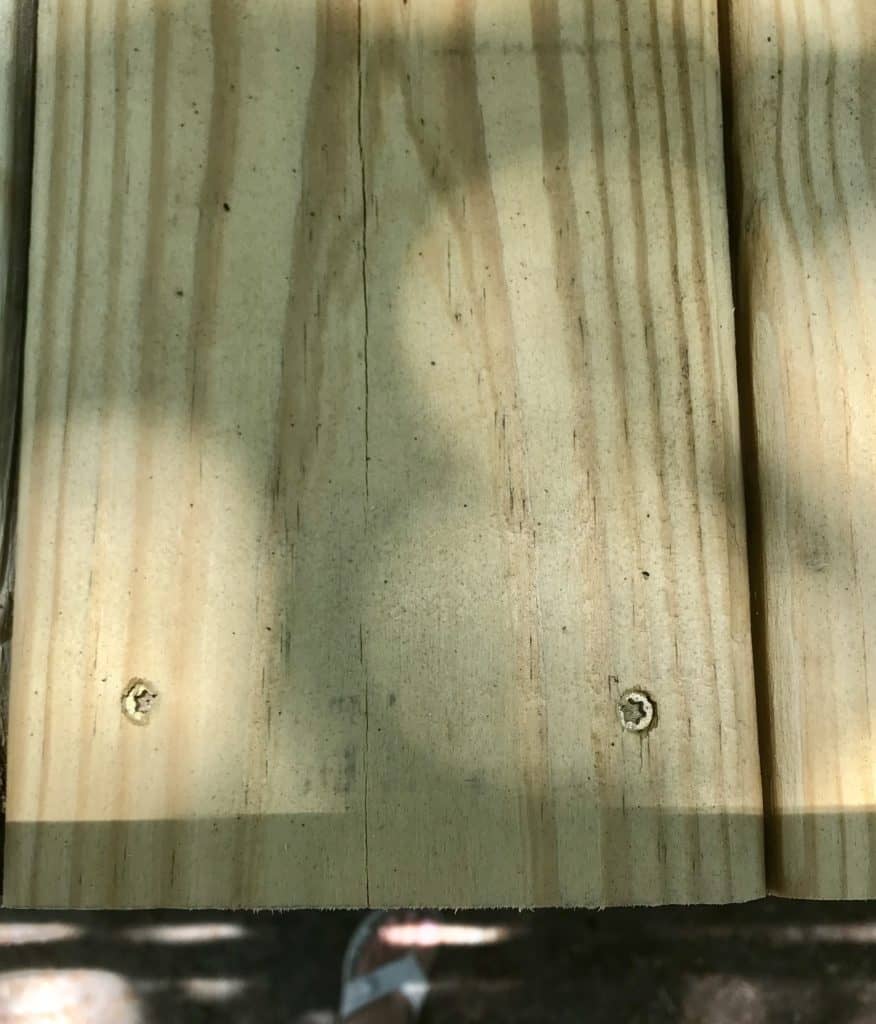
After the floor frame was done, they added the floor boards!
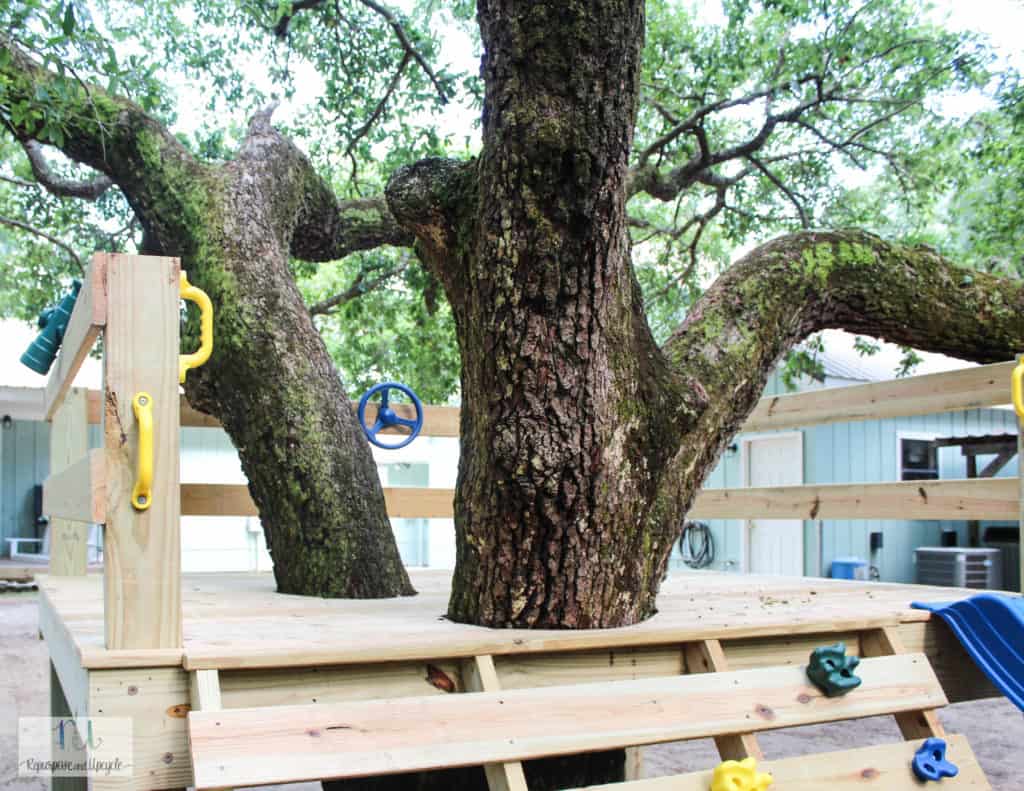
They used 1″ by 6″ boards on top of the frame to complete the “platform.”
As far as framing around the tree, they cut the boards as close as they could and worked around them.

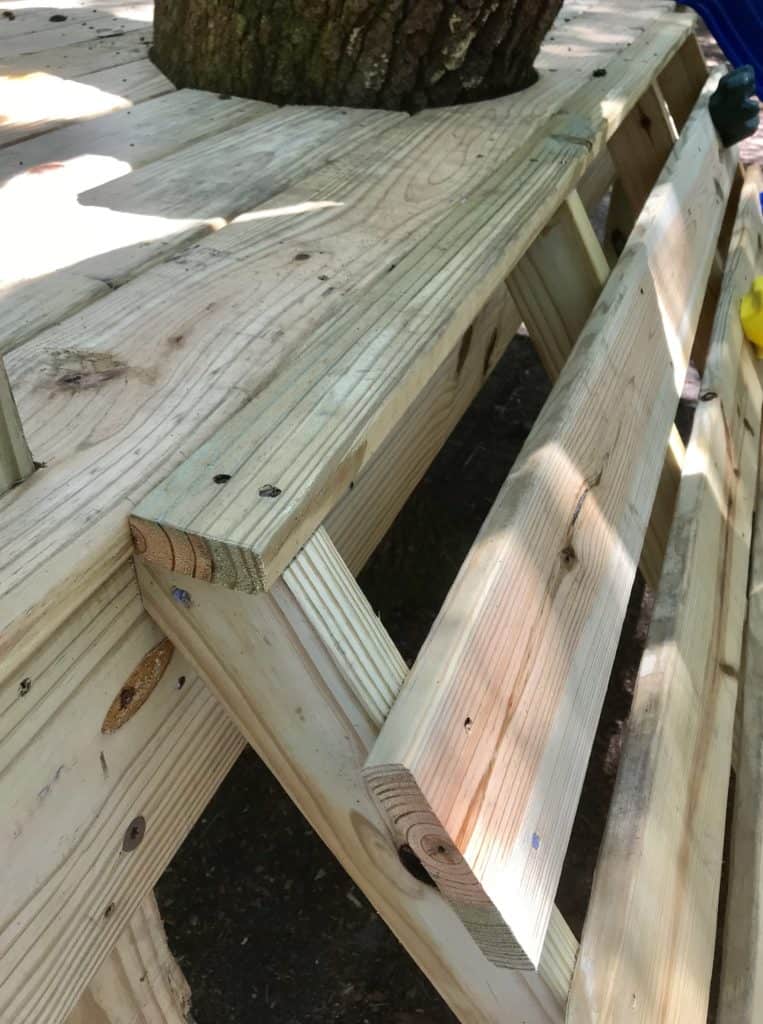
Time to install the railing! – He did this with 2″ by 6″s and nailed them into the posts. We decided on two sets of rails.
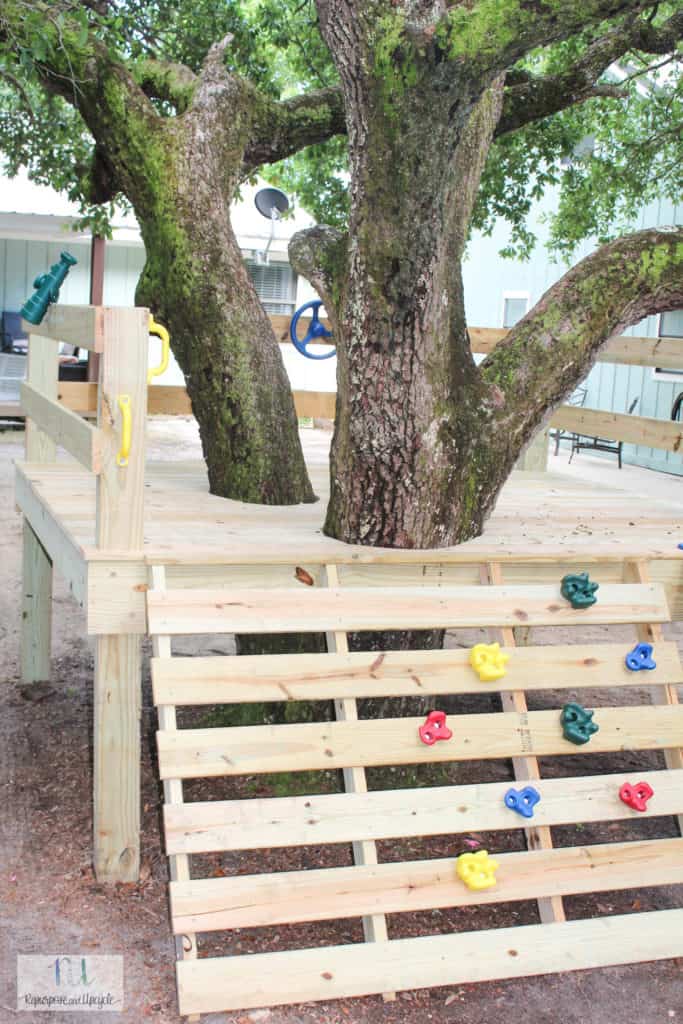
Now that the “platform” was complete, he added the “staircase.”
He angled four 2″ by 4″s into the ground and then laid six 1″ by 6″s on top to create “stairs.” See pictures below for details.
We decided to leave a little room in between the boards so the kids could have room to fit their feet through. I think it works perfectly.
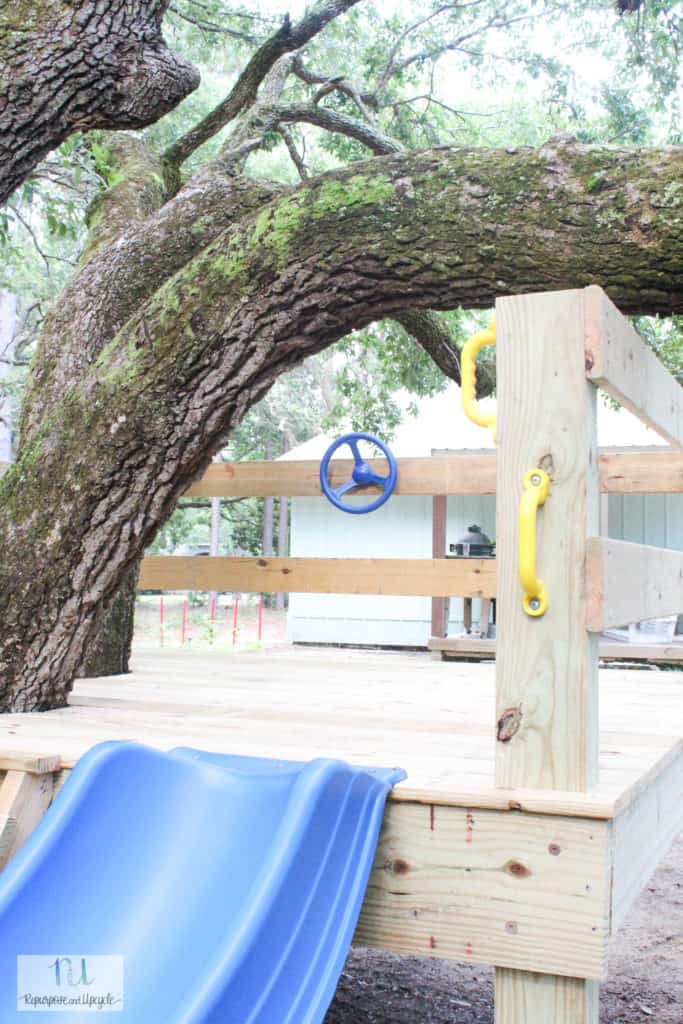
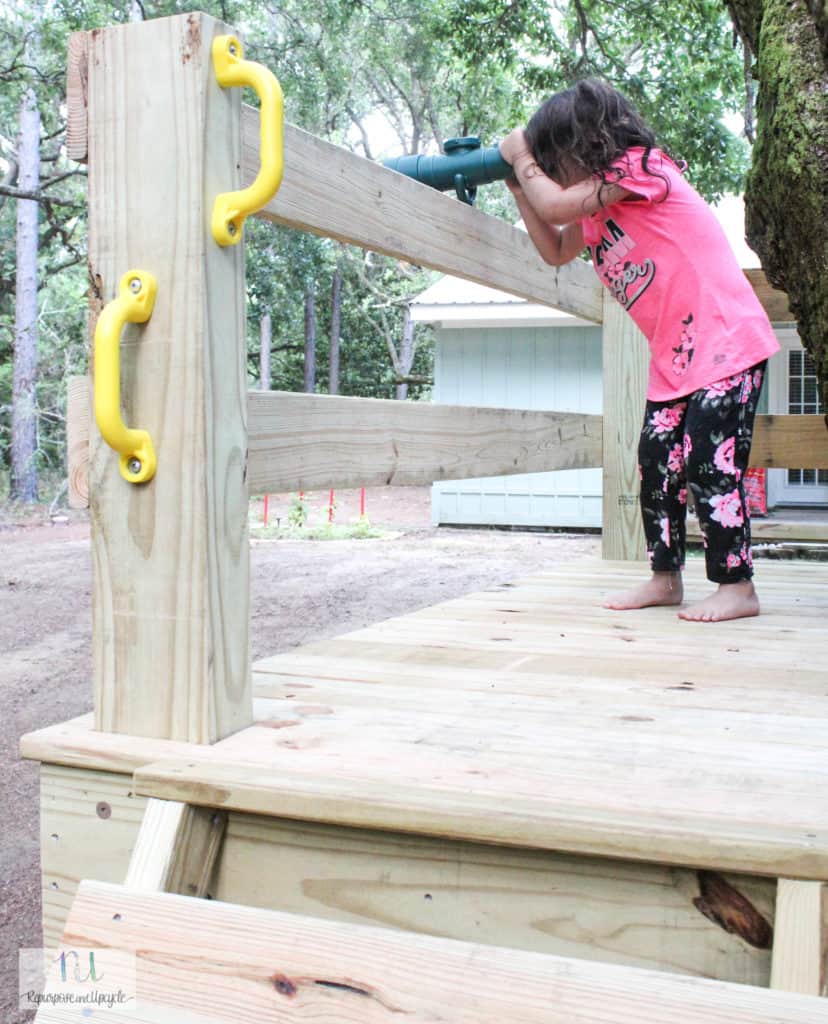
Last on the list was to install all the accessories.
Like I said earlier, this post is a simple run down of how to create your own DIY platform play house.
Below is a sample of the entire build plans with a materials list and more detailed measurements. Check out how to get your own platform play house or platform tree house build plans!
Ready to see it?
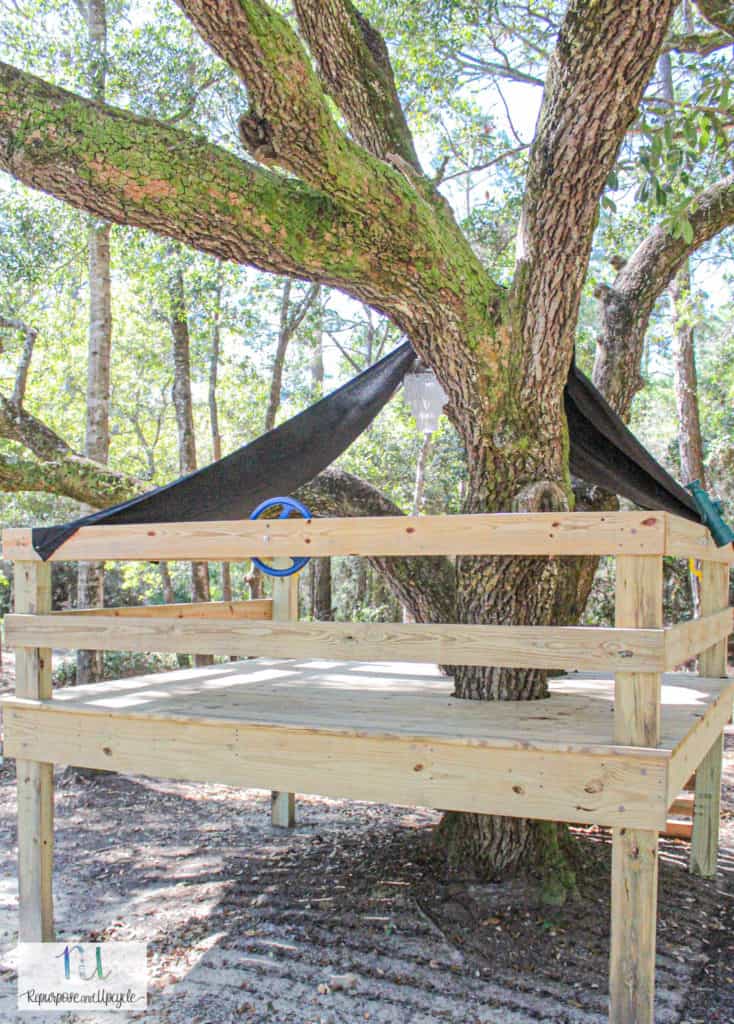
I even added a little chandelier! Isn’t it cute!
I hope this post has been a help to some of you wanting to create your own outdoor play set!
It’s time to get outside and play.
Lindsey**


