I think most people would agree that having a double sink vanity is high on the priority list when it comes to a master bathroom. We did! Unfortunately our home only had one large trough style sink. I loved it, but my husband didn’t. After two years of living with it we decided it was time to make the switch from a single sink vanity to a double sink vanity.
It’s funny because you would think it would have been me that would want the double sink and not my husband. Nope! I guess I’m more of the laid back one in our relationship. Or maybe I’m the messy one lol.
Let me preface this post by saying it’s not a detailed ‘how to’ style post. I’ve shared more of an “overview” of how we replaced our single sink with a double sink. I’m not going into any detail about the plumbing because I don’t feel qualified to do so. Back to business…
This bathroom is fairly small for a master bathroom so I’ve already completed a few projects to give it more detail and save space.
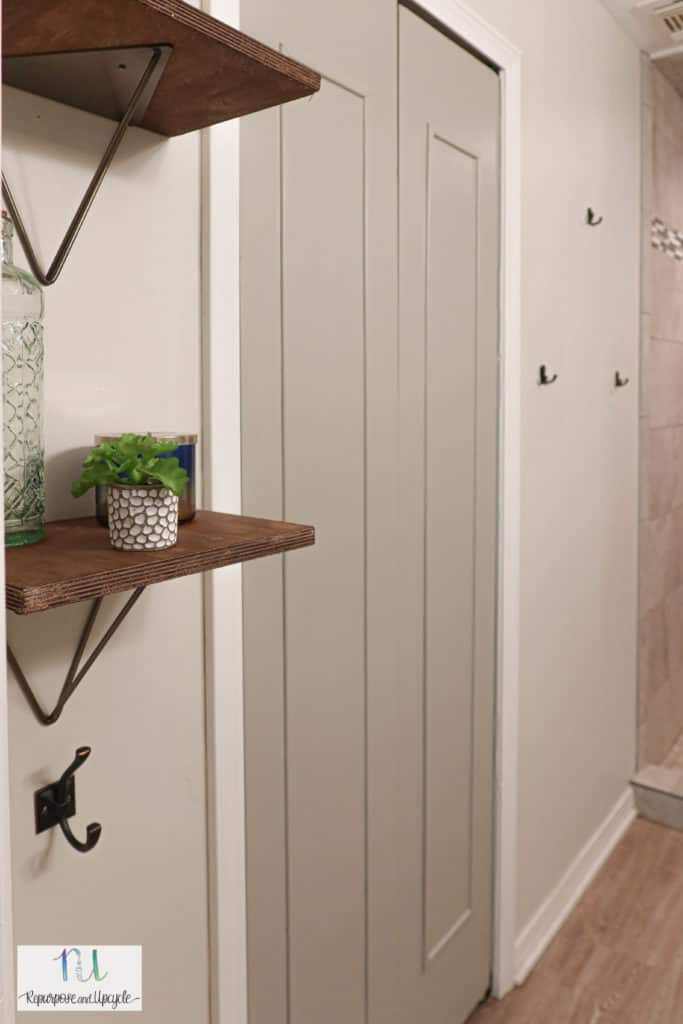
On the other side of the vanity I transformed the old bifold doors into swinging cafe doors so they would always stay shut!
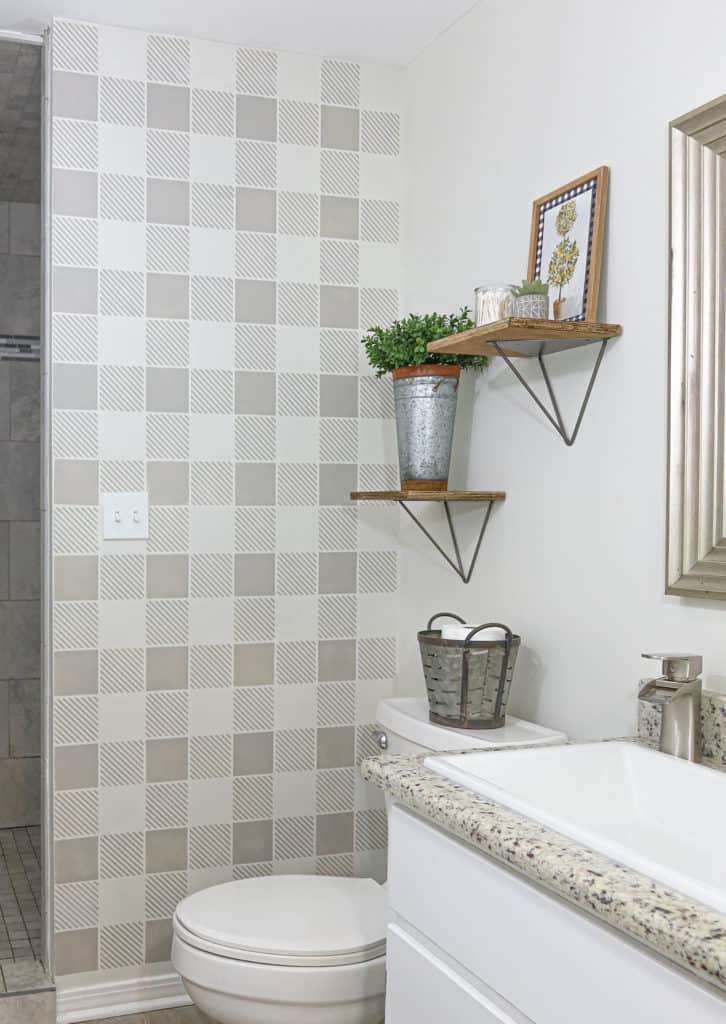
I also stenciled the wall next to the shower with a buffalo check stencil. Then I added these cool DIY floating prism shelves.
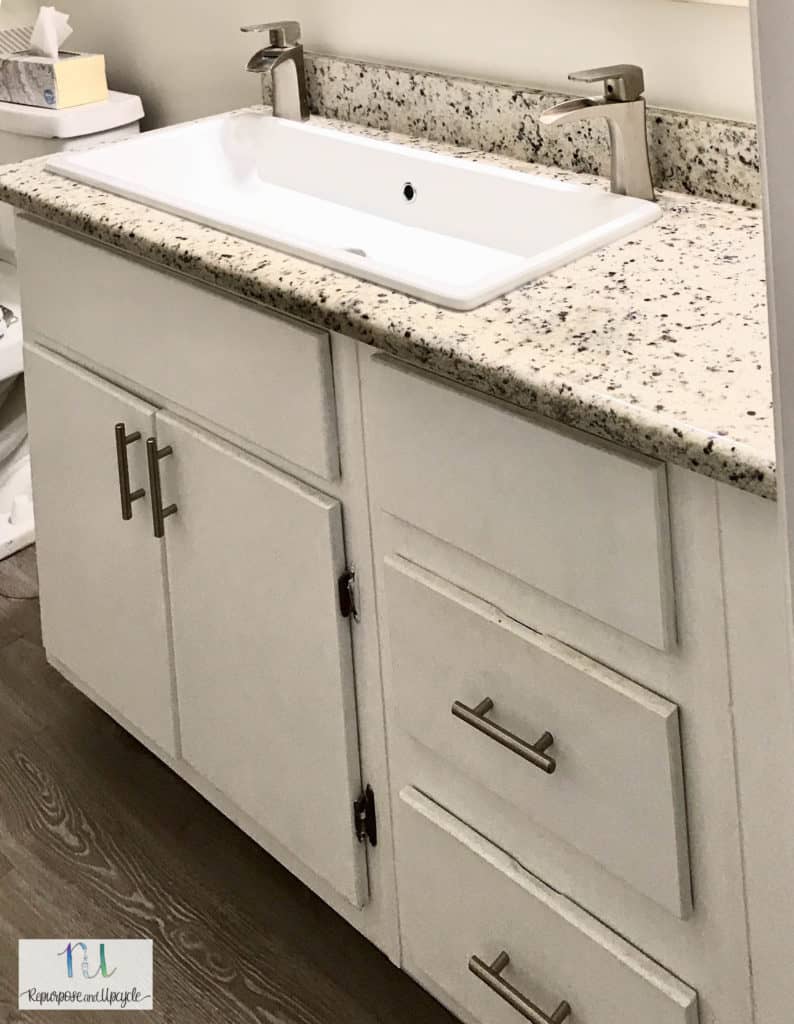
The trough style sink is pretty cool right and not to mention easy to clean. These sinks are actually a lot more pricy than regular bowls. Like I said earlier, my husband wasn’t super thrilled with it and we felt like we could squeeze a larger vanity in here. After two years I finally agreed to replace it.
One thing I need to share before I go any further; We hired a plumber to move our toilet over 4 inches closer to the wall. We did this because the current vanity is only 55″ wide and we wanted to fit a standard 60″ vanity in here. You wouldn’t think that 5″ would make a lot of difference but it really does!
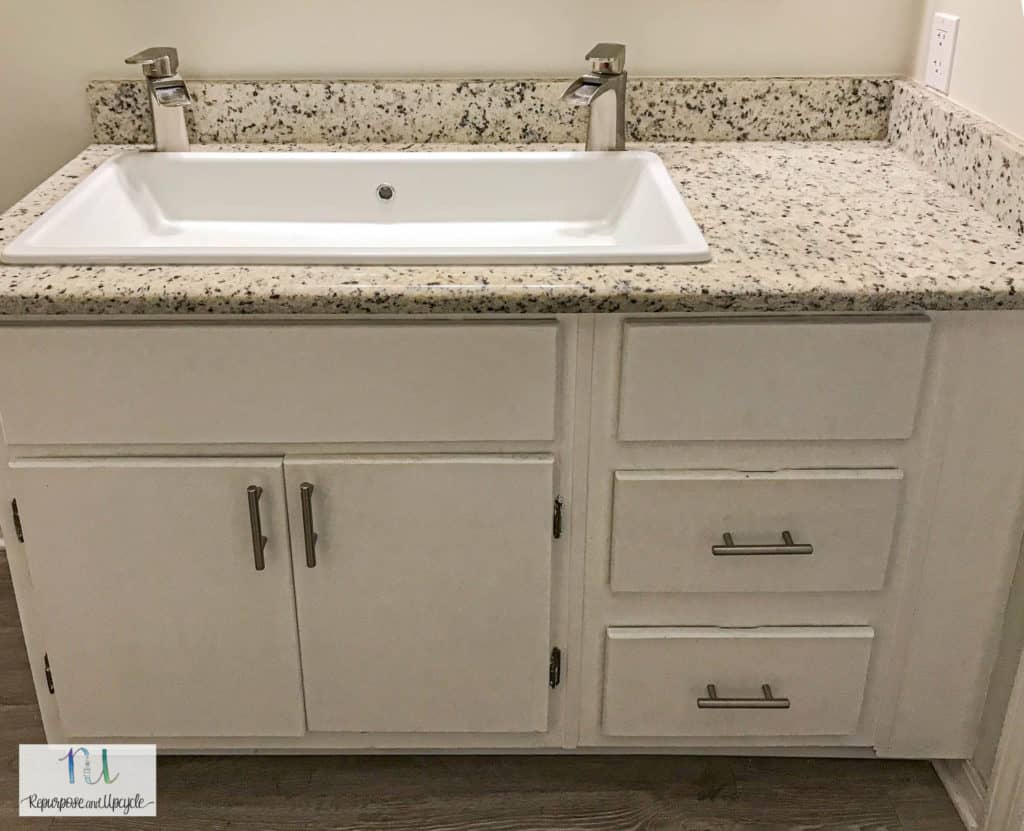
Also, it’s hard to find a custom 55″ vanity (not to mention it’s much pricier). Here’s the old 55″ single sink vanity one more time.
Once the toilet was moved, we were ready to begin. Below are the steps we used to replace a single sink with a double sink.
How we replaced our single sink vanity with a double sink vanity
- Turn the water off at the main **
- Cut and cap the water lines and cut and plug the old drain**
- Turn the water back on and make sure the capped water lines don’t leak**
- Remove the countertop and old sink
- Remove the old vanity (we had to demolish our old vanity)
- Plumbing rough in- replace single water lines and single drain with double water lines and double drains**
- Replace drywall that was removed for rough in plumbing
- Make cuts in new vanity (on the back) for the new water and drain lines
- Set the new vanity with sink bowls and faucets installed
- Once the vanity is set, install the drains on both sinks
- Turn the water off at the main
- Attach the drains to the new plumbing and hook up water lines to the faucets.
- Turn the water on at the main and make sure the new double vanity sinks work without leaking
** Indicates what we hired a professional plumber to complete
The trickiest part about replacing a single sink with a double sink is the plumbing. I would highly suggest hiring a plumber to at least do the rough in plumbing. I’m all about DIYing home projects, but a simple water leak can wreak havoc on a home (not to mention mold issues).
That is why we chose to hire the plumber to do the rough in plumbing. My husband knows enough to know how to do the finish plumbing. Also, if the finish plumbing creates a leak at least we can see it!
Here is a view of the vanity once the granite and old sink were removed.
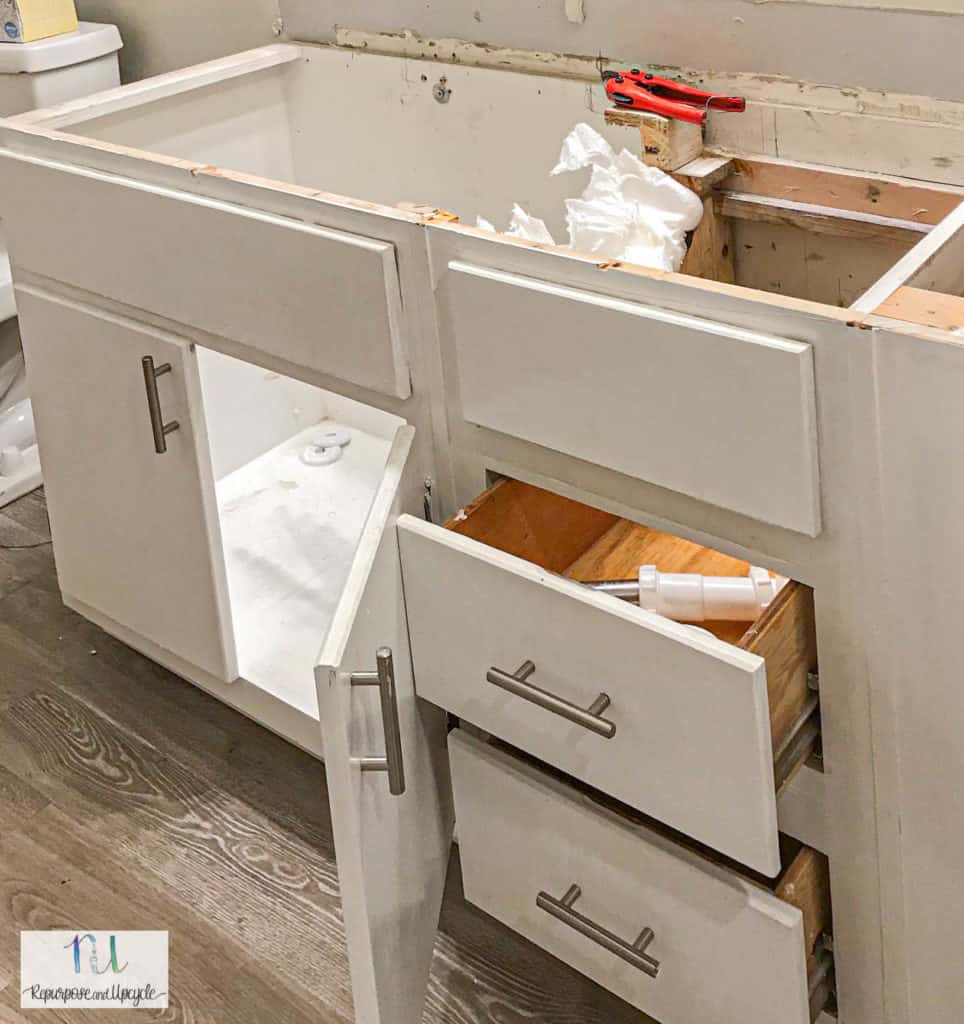
This old 1980’s vanity had to go… and unfortunately it was not reusable because it was made specifically to fit this space.

This is what the single drain and single water lines looked like after the drywall was removed.
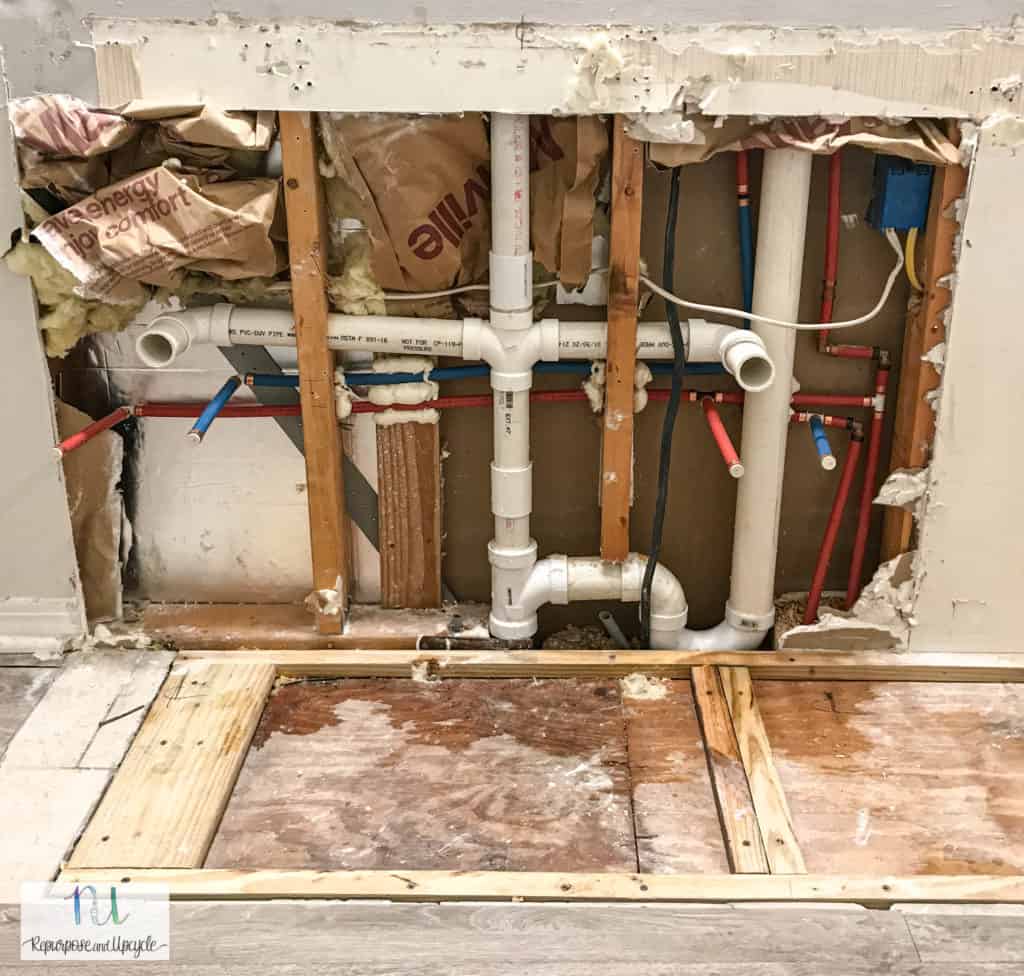
Above is a view after the plumbers roughed in a double drain and double water line.
Next we made cuts to the back of the new vanity to fit the new drain and water lines. Then we moved the new vanity WITH the top and faucets attached. We figured it would be easier to attach the faucets before we moved the vanity.
Read to see our new double sink vanity?
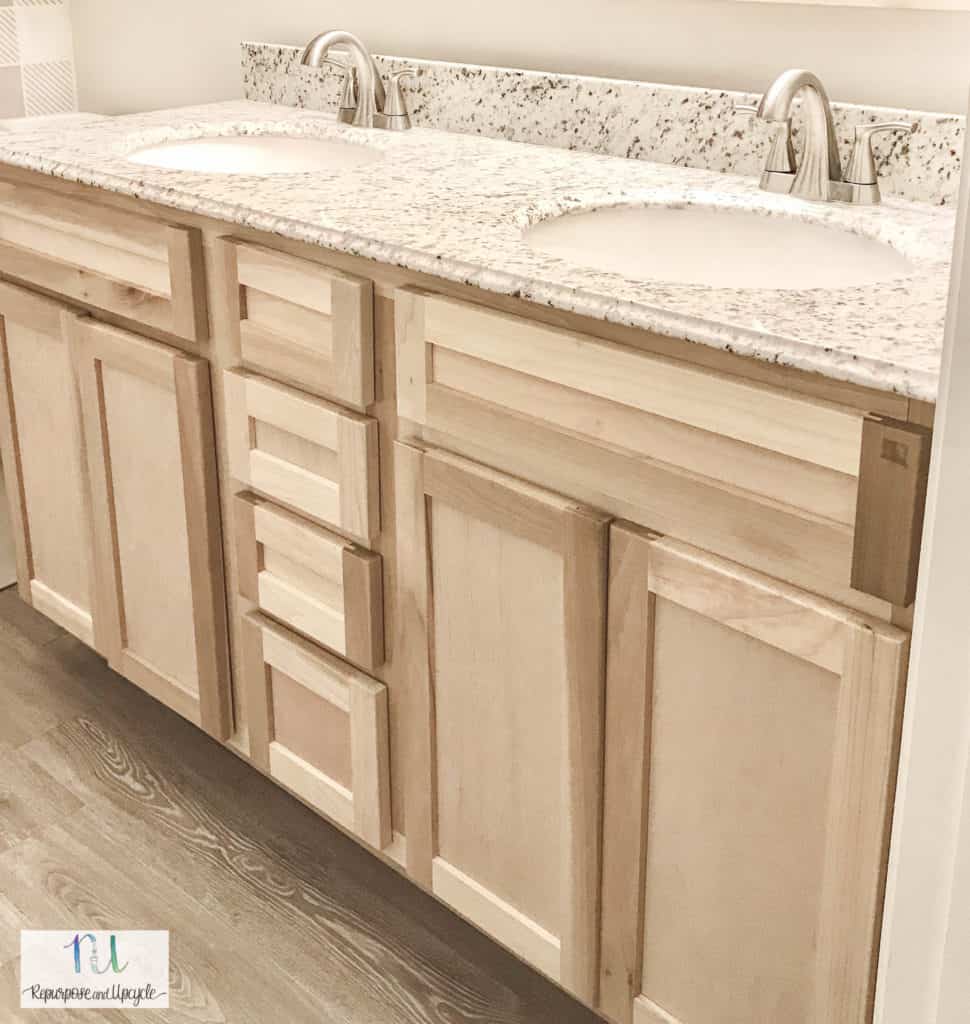

This space still isn’t finished. I need to decide on what to do with the wall behind the vanity (I’m thinking shiplap or skinny lap) and I need to paint or stain the vanity. Also, I need a new mirror and new lights (they aren’t centered and don’t fit this space anymore). OK maybe I don’t need them.
What’s your vote? Would you stain or paint the vanity? Also, I’ve got some finishing work around the wall (drywall patch and caulking). More to come, but for now I hope I’ve inspired you to make the most of your space when you don’t love it. That’s what we did!
Lindsey**


