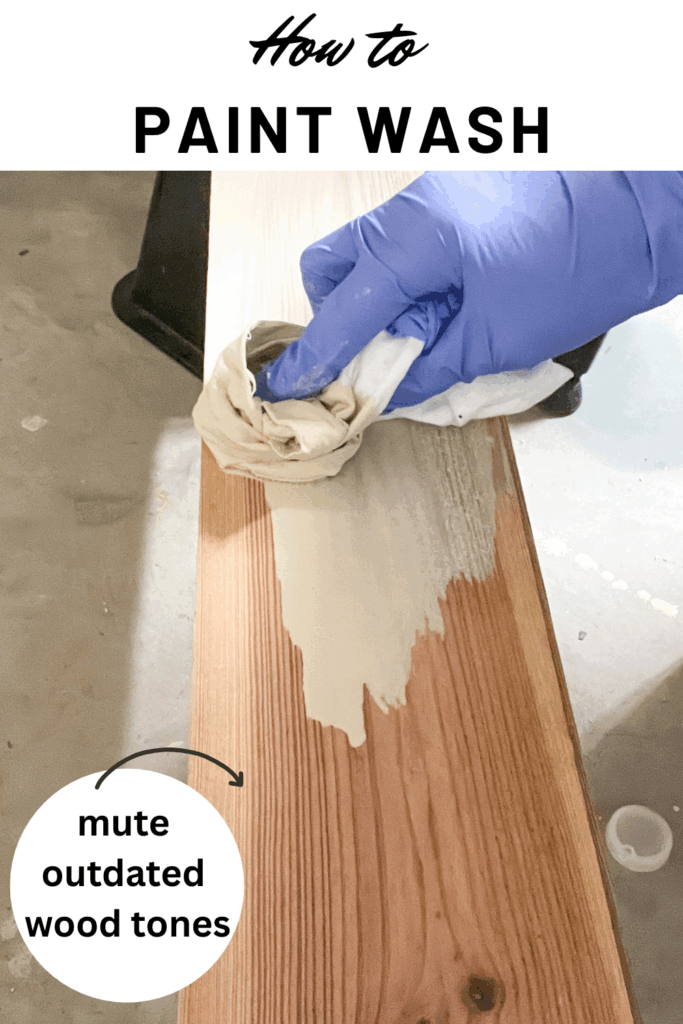
Sometimes furniture has wood tones that feel a bit outdated but completely painting over the wood might feel like too much. Using a paint wash offers a simple way to soften those colors while still letting the natural grain peek through.
This technique adds subtle color without covering up the texture and character of the wood, making it a popular choice for refreshing older pieces without losing their original charm.
Understanding Paint Washing
A paint wash is a blend of paint and water or glaze that delivers a sheer, see-through layer on wood surfaces. It softens or shifts the wood’s color without fully hiding the original grain and texture.
This technique, sometimes called color washing, involves thinning paint, brushing it on, then wiping some off to reveal the wood beneath. It’s a simple way to refresh furniture while keeping its natural look. It’s similar to white washing furniture in that you dilute your paint with water, apply it to the surface and then wipe it off with a lint-free rag.
Choosing the Right Paint for Color Washing Furniture
Typically, water-based paints like latex are best for color washing since they mix easily with water to create a translucent finish. If oil-based paint is preferred, it needs to be thinned using solvents such as turpentine or mineral spirits. Satin finishes work well, offering a subtle shine while allowing the wood’s texture to show through clearly.
Disclosure; this post contains affiliate links. As an Amazon Associate I earn from qualifying purchases.This disclosure statement refers to the rest of the amazon links and other affiliate links in this post.
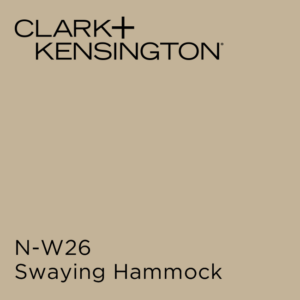
For this post I chose to use the color Swaying Hammock by Clark and Kensington in satin.
Supplies Needed:
- Water
- Mixing container
- Paintbrush or sponge
- Sandpaper (optional)
- lint free cloths
- water based paint of your choice
- Stir stick
- Wood or base to paint wash
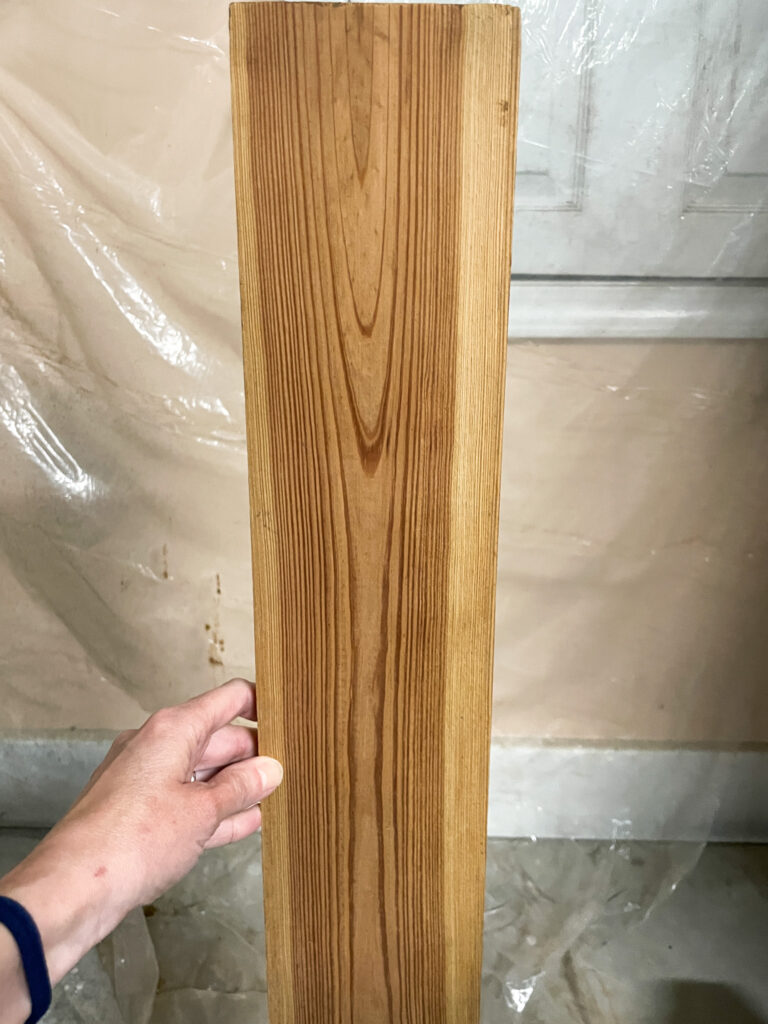
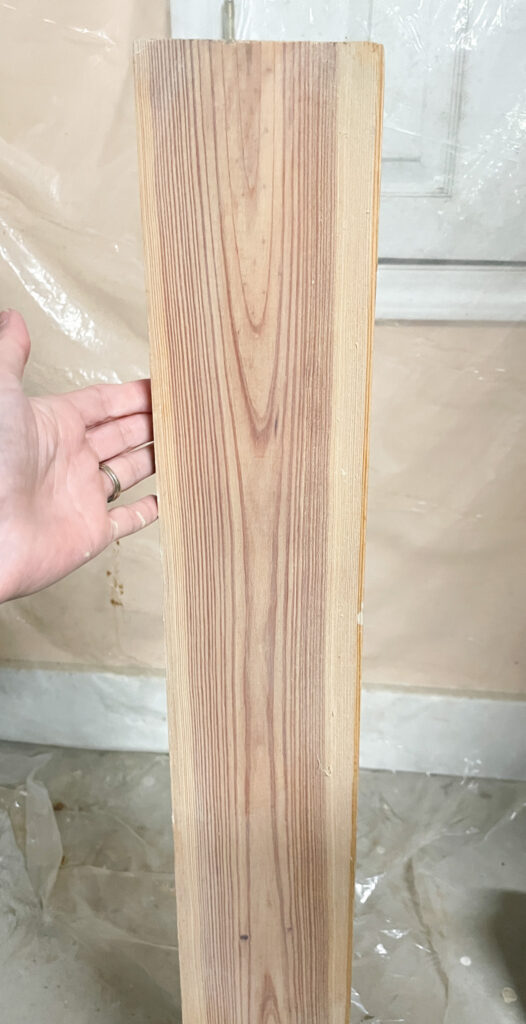
Below is a piece of Heart Pine that I’m going to color wash the surface of the wood. I wanted to mute the orangish red tones and give it a lighter look. As with most DIY projects, always test small areas first to make sure you will get the desired effect.
Is It Necessary to Sand Furniture Before Paint Washing?
Sanding furniture before applying a paint wash is usually a good idea. It evens out any rough or uneven spots, which helps the paint stick better and look smoother. If the piece has a matte or satin finish, it’s best to sand gently with fine-grit sandpaper.
For glossy surfaces, starting with coarser sandpaper (around 40-60 grit) works well, followed by finer grit (120-360) to smooth it out. Testing a small, hidden spot first can prevent surprises and ensure the sanding approach is right.
How to Apply a Color or Paint Wash to Wood
To start, the surface should be clean and free of dust. If the wood has a glossy finish, a light sanding helps the wash stick better.
The paint wash is made by mixing paint with water. A common ratio is one part paint to two parts water, but this can be adjusted depending on how transparent or opaque the finish is desired. More water means a lighter, more translucent wash that lets the wood grain show; less water results in a stronger color.
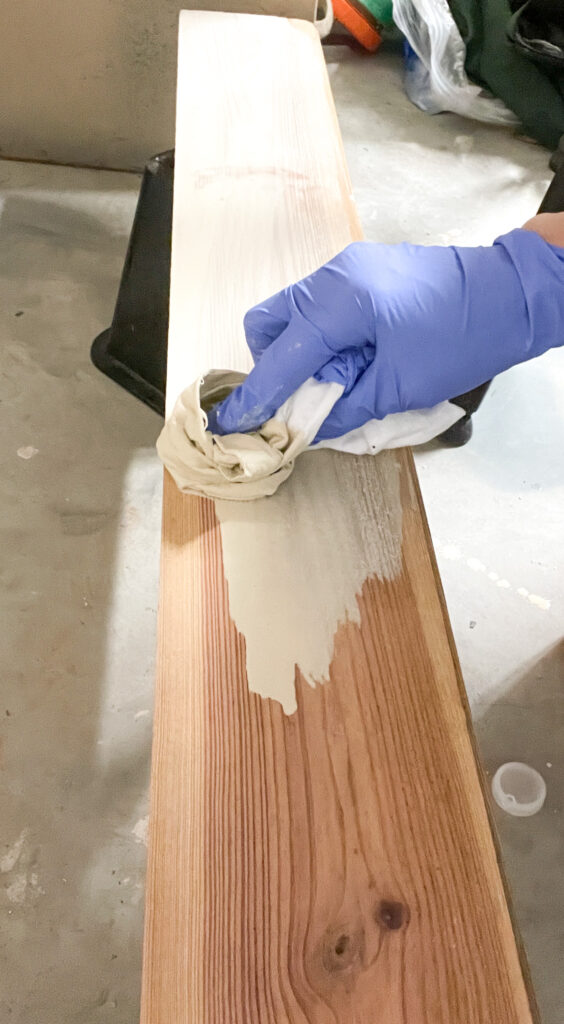
Apply the wash using a brush or sponge, working in manageable sections. After applying, quickly wipe off the excess with a cloth or rag, always following the wood grain to maintain a natural look. If a deeper color is wanted, additional layers can be added once the first is dry.
Testing the wash on a small area before working on the entire piece is a useful step to check how the color looks on the wood. Different paint shades can create varied effects like whitewash or gray wash.
Using a wood conditioner before washing can help prevent uneven blotches and ensures a smooth, even finish. Work carefully in small sections for the best results.
After finishing, the piece should be completely dry. Applying a clear sealer is optional but recommended for durability and protection, especially on pieces that will get a lot of use.
| Step | Details |
|---|---|
| Clean | Remove dust and dirt |
| Sand (if glossy) | Lightly sand to improve adhesion and clean again |
| Mix Wash | 1 part paint + 2 parts water (adjust as needed) |
| Apply | Brush, rag or sponge in direction of wood grain |
| Wipe Off Excess | Use rag, wipe with wood grain |
| Repeat | Add more layers if desired |
| Dry | Let fully dry before next step |
| Seal (optional) | Use clear coat for protection |
This approach brightens old furniture and tones down overly warm wood colors, keeping the wood’s texture visible while providing a fresh, modern look.
Tips:
- Test your wash on a small area first to see if you like the look.
- You can use different paint colors for different effects (whitewash, gray wash, etc.).
- If you want a more translucent look and more wood grain to show, use more water and less paint. If you want a more opaque look, use more paint and less water.
- Use a wood conditioner before you apply the paint wash. Work in small sections to make sure you get the desired finish. This prevents a blotchy look on the wood surface.
Result:
A paint wash refreshes old furniture, tones down orange or yellow wood, and gives a modern, muted look while keeping the wood’s natural beauty!
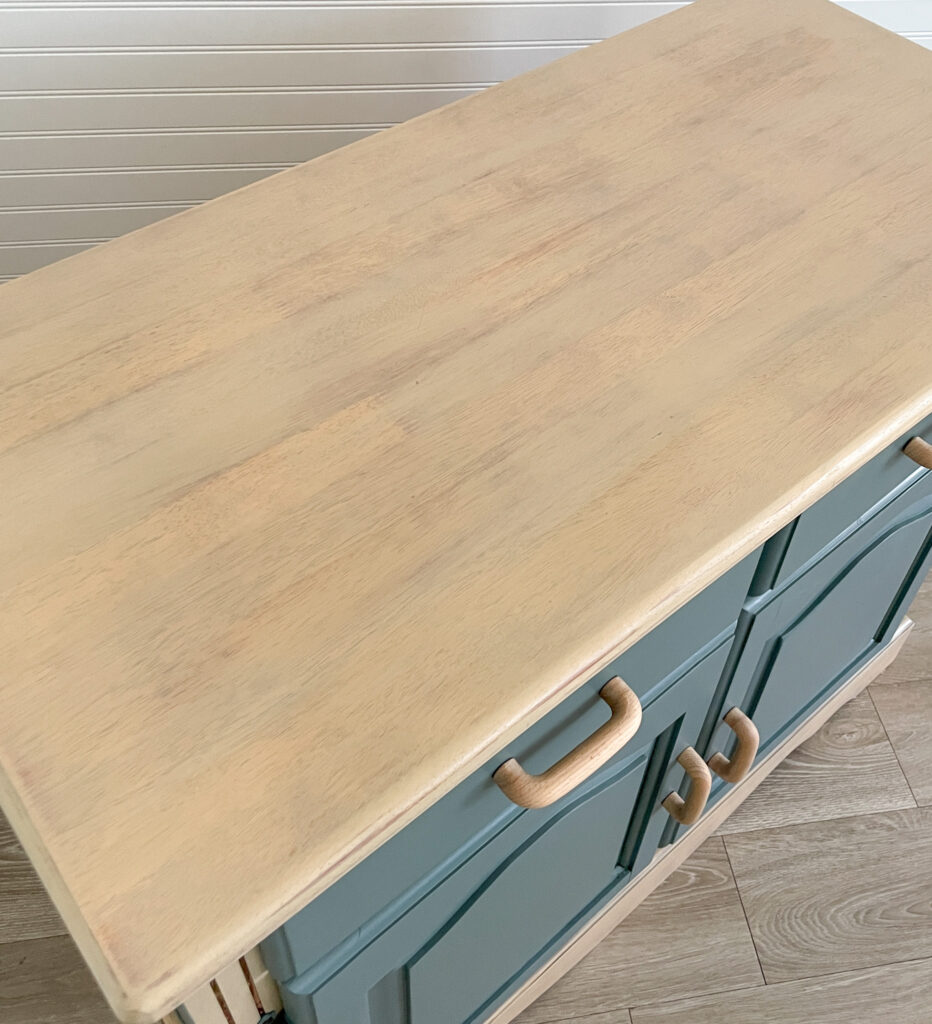
Check out my two toned furniture makeover with a tan wash! I love how the top wood piece turned out.
As far as sealers go, I’ve got a few resources for that. Always seal the finished wood!
Best Clear Coat for Wood for a Lasting Finish
How to Seal Painted Furniture for a High Traffic Finish
Do you need to seal whitewash furniture and wood?
Like I said there are a few other ways to create a paint wash. I’ve even seen some creators dip a wet rag in an undiluted paint can and then wipe the surface. The problem with this is that it can create an uneven blotchy look. This is why I prefer to mix the paint with water BEFORE applying it to the surface.
Wasn’t that easy? I wish all my paint projects were this simple.
Lindsey*


