Learn how to dye a lampshade with Rit Dye for a beautiful Ombre look. This simple tutorial will show you how to use Rit Dye for other projects too.
I never thought I would want to dye my own lampshade but here I am sharing this (surprisingly easy) Rit Dye project with you today. I asked myself over and over, “why am I not just buying the color lampshade I want?” I’ll tell ya- lampshades are expensive and sometimes it takes creating your own to achieve the color you really want. Not to mention that when Rit Dye comes in so many different colors, why not!
This project started when I was walking the isles of Walmart looking for a lampshade. I just couldn’t find exactly what I was looking for. I did however find a few ideas of what I wanted on websites like Anthropologie with their tufted bungalow lamp shade. I loved the mix of neutral with a little light blue. I didn’t, however, want to pay the high price for those lampshades (did I mention that I needed 2?).

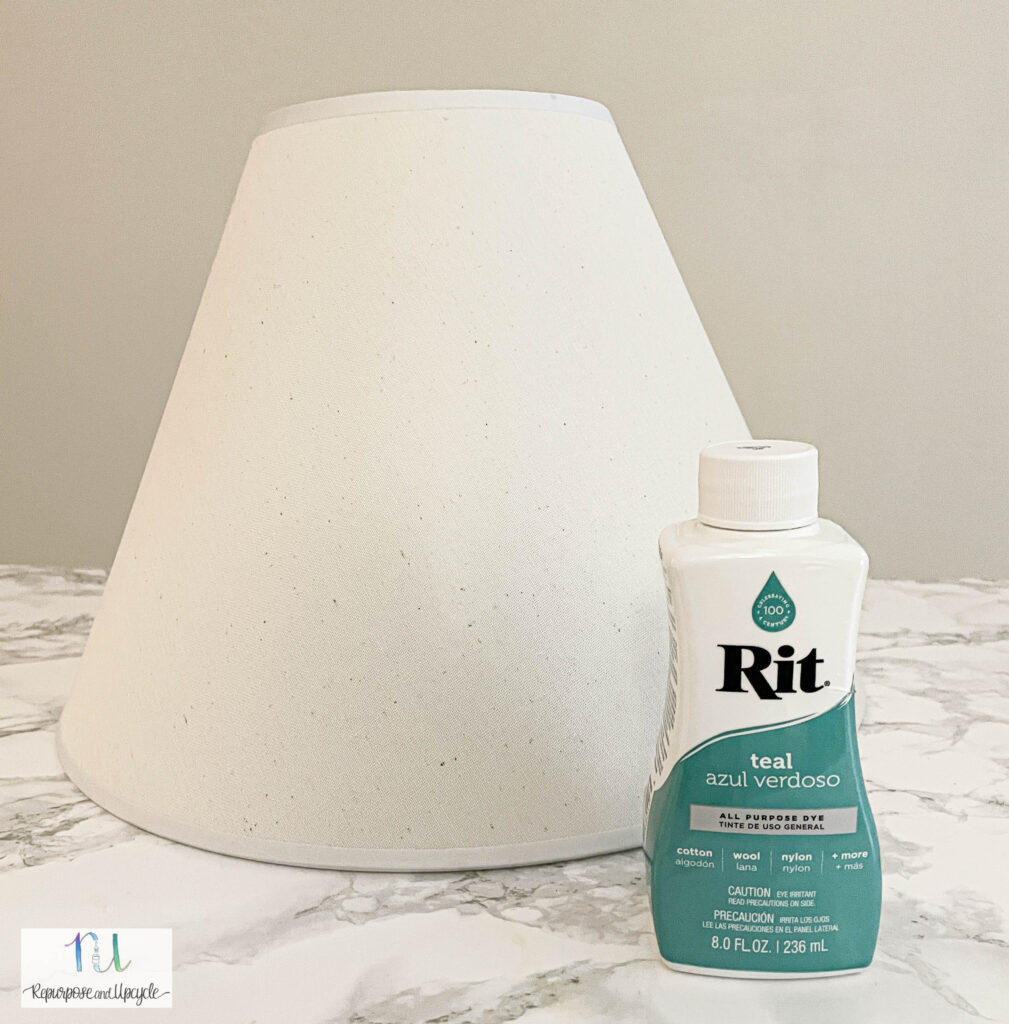
So here I was at Walmart having no luck finding any lampshades even similar to what I wanted. Then I found two neutral lampshades that I liked. That’s when I decided it was time to try my hand at using Rit Dye!
I’ve done an similar paint project in the past when I painted a desk and wall in my daughters bedroom with an Ombre paint effect. I thought this might be the perfect opportunity to try my hand at creating the Ombre effect on something other than a wall.
Disclosure; this post contains affiliate links. As an Amazon Associate I earn from qualifying purchases. This disclosure statement refers to the rest of the amazon links and other affiliate links in this post.
Supplies needed:
- Lampshade (s)
- Rit Dye
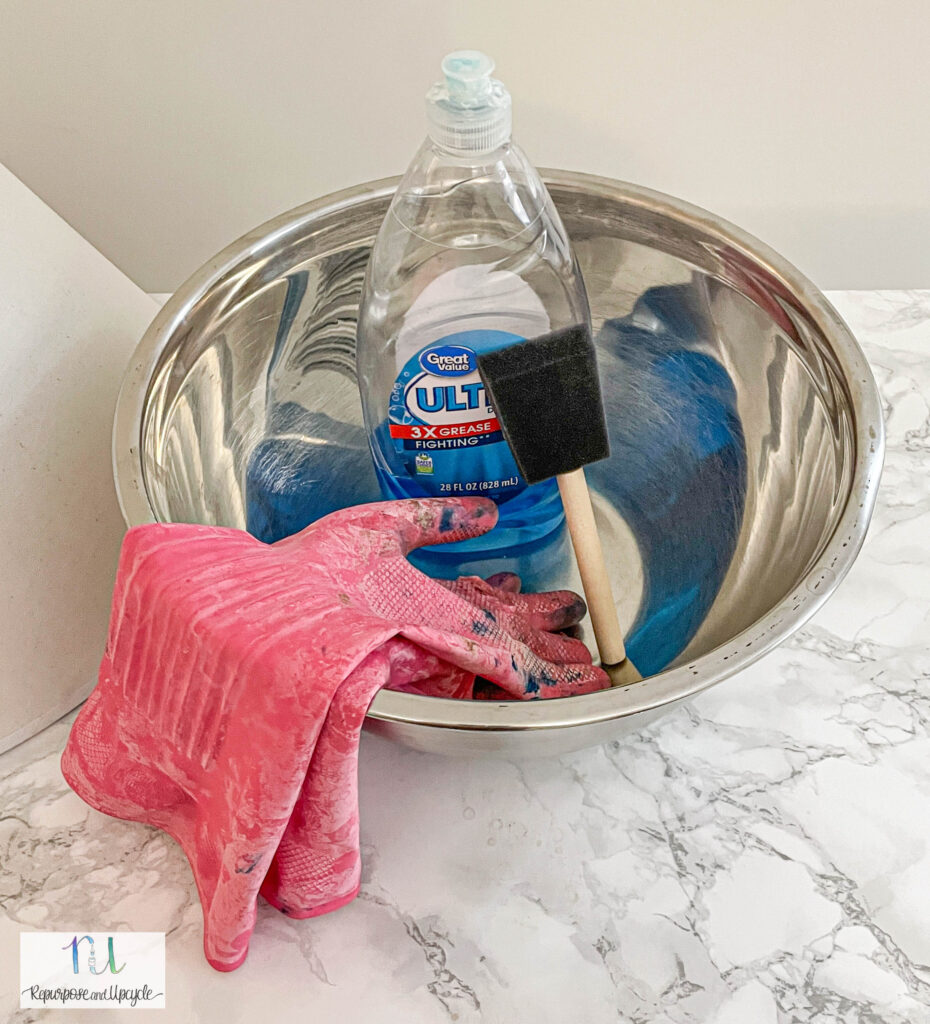
- Bowl or basin large enough to fit lampshade
- Rubber gloves
- Measuring spoon
- Paint brush (optional)
- Liquid dish detergent
- Salt (optional)


How to dye a lampshade with Rit Dye for an Ombre look
- Fill a bowl or basin with enough hot water to cover the shade.
- If you want to enhance the color, add salt (follow measurement instructions on Rit Dye bottle).
- Add a teaspoon of liquid dish detergent (this helps promote level dyeing) if desired and stir.
- With rubber gloves on, add dye and stir. Follow measurements instructions on Rit Dye bottle.
- Test the color with a paper towel and add dye until you get to the desired color (optional).
- Immerse the lower half of the shade in the dye bath and let it sit for at least 30 minutes. The longer it sits, the darker the color will be.
- Take paintbrush (or foam brush) and apply the dye up the shade to create an Ombre look. Remember the more you apply the dye to the shade the darker it will be.
- Once you’ve achieved the desired color, run the shade under cool water until the water runs clear.
- Set aside to dry.
YouTube video on How to Dye a Lampshade with Rit Dye


You don’t have to use the dish detergent but it does help the Rit Dye solution to dissolve better in water. This promotes a more “level dyeing.”
Personally, I didn’t want a blotchy dye job, so I opted to use the dish detergent. I wanted this to look as professional as possible.
As far as the salt goes, I didn’t want a super dark dye color. If you are dyeing a dark fabric and trying to make it darker, I would suggest using the salt. Or even if you want a super bold color; the salt can’t hurt.

I followed the Rit Dye measuring instructions and poured the right amount of dye into the hot water.
Rit Dye suggests using one liquid bottle to two pounds of fabric. Another one of their lampshade dye posts says to pour half of the dye bottle in the container and test the color with a paper towel first.
Since I only used a small amount water (I was only submerging the lower half of the lampshade) I opted to pour 1/4 of the bottle of dye.

Make sure to stir it really well before you dip any fabric in it!


I let the lampshade sit for about 10 minutes and then I used a foam brush to pull the dye solution up from the bowl to “paint” the middle part of the shade.

Once I let it sit another 10 minutes I pulled it out of the dye bath to check the color.

I’m loving it so far!
The Ombre paint effect is very subtle but that was the look I was going for.
Note; the dye colors will be darker when wet. Hindsight I wish I had let it sit a little longer in the dye bath because I didn’t realize how much the color would lighten up when it dried.

Once the color looked how I wanted it, I rinsed it under cold water until the water ran clear.

Set them aside to dry.
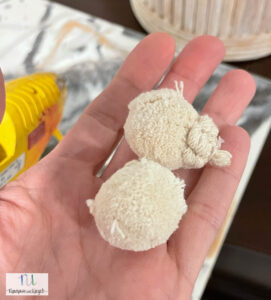
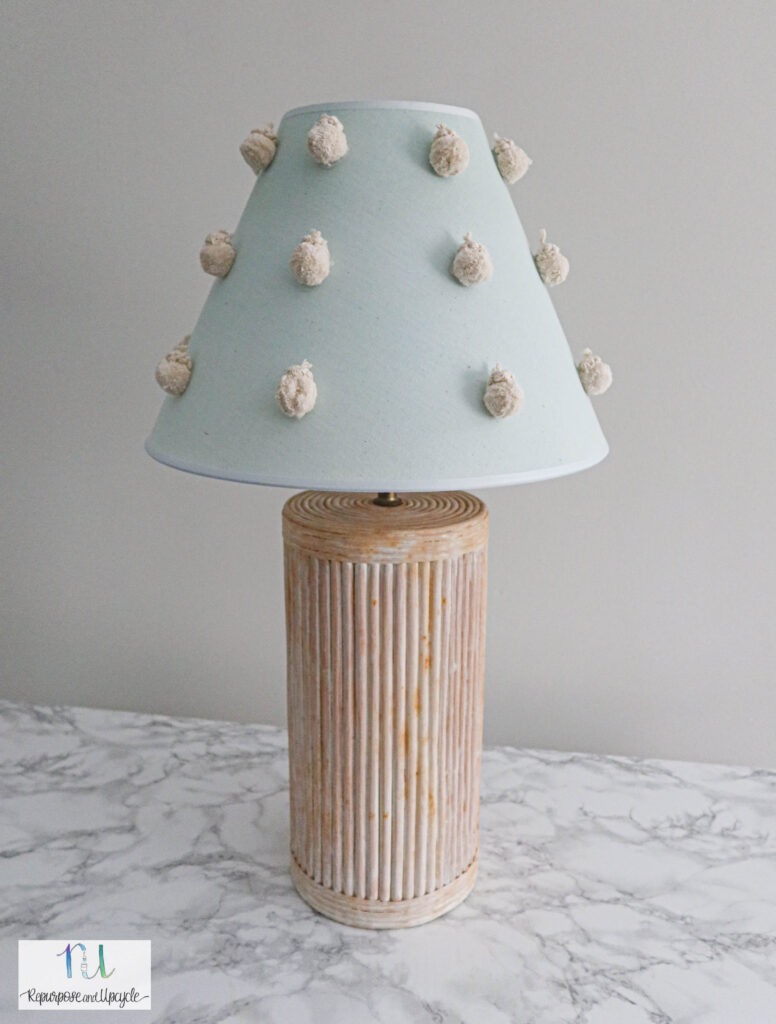
Lastly, I decided that the lampshade looked too plain so I added simple pom poms.


Ta-dah! What do you think? The ombre effect is super subtle but I like it that way.


For those wondering, the lamp bases are thrifted. I wish I could source them but by the looks of the hardware, they are super old. Maybe so old that they are back in style!


Just in case you wanted to see the lampshade when the light is on…

There you have it folks! That was a super easy and quick crafty DIY that anyone can do in less than one hour.

Lindsey**


