I’ve always been a little intimidated by people who look like they “have it all together.” You know what I mean, like everything they touch turns to gold. On this little website it might look like I know what I’m doing, but to any skilled craftsman who might look around my site, they would think, “nothing here is that great, just a lot of easy projects and sub par ideas.” Guess what, that’s totally right. Also, there are so many projects I start that end up being a total mess, most of which I never share. This little project is one of those! Except this time I’m sharing it. Deep breath, here we go; my experience with Crackle medium and how I overcame a crackle paint fail and learned to fix it.
I want to be totally honest, the crackle medium I’m sure isn’t the problem, but rather me not using it correctly (or so I think). The bottle said to paint the product, use the crackle paint, and then use a top coat of paint.
Instead of using this particular crackle medium’s products, I used a similar chalk style paint, then this particular crackle medium, and then a top coat of another type of chalk paint. I’m wondering if this is where I went wrong (not using all of their products).
I assumed that using a similar chalk paint would work the same and have the same results as using their particular chalk paint. This little DIY fail has reminded me of this quote; Never ASSUME, because when you ASSUME, you make an ASS of U and ME. LOL, yep, I do this too much.
In my haste, and not having all the right materials, I began the project knowing full and well in the back of my head this might not turn out. But yet I began anyway— head smack! Anyone else do this?
So let’s start with what the corbel looked like before I got my hands on it;
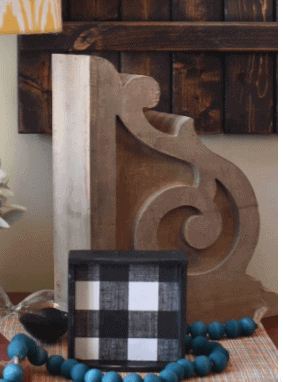
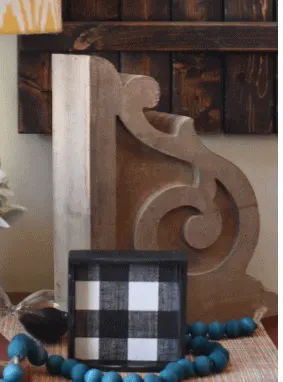
These corbels were big, and when I say big I mean thick! I decided to use a band saw and saw them in half because I wanted two corbels. I would have purchased two but my Hobby Lobby only had one of these “antique” corbels.
After I sawed them in half, it was time to do a little “antiquing” with crackle medium.
Using Crackle Paint
I’ll show you my progress with a few videos below:
- I painted the first coat with chalk paint
- After the first coat dried, I painted a thin layer of the crackle medium on the corbel
- After the crackle medium dried, I painted a top layer of chalk paint. I decided to use a soft blue color for the top of the corbel. I was hoping this layer would “crackle” immediately.
My crackle paint fail
To my dismay there is no chippy paint, peeling edges or “crackle” anywhere on my corbel. Basically the crackle paint failed.
I’m not exactly sure what I did wrong, but I do know that when you’re trying to complete a DIY, and things don’t work out like you want them to, there is always a way to overcome a DIY fail.
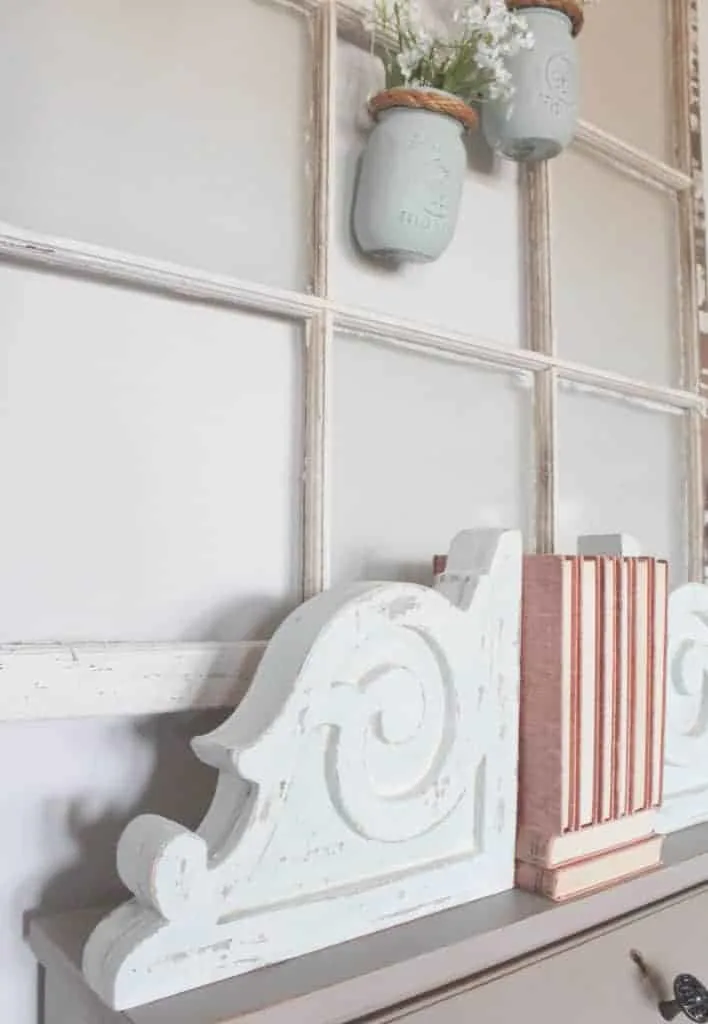
Just because I didn’t get the crackle or chippy paint effect that I wanted, didn’t mean I couldn’t create it with a little sanding. I’ve learned that you can always fix a failed DIY (like this crackle medium fail) if you keep working at it.
You are probably wondering why I wiped the corbel down with a baby wipe before I started sanding. I’ve learned over the years that if you want to sand a big piece of paint off of the piece, that sanding works better with a slightly wet object. I use the baby wipes because it creates less lent than say, a paper towel.
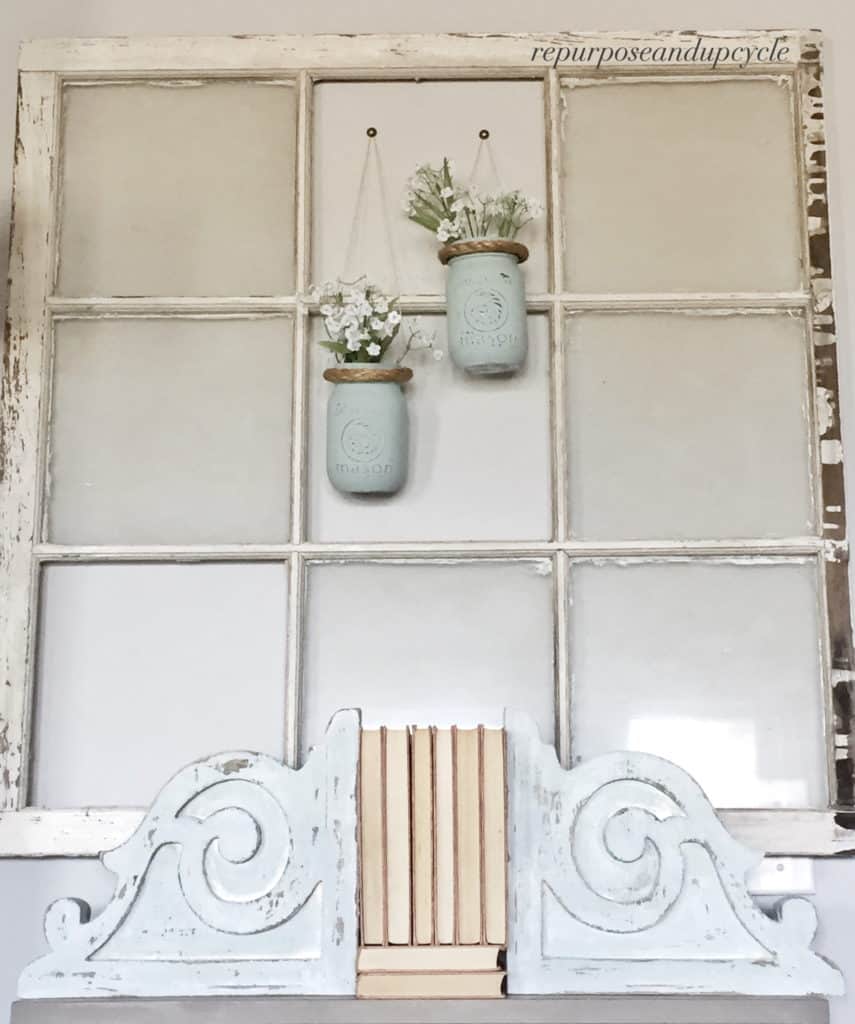
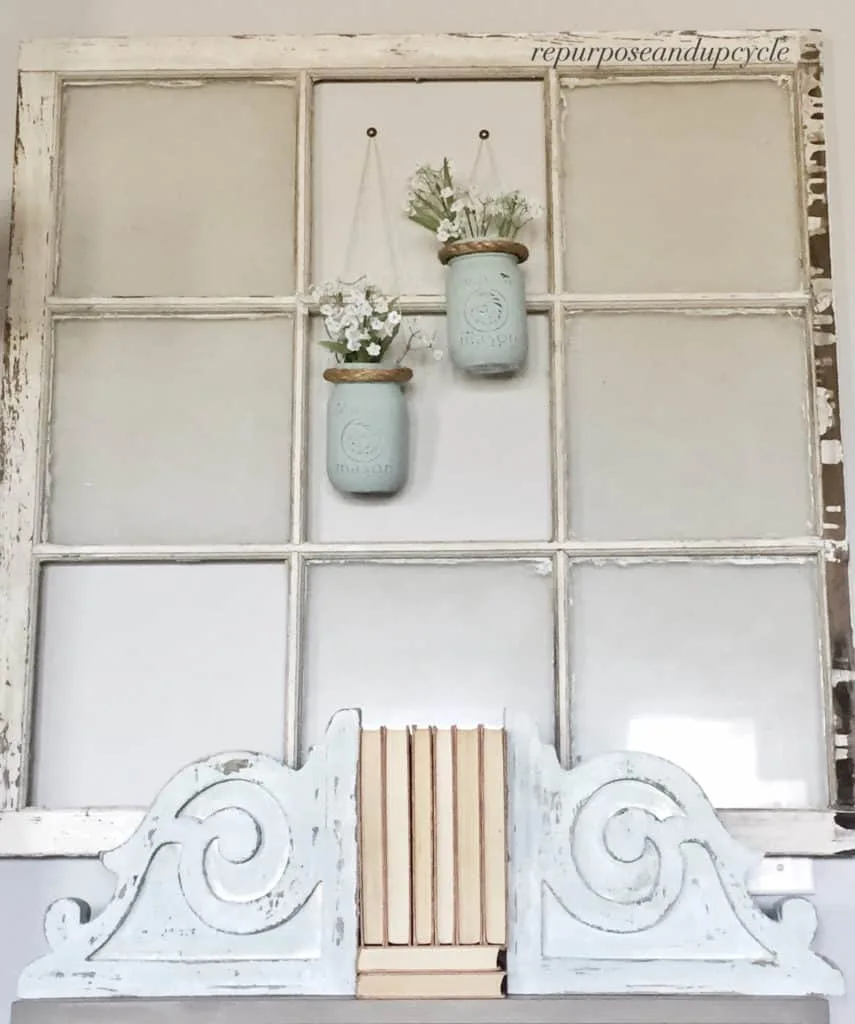
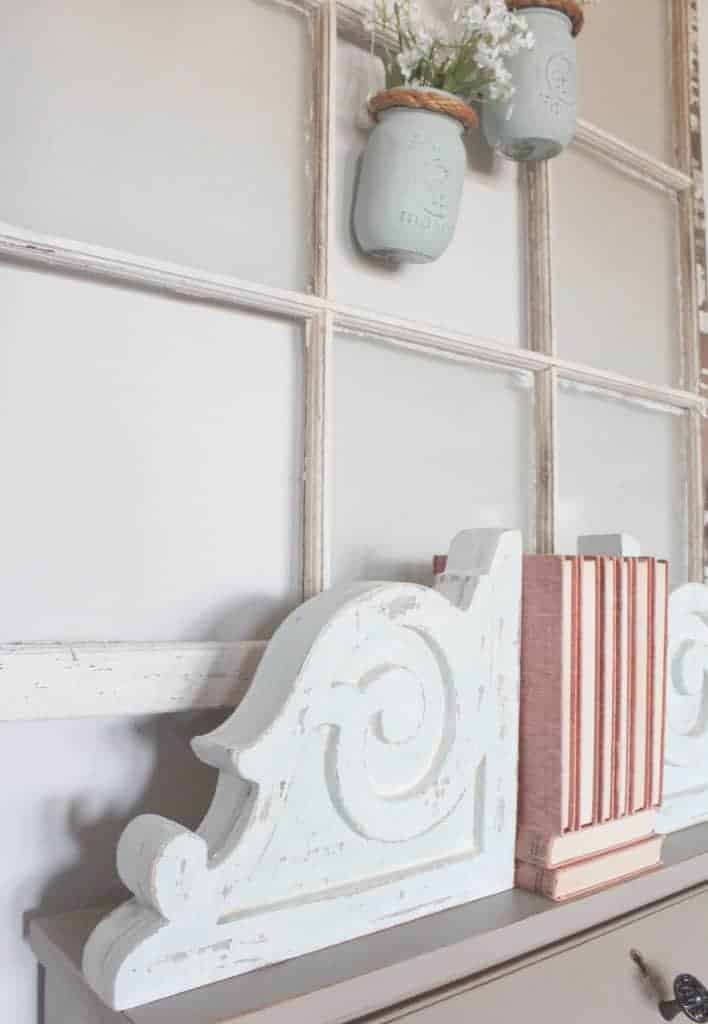
Here are a few after shots of my “DIY fail” turned masterpiece!
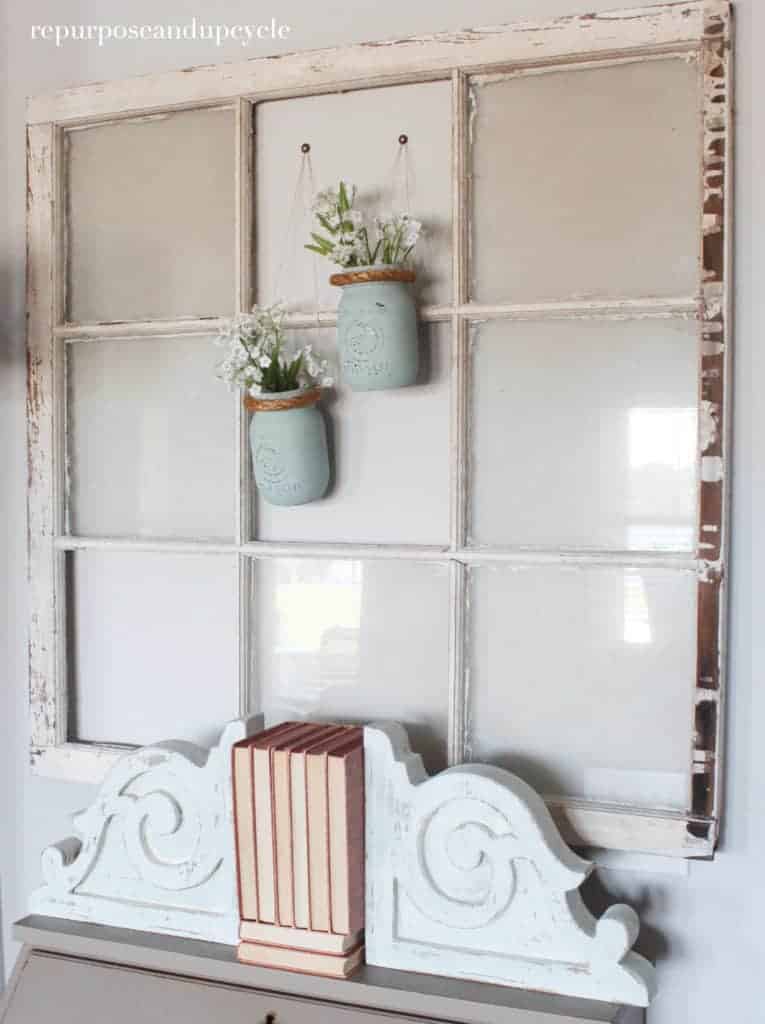
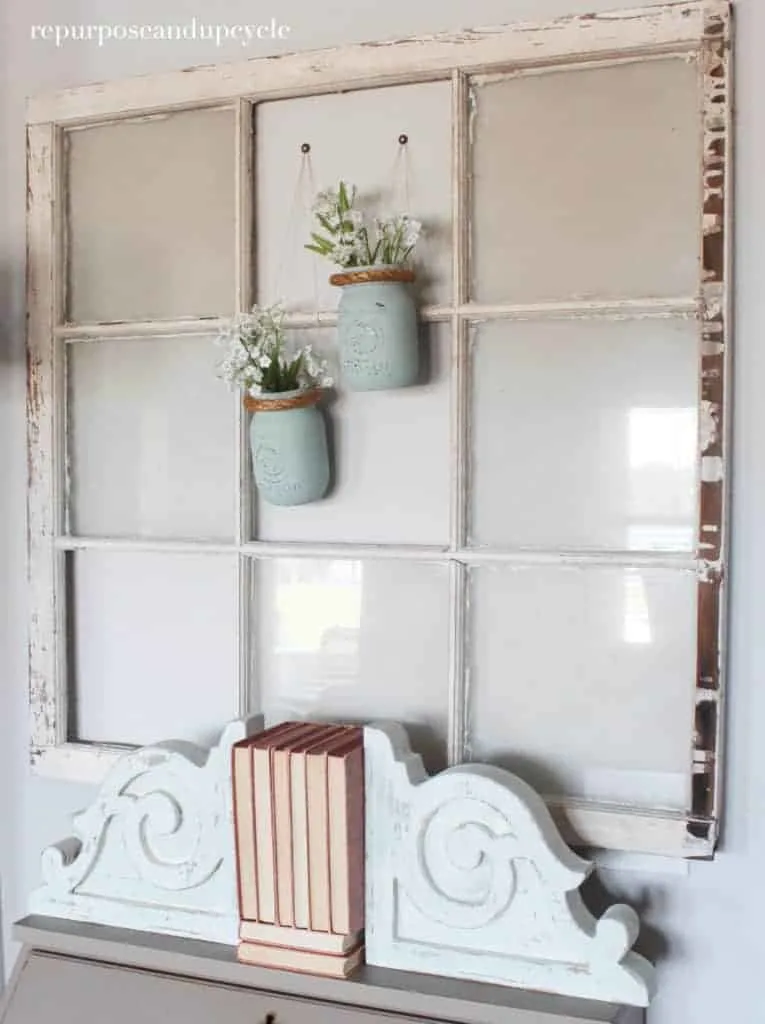

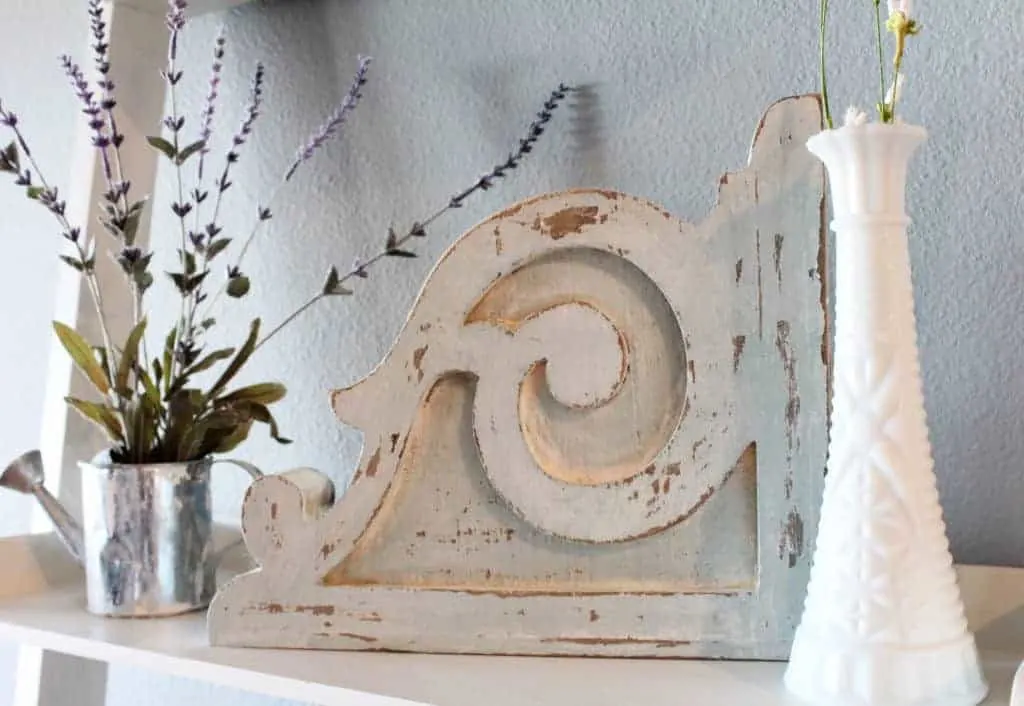
It might seem hard to recover from a project you feel like you’ve ruined, but if you keep working at it you will eventually turn a lemon into lemonade! {Advice from the person that has created a lot of lemons!}
If you want to see more Mason Jar Decor and how I made these check out my post HERE.
Thanks for stopping by and I hope you’ve been inspired to create lemonade. 🙂
Lindsey**
[…] Honestly, about 40% of the time I start a project I have to “regroup” in the middle of it because I’m not happy with the direction it’s going. You can see an earlier post where I shared all about how I overcame a DIY fail and learned to fix it. […]
Thank you and you are so right!
They looks pretty good now. Do you have a bandsaw or table saw. My wife wants one but I don’t have the room for it. #kcacols
I borrowed the band saw from a neighbor actually. Thanks for stopping by. Lindsey
Your corbels are beautiful Lindsey and I believe there is always more than one way to get a certain technique.
Wonderful colours! ANd it doesn’t look like a fail at me at all. Thank you for sharing this – you should never give up on your projects.
They look great and came good in the end:) I love trying out different techniques and think that it makes rooms look so unique to have our own creations around. Thanks so much for linking up to #KCACOLS hope to see you back next time.
Mainy
I definitely don’t consider this a fail. 🙂 Thanks for sharing this with us at the Waste Not Wednesday link party. Can’t wait to see what you are doing this week.
Great post! Thanks for sharing real life experiences with DIY. ????
Always love meeting a repurpose sister AND recovering from a DIY fail is my salvage sister middle name 🙂
What fail? 🙂 Great job perservering!!
You’ve inspired me to get back on my own DIY fail! Years ago we bought a lovely glass fronted cabinet from Ikea that I loved, but hated the colour, so I’d always intended to paint it. I ploughed right in and primed it, and got 3 coats of lovely minty green paint over all the bits, but it became clear that we needed to have sanded all the bits originally, as the paint wouldn’t bond and just kept peeling off. My husband painstakingly sanded down most of the bits, but we never finished sanding off, and the pieces are still sat in our stairway cupboard. Your perseverance has made me feel I should get back on it! Thanks for joining us at #SharingtheBlogLove
so glad I’ve inspired you! Good luck with the cabinet and thanks for stopping by my little blog!
Popping back over from #fortheloveofBLOG – I love this project and how it turned out!
You did a great job, I know that I would have just abandoned it! Thank you for joining us at #sharingthebloglove
So glad you persevered with your project because they turned out fabulous!
Thank you so much for sharing your fabulous project with us over at Waste Not Wednesday!
You might think it is a fail but they look gorgeous – I love that colour too
It turned out fab! Well done for persevering with it! Thanks for linking up with #TwinklyTuesday
Beautiful end result! I don’t do many DIY projects but when baking sometimes I don’t follow the little voice in my head that says, “don’t do that”. I’m learning to listen.
I’ve never tried crackle medium but I have to say that your book ends look great. It may not have been your desired effect but I certainly wouldn’t call it a fail. Pen x #KCACOLS
thank you Pen!
Such a beautiful end result, brilliant step by step explanations of what you did here. Love the baby wipe tip! #kcacols
They look great well done Thank you for linking to #Thatfridaylinky please come back next week
I have never used or thought about trying a crackle medium. I need to rethink that because your corbels are absolutely gorgeous.
I think anyone that looks like they have it all together has a lot of help! This looks fab as a finished product, you’d never know there was a fail in the story if you hadn’t said! Maybe there are certain chemicals that need to work together for the paint to work? Thanks for linking up to the#bigpinklink this week.
Have tried crackle years ago when it was so popular, didn’t do too well and decided wasn’t something I really liked look of after all. Yeah I know chicken, yup.
That was one hunky corbel, hope I can find one corbel, will do same as you, cut that puppy in half. That is if our Hobby Lobby even has one. There are many things our stores just don’t have. I’ll go in asking for something and I get a big – what? I feel like asking them sometimes how they keep their jobs. I even take in pictures from catalogs, ads, whatever I can find.
Think your corbels turned out pretty doggoned great. You’re better at doing things than you think, you just go about it differently.
I am a very spontaneous crafter,don’t plan, just go for it, somehow things turn out better for me when I let things happen on their own, lol.. My idea of what I had in mind usually changes at least half way thru.I work better later at night without Mr.Furry hanging over me commenting. He’s actually quite lucky he doesn’t end up wearing it, sigh. We’ll be married will be 49 years the end of this month,miracle.
Have a wonderful Sunday.
I agree that it seems all the craft stores seem to have a slight variety in their merchandise. I too will see things online and can’t for the life of me find them in the store. And congrats on 49 years! I’m going on 12! Have a great rest of your weekend.
I’ve never tried the crackle paint, but whether your project turned out as planned or not, it certainly turned out lovely. I really like them! Thanks so much for sharing your expience on Party in Your PJs!
It surely has turned into a masterpiece. So beautiful. You are talented. I’m not very good with DIY projects, but I admire others who can do them so well. . . . even if you have to fix it.
Thank you Natalie!
At least you’re in good company – it’s been said that Edison tried over 1000 times before he created a usable light bulb! Thanks for sharing at The Blogger’s Pit Stop! Roseann from http://www.thisautoimmunelife.com
Love this project! What a clever idea to cut it in half. Thanks for contributing to the To Grandma’s House We Go Link party this week! Be sure to follow us and we’d love to see you next week!
You know, I think the sanded look might be better than a crackle look anyway! Thanks for being honest about your experience and thanks for sharing at the #happynowlinkup!
Lindsey, I never did much DIY because I was a perfectionist. Once I overcame that handicap, it was a lot more enjoyable. This post is very inspiring. Just because a project doesn’t go as intended doesn’t mean it didn’t “turn out” at all!
My husband is a perfectionist and he can’t handle doing projects with me because they are never perfect, so I totally get it!
They are beautiful! I have disappointed myself many times with DIY projects that seemed to become a nightmare, but eventually turn out to be fabulous. Now with every project I allow chance to intervene with the results. I may plan and start the project my way, but by chance it takes on its own personality and ends up as it should.
Whatever your original goals were, the end result is beautiful!
I’m glad you shared your diy project with us this week at our Encouraging Hearts & Home Blog Hop!
In the end, your project turned out great. It seems strange, but it’s actually comforting to know that others fail too, and that there’s hope to rescue a failed project. Thank you so much for sharing at The Really Crafty Link Party. Pinned!
You really did great with these and I’ve yet to jump into the crackle paint yet but I want to. Now that I know Hobby Lobby has these, I might just try to mimic your after! Thanks for sharing!
This turned out gorgeous!!
You rescued them and made them look fabulous! I use to teach Tole painting and have done a lot of crackle in my day. 🙂 One trick is to use quite a bit of paint on the top coat that goes onto the crackle medium. The more paint the more the crackle. Plus, you don’t want to go back over it, or you can bury your crackle. I’m also wondering if the chalk paint won’t crackle. Regular paint or acrylics work great! Thanks for sharing with SYC.
hugs,
Jann
Such a great post! 🙂
I would love for you to share this with my Facebook Group for recipes, crafts, tips, and tricks: https://www.facebook.com/groups/pluckyrecipescraftstips/
Thanks for joining Cooking and Crafting with J & J!
Wow they turned out really nicely! A mistake is never a failure if you learn from it… or turn it into something gorgeous! #fortheloveofBLOG
It’s turned out really well. Looks fab. I’m not too great at DIY! I’m too impatient!! X
#fortheloveofblog
Sorry about the spelling mistakes.
Crackle medium is a “pull our hair out” product. I have scrapped it off more times than I care to count and them every once in a while it works and it’s wonderful. I once did a whole trunk with a “guaranteed” crackle After several days scrapping and sanding the crackle off, I painted it and I love it; Not my favourite product, but I keep trying. Love that you cut it in half to get 2 and they turned out lovely.
Thanks Barb, that makes me feel better. When I wrote this post I figured I did something wrong but I’ve heard from so many others about how finicky it is.
It turned out beautifully! So are they really wood?
They are some form of MDF or pressed wood.
My friend said to me “You make such pretty things.” My answer was you don’t see my failures. We all make them and learn from them. I like your end product.
I do start projects sometimes even when I know full well I don’t have all the correct materials. I am foolishly optimistic I can overcome everything…I usually can’t. #bigpinklink
“foolishly optimistic”- that is totally me!
Hubster has to leave the area when I start a project – he was an Eagle Scout, which means he is prepared for everything and anything before he even starts a project.
lol, totally my husband too, who is an engineer and total perfectionist- totally not my style.
No one really has it all together! Anyone who appears to is just creating an illusion, we are all just hanging by a thread! You did a great save here, the end result is lovely and I know lots of people are so encouraged to see projects that don’t go to plan – me included!
Thank you Julie!
I’ve had mixed experiences, too, with crackle mediums. They can be moody. Love how you recovered and got the look you wanted!Turned out amazing!
Thank you Debra! I have since heard the same thing about crackle medium.