There is something timeless about world map wall art, don’t you think? From the first decades until now, seeing world map art doesn’t get old. I’ve always wanted some neat art prints of art work with a globe or world map. I decided to create my own rather than buy one new because, well, I love to DIY of course.
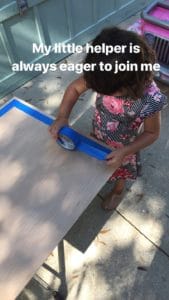
But even if I don’t like to DIY, as long as you have a great world map stencil, anyone can do this. No joke, my kids could do this! Even if you aren’t a world traveler (Lord knows we surely aren’t), this can still be a great idea for a home office or a perfect gift for a new home! Anyone can purchase a world map poster, but wouldn’t it be cool to make your own antique world map?
World map art offers a timeless and versatile decor option that can complement various interior design styles, from modern to rustic. This is a perfect centerpiece for a gallery wall with world traveler pictures around it. There are endless room art ideas to go with it!
Before I dove into creating this world map artwork, I had a piece of inspiration to help guide me! Let me share with you my “inspiration” for this project.
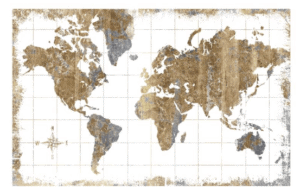
You can find the print above HERE- full disclosure, it’s over $150!
Isn’t it pretty? I love the gold antique accents and sense of wanderlust. It was an ideal choice for my living room wall, I just didn’t want to pay the high price tag. That only meant one thing; time to create my own!
Disclosure; this post contains affiliate links. As an Amazon Associate I earn from qualifying purchases. This disclosure statement refers to the rest of the Amazon links in this post. See more on my disclosure page.
Materials for this aged world map
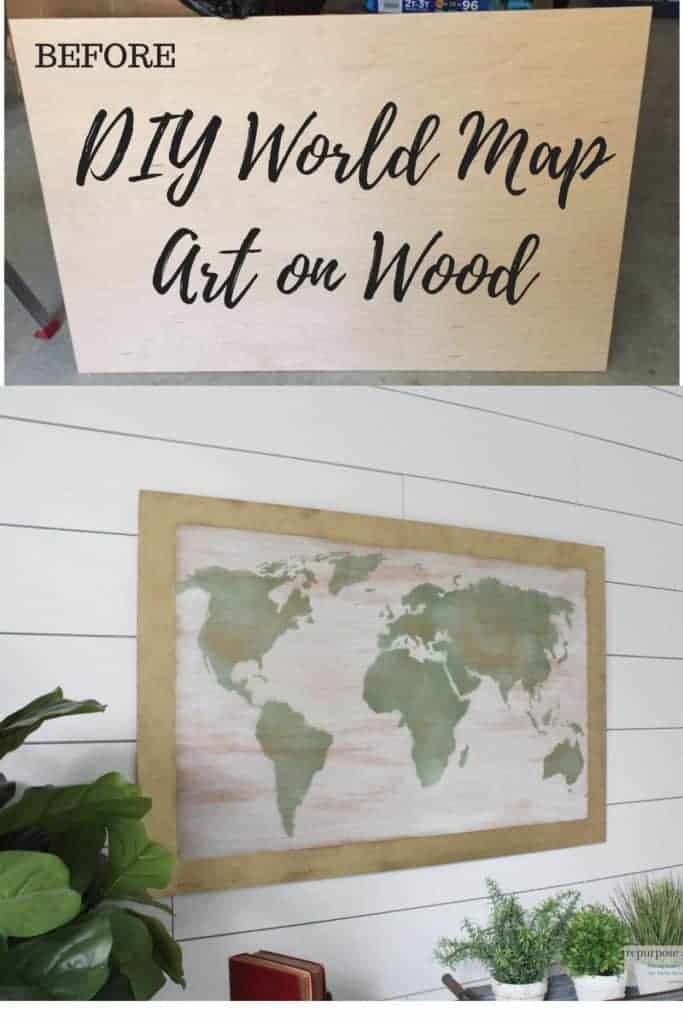
- wood or canvas of your choice. I used a piece of natural maple plywood (1/4 by 2′ by 4′)I purchased at our hardware store and I had them cut it to save time.
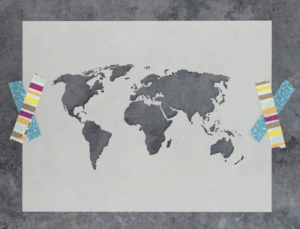
- world Map stencil. I used a stencil from a company called Stencil Revolution.
- Krylon sea glass and gold leaf spray paint. The sea glass spray paint is amazing! I love how it gives a soft greenish hue. The gold leaf spray paint is best too! In my opinion it’s the easiest way to add a little “gold leaf” without all the trouble of real gold leaf.
- painters tape
- paint pen to outline the border of the wood
- straight edge or ruler
- picture hanging hardware
Like I said, I purchased this natural maple board at the local hardware store. I did have them cut it to the dimensions to fit my world map stencil.
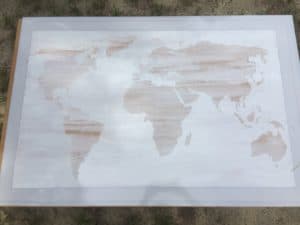
Speaking of world map stencil, check it out below.
Let’s get to making this fun piece of art!
How to create your own DIY world map art

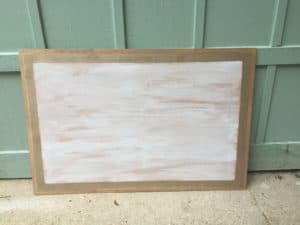
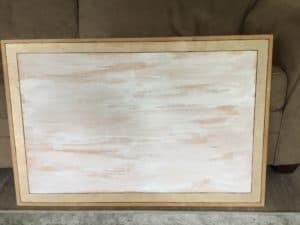
The first thing I did was add the painters tape around the edges to create a “border.”
I used this stain to create a rustic finish around the wood.
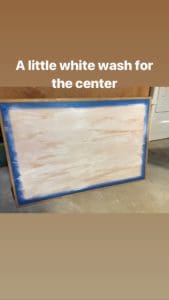
After I added the stain around the border of the world map art, I added a little white wash to the middle.
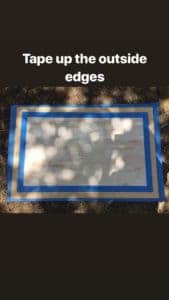
Next I needed to tape around the white wash and the border so I could add a little gold accent.
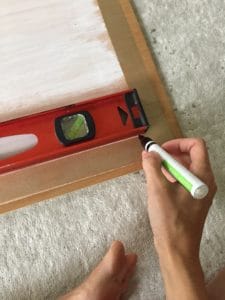
At this point I wasn’t real happy with the way the gold spray paint blended with the outside border weathered oak stain. I decided it might be best to use a paint pen and outline the borders.
I used a ruler and slowly started outlining around the gold spray paint with a black paint pen.
Here we are, with the outlined border, and I wasn’t happy with it.
Tell me I’m not the only one who starts a project with a fabulous vision of how it will turn out, only to realize the actual project isn’t anything that you envisioned or thought it would be.
Blah, back to the drawing board.
I almost didn’t share with y’all the “DIY fail border” above but then I thought, “this is part of the process.”
Honestly, about 40% of the time I start a project I have to “regroup” in the middle of it because I’m not happy with the direction it’s going.
It’s all part of the creative DIY process right? That’s what I tell myself at least.
Learning and creating sometimes means making mistakes, and I like to make LOTS of them! LOL.
So where do I go from here?
I decided to keep going with the stencil and come back to the border later.
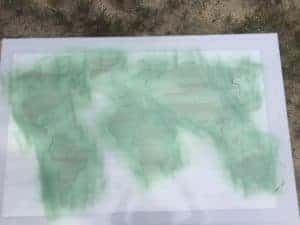
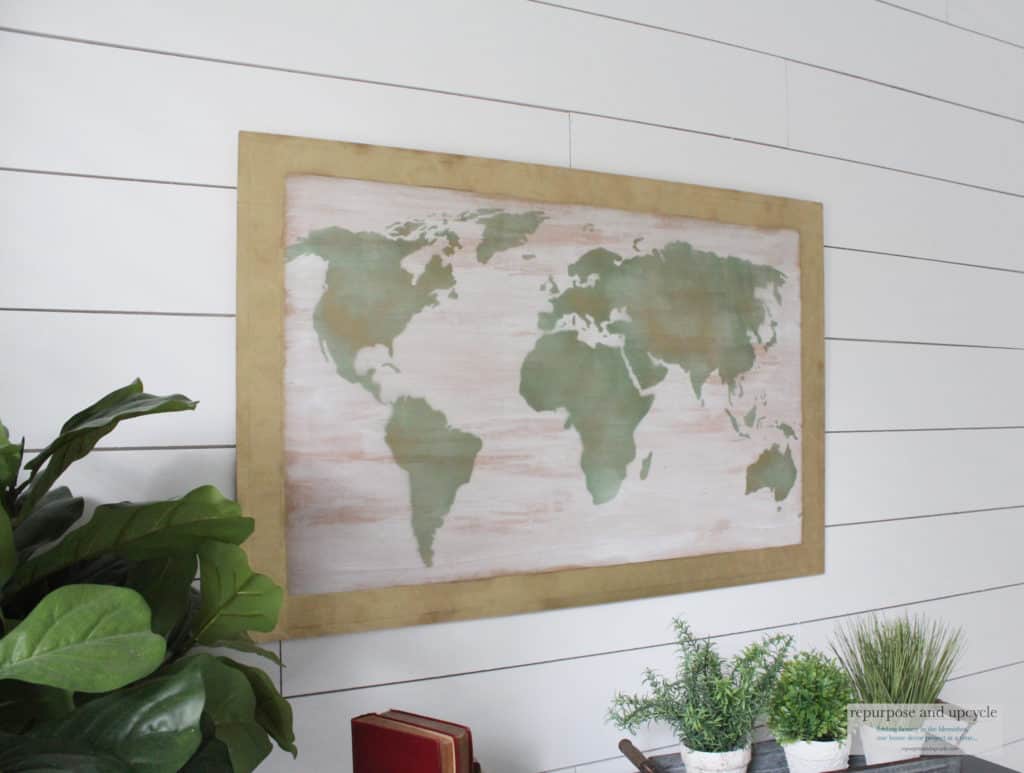
This is what it looked like after I sprayed the sea glass spray paint. I knew I wanted to add a little gold accent to the world map to tie the border colors in.
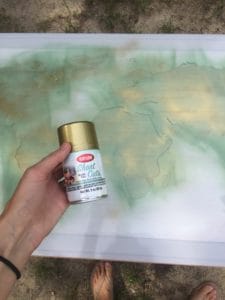
Like I said before, I LOVE this gold leaf spray paint. If you’ve ever used real gold leaf, you know it’s messy! This stuff doesn’t provide the texture that real gold leaf does, but it’s a very similar color and much easier to apply.
Speaking of gold on wood, check out this post where I shared more products of the best gold paint for wood.
Ok it was time to revisit the DIY fail border. I decided to scratch the paint pen border and spray paint over the entire edge with the gold leaf spray paint.
I wanted my world map project to look like it all blended together and I figured the best way to do this was to add the same color gold leaf on the border as I did on the actual world map painting.
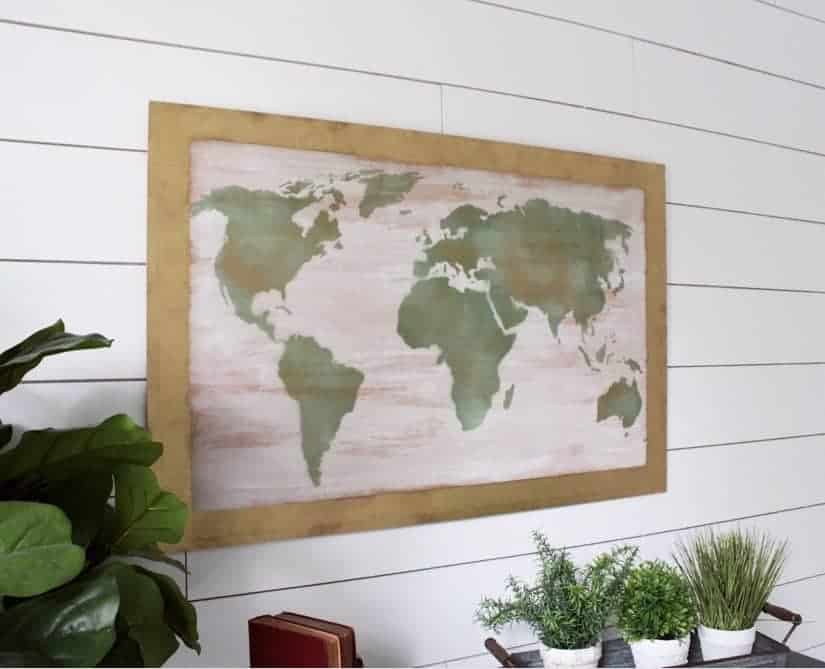
Now I can say my DIY world map painting is about complete.

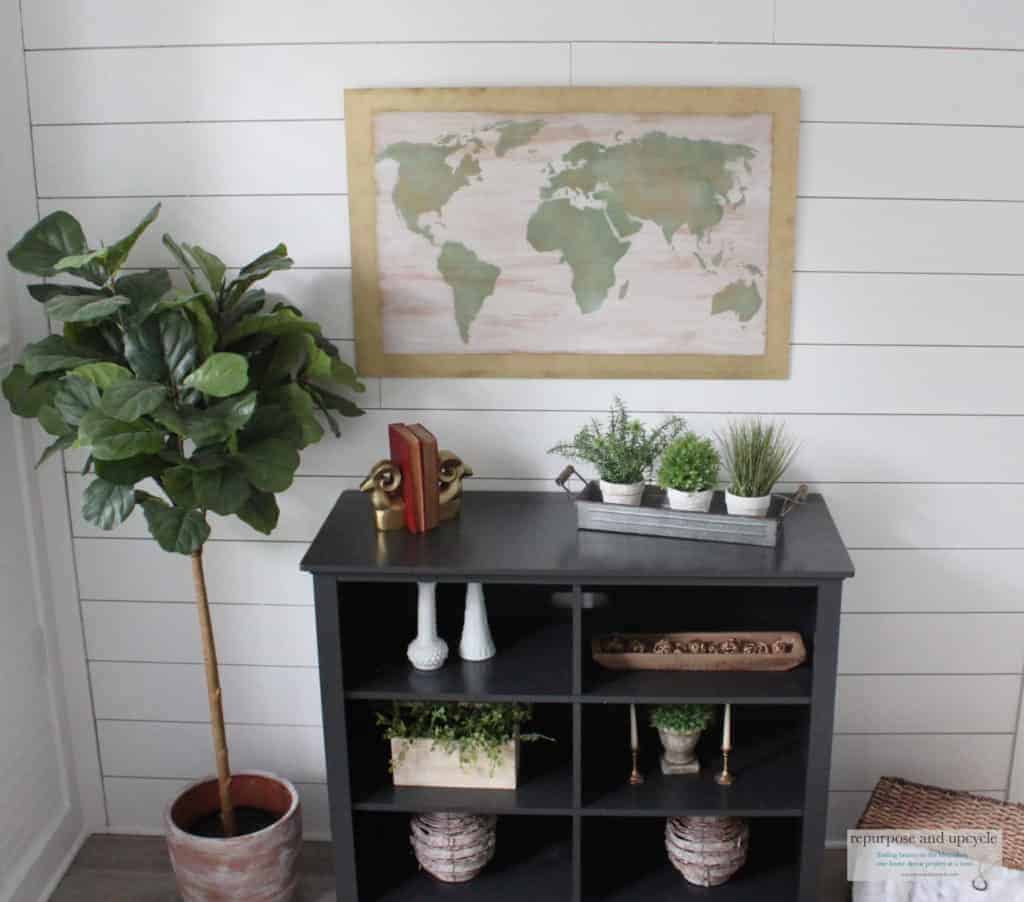
I’m going to be honest, I’m not 100% pleased with it. But for now I will leave it alone until I’m inspired to re create my world map art.
What do you think? Should I do something different to it? Time will tell….
Lindsey**


