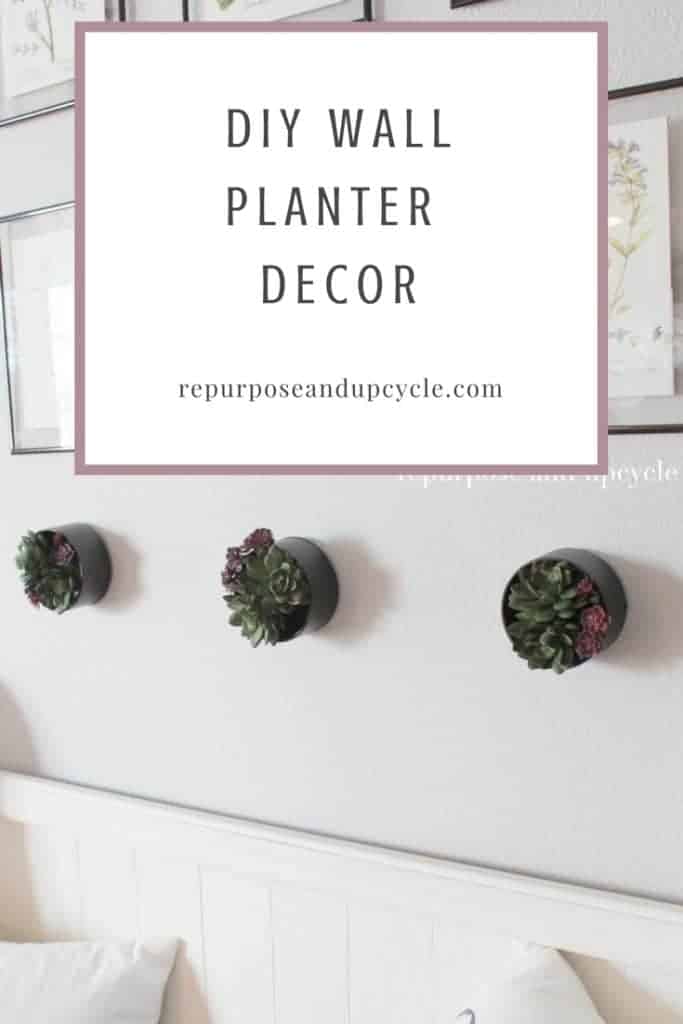
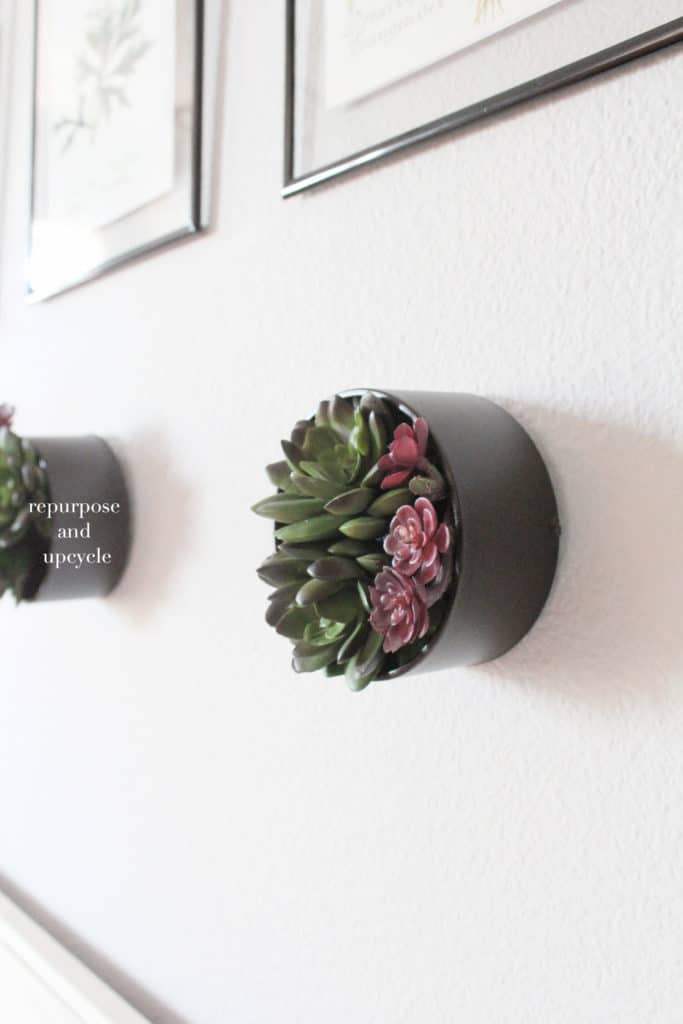
This is a step by step post on how I created DIY wall planters for my home decor. I created these from a piece of plumbing material and faux succulents.
This home decor project started like most of my other projects, with a bare wall and a desire to DIY. The bare wall I’m referring to is a spot right above my thrifted bench in the entryway. I created six DIY botanical prints and after I hung them up, I noticed that I had a small spot on the wall that seemed “bare.” I hate when that happens. Then I got the grand idea that I would create my own DIY wall planters for indoor decor.
You’ll never guess what inspired this craft project. Well, if you know me, you won’t be surprised.
I know I’ve mentioned it before, but a lot of my DIY craft inspiration comes from walking the isles at Lowes. Does this sound crazy? It might be but it’s the truth. Let me show you the inspiration I found from my walk down the plumbing isle.
I’ve created a handful of projects from the plumbing isle. Mostly pipe shelves and an outdoor TV cover.
Disclosure; this post contains affiliate links. As an Amazon Associate I earn from qualifying purchases. This disclosure statement refers to the rest of the Amazon links in this post. See more on my disclosure page.
Below is the piece of hardware I found that inspired this little project.
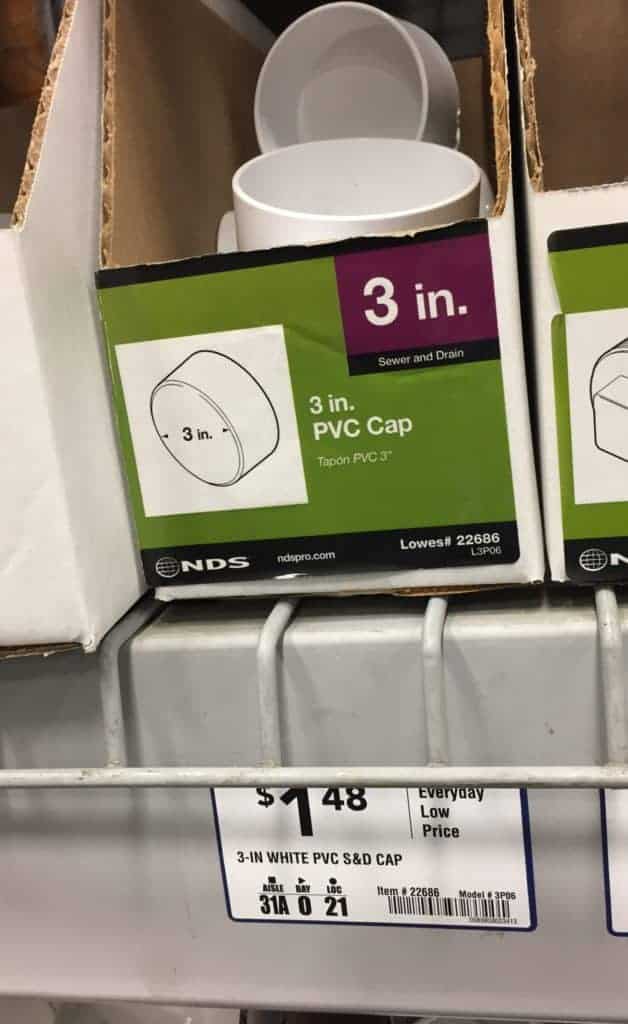
Let me share another picture and see if you can figure out where I’m going with these DIY wall planters.
Wall planters are so efficient because they don’t take up space on the floor or the countertop. And who doesn’t love a nice piece of decor to look at on your wall?
Any ideas yet?
You’ve probably figured out that I’m going to use the plumbing pieces as the base for the wall planters. They were the perfect size to fit under the pictures in my entryway. Let me share my entryway with the “bare spot.”
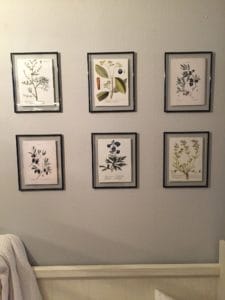
Do you see the bare spot I’m talking about under my free botanical printables?
Here is where my lovely plumbing pieces will come in handy with just a little DIY wall planter inspiration.
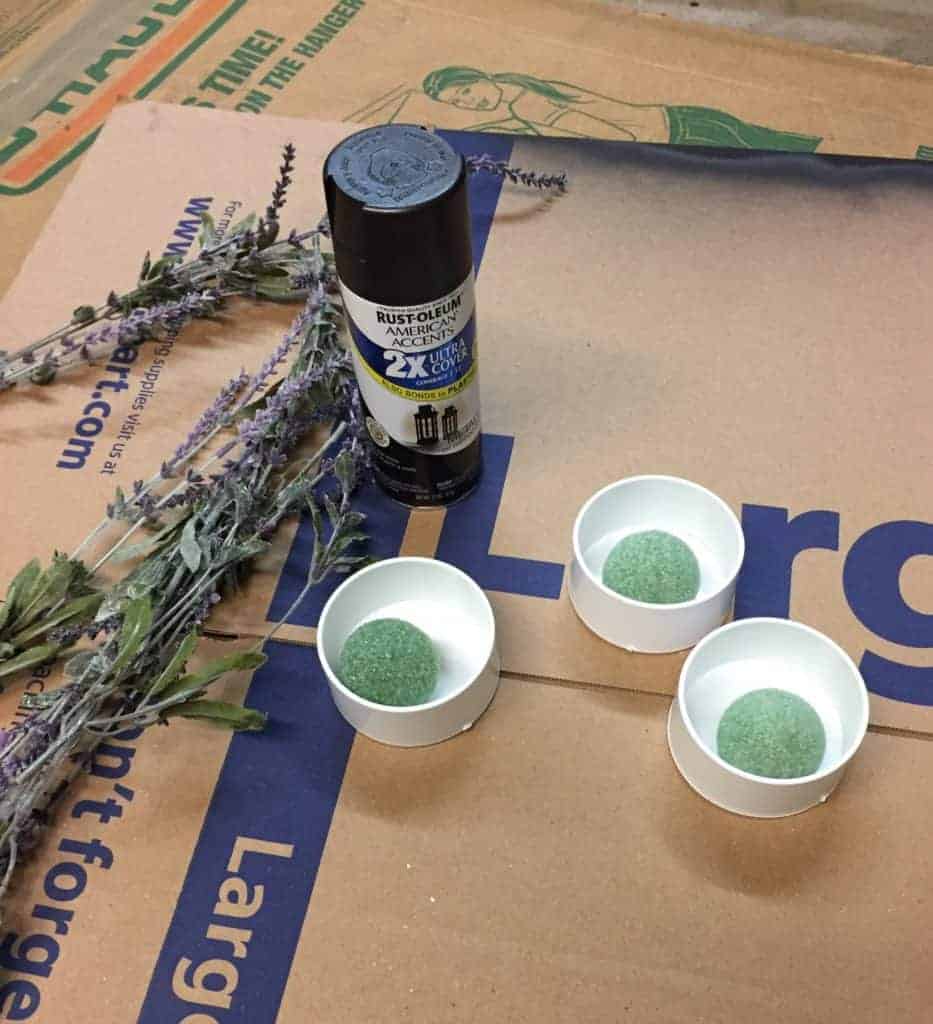
Supplies:
- spray paint of your choice. I chose to use oil rubbed bronze because a lot of the accent colors in my space are dark.
- craft foam balls small enough to fit in the plumbing pieces
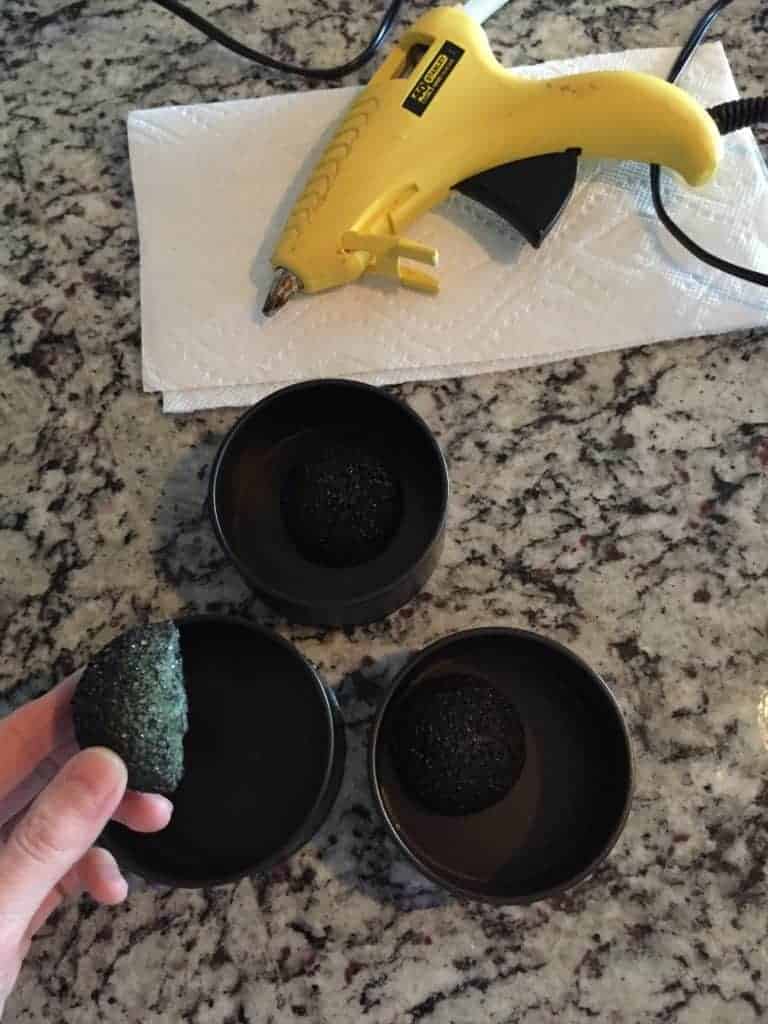
- hot glue
- faux foliage or flowers of your choice
- 3 inch PVC cap
- scissors
How to make DIY wall planters
- Cut the foam circles in half
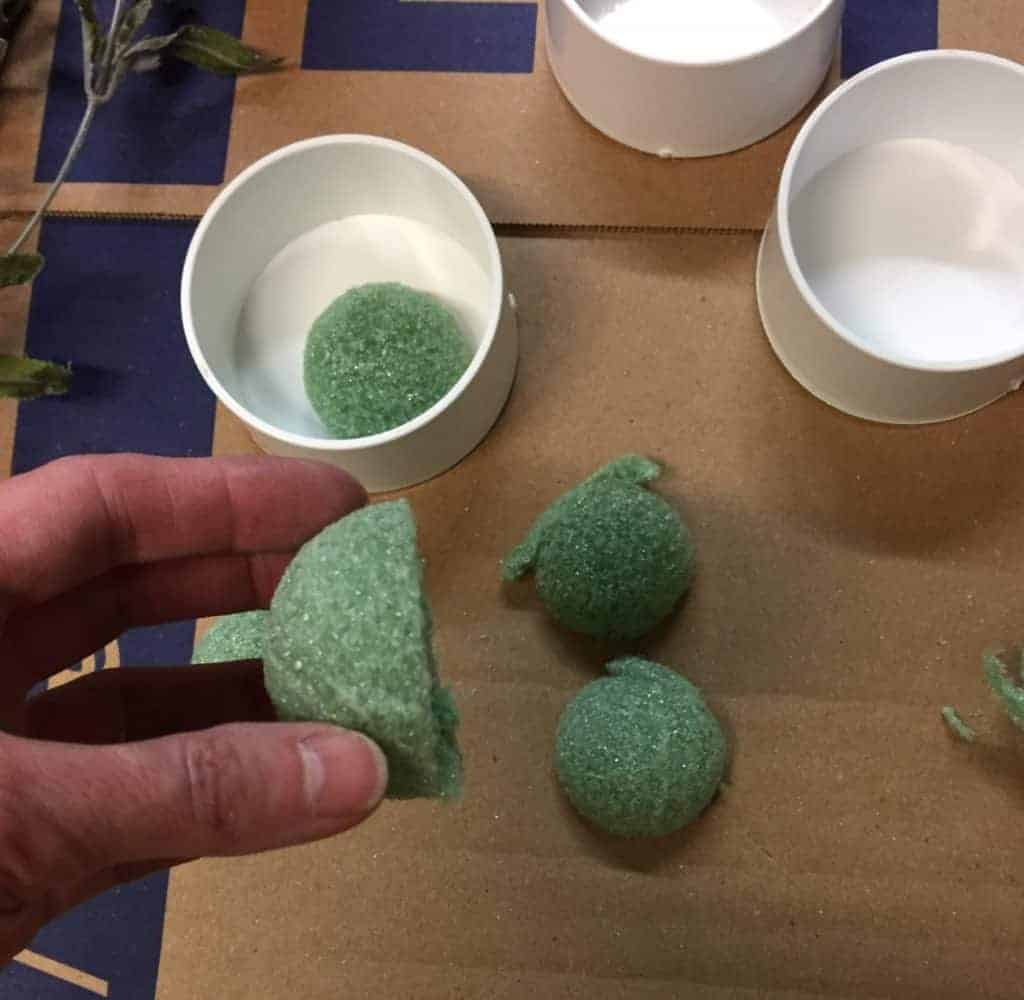
- Spray paint both the foam and the plumbing pieces
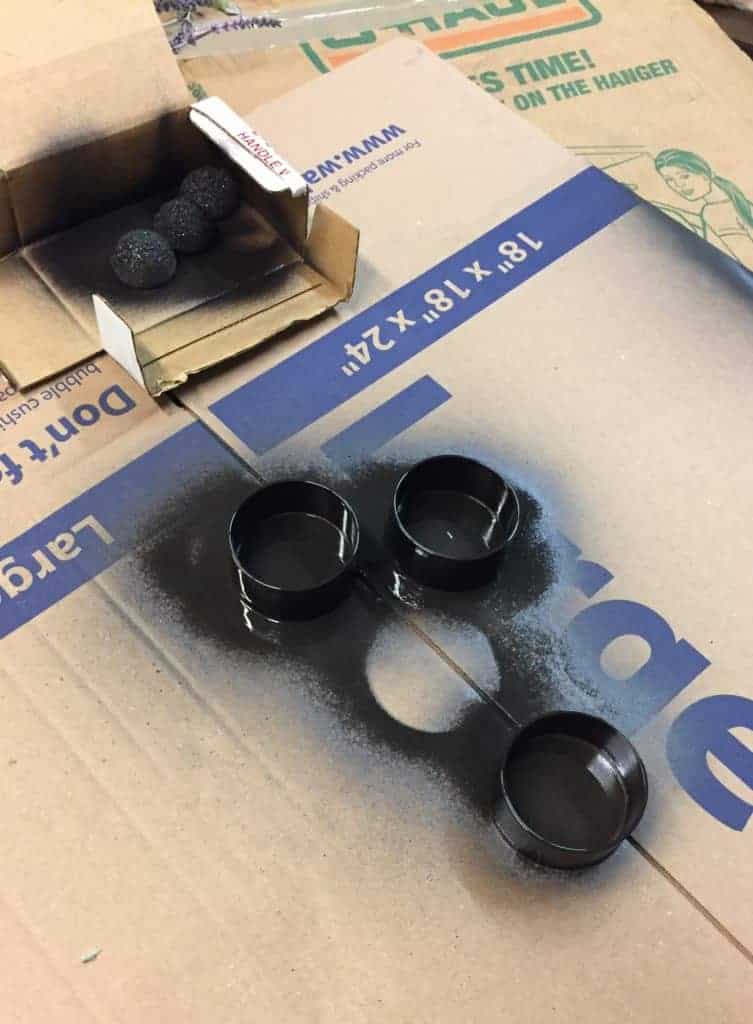
- Once the spray paint is dry, hot glue the foam into the center of the plumbing piece
- Next, flip the plumbing piece over and hot glued a picture hanger on the back
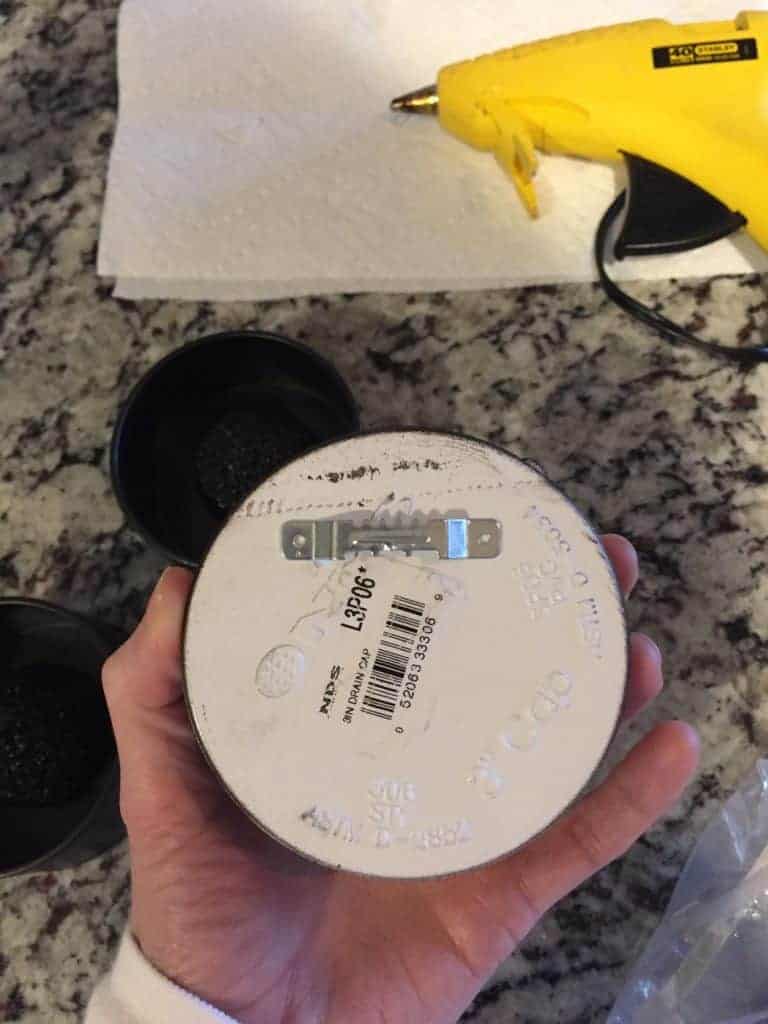
- Now add some faux flowers to the DIY planter

This was my first attempt at adding foliage to my indoor wall planters.
Needless to say I was not happy with it at all.
It’s so disheartening when I think I have an awesome idea in my head, but then after I create that “awesome idea,” it just didn’t turn out the way I envisioned it. Can anyone relate?
Back to the drawing board.
I took all the greenery out of the foam and decided I would come up with plan B.
What about succulents?
I love succulents but I’ve never used them in my home decor. I think I had my plan B.
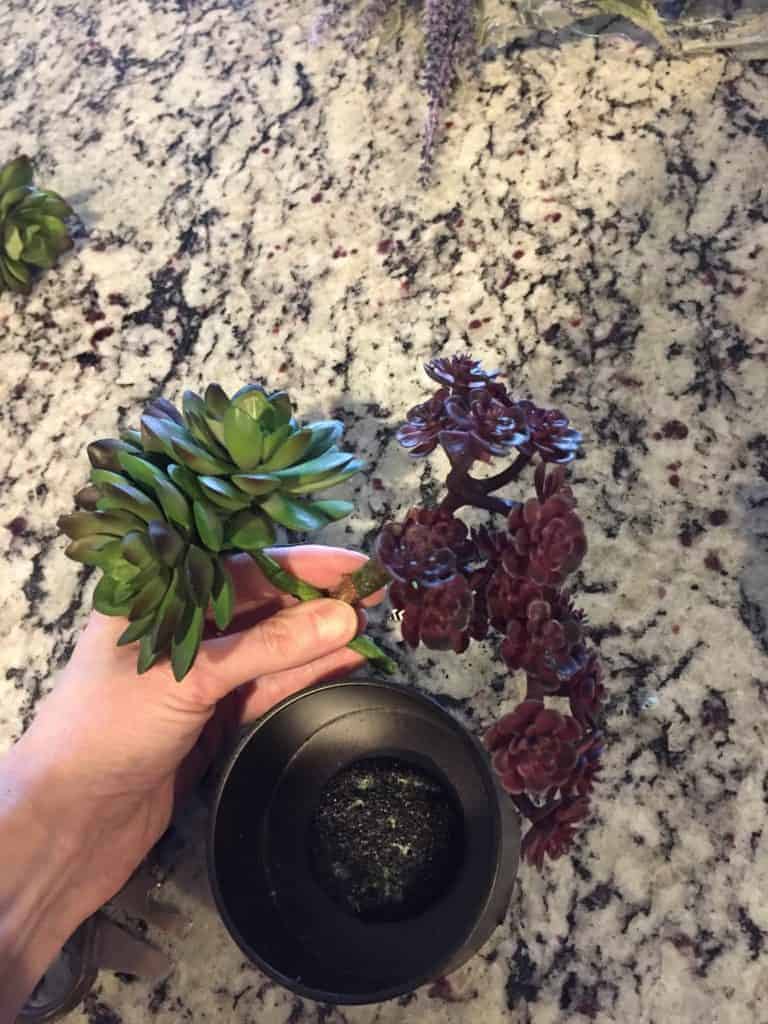
These succulents were the perfect size to fit in the base of my DIY indoor wall planter. Not to mention that the colors blended perfectly with the botanical prints.
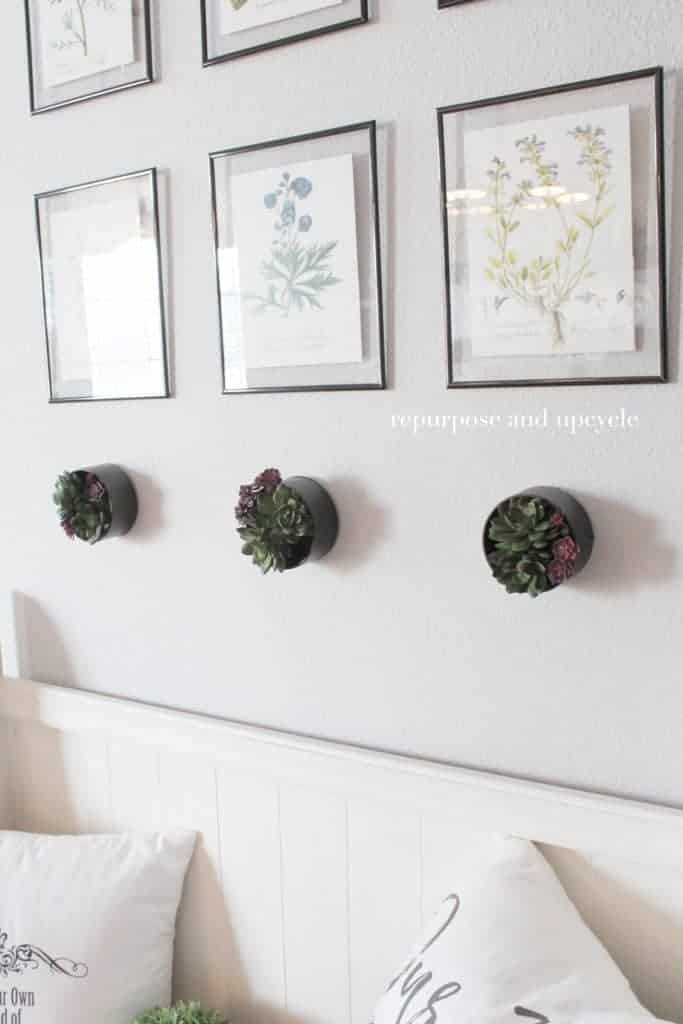
I think plan B fits better with this space, what do you think?
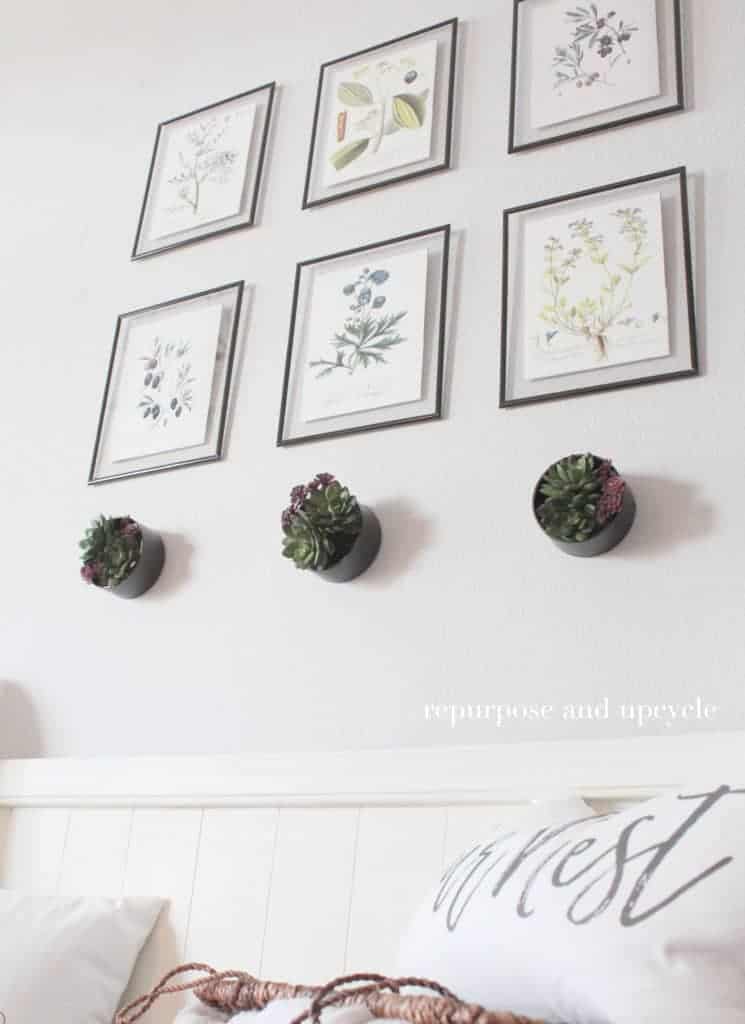
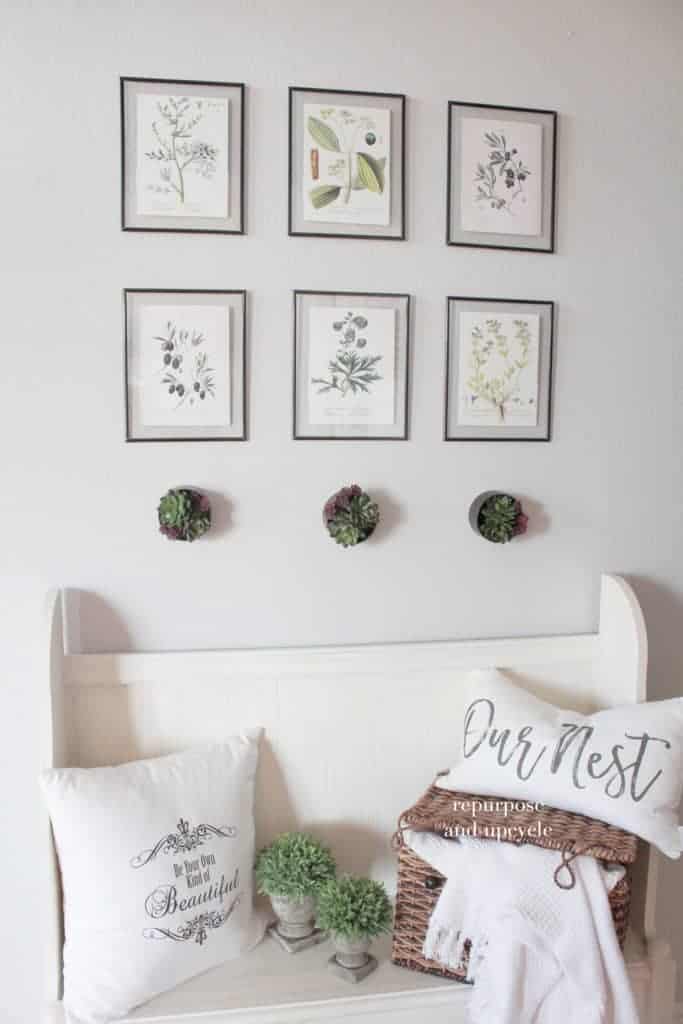
A few plumbing materials and a few faux succulents and now I have my own indoor planter decor!
I think I’m finally pleased with this space, enough for today at least. I’m sure I’ll probably change things up tomorrow. Oh the life of a DIY decor lover…
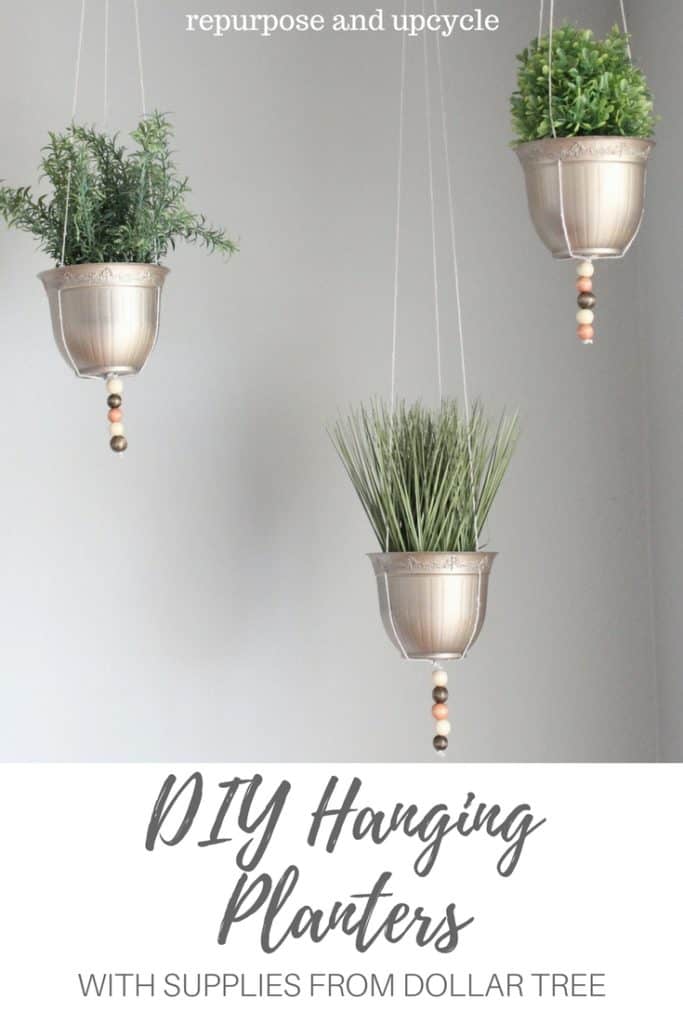
Speaking of changing things up, I created a few more fun planters- but this time with hanging planters and dollar store supplies! You might be interested in this project too.
Thanks for sharing in the fun of my random DIY’s and home decor hacks.
If you want to see more of my Modern Farmhouse Entryway with computer hutch turned bench, I’ve got a full post with sources.
Lindsey**
Did y’all like this post? I would love for you to Pin the image below to Pinterest.
