Everyone has a story. Everyone’s story starts somewhere. My love for anything DIY started here when I made this Cheap DIY headboard for our master bedroom after I felt like the bed frame needed something.
It all started on Pinterest (don’t most projects?) where I kept seeing tons of easy DIY headboard ideas. My search kept bringing me to these wood board headboards. I figured, how simple is that? A few simple wood boards stacked and nailed to the wall really created a focal point for the room and looked to be a great option and easy way to spruce up a bedroom.
That’s when I realized that creating a headboard for your bed doesn’t have to break the bank or be super complicated. This is also a fantastic guest bedroom idea if you don’t want to spend a lot of money on a fancy bed frame or store bought headboard.
Enough about my beginnings, here we go with a step by step tutorial on this super simple cheap DIY headboard project. I highly recommend this project especially for a DIY beginner. Is there such a thing? Lol. Off to the hardware store…
Materials and Tools Required
Creating a DIY headboard can be both cost-effective and satisfying. The key is selecting affordable materials that meet your aesthetic and functional needs, and gathering the right tools to ensure a smooth building process.
Choosing Budget-Friendly Materials
I chose to purchase six(6) 1″ by 6′ by 8′ standard pine boards for this project. They cost over $10 per board. If you are looking for a cheaper option, consider ripping a sheet of plywood instead of buying individual boards.
Another cheap option is to consider buying a shiplap paneling sheet and cut it to size. This is a great option if you are looking to paint your headboard white since most of the shiplap paneling sheets already come pre primed (white). If you are looking for a more rustic look and want to stain the boards yourself, I would suggest sticking with individual boards.
First thing, let’s grab some supplies.
Basic Tools for a Simple Headboard Project
The toolkit for a headboard project typically includes the following:
- Measuring Tape: Essential for accurate sizing of materials.
- Saw: For cutting wood to the desired dimensions. A handsaw or electric saw will suffice, based on the user’s skill level and budget. A miter saw is the best option. Having your boards cut to size at the hardware store is another good option.
- Hammer and Nails or a Nail Gun: For assembling any framing or attaching the headboard to the wall.
- Screwdriver and Screws: For securing parts together or mounting brackets for the headboard.
- Level: To ensure the headboard is perfectly horizontal during installation.
- Sandpaper or an Electric Sander: For smoothing any rough edges on the wood before painting or upholstering.
- Stain: for adding color to the boards. Check out colorful stain products here or light wood stain products here.
Cheap DIY headboard
Let me show my old headboard project and how I easily created a lovely feature wall with a few (six) pine boards.
Staining or Painting the Boards
Before you assemble your own headboard, make sure to either paint or stain the wood. You headboard can be tons of different colors if you want! The sky is the limit.
A few tips; for painting, one should select a semi-gloss or satin finish paint that allows for easy cleaning. A prime coat is recommended before applying two layers of the chosen paint color.
When it comes to staining, one should first apply a wood conditioner, followed by a stain of choice, ensuring even application for a consistent finish. Allow the stain to penetrate deeply into the wood before wiping off any excess. It’s easier to complete this before they are installed.
I chose to use a Minwax stain in the color dark walnut. If you are using an oil based product, make sure to apply the product in a well ventilated area as the fumes are fierce!
Assembling the Headboard Frame
If you are mounting the boards directly to the wall, you don’t necessarily need to assemble a “frame” and you can skip this step.
Once the materials are cut to size (I had Home Depot cut my boards to size):
- Lay the large board flat as the headboard’s main panel.
- Attach vertical support beams at both ends using wood screws. Secure them from the back to hide the screws.
- For shelves or decorative elements, screw these pieces into the front, ensuring they are level and evenly spaced.
- If adding posts on the sides for a freestanding headboard, screw them in place and make sure they are perpendicular to the floor.
Wall-Mounted Headboard Installation
I chose to mount the boards directly to the wall and forgo attaching them together beforehand.
To install the wall-mounted boards:
- Measure the distance between the hanging points on the headboard.
- Transfer these measurements onto the wall, ensuring they are level.
- Install wall anchors or find the studs in the wall to attach the mounting brackets.
- Hang the headboard onto the mounted brackets, checking for stability.
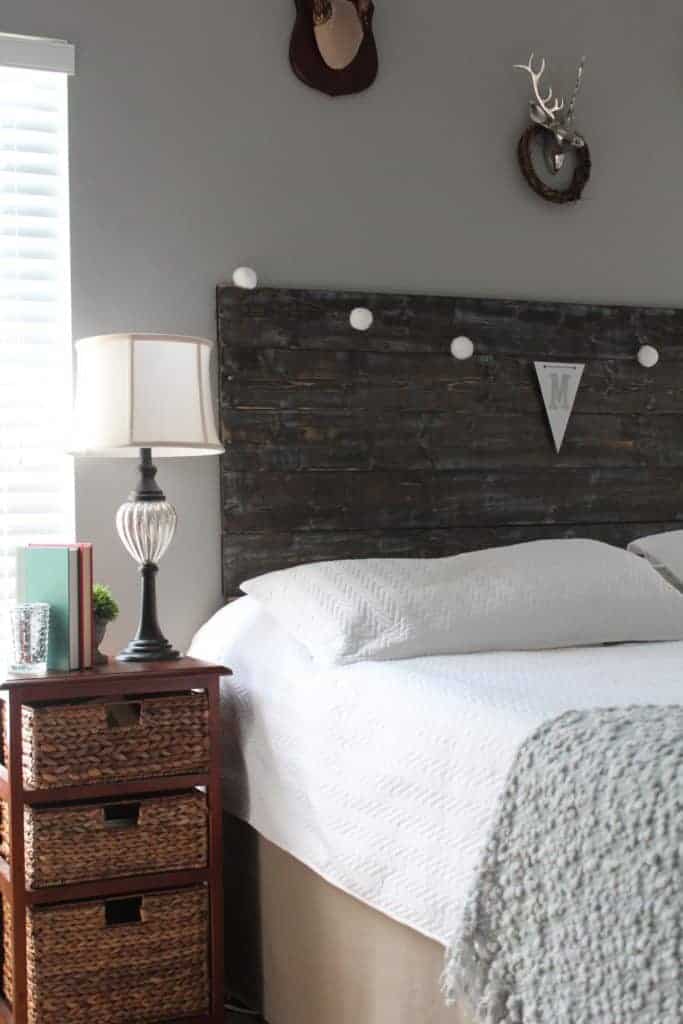
And thats it folks! This cheap DIY HEADBOARD PROJECT was super easy. It was a great way to add a focal point to the wall.
Below you can see pictures of the room with the headboard and our rustic bedroom decor!
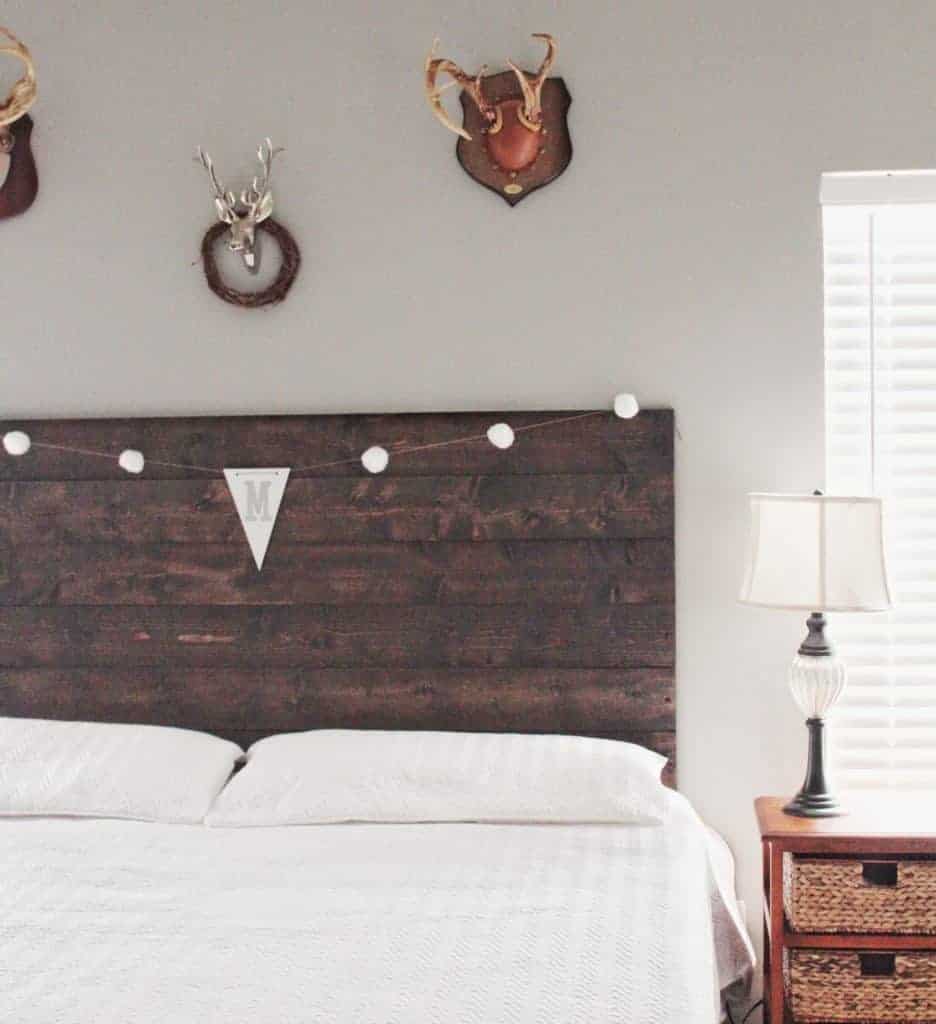
So now you know my DIY beginnings. Where did your DIY story start?
Lindsey**


