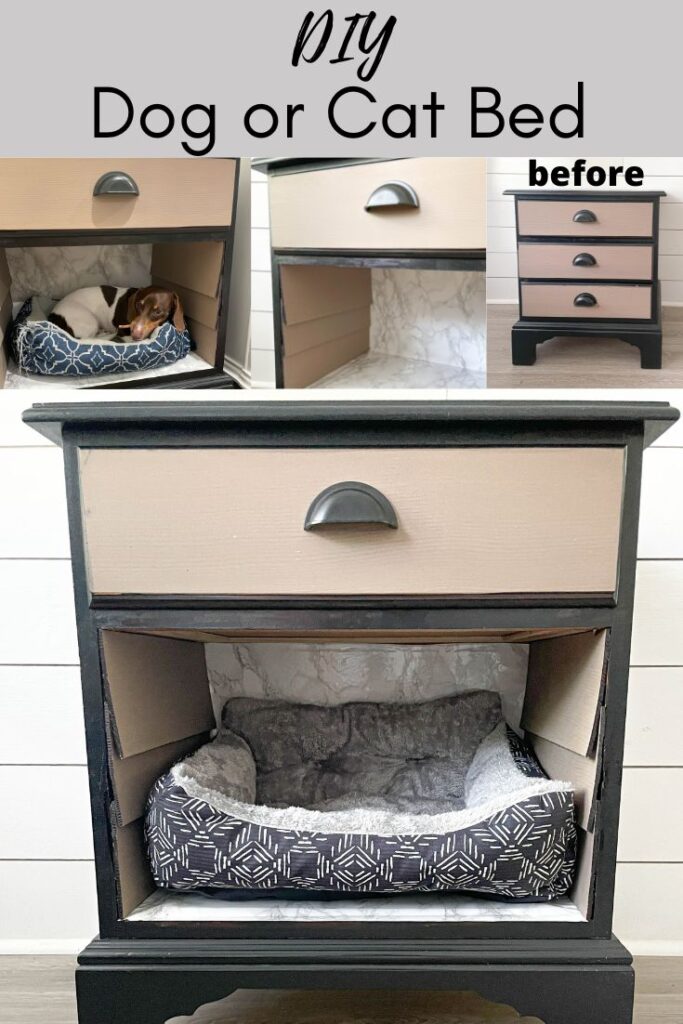
See how we transformed a side table into a DIY dog or cat bed in under one hour. If you have an old table lying around, don’t get rid of it- repurpose it!
Do you have an extra side table laying around? If you’re like me you probably have some unwanted furniture stashed in your garage somewhere. Or maybe not.:)
Either way, this is a fun little DIY that I completed in under one hour and you can too!
Side note; even if you don’t have animals (or one small enough to fit), you can always remove the drawers and replace them with a cute basket!
Let’s go back to where this side table began. By the way, this isn’t it’s first makeover.
I redid my entire bedroom set to make it look more like something from the printmakers edition of Restoration Hardware furniture line.

This is one of the larger dresser’s I redid. Below is a picture of the side table I’ll be using for today’s project.

Since the side table didn’t look bad, I didn’t want to give it a full makeover but rather just replace the inside with a DIY dog bed.
Disclosure; this post contains affiliate links. As an Amazon Associate I earn from qualifying purchases. This disclosure statement refers to the rest of the Amazon links in this post.
DIY Dog or Cat Bed out of a Side Table
First remove the two bottom drawers. You can choose to remove all of them, but I wanted to keep one for dog supplies.

Next remove the drawer slides and or drawer bases. Since this is an older all wood dresser set I had to use a multi tool with a multi use blade to cut through the wood.

Once I removed all the “insides” of the table, I was ready to make it look pretty.
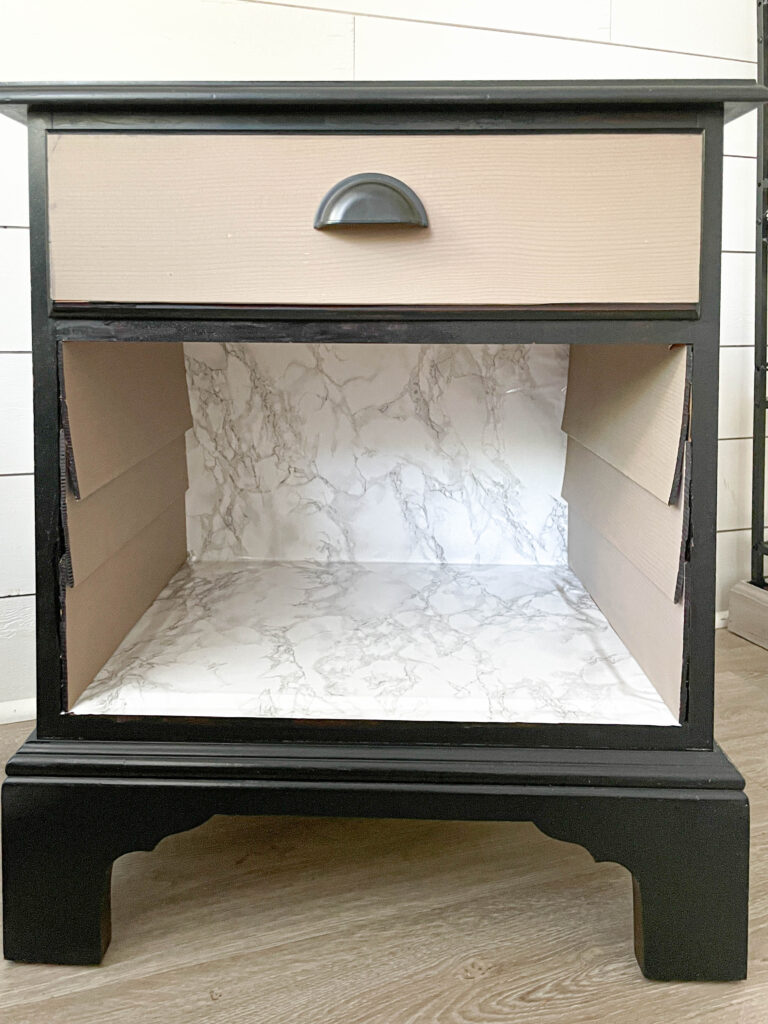
I used marble contact paper to attach to the inside base and back of the table. I wanted something lighter to contrast the dark paint and neutral wood color.
I added it to the base first and then to the back.

Once the marble contact paper was added, I pulled out some left over peel and stick wood planks from Stikwood in the color Mystic Oak (I don’t think they make this color anymore).
I used a miter saw to cut the planks to the length of the drawer sides. I decided to stack the planks on top of each other sort of like you would see on the outside of a home.

The back of the peel and stick planks have three peel and stick pieces to remove.

I also used a Sharpie to color the edges of the planks so they blended in with the table.

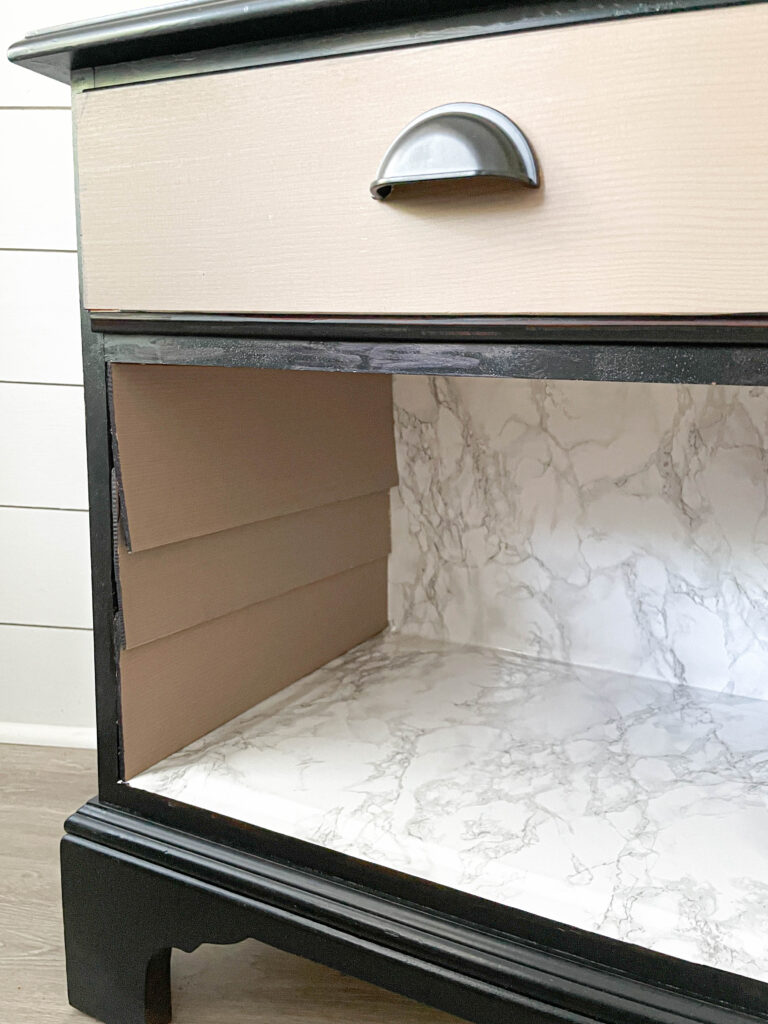
Looking good!
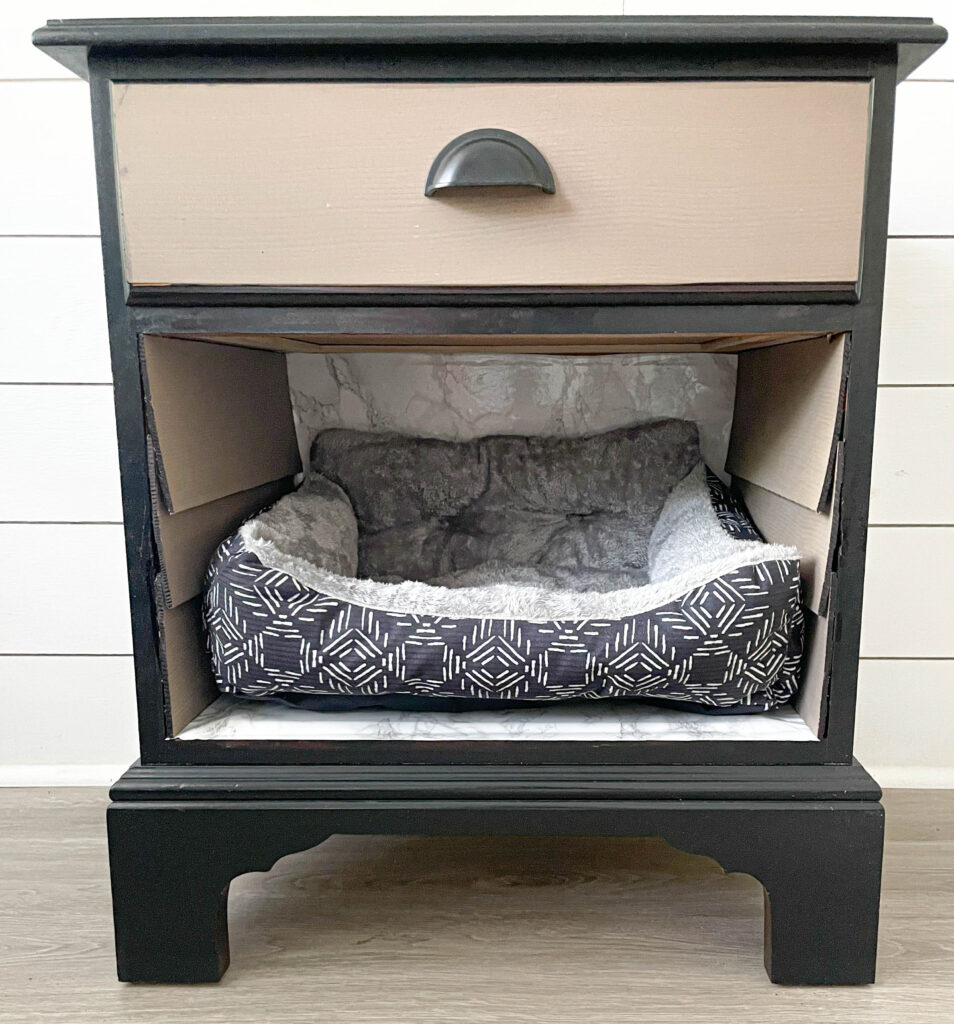
After the planks were installed, all we needed to add was the small animal bed. By the way, this will fit my small dog and or a cat!
The dog bed was a standard small sized dog or cat bed from Walmart.


He loves it!
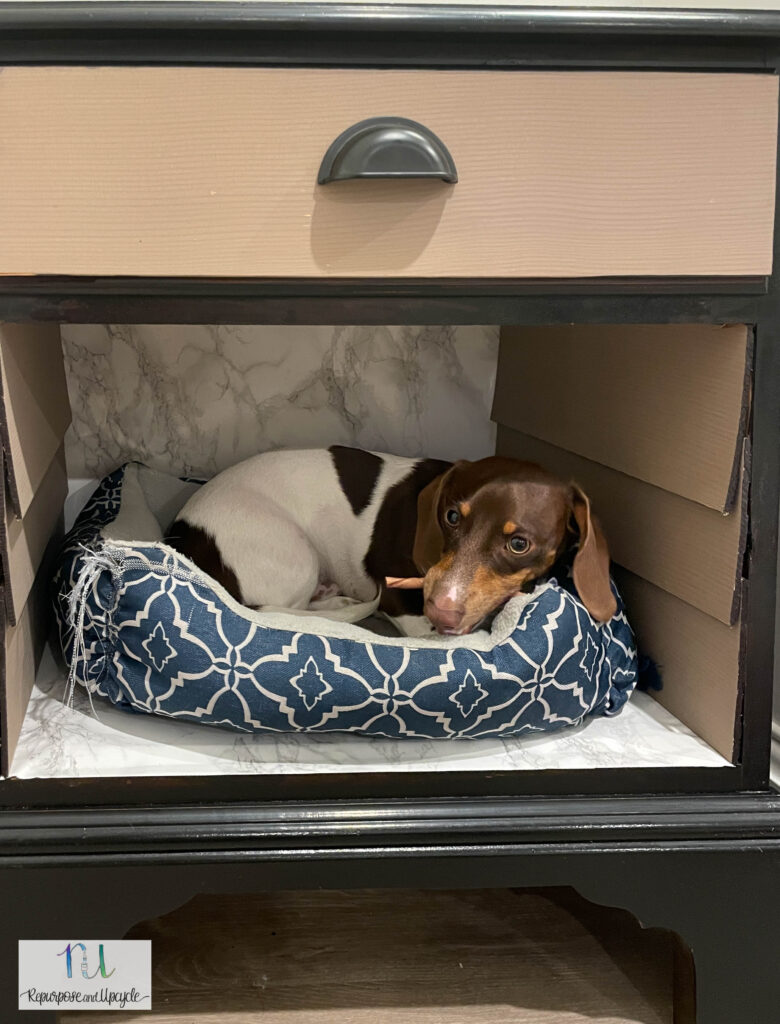
Beau loves to feel enclosed in either a blanket or small space, so this is perfect for him.

One of these days I’ll get a picture of my cat in it!
Don’t forget to check out my video of the full process.
Thanks for stopping by friends!


