Learn a simple tutorial about a desk makeover with contact paper and how to apply faux marble self adhesive contact paper to a countertop.
We all know that Marble and solid stone countertops are highly sought after right? Even a desk looks much more expensive with a little marble. Let me show you how to achieve the marble (or solid stone) look without spending a fortune by applying vinyl stick wallpaper.

I’m no stranger to creating my own faux marble countertop with adhesive vinyl. You won’t believe how changing the color and appearance of this vanity changed the look of the bathroom. I decided to use a similar product on an old craft table that had a boring laminate surface. I figured I could transform a brown table top to a beautiful faux marble top with vinyl contact paper.
By the way, looking for extra tips on how to make contact paper stick to wood? I’ve got you covered in another post.
If you’re looking to refresh your space without breaking the bank, desk makeovers using contact paper are excellent DIY projects. Whether you’re sprucing up your home office or giving your dorm room a new look, this simple surface transformation can breathe life into any piece of furniture. Let me guide you through a step-by-step tutorial on how to use marble contact paper to create a chic, modern aesthetic that mimics the look of high-end materials without the hefty price tag. You won’t believe what the top of my desk looks like now.
Disclosure; this post contains affiliate links. As an Amazon Associate I earn from qualifying purchases. This disclosure statement refers to the rest of the amazon links and other affiliate links in this post.
Where to buy contact paper for a desk or countertop
I’ve had the best luck with purchasing high quality contact paper online, but big box stores have some good products too. Here are a few examples:
Materials
Below are the materials needed for the DIY desk makeover or table top makeover
- razor blade or scissors
- desk or table top
- contact paper
- straight edge
The fun part (a little tricky too) of this project is in the application! Start by carefully measuring the top of your desk and cutting the marble contact paper to size. Make sure to cut at least 2-3 inches larger than the surface for excess just in case.

The contact paper acts as a giant sticker that you will be placing on top of the surface. When you peel off the backing, take your time to avoid air bubbles—these pesky imperfections can ruin the clean lines of your new surface. If you do encounter any bubbles, a credit card can be your best friend; simply use it to smooth out the air as you press the contact paper down. Work the credit card from the center of the surface outwards to move the air bubbles out.

I always start at one end of the table and work my way to the other end. Don’t forget to trim any excess contact paper from the edges for a polished finish.
Once you’ve transformed the top of your desk, consider using leftover contact paper to revamp your end tables or, like I said earlier, your bathroom countertop. This is a great way to create a cohesive look throughout your space. With a little patience and creativity, you can turn any ordinary piece of furniture into a brand new desk or accent table that reflects your personal style. So grab your supplies, and let’s get started on your next home decor project!
Below is a simple tutorial on how to apply the faux marble self adhesive contact paper to this table top.
Let me show you what this table looked like before I applied the faux marble.

Make sure to check out the video for the desk makeover with contact paper. This is the best way to visualize how I apply the paper with minimal bubbles.
How to Apply Faux Marble Self Adhesive Vinyl Contact Paper to a Countertop

In this simple tutorial you will learn how to apply faux marble self adhesive contact paper to a countertop to make it look like real marble!
Materials
- Scissors
- Plastic putty knife, credit card or tool used to smooth adhesive paper
- Self adhesive marble contact paper
- X-acto knife
Tools
- Straight edge or Ruler
Instructions
- Peel back one side of the self adhesive contact paper (only peel back a few inches at a time)
- Starting at one side of the table or countertop, apply the paper evenly with plenty of overhang so that it's hanging over the sides
- Use the putty knife or smoothing tool and apply pressure in the middle of the paper working your way out to the edges smoothing any bubbles or imperfections out of the paper
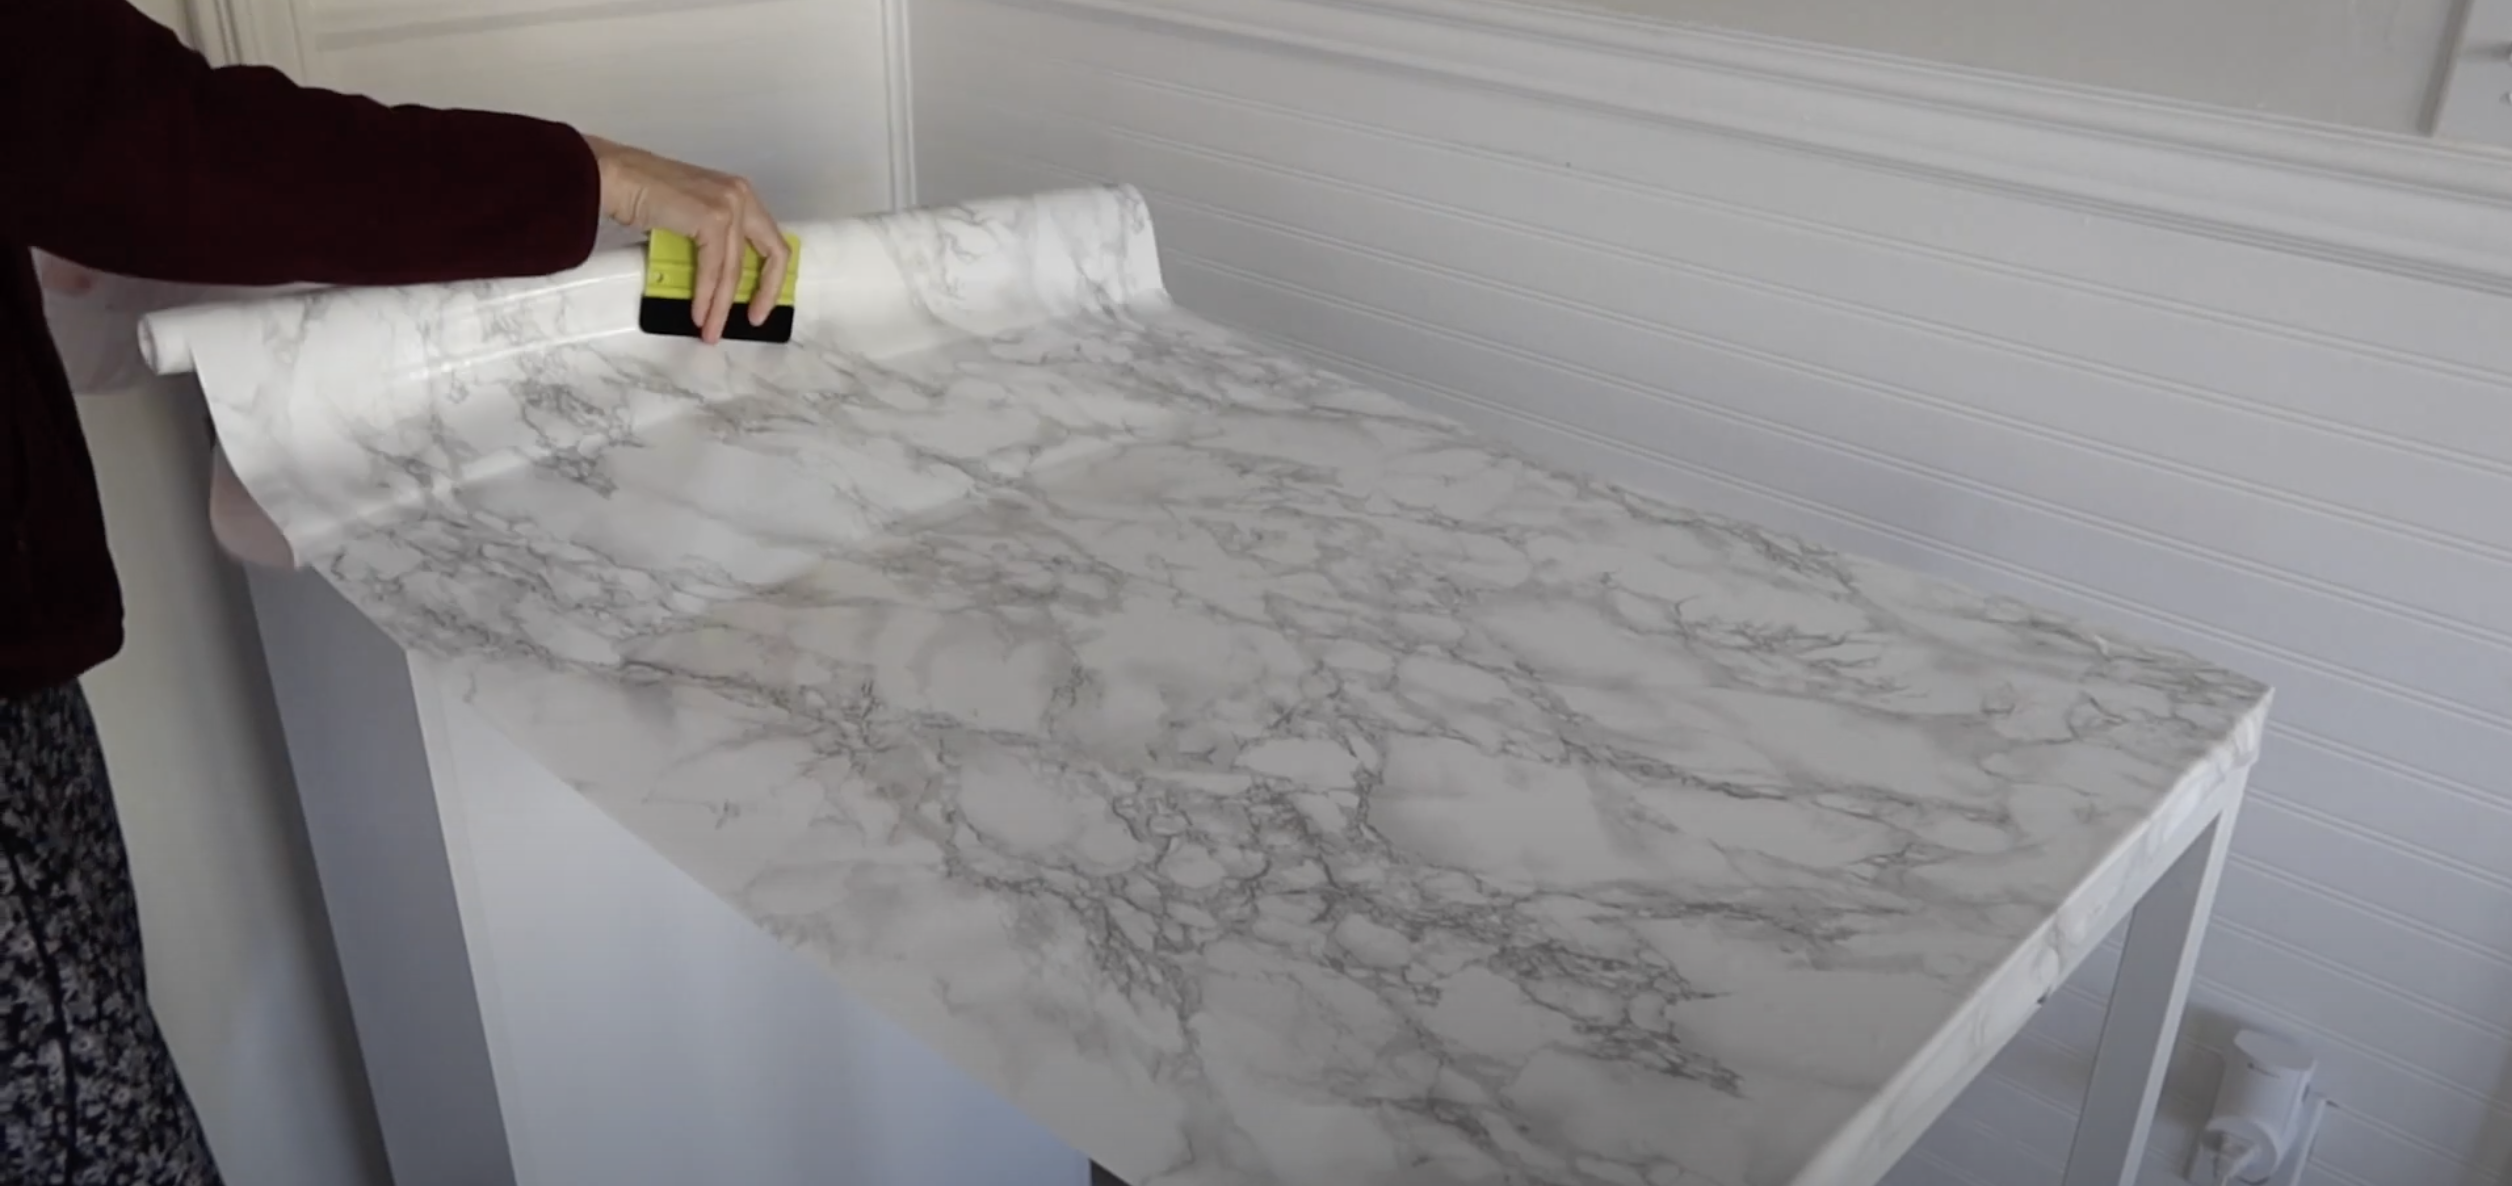
- Continue to peel back the self adhesive paper backing as you smooth with the putty knife or smoothing tool
- Work slowly by removing the backing and smoothing the contact paper from one side of the table or countertop to the other
- Once the surface is fully covered in contact paper, use your scissors to remove the excess

- Next cut the contact paper at a 45 degree angle at each corner of the surface
- Roll the paper down on each side by starting in the middle and working your way to the edges with the smoothing tool
- On each edge, fold the contact paper over like you would wrap a present. The corners can also be cut so there is no hangover.

- You can choose to roll the excess contact paper under the existing surface (if it's a table top) or use scissors or an x-acto knife to score the excess
- Lastly, smooth over the surface one more time with your smoothing tool to make sure the contact paper has properly adhered to the surface and there are no air bubbles

Notes
This can be a one person job, but it's easier if you have a helping hand.
I hope that was easy and straightforward. I love how this table turned out.

What do you think? Think of the surfaces you can transform with this! The possibilities are endless friends.
Lindsey**


