I don’t consider myself a painting expert, but I have painted (and repainted) countless kitchen cabinets without sanding and I’ve learned a few things along the way. There are so many different paints for cabinets and so many paint products that as a novice painter, it can still be overwhelming (been there). That being said, you don’t need a professional painter, just a few tips and ideas along with the best paint for cabinets! Either way, where do you even start if you are planning on painting cabinets?

The key to a successful no-sand cabinet makeover is choosing the right paint. A high-quality paint that adheres well to the surface and provides a durable finish and smooth surface is essential for a long-lasting result. Let me show you some of the best paint options for cabinets that make it possible to transform a space without the need for sanding. I hope to shed some light on this subject and share my experience with it.
In a related post, I wrote about the Best Paint for Furniture without Sanding. While some of these products will overlap, painting furniture is a little different than painting cabinets because cabinets normally take a lot more abuse and daily wear.
Preparation Steps for Painting Without Sanding
A good paint product will only perform well when it’s been applied to a well prepared surface. Because of this, I felt the need to go over preparation steps with you.
Cleaning the Cabinets
First step, cleaning the surface of the cabinet well. This is an essential part in preparing cabinets for painting without sanding. Kitchen cabinets often accumulate grease and grime over time, and it’s so important to get rid of these before applying paint. Use a mixture of warm water and a mild detergent, like dish soap, to wipe down the surfaces thoroughly. For stubborn stains, try using a soft scrub brush or an old toothbrush with the cleaning solution. Always make sure cabinets are completely dry before moving on to the next step.
Deglossing Surfaces
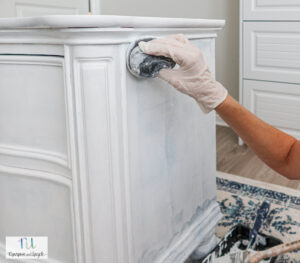
Cabinets typically have a glossy finish which makes it difficult for paint to adhere to. To fix this, use a deglosser or liquid sandpaper to dull the surface. Apply a generous amount of deglosser to a lint-free cloth and gently scrub the cabinets in a circular motion. This process will create a roughened surface for better paint adhesion without the mess of sanding. Don’t forget to wear gloves during this step, as deglossers can be quite potent.

Priming the Cabinets
Before applying paint, it’s important to use a high-quality primer for cabinets. This will create a strong base for the paint to adhere to and prevent the original color from showing through. Choose a primer specifically designed for painting without sanding, often labeled as “bonding primer” or “high-adhesion primer.”
Side note; there are a few paint products that don’t requires primer or have a built in primer. My best advice is to proceed with caution and evaluate the project before deciding to NOT use a primer product.
Follow the steps below while priming the cabinets:
- Remove cabinet doors, drawers, and hardware. Label them to make reinstallation easier.
- Use a brush or small roller to apply the primer evenly over the surface.
- Allow the primer to dry for the recommended time on the product label.
- Inspect for drips or uneven primer application, and smooth them out with a fine-grit sanding sponge, wiping away any dust afterward.
Application Techniques
When it comes to the best paint for cabinets without sanding, choosing the right application method is crucial. Here are two popular techniques for applying paint: brush and roller methods, and spray painting. Always remember, the best way to paint any furniture is with multiple thin coats and the right prep work.
Brush and Roller Methods
In the past, brushes and rollers have been the go-to tools for applying paint on cabinets. They’re affordable, widely available, and easy to use. Here’s a quick overview of how to properly apply paint with brushes and rollers:
- Start with a primer: For better adhesion, always apply a primer before painting. Choose the best primer, one specifically designed for the paint type you’re using.
- Use high-quality brushes: Invest in a quality paintbrush for smoother applications. An angled brush works best for cutting-in edges and corners.
- Choose the right roller: Opt for a foam roller to minimize texture and bubbles. A small roller with a ¼-inch nap is a great choice.
- Work in sections: Painting in smaller sections ensures good coverage and smooth finish. Try to keep a “wet edge” when working in sections.
- Allow paint to dry: Allow ample drying time between coats, as recommended by paint manufacturers. This ensures better adhesion and durability.
I recently wrote a post about how to paint laminate cabinets without a paint sprayer where I discussed the best brush and roller methods. Check this post out before you begin if you aren’t going to use a sprayer.

Spray Painting
Spray painting is gaining popularity due to its efficiency and professional finish. It’s particularly beneficial for surfaces with intricate details, as it can reach hard-to-reach areas. Here’s how to make the most of the spray painting method:
- Choose the right equipment: A high-volume, low-pressure (HVLP) paint sprayer is recommended for the best finish. It ensures a steady flow of paint and reduces overspray. I recently wrote a post about the three best paint sprayers.
- Clean and prep surfaces: Before painting, clean the surface and remove any hardware or fixtures. A clean surface ensures superior adhesion.
- Use a compatible paint: Select paint specifically formulated for spraying, as it typically has a suitable viscosity. If needed, thin the paint according to the sprayer’s guidelines.
- Practice your technique: Hold the spray gun around 10-12 inches away from the surface. Use smooth, consistent motion when spraying, overlapping each pass by about 50%.
- Allow proper drying time: Allow the paint to dry between coats, as recommended by the paint manufacturer.

Before I get into some of the top cabinet paints that I love, I have to give a disclaimer; the go-to cabinet paint isn’t an oil-based paint anymore. Ten years ago the general painting rule of thumb was that oil based paints were used for anything that took a lot of use and water based paints were not as durable.
Today, there are so many different brands and formulations of durable paint on the market that aren’t oil based. Some of these formulations include acrylic latex paint (yes acrylic paint can be durable if mixed with the right formulation), alkyd enamel paints, and other alkyd resin paints.
Three favorite Top Brands of No-Sand Paint
Benjamin Moore Advance
When it comes to paint that doesn’t require sanding, Benjamin Moore Advance definitely stands out as a popular choice. With its incredible adhesion, this paint makes cabinet refreshes a breeze. One of its notable features is its self-leveling property, which means it smooths out evenly and dries to a durable, glossy finish.
Some key benefits of Benjamin Moore Advance:
- Excellent adhesion – no need to sand beforehand
- Self-leveling – evens out brush strokes
- Durable finish – resists chipping and wear
I recently used this paint when I was testing for the best white paint for kitchen cabinets, and this paint came out the winner! It is a waterborne alkyd paint that is also resistant to yellowing, which is important for keeping the cabinets looking fresh and bright over time. I would definitely recommend this paint product.

I also used it to paint a few pieces of furniture like this mid century modern media console makeover.

General Finishes Milk Paint
For those seeking a more environmentally-friendly option, General Finishes Milk Paint is the perfect choice. This paint is not only eco-friendly but also provides an exceptionally smooth, matte finish without the need for sanding. It is available in a wide variety of colors, allowing for creative expression in your cabinet refresh.
Key aspects of General Finishes Milk Paint:
- Eco-friendly – low VOC content
- Smooth, matte or satin finish – no sanding needed
- Wide range of colors – ideal for a personalized touch
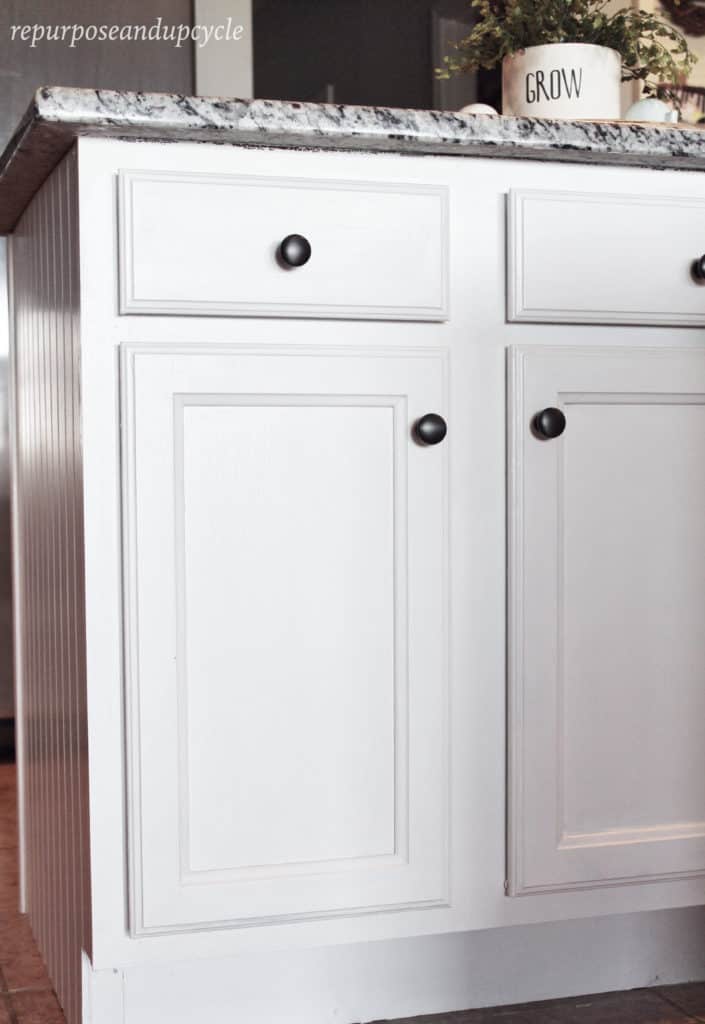
The first time I ever painted my own cabinets, I used a General Finishes Milk paint product. You can see all about how to paint laminate cabinets without sanding with this product. Spoiler alert, it worked like a charm and created a super durable and lovely finish on this island.
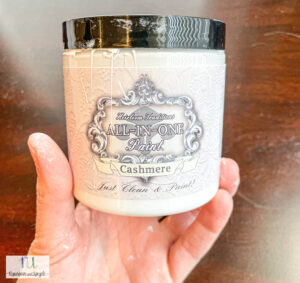
Heirloom Traditions All-in-One paint
Even though this is one of my favorite “All-in-One” paints, this is a great cabinet paint as well. For anyone looking for a durable paint solution that requires no sanding, no priming, or top coat, this is the paint for you. It comes in 44 different colors and I can personally say that it is worth it.
Key points for Heirloom Traditions Paint:
- All-in-One paint that doesn’t requires sanding, priming or top coat
- Available in 44 different colors
- Easy to use for beginner painters and tons of video tutorials on their website
I refinished a set of dark and dated side tables with Heirloom Traditions paint a few years ago. I’m still using these side tables and they have held up like a champ with no chipping or wear and tear!
I’m currently in the middle of painting my mom’s kitchen cabinets with this paint, so stay tuned to hear more about that!
Finishing Touches
Let’s talk about top coats and sealers.
Top Coats and Sealants
Adding a top coat or sealant is a crucial step in protecting your painted cabinets and making them more resilient against daily wear and tear. There are several options to choose from, each with their own advantages:
- Polyurethane: Available in both water-based and oil-based formulas, polyurethane provides a durable, protective finish. Water-based polyurethane is easier to clean up and has a lower odor, but oil-based typically offers better durability.
- Polycrylic: A water-based alternative to polyurethane, polycrylic is ideal for light-colored cabinets, as it doesn’t yellow over time.
- Wax: Soft paste waxes are easy to apply and provide an appealing matte finish. However, they might require occasional reapplication for maintaining the protective seal.
Common Mistakes to Avoid
When painting cabinets without sanding, it’s easy to make mistakes that could jeopardize the outcome. To achieve professional-looking results, make sure to avoid the following common errors.
1. Skipping the cleaning process: While it’s true that you don’t have to sand the cabinets, you can’t ignore the cleaning process. Make sure to thoroughly clean the cabinets with a degreaser and let them dry before applying the primer or paint. This will ensure better adhesion and prevent any debris from ruining the finish. Trust me, you don’t want to skip this step.
2. Using the wrong paint: Not all paints are suitable for cabinets, especially without sanding. Opt for a high-quality, self-leveling paint designed for this specific purpose.
3. Poor application technique: Properly applying the paint is crucial in achieving a smooth, even finish. When painting cabinets, it’s essential to:
- Use a high-quality brush or roller to apply the primer or paint.
- Apply paint in thin, even coats to prevent visible brush strokes or drips.
- Allow ample drying time between coats. Rushing this process can lead to a subpar finish.
4. Ignoring humidity and temperature: Both temperature and humidity can drastically affect your paint’s drying process. I live in the deep south and made the mistake of painting cabinets in my garage while the temperature was in the 90’s with high humidity. Let’s just say I rushed my paint job and the paint never really cured.
Frequently Asked Questions
What type of paint ensures the best durability for kitchen cabinets without sanding?
For cabinets that won’t be sanded before painting, my best advice is to consider using alkyd-based enamel paint or acrylic latex paint. These types of paint are known for their durability and long-lasting finish. They’re also resistant to chipping and staining, which is essential for high-traffic areas like the kitchen.
Can you achieve good results with cabinet painting kits without prior sanding?
Yes, you can achieve good results with cabinet painting kits even without sanding. Many painting kits are specifically designed for cabinet makeovers. These kits often include a deglosser or bonding primer, which helps the paint adhere to the surface better.
How do Benjamin Moore paints hold up on cabinets when not sanded first?
Benjamin Moore paints hold up quite well, even when applied to cabinets that haven’t been sanded first. Their Advance line of paint creates a self-levelling, durable finish specifically formulated for cabinets. It’s one of my favorite “big box” brand paints.
What alternatives are there to traditional sanding when prepping cabinets for painting?
Instead of traditional sanding, use a liquid deglosser or a bonding primer to prep cabinets for painting. Liquid deglossers work by dissolving the existing finish, creating a rough surface for the new paint to adhere to. Bonding primers act as a glue-like layer, helping the paint adhere to the cabinets without the need for sanding. I have used both and they work like a charm.
I hope I’ve answered all your painting cabinet questions AND given you some good options as far as products.
As always, email me if you have any more questions.
Lindsey**


