Am I the only one that’s noticed a big shift in popularity of anything wood on a wall? I’m guessing we can thank Joanna Gaines for that! I have to agree though, that adding any sort of wood to a wall adds warmth and architectural detail. I’ll also admit that I’m a huge fan of planked walls (shiplap, board and batten, you name it, I love it). That’s why I’ve decided to install wood planks to our dining room column and side walls.
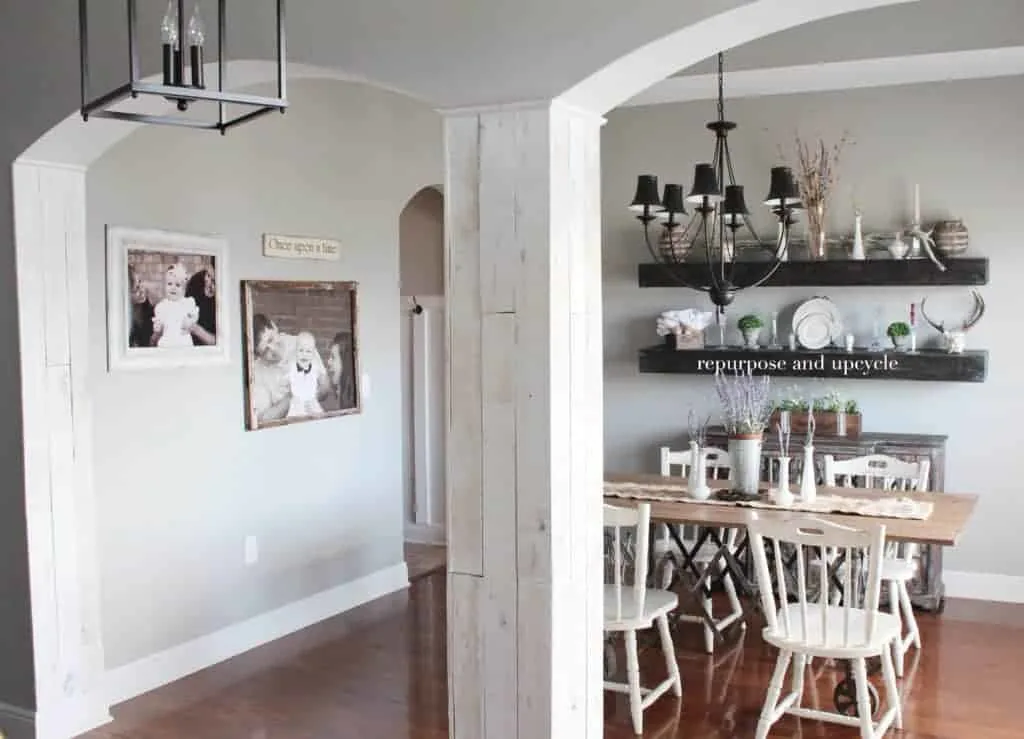
Over the past year I have become very familiar with adding different types of wood to my walls. I’ve created a faux shiplap wall with no power tools, an easy DIY board and batten with minimal materials, and now I’ve decided it’s time to install real wood to planks our column and side walls.
Disclosure; this post contains affiliate links. As an Amazon Associate I earn from qualifying purchases. This does not affect the price you pay. This disclosure statement refers to the rest of the Amazon links in this post.
Let’s start with the materials list:
- Finishing Nailer
- 16 gauge 1-1/2″ nails (made for the nail gun)
- construction adhesive
- caulk gun
- stud finder
- jig saw or any type of saw that will cut your boards
- spackle
- paint to cover up spackle from nail holes (or if you need to paint the planks)
- wood planks from Weaber Lumber
- moulding
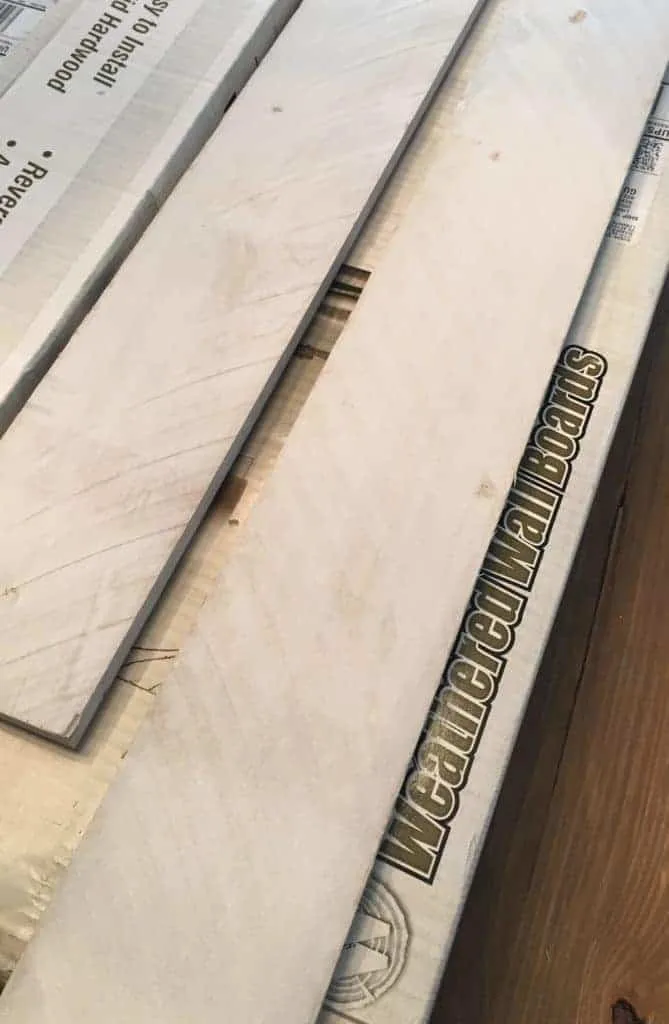
I love the “white washed” look of these wood planks because it matches the rest of my house since I’ve used mainly white and gray colors.
Installing wood planks to our dining room column
We have a column in our dining room that I’ve always wanted to do something with, but I didn’t know what. I decided to wrap the column in rustic white washed wood boards. To tie it all together, and make sure it didn’t look too random, I decided to plank the small walls on each side of the column. I’ll share some before pictures below.
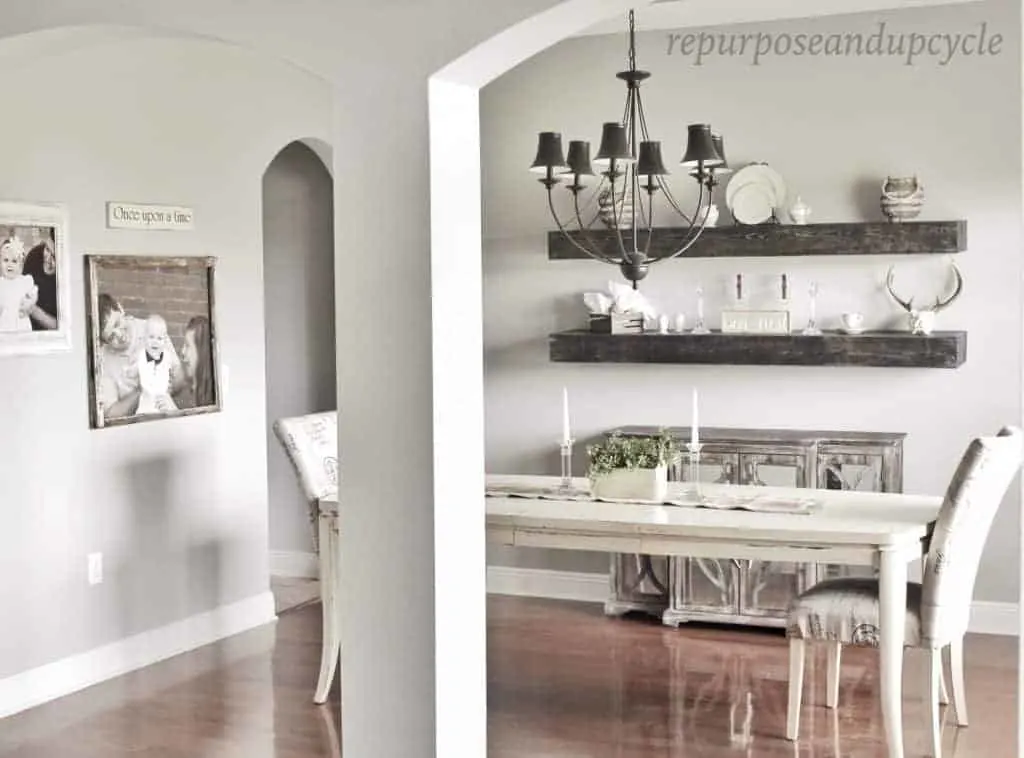
I decided to plank the column and side walls with the wood boards running in a vertical direction rather than horizontal direction. Not to be lazy, but, well, yes it made things A LOT easier to run the wood boards up and down rather than in a horizontal direction.
What I really mean is that installing the wood boards up and down required a lot less cuts than if I had installed the boards in a horizontal direction.
I won’t go into details about how to install the boards because Weaber Lumber has a great instructional video on how to install the boards HERE.
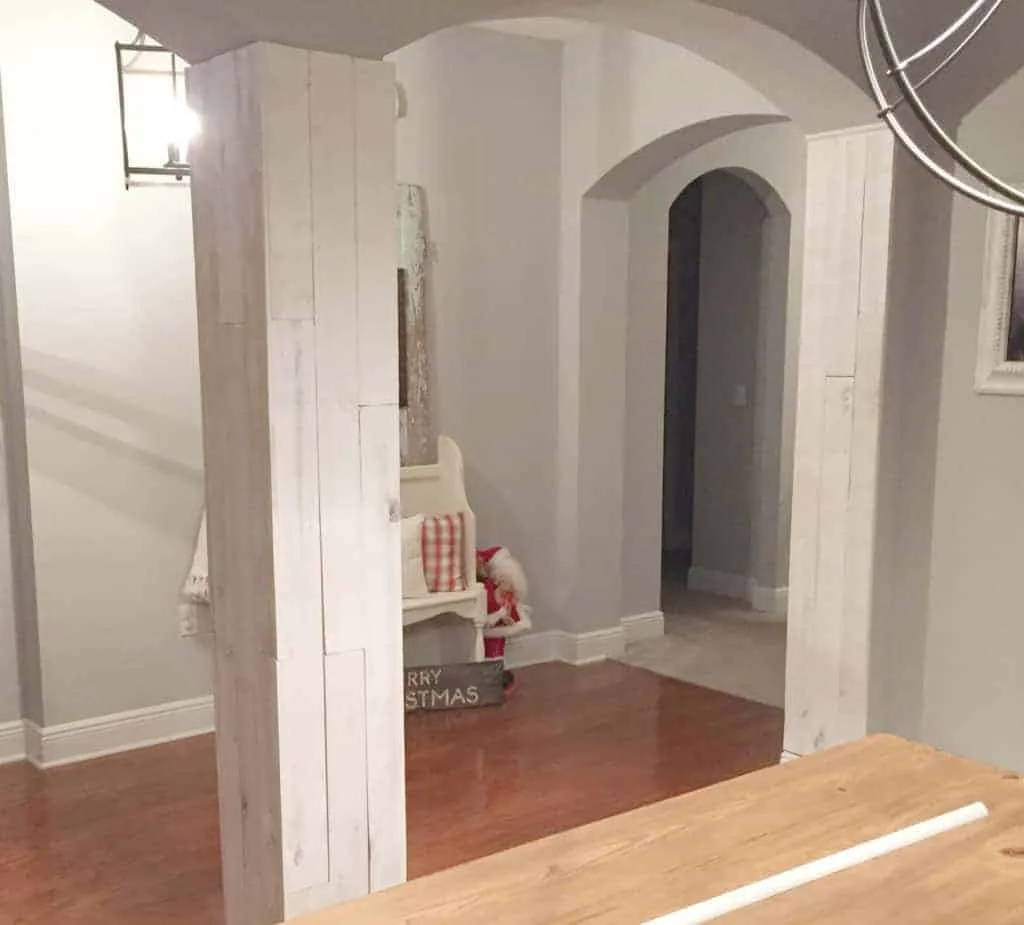
Another great plus by installing the boards in a vertical position is that I did not need to “rip” (cut the width off of any of the boards) any boards because they fit all the walls perfectly! Three boards fit each wall of the column perfectly and left enough space to create the “joint area” on each side of the column.
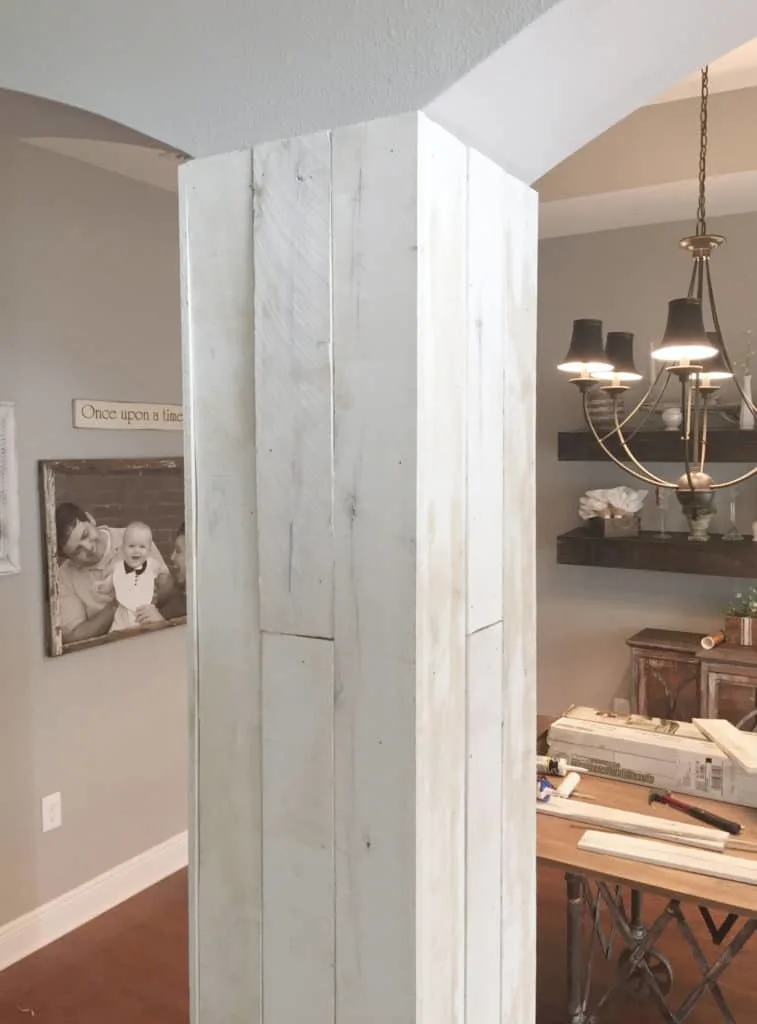
As you can see the boards were not perfectly square or flat, so they look a little more rustic. At first, I thought this might look cheap or unfinished, but I decided to add moulding to finish it off and I think it completed the look.
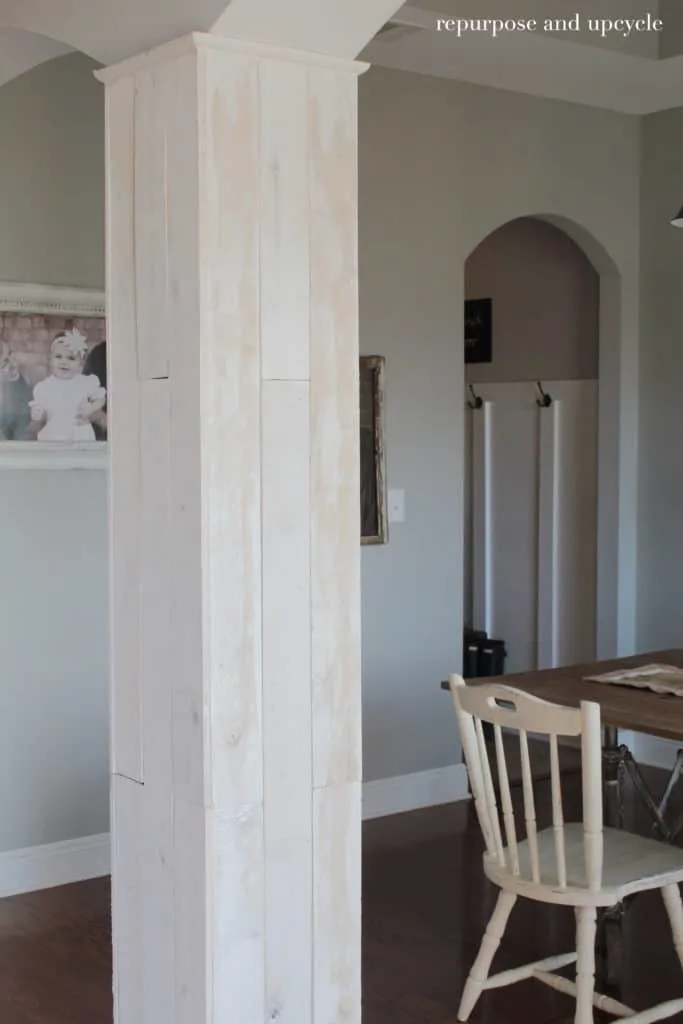
What do you think?
Little by little we are adding our own modern farmhouse touches to our modern farmhouse builder grade home. I love the way these white washed wood planks add character to a very boring entryway.
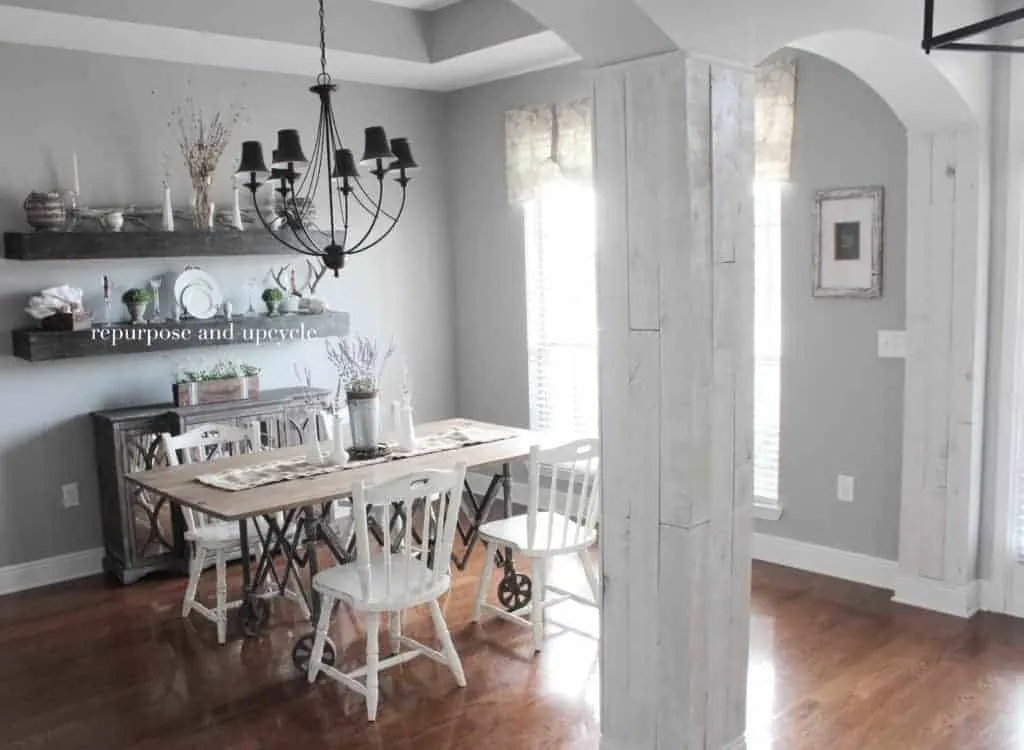
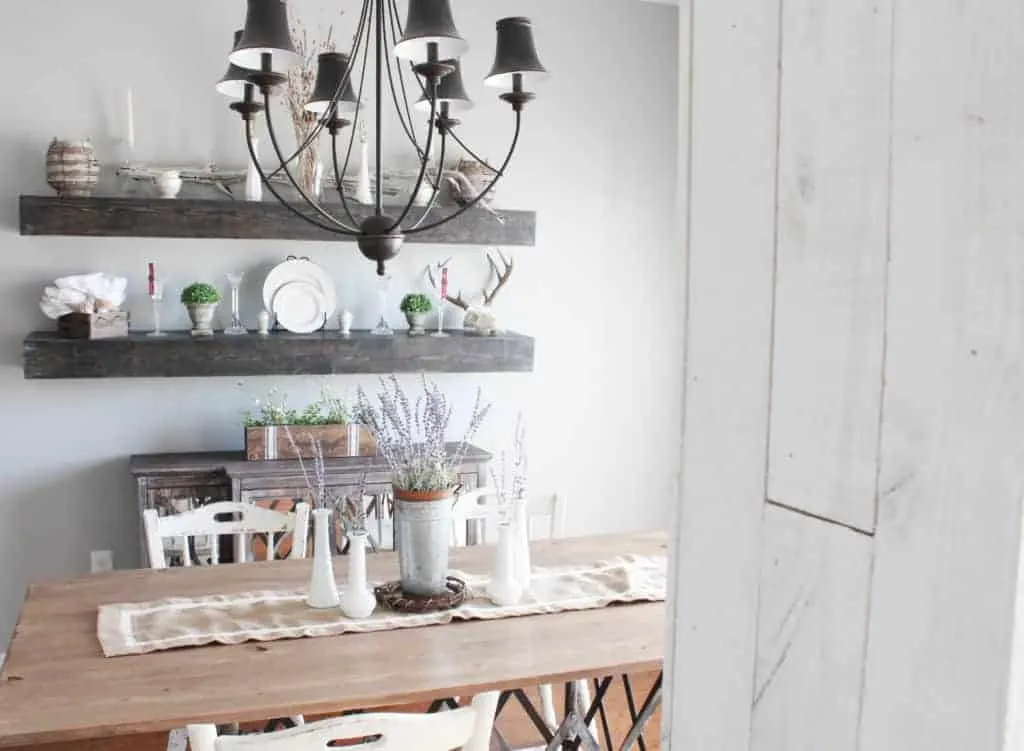
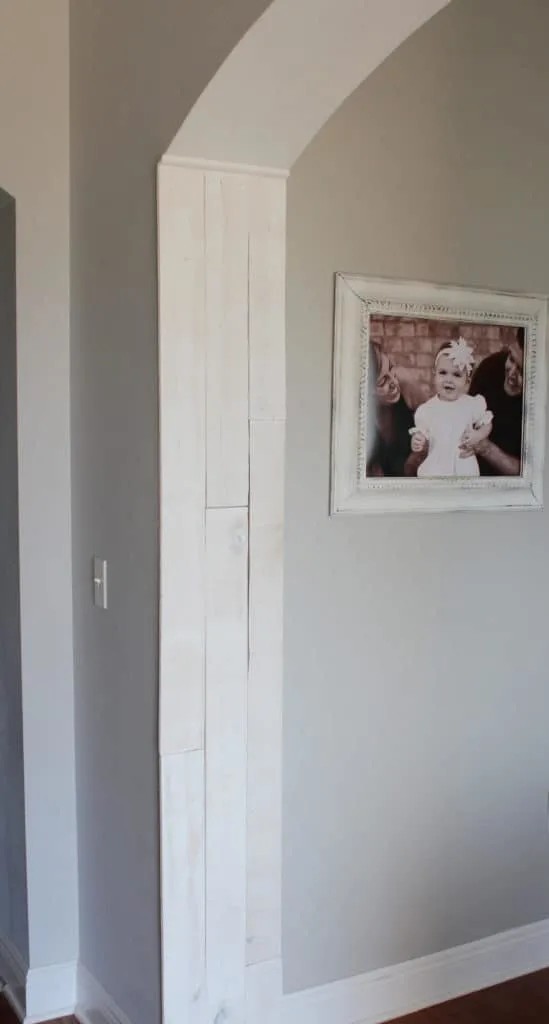
This is one of the side walls we planked with white washed boards.
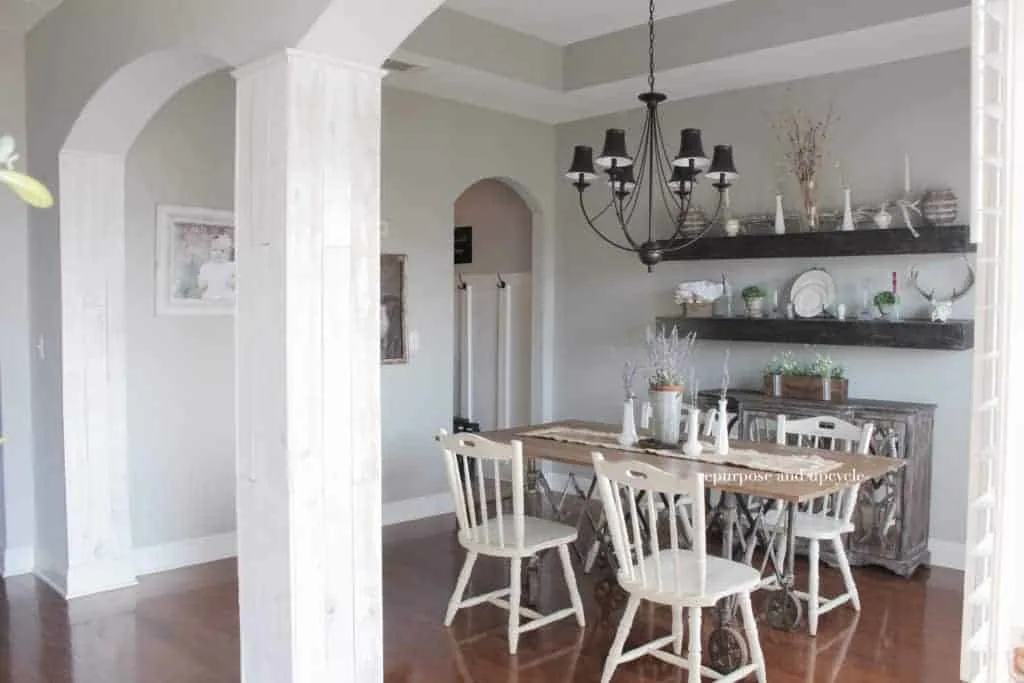
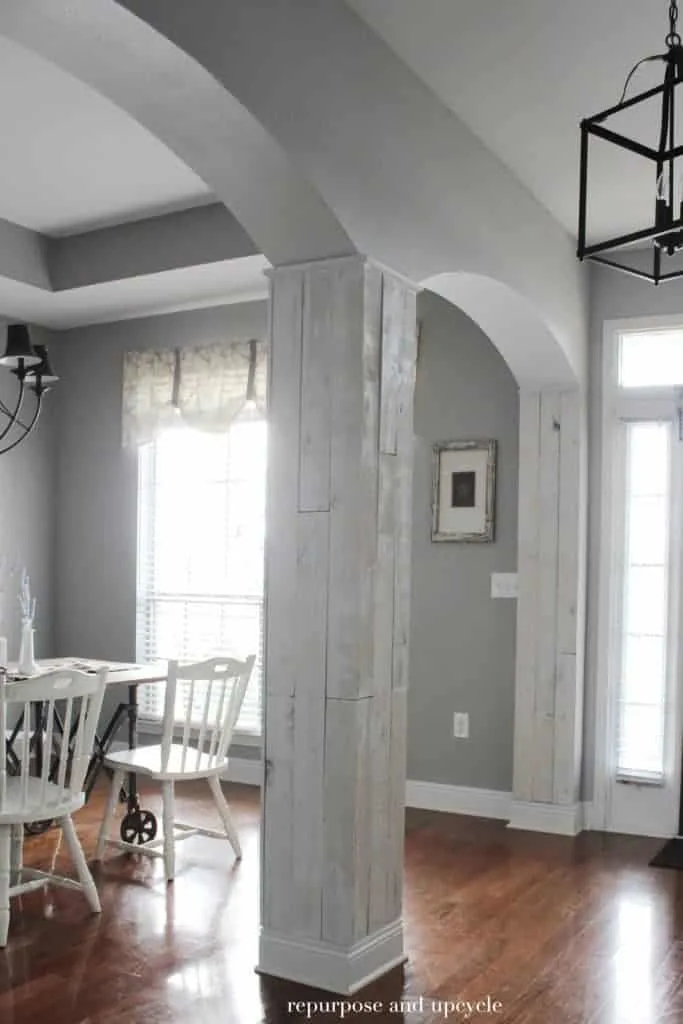
And that’s a wrap for this little project. What do you think of our new wood boards? My husband is still on the fence as far as thinking it might be a little too rustic for our home. I love it though!
Thanks for stopping by and I hope you’ve been inspired to create something from nothing!
Until next time when I find something else to repurpose and up cycle,
Lindsey**

Excellent idea! Plus this could be my twin rooms!
Thank you!
[…] other DIY I tackled was adding the wood planks to the column and side wall. I really love the rustic feel it gave to the […]
[…] Wall boards add so much dimension and character. I happened to have a few left over from a previous wall board project in our old […]
This wonderful post is a HOME feature on the January You’re the STAR blog hop: http://www.godsgrowinggarden.com/2018/01/youre-star-week4-home-january-2018.html
Thanks
Angie
It was nice before but as you said it adds an architectural factor to this room and it’s absolutely gorgeous! Thanks for sharing as I am into wood works and plan on putting this in my kitchen to cover the sides of my cheap looking cabinets with wood planks and an aged gray look.
Love the transformation and find your blog incredibly inspiring! Thanking the #KCACOLS for another great find 🙂
Wow, that looks lovely. I’d never have thought of doing that. Great inspiration. Thanks so much for linking up at #KCACOLS. Hope you come back again next time.
Lovely work! I love the chabby chic feeling it gives to the room and it goes really well with the table and chairs! It looks so warm #KCACOLS
That looks really nice! Amazing how just that simple add-on changed the whole feel of the entry. Love it! Thanks for sharing it with us at the Homestead Blog Hop!
This adds so much interest to the room and to the walls. Your home is really cozy and warm.
It looks great! Thanks for sharing at Sew It Cook It Craft It. You’re one of my features today! Merry Christmas!
Very creative, love the colour of the wood and the rustic look. Thanks so much for linking up at #KCACOLS. Hope you come back again next time.
Love the look! Thanks for joining us at Party in Your PJs!
I love it! And that was a great idea about doing the walls either side you’re right I really think it would have looked a bit random otherwise. I love wood features inside houses 🙂
Sorry I almost forgot I’m here from #KCACOLS
Looks fab! I love stuff like this. Very nice job. Thanks for joining us at the #bigpinklink this week.
That really looks beautiful! We are moving shortly, and I may try this! Or something like it! TY! Happiest of holidays to you and yours! #KCACOLS xoxo
Such a fun addition! You’re right, wood planked and accented walls are everywhere these days. Thanks so much for sharing at the #happynowlinkup!
Lindsey, I’m not even a huge fan of slapping up wood everywhere, but I think what you’ve done here looks fantastic! And that column seems like something that would have ended up with chipped/damaged corners needing constant paint touch-ups. This way? Problem solved!
[…] Adding Wood Planks by Repurpose and Upcycle […]
Those planks are so pretty and add to the look of the room–need to pin this for reference! Thanks for sharing at Party in Your Pjs!
I think its gorgeous. You already had the rustic floating shelves on the wall and this ties them in, but with a slight bit more elegant touch because they are white.
I love it!
🙂 gwingal
I love the finished look. It gives the room a farmhouse feel. Thanks for sharing on Sunday’s Best.
What a great idea. Love how nice your columns look with the wood. Thanks for sharing at Inspire Me Monday.
The wood gives your columns so much more character! Thanks for sharing and the rest of you home looks lovely too!
I absolutely love it!! It looks great!!
Love the updated look Lindsey, it the little details that make all the difference! Thanks for sharing your project at #Fridaysfurniturefix!
I love this idea! PINNED! Thanks for sharing at Friday Frenzy Link Party!
I love the rustic effect you create here, it looks much less ‘how the builder’s left it’ #RealCraftyLinkParty
Popping back over from #fortheloveofBLOG
I love the columns they look fabulous with the wood paneling
This is VERY pretty!
I would love for you to share this with my Facebook Group for recipes, crafts, tips, and tricks: https://www.facebook.com/groups/pluckyrecipescraftstips/
Thanks for joining Cooking and Crafting with J & J!
That’s a genius way to update a part of the home that’s necessary but sometimes not so cute. Love it!
how can something so simple change the aspect of a room? I love it, it looks just amazing. Thank you for sharing at The Really Crafty Link Party. Pinned!
These are a subtle look that make a big impact. I have seen your earlier posts using wood as well and am excited for you. You must be just loving it.
Wow, I’m so impressed with the finished result! Looks amazing x #kcacols
Love your walls first one I have seen without power tools you have made my day Michelle one question please there was a.backing on the wood can I use ordinary wood? Regards Mary
As far as a backing, I’m not sure. We used glue and an air gun. Now, I did a shiplap wall without power tools and I used cheap floor vinyl that I painted white to look like shiplap. You can see that post below if you are looking for something similar that you can create with no power tools. Good luck, let me know if you have any more questions.
https://repurposeandupcycle.com/shiplap-with-no-power-tools/
Rustic Chic – Love It!!
Thanks Bella!
Looks terrific! Thank you for including the DIY helps, too.
I think it looks fab! I definitely agree that adding a bit extra to the other walls really helps to tie it all together, and the edging gives it a lovely finish. I am now looking around my house, trying to work out where I can put some planking! Haha #sharingthebloglove
Haha, I can always find a wall to add a little touch!
The texture of the wood really warms up the white coloring in a room. Well done!
Looks great! #ThatFridayLinky
What a unique and creative idea – I love the effect it has on the room 🙂 #ThatFridayLinky
Your rustic look is gorgeous! You’ve done really well working through this project. Thanks for sharing with us at Blogger’s Pit Stop. Debbie from Deb’s World (www.debs-world.com)
beautiful! I’m glad you showed the before as well. The wood columns made more of a difference than I would have though they would.
Looks so good! Great idea to add an amazing new look!
I LOVE the wood that you have added to the walls! It liven ups the walls! Your walls got a makeover!
What a transformation! It makes an annoying blah become an elegant feature. I’m shocked that so little can do so much. You are so clever. Doing all that back wall might have made it look smaller but those colums add volumes. Well done!
Thank you Jauquetta!
I love it! It looks great and the color is perfect.
Unique, a subtle modern farmhouse look.
Joy