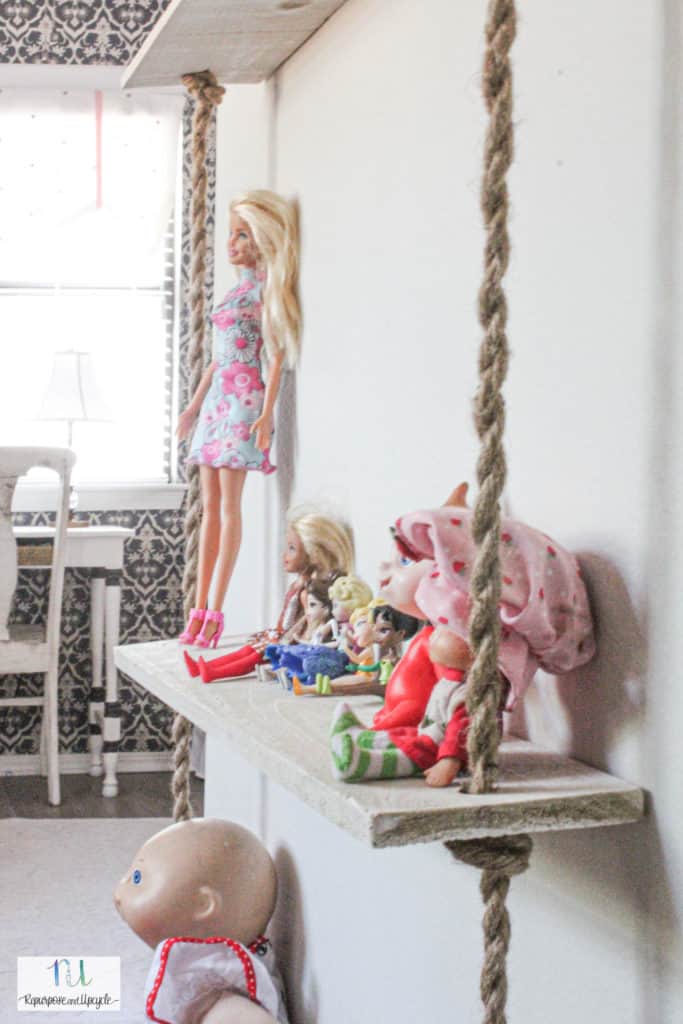
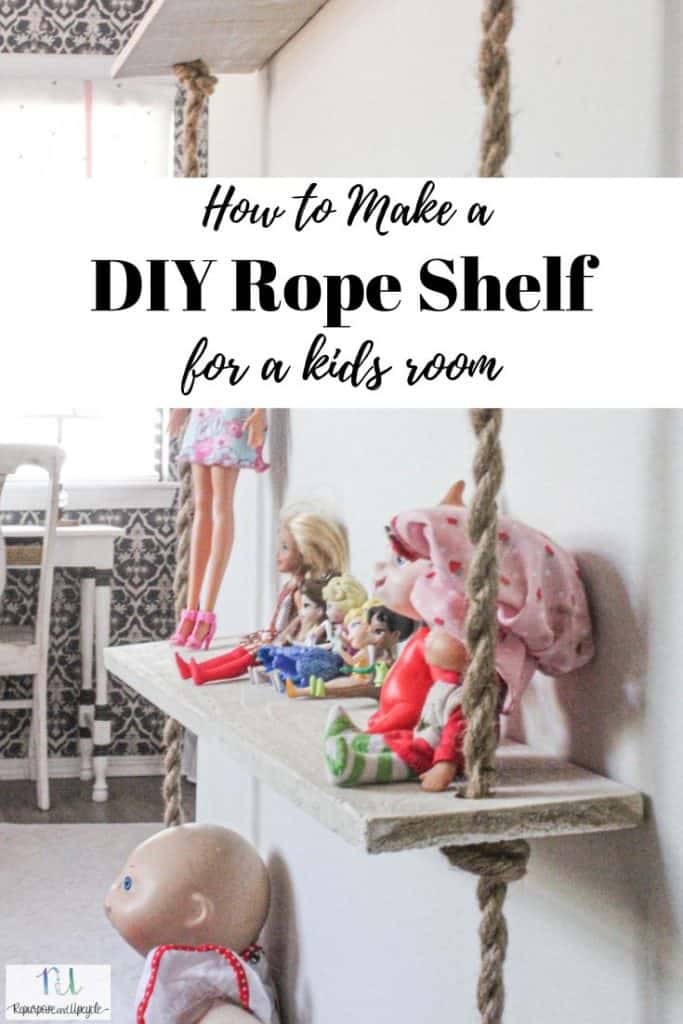
Yesterday I was walking the isles of Hobby Lobby and happened to see a set of fun rope shelves. They looked so cute! Then I looked at the price tag. Whoa, I couldn’t believe a few simple slabs of wood with a little sisal rope would cost nearly fifty dollars. You know what’s coming next; I decided to create my own rope shelves but with a twist. I’ve got a fun idea up my sleeve and I want to show you how to make a rope shelf; dollhouse style.
I’m sure you’ve seen a few rope shelves for sale somewhere. Like I said before, I saw them at Hobby Lobby. The price tag was high but believe it or not that wasn’t the real reason I didn’t want to buy them.
You are probably wondering what in the world I mean by “dollhouse style.”
My four year old daughter has loads of baby dolls ranging from big to small. She loves to sit them up in a row so she can see them. Why not create my own rope shelf for her to use?
Currently, her dolls are scattered all over her room. I’m a huge fan of organization, and I wanted a dedicated place where she could see all of the dolls rather than on the ground :(.
Do I really think she will keep them on a shelf? Not sure, but it’s an excuse for a new project so I’m diving in!
Disclosure; this post contains affiliate links. As an Amazon Associate I earn from qualifying purchases. This disclosure statement refers to the rest of the amazon links and other affiliate links in this post.
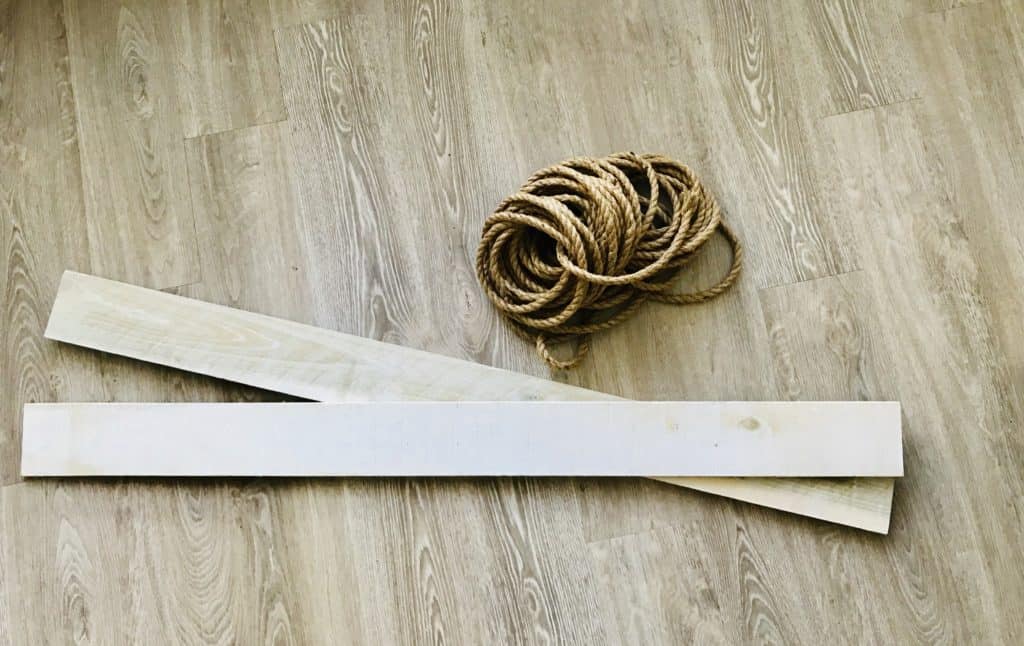
Materials list for the rope shelf
- Twisted sisal rope – I used 1/2″ and ended up removing one of the coils after I realized I didn’t need a rope that thick.
- Wood slabs for the shelves. Decide how large you want the shelves to be. I used left over Weaber lumber wall boards. Since I wanted my shelves to be small, these 4″ boards were perfect. They were 4′ long so I cut them in half to have 4″ by 2′ shelves. I decided to make 4 of them.
- Drill
- Scissors
- Measuring tape
How to make a set of DIY rope shelves:
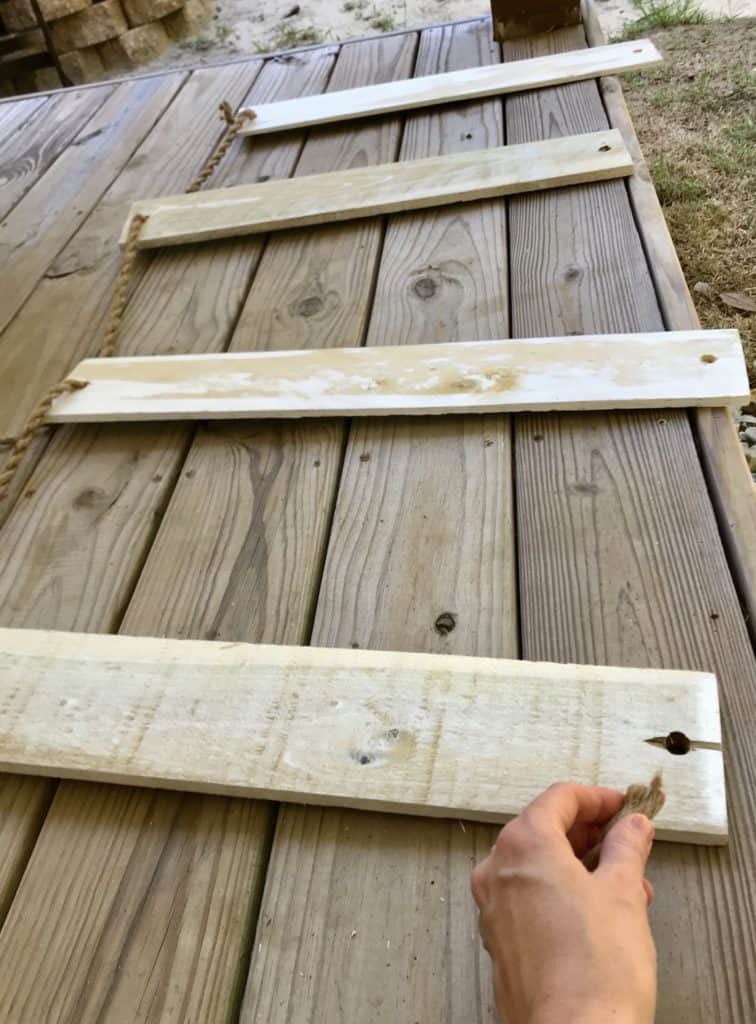
- Cut the wood to the dimensions you want for your shelves.
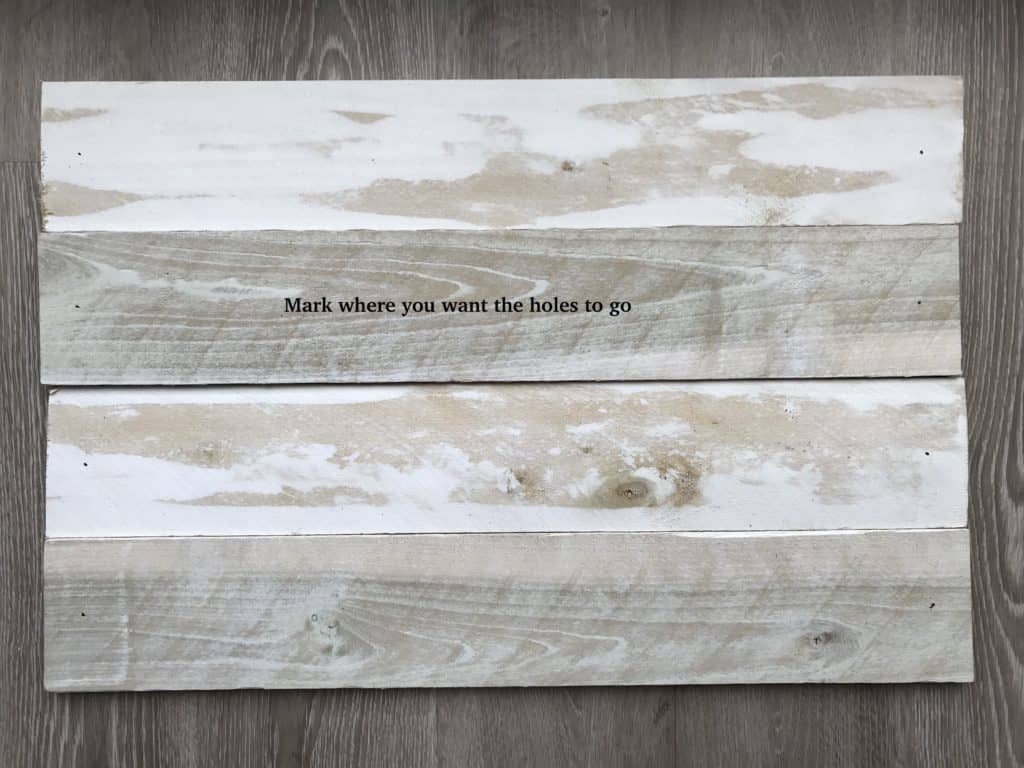
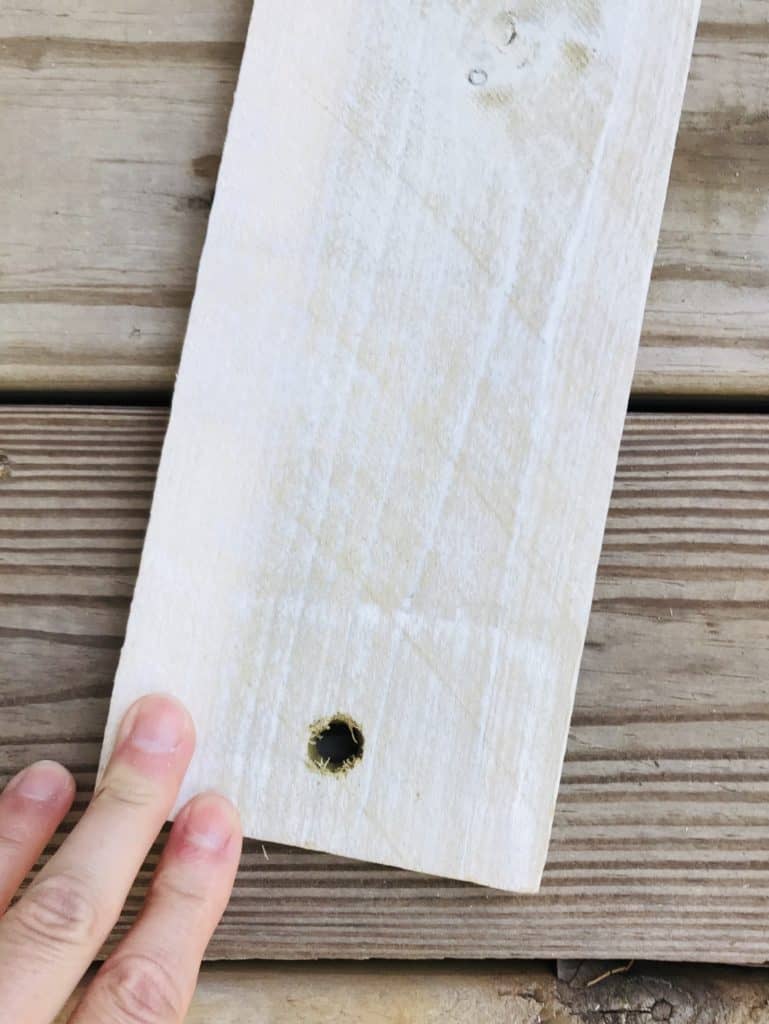
- Mark one hole on each side of the wood for the rope to run through.
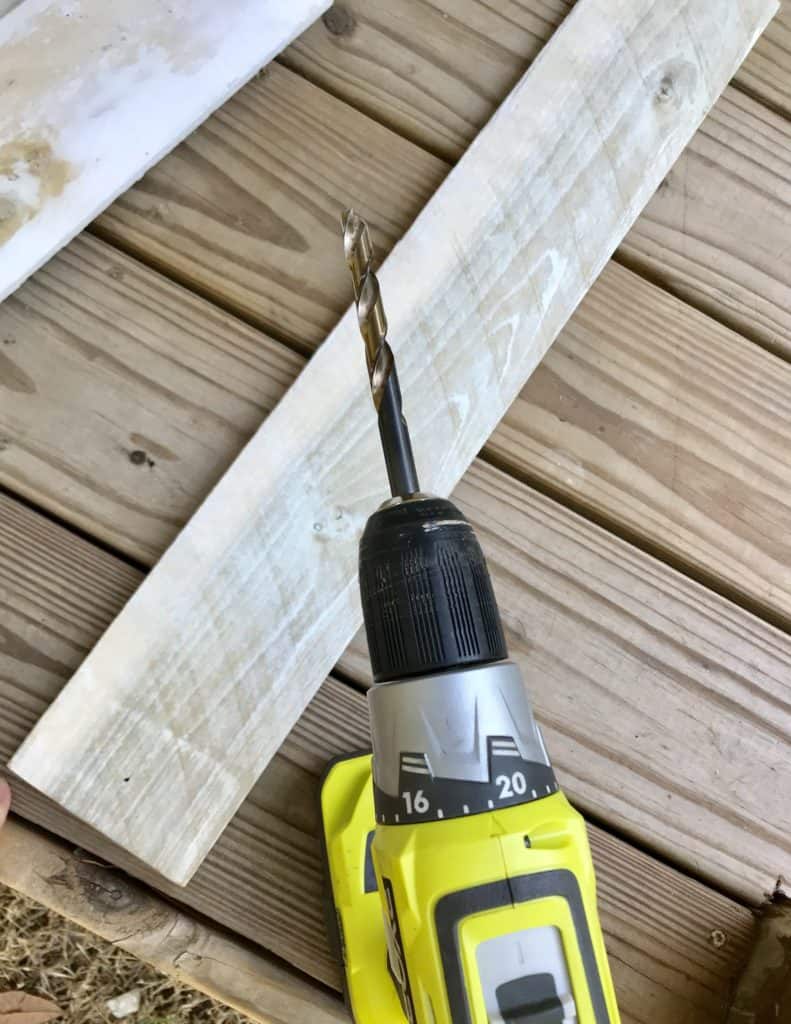
- Drill the holes through the wood. You can use a spade drill bit, spiral flute drill bit, or if your wood is super thin you can probably get away with a regular old wood drill bit.
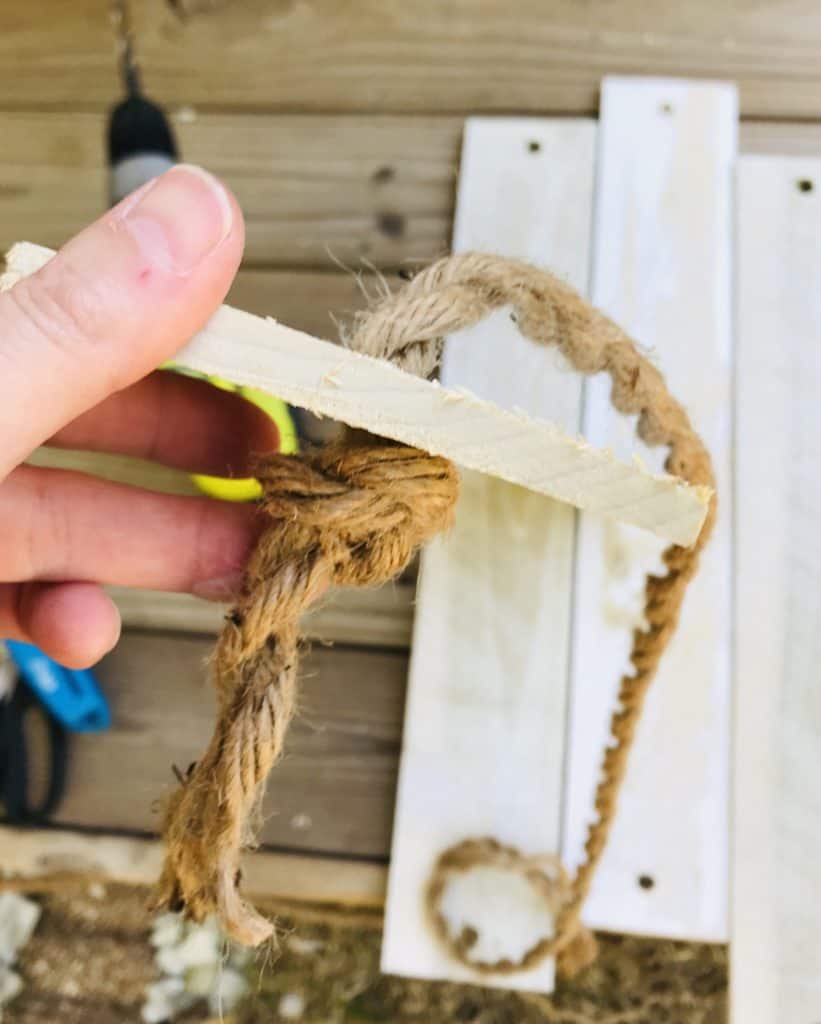
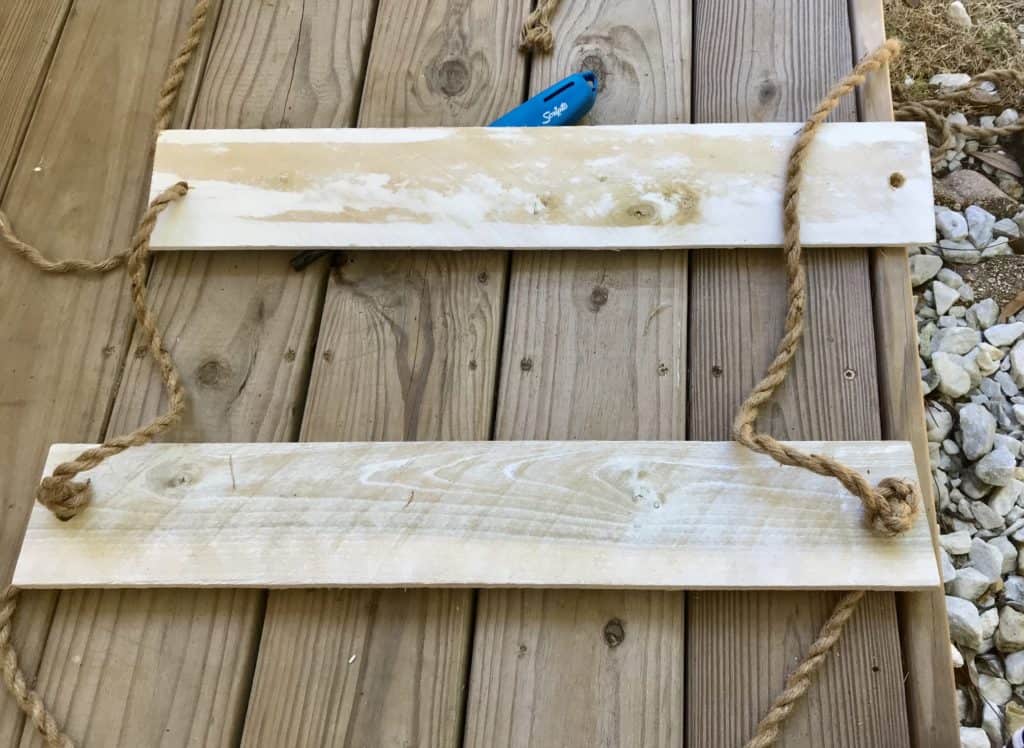
- Once the holes are drilled, grab your rope and tie a knot at the bottom.
- String the rope through the first side of the first board so that the bottom of the board sits on the knot.
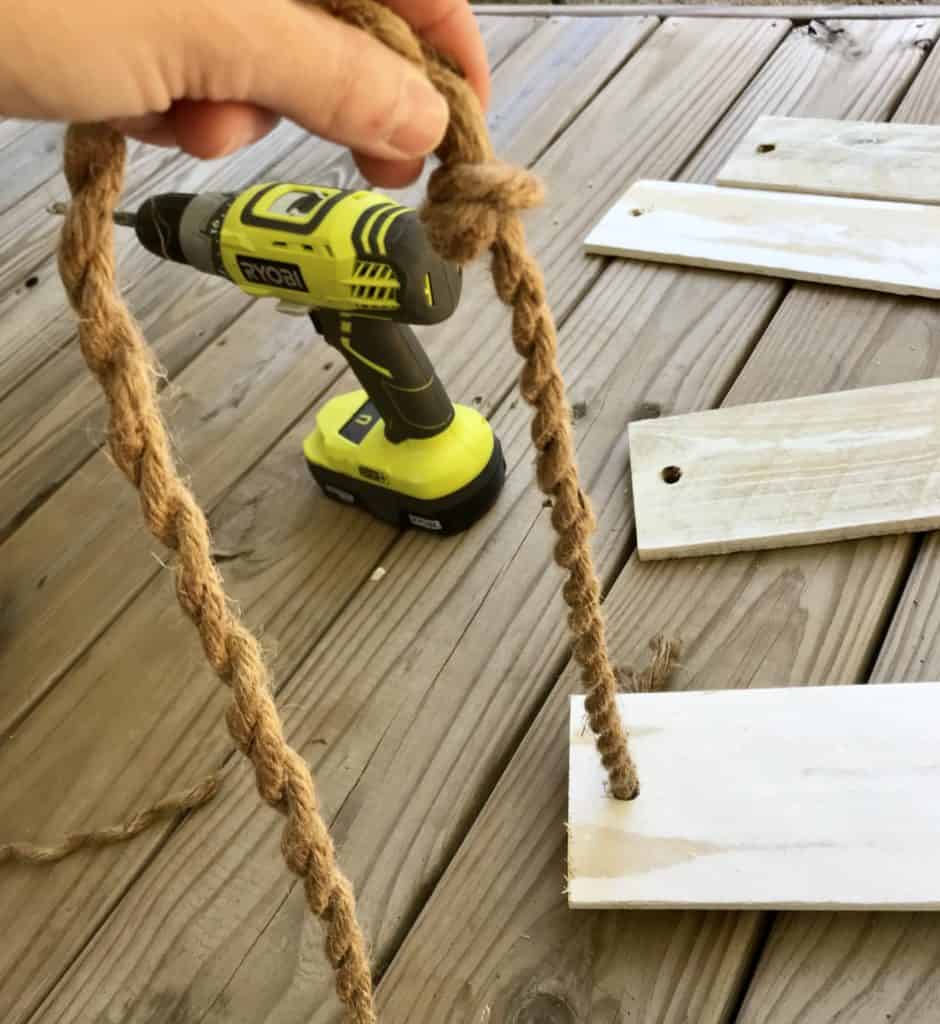
- Decide how much space you want in between each shelf and then tie another knot.
- Run the rope through the second board until it sits snug on the knot.
- Continue this process until the rope is through one side of the shelves.
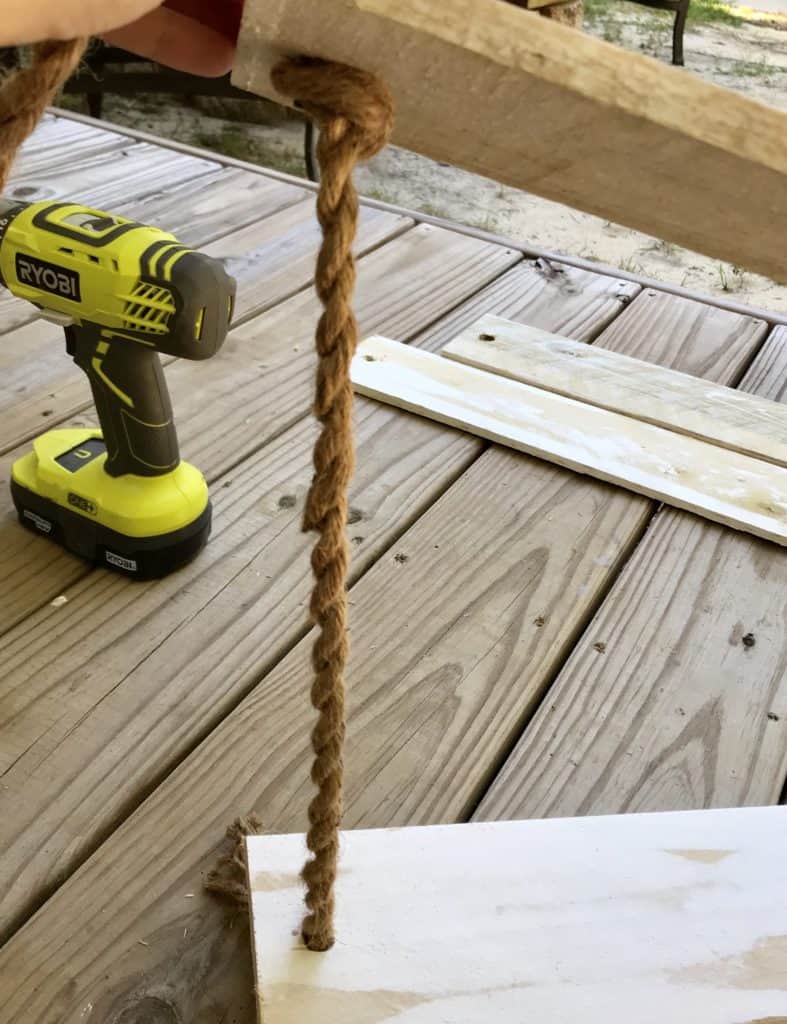
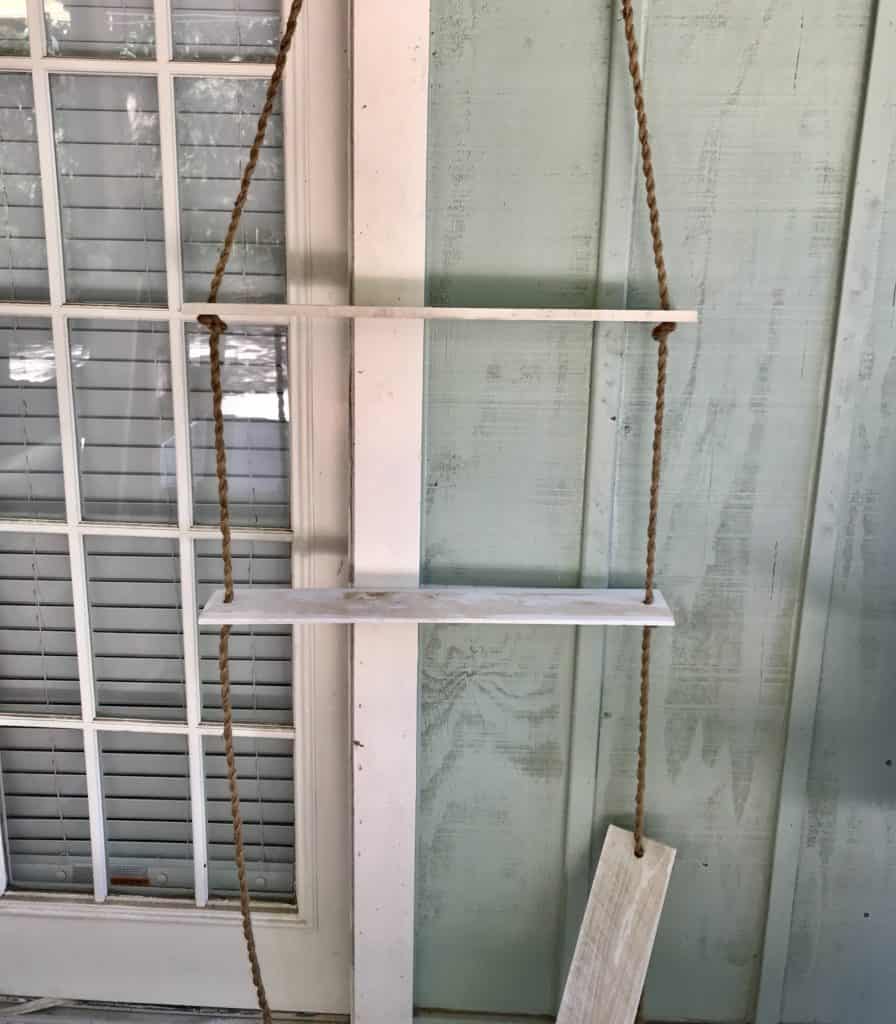
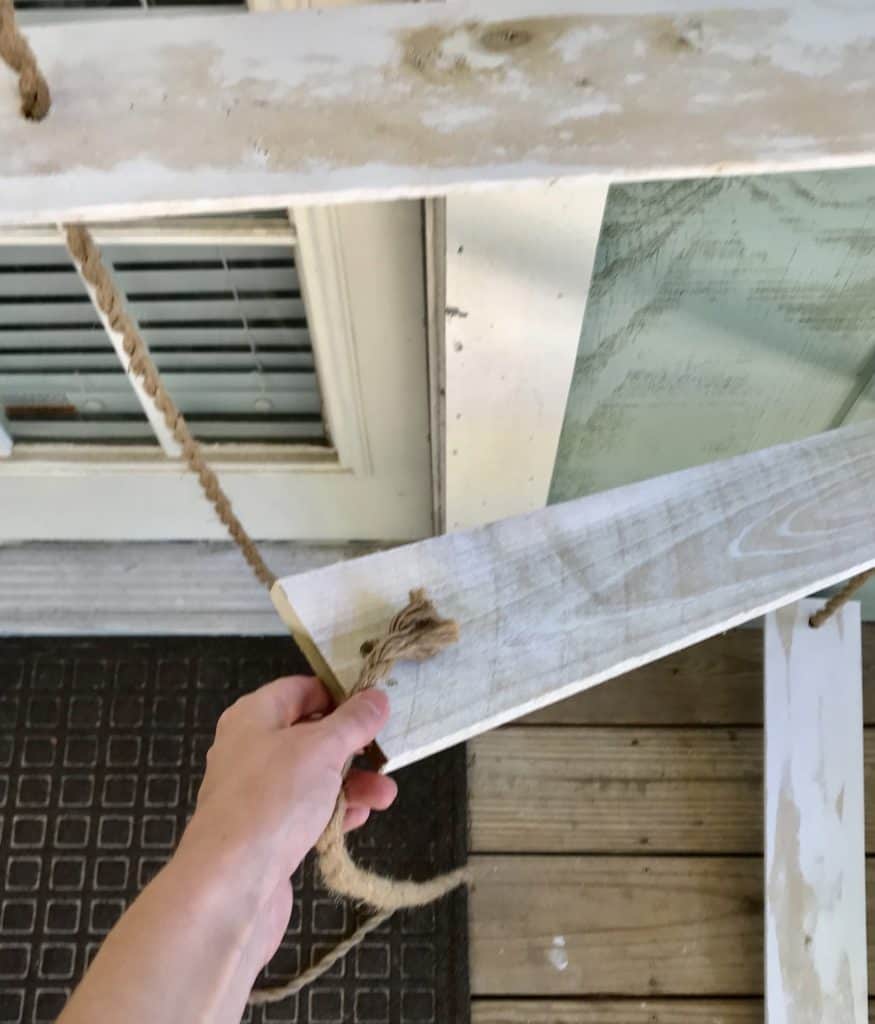
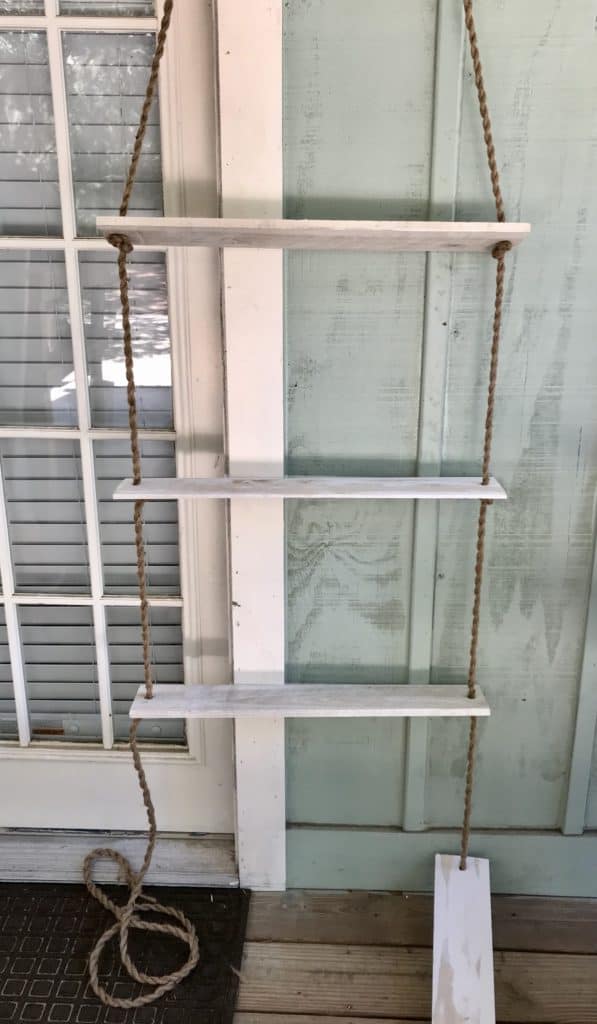
- After one side of the shelves were secured with the rope, I hung it up so I could make sure to level the shelves as I was adding the knots to the other side.
- Once you’ve run the rope through the sides of the wood, tie a knot at the top and you should be done.
Now that I’ve walked you through HOW to create a set of rope shelves, let me show you what I did with ours!
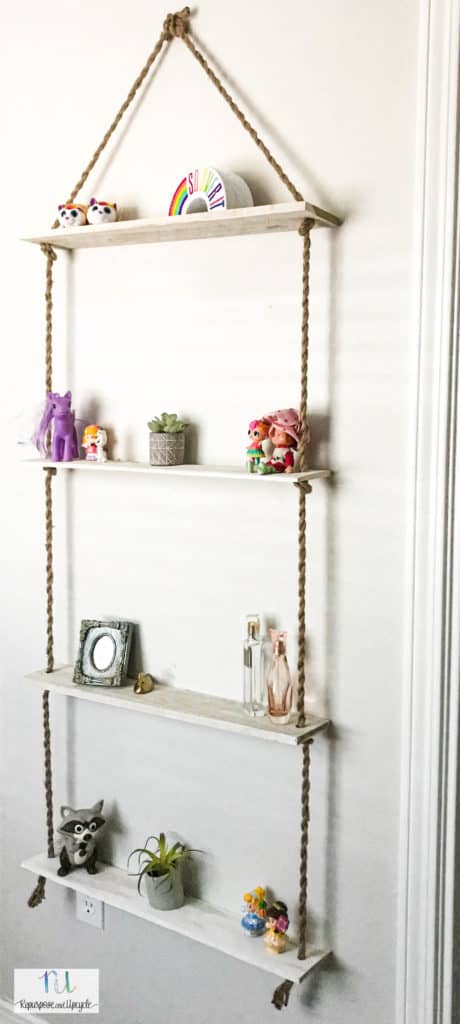
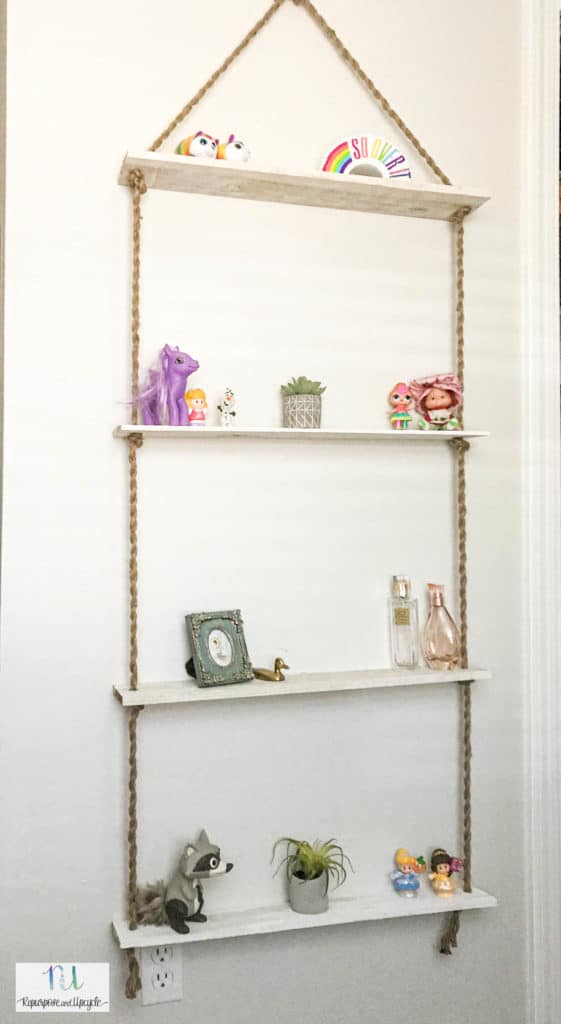
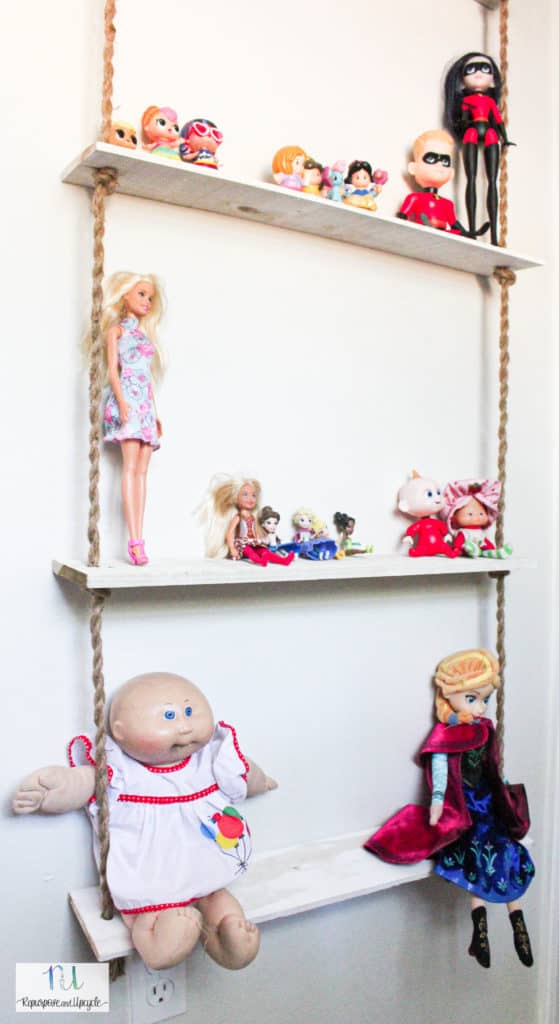
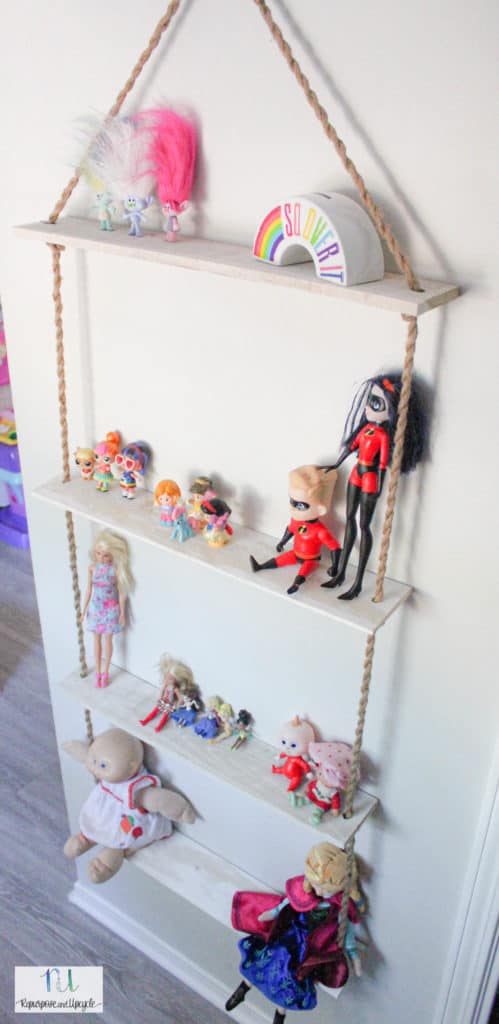
I can’t wait to show my daughter her new shelves! I’m hoping this will help her doll organization a little. If it doesn’t, oh well she has some cute shelves now!
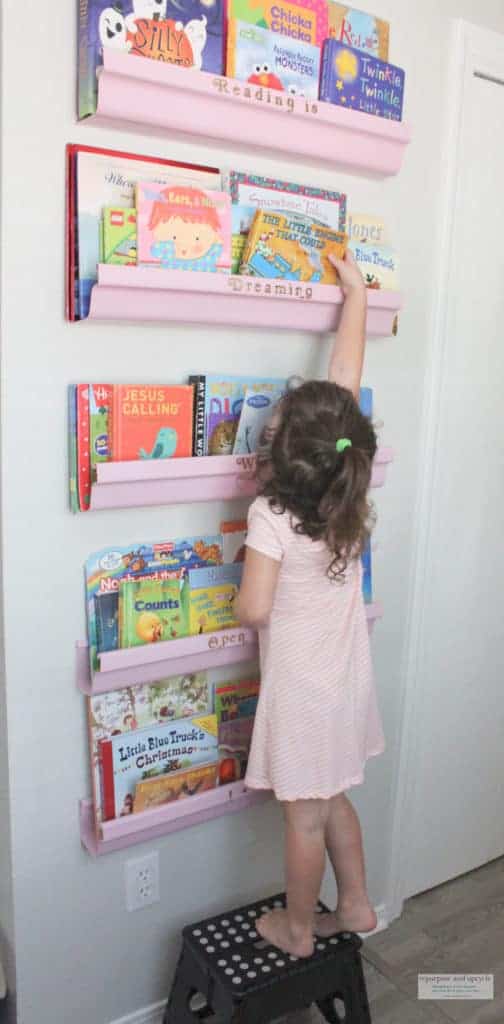
Side note; you might recall this space from a while back when I made over her room.
I removed the Rain Gutter Bookshelves for now. My plan is to put them in her closet.
Well friends, this has been a fun little Friday DIY. I hope I’ve inspired you to create something!
Until next time,
Lindsey**


