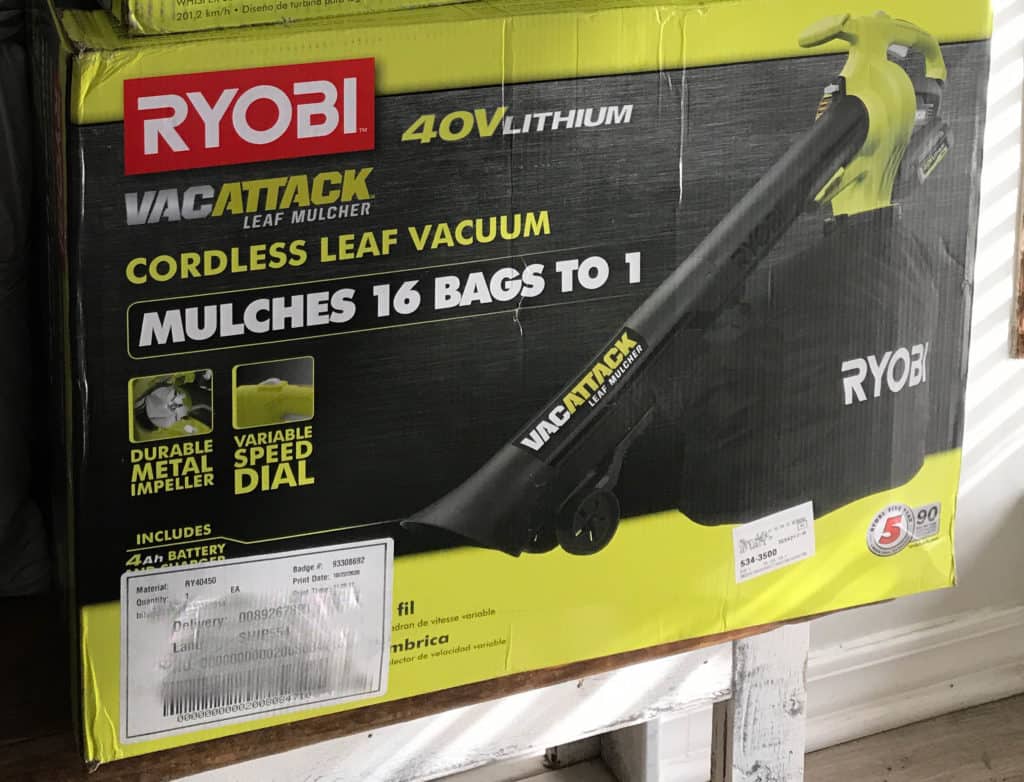
Do you remember my DIY gravel patio that I completed a while ago? That was honestly one of the best outdoor DIY’s we’ve completed because it transformed an eye sore into something functional and lovely. It’s been about five months (and a major hurricane and the leaves starting to fall) since we finished that project and it’s time for a little gravel patio refresh. The best part is that I’ve got a new Leaf Vacuum (thank you Ryobi!) to help me clean this mess up!
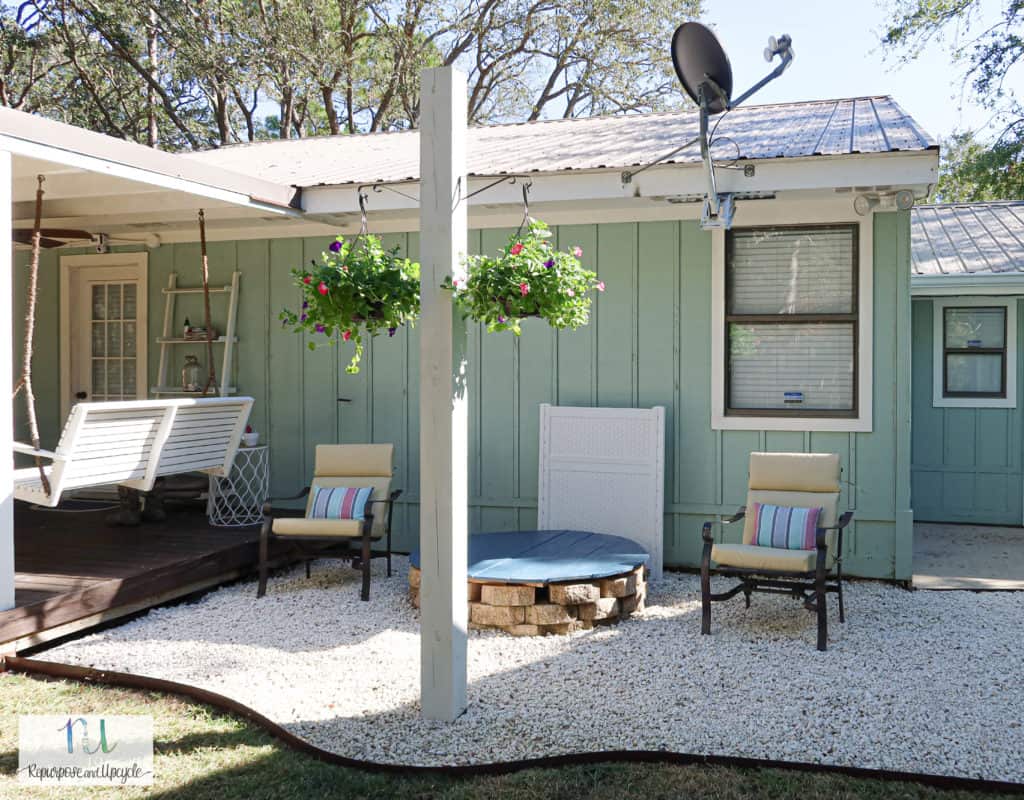
Let me show you what this space looked like right after we completed the gravel patio.
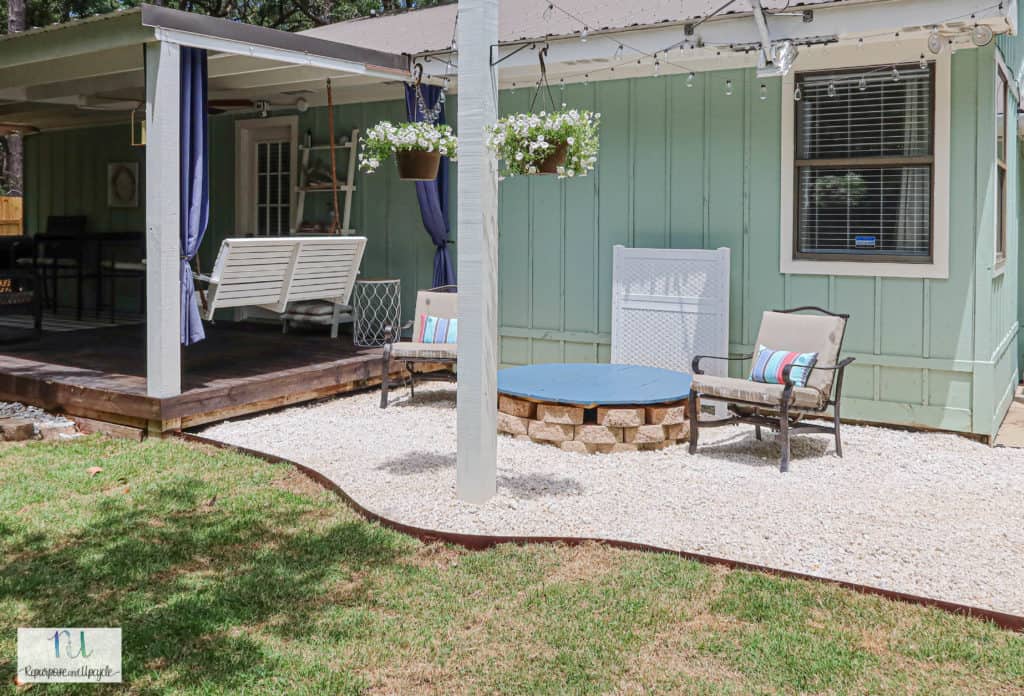
This space serves two purposes; to hide an ugly grinder pump well and to create a seating area.
When we decided to put down a small gravel patio one thing I didn’t think about was all the leaves the would fall around this area. Before the gravel was there, we could use a blower to blow all the leaves away.
Why didn’t that work once the gravel was there?
The blower did a good job of blowing the leaves away, but it also blew the gravel out too.
A lot of the gravel would end up in the grass and I would try my hardest to pick it up and throw it back in the gravel pit before the lawn mower got to it. What a pain.
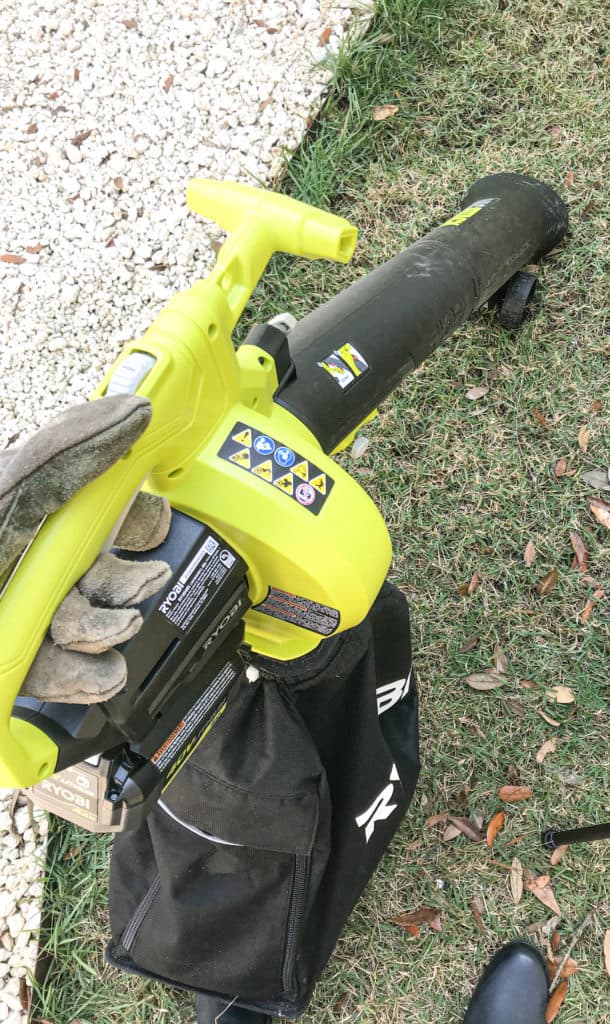
When Ryobi reached out asked if I wanted to try a leaf vacuum you can only imagine my excitement.
A leaf vacuum is one of those outdoor products that you don’t think you really need until you have one. Then you wonder how you ever lived without one.
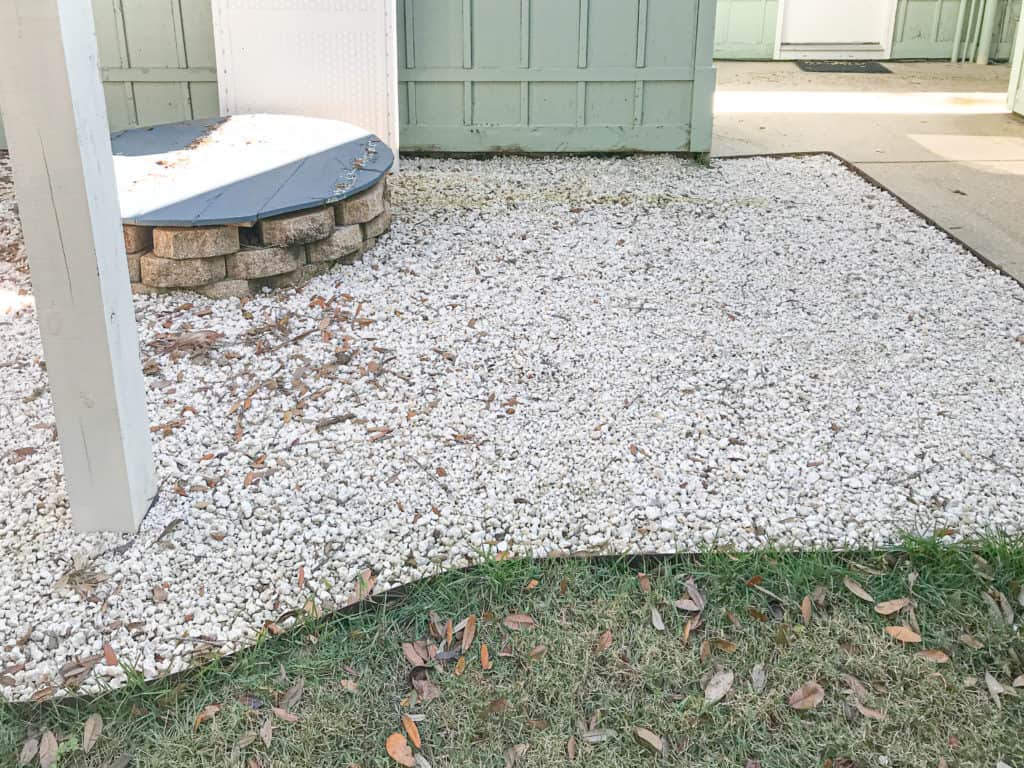
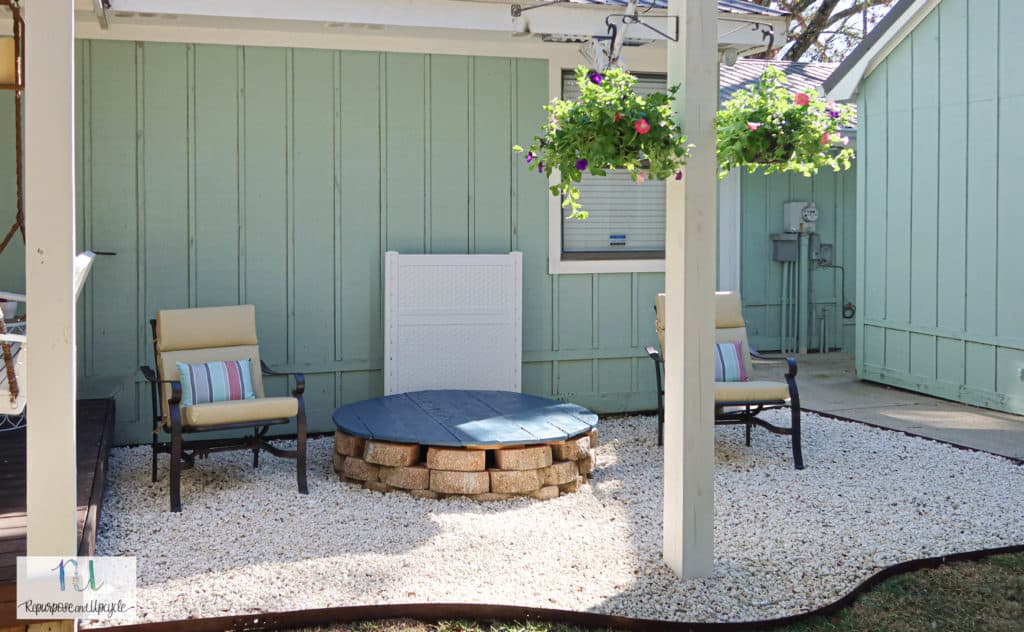
Let me show you what this space currently looks like.
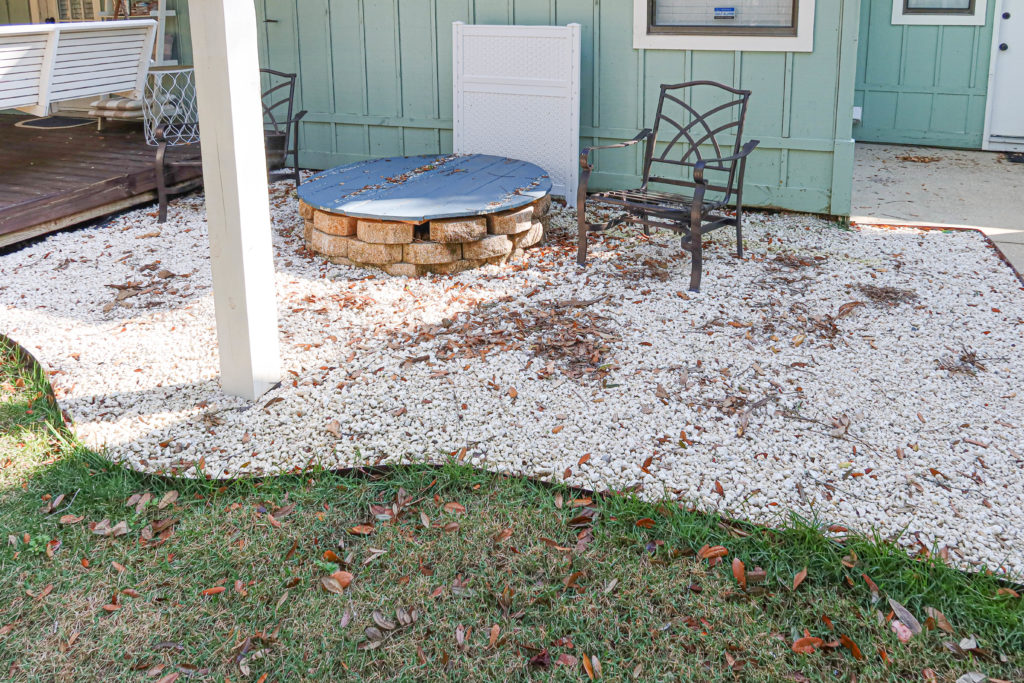
What a mess right?
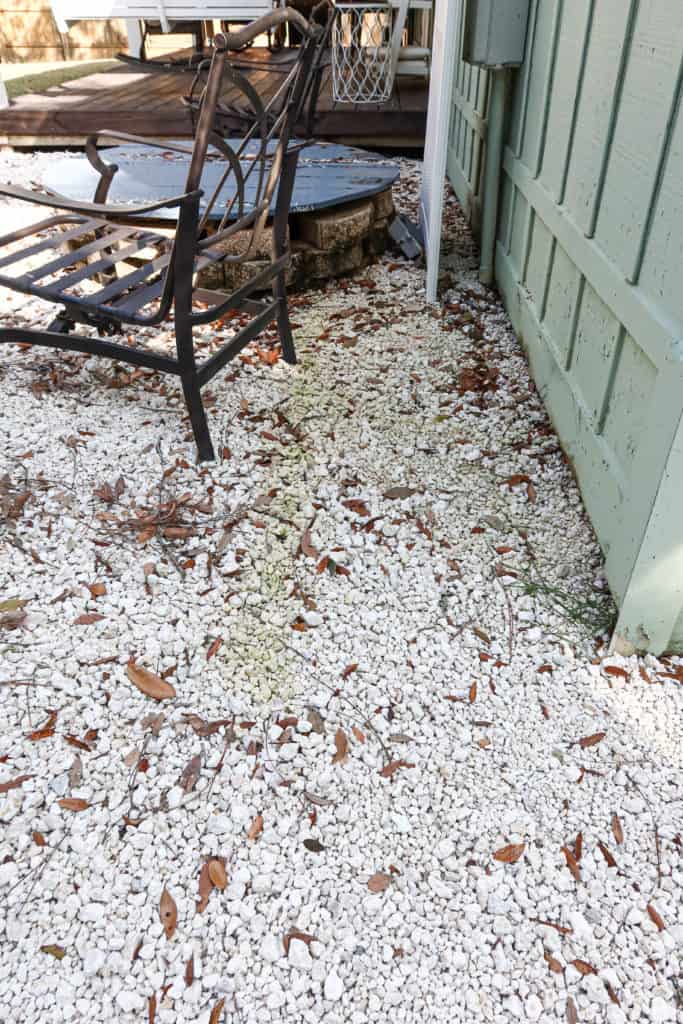
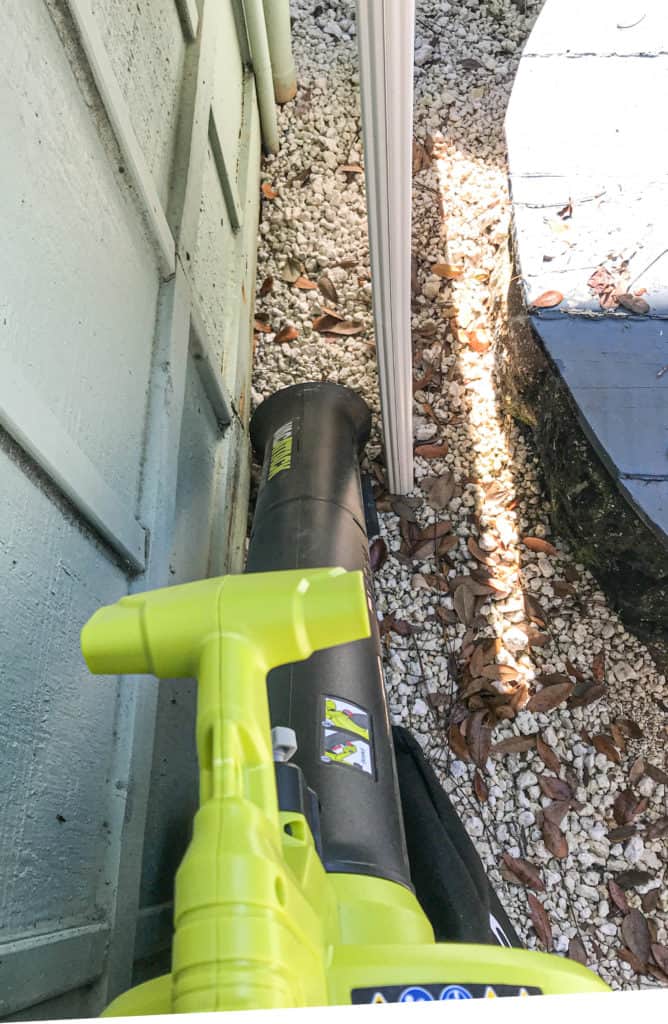
Some of those leaves are buried into the gravel so even if I wanted to use a blower it would be hard to get them out without picking them up.
This is where the Vac Attack came in handy.
Putting it together was very simple. It took about five minutes to assemble just a few pieces.
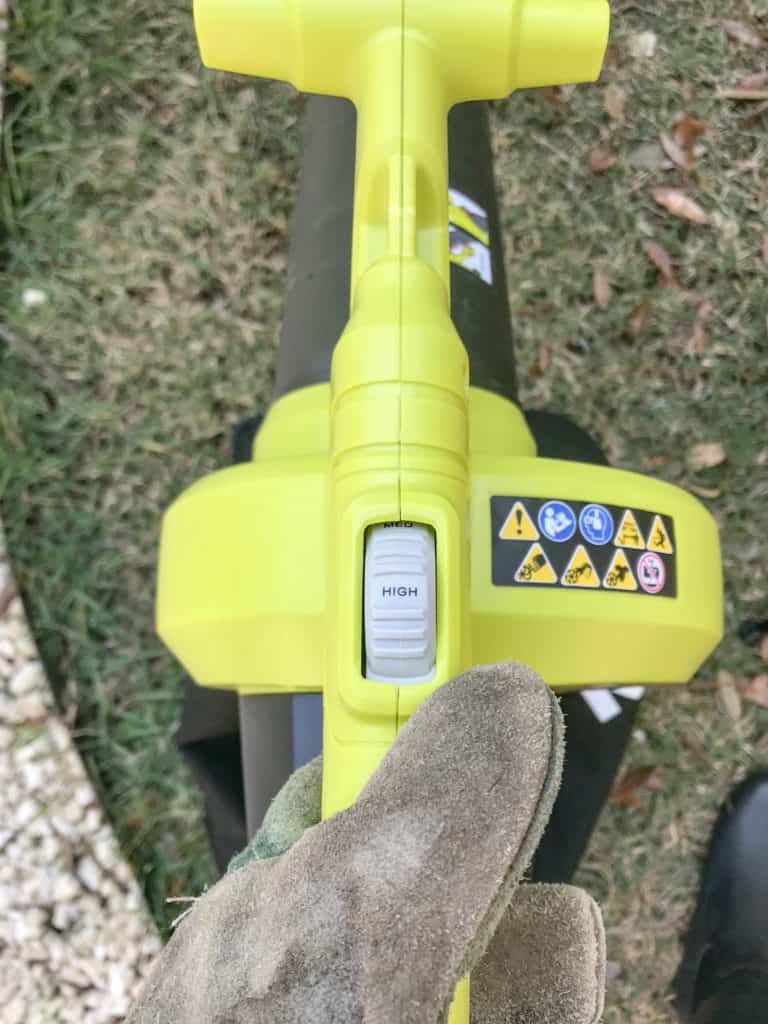
Once I was ready to try it I tested a few of the setting (low, medium and high) to decide which setting worked for this space.
I decided that the best setting for the gravel patio was on medium because it gave it just enough suction power to pull the leaves up without sucking the gravel up too. Score!
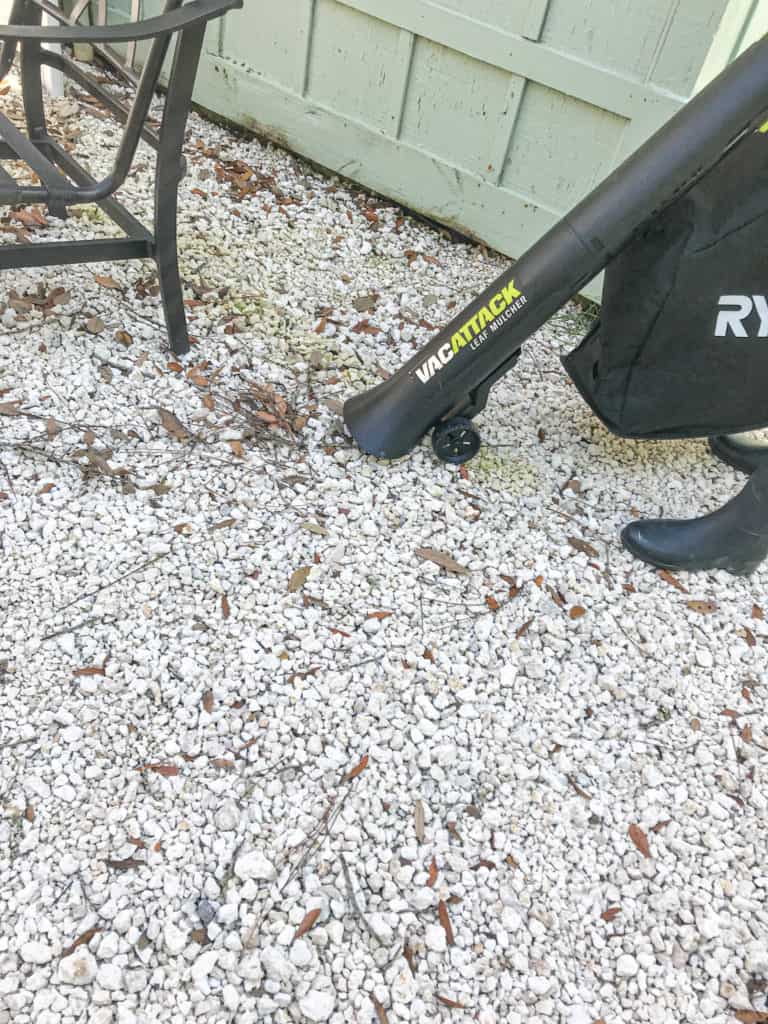
You can see below where I’ve “cleaned” half of the space. It only took a few minutes!
It’s also great at getting in the hard to reach areas!
Once the majority of the leaves were sucked up and mulched, I was ready to dump the bag. By the way, I love how the vacuum not only sucks up the leaves, it mulches them too!
Once the leaves and debris were mostly gone from the gravel, I gave the grinder pump table top a good clean and a new coat of paint.
With a few pillows and some greenery this space was complete!
Gravel patio refresh done!
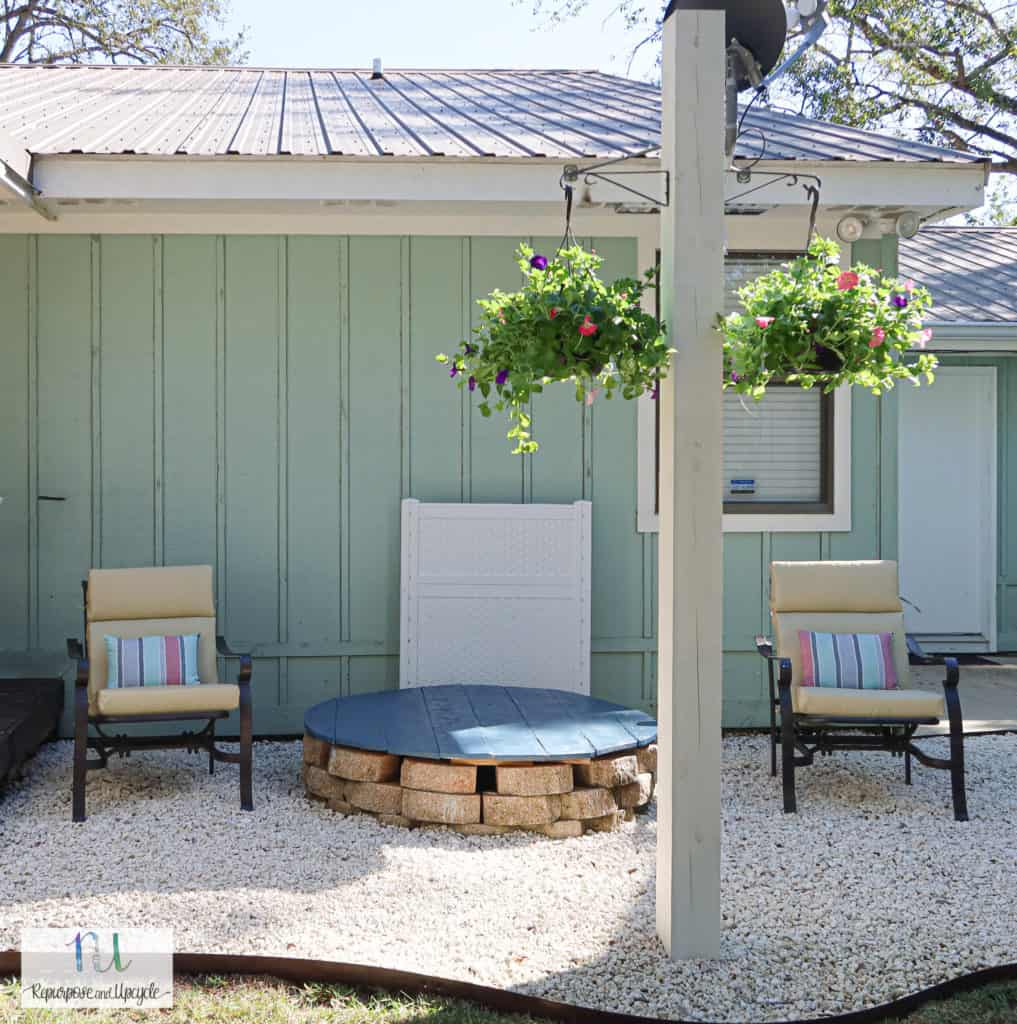
I can’t believe how good this space looks now! I never thought I would be able to find a product that could pull up the leaves so easily.
Now that this space is done, I’m off to work on the front yard…..new project coming soon. 😉
Lindsey**


